CSS images
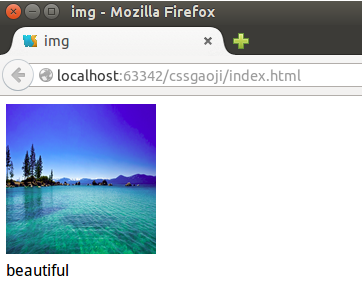
First we introduce a picture, add a description, and use div to carry it.
  <div class="image">
    <a href="./1348306907524.jpg" target="_self">
        <img src="1348306907524.jpg" width="150px" height="150px">
    </a>
    </div>
    <div>beautiful </div>
is the following effect:

Next we start to customize the display of the picture:
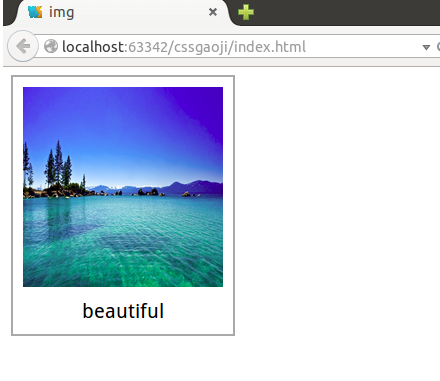
Add a border to the picture, modify the description font to match it, modify the font size, and float the entire div to the left so that the border matches the picture. Fit:
.image{    border: 2px solid darkgrey;    width: auto;    height: auto;    float: left;    text-align: center;    padding: 5px;
}img{    padding: 5px;
}.text{    font-size: 20px;    margin-bottom: 5px;
}
This is the effect after processing

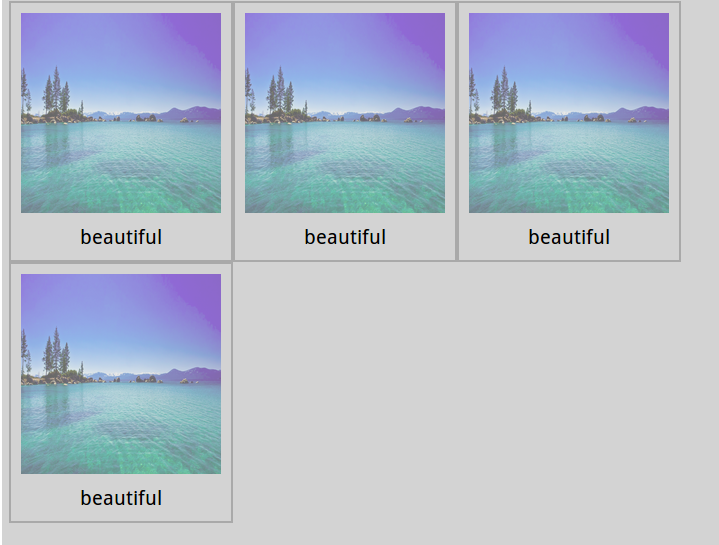
After that, we will design the transparency of the image: This is relatively simple, you only need to add to the image CSS settings:
opacity: 0.5;
The value range of this attribute is 0-1 to set the transparency, 0 is completely transparent. 1 represents completely opaque.
The following is the translucent rendering:

<div></div>
<a href="http://img3.imgtn.bdimg.com/it/u=1146657670,2051686823&fm=21&gp=0.jpg" target="_self">
<img src="http://img3.imgtn.bdimg.com/it/u=1146657670,2051686823&fm=21&gp=0.jpg" width="150px" height="150px">
</a>
<div>beautiful </div>
