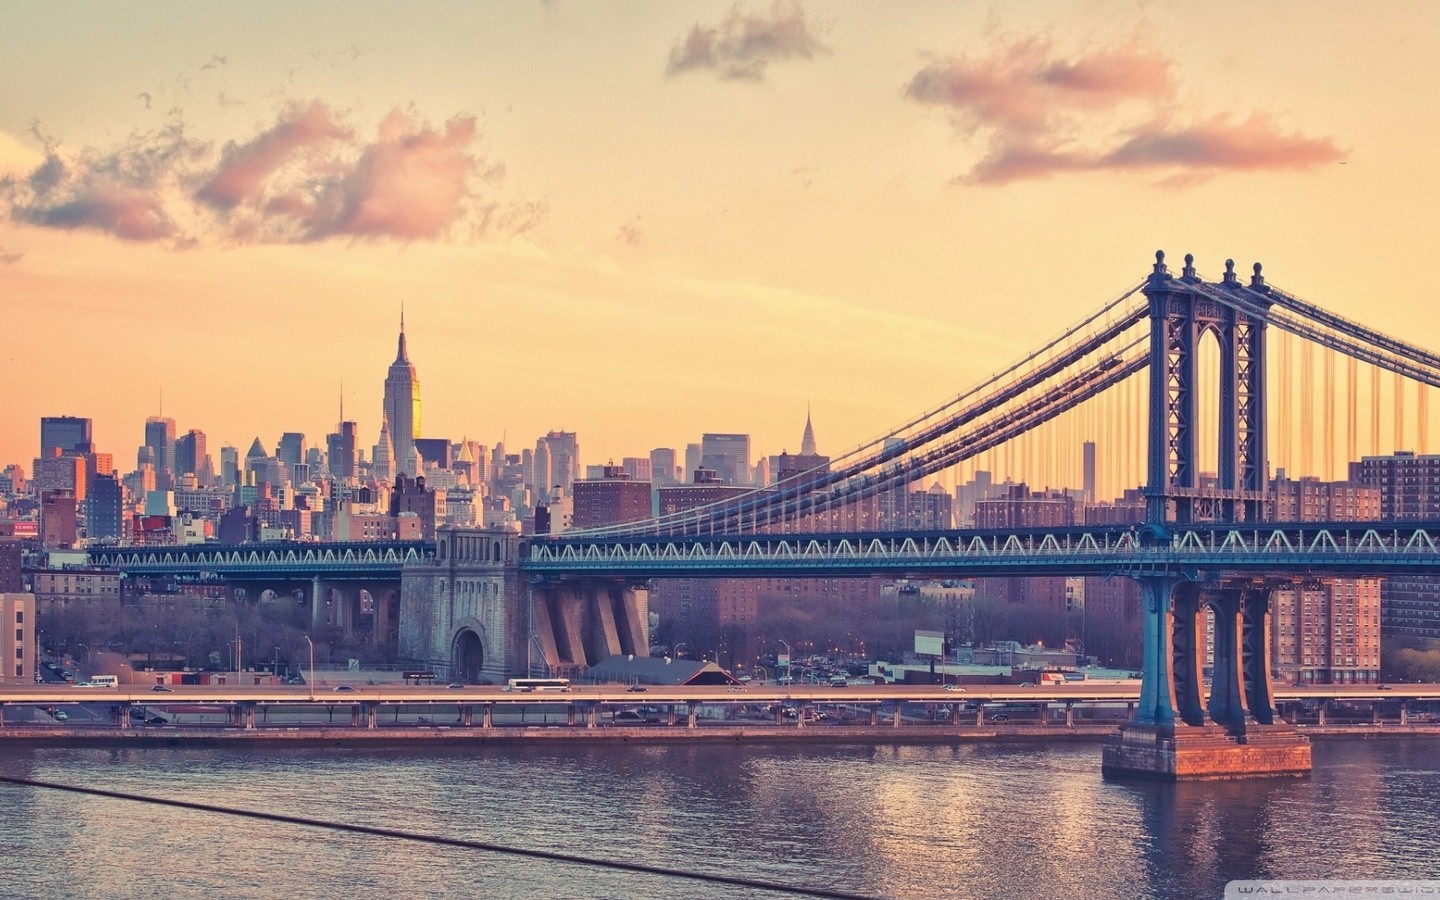
この章では、CSSを使用して画像をレイアウトする方法を紹介します。
丸い画像
例
<!DOCTYPE html>
<html>
<head>
<meta charset="utf-8">
<title>php中文网(php.cn)</title>
<style>
img {
    border-radius: 8px;
}
</style>
</head>
<body>
<h2>圆角图片</h2>
<p>使用 border-radius 属性来创建圆角图片:</p>
<img src="https://img.php.cn/upload/course/000/000/004/580989ec73194566.jpg" alt="Paris" width="400" height="300">
</body>
</html>
例
楕円形の画像:
<!DOCTYPE html>
<html>
<head>
<meta charset="utf-8">
<title>php中文网(php.cn)</title>
<style>
img {
    border-radius: 50%;
}
</style>
</head>
<body>
<h2>椭圆形图片</h2>
<p>使用 border-radius 属性来创建椭圆形图片:</p>
<img src="https://img.php.cn/upload/course/000/000/004/580989ec73194566.jpg" alt="Paris" width="400" height="300">
</body>
</html>
サムネイル
border略語スケッチを作成するための属性地図。 border 属性来创建缩略图。
实例
img {
    border: 1px solid #ddd;
    border-radius: 4px;
    padding: 5px;
}
<img src="https://img.php.cn/upload/course/000/000/004/580989ec73194566.jpg" alt="Paris">
实例
a {
    display: inline-block;
    border: 1px solid #ddd;
    border-radius: 4px;
    padding: 5px;
    transition: 0.3s;
}
a:hover {
    box-shadow: 0 0 2px 1px rgba
    (0, 140, 186, 0.5);
}
<a href="paris.jpg">
  <img src="https://img.php.cn/upload/course/000/000/004/580989ec73194566.jpg" alt="Paris">
</a>
响应式图片
响应式图片会自动适配各种尺寸的屏幕。
实例中,你可以通过重置浏览器大小查看效果:

如果你需要自由缩放图片,且图片放大的尺寸不大于其原始的最大值,则可使用以下代码:
实例
img {
    max-width: 100%;
    height: auto;
}
图片文本
如何定位图片文本:
实例

左下角
左上角
右上角
右下角
居中
卡片式图片
实例
div.polaroid {
    width: 80%;
    background-color: white;
    box-shadow: 0 4px 8px 0 rgba(0, 0, 0, 0.2), 0 6px 20px 0 rgba(0, 0, 0, 0.19);
}
img {width: 100%}
div.container {
    text-align: center;
    padding: 10px 20px;
}
图片滤镜
CSS filter
インスタンスimg
{
-webkit-filter:
grayscale(100%);
/* Chrome, Safari,
Opera */
filter:
grayscale(100%);
}インスタンス
.responsive {
    padding: 0 6px;
    float: left;
    width: 24.99999%;
}
@media only screen and (max-width: 700px){
    .responsive {
        width: 49.99999%;
        margin: 6px 0;
    }
}
@media only screen and (max-width: 500px){
    .responsive {
        width: 100%;
    }
}レスポンシブ画像この例では、ブラウザのサイズをリセットすることで効果を確認できます:
 画像を自由に拡大縮小する必要があり、画像の拡大サイズが元の最大値を超えない場合は、次のコマンドを使用できます。次のコード:
例
var modal = document.getElementById('myModal');
// 获取图片模态框,alt 属性作为图片弹出中文本描述
var img = document.getElementById('myImg');
var modalImg = document.getElementById("img01");
var captionText = document.getElementById("caption");
img.onclick = function(){
    modal.style.display = "block";
    modalImg.src = this.src;
    modalImg.alt = this.alt;
    captionText.innerHTML = this.alt;
}
// Get the <span> element that closes the modal
var span = document.getElementsByClassName("close")[0];
// When the user clicks on <span> (x), close the modal
span.onclick = function() {
    modal.style.display = "none";
}画像テキスト画像テキストを配置する方法:
例

左下隅
左上隅
右上隅 右下隅中央揃え
🎜カードスタイルの画像🎜🎜🎜例🎜🎜 rrreee🎜🎜🎜🎜画像フィルタ🎜🎜 CSS の filter 属性は、要素に視覚効果 (ぼかしや彩度など) を追加するために使用されます。 🎜🎜🎜注: この属性は、🎜 Internet Explorer🎜 または Safari 5.1 (およびそれ以前)🎜 ではサポートされていません。 🎜🎜🎜例🎜🎜すべての写真の色を白黒に変更します(100%グレースケール):🎜🎜rrreee🎜🎜🎜🎜🎜レスポンシブフォトアルバム🎜🎜🎜例🎜🎜rrreee🎜🎜🎜🎜🎜 🎜 🎜画像モーダル(モジュール ステータス)🎜🎜この例では、CSS と JavaScript を組み合わせて画像を一緒にレンダリングする方法を示します。 🎜🎜まず、CSS を使用して、デフォルトでは非表示になっているモーダル ウィンドウ (ダイアログ) を作成します。 🎜🎜次に、JavaScript を使用してモーダル ウィンドウを表示します。画像をクリックすると、ポップアップ ウィンドウに画像が表示されます。 🎜次のセクション
右下隅
中央揃え
<!DOCTYPE html>
<html>
<head>
<meta charset="utf-8">
<title>php中文网(php.cn)</title>
<style>
img {
border-radius: 8px;
}
</style>
</head>
<body>
<h2>圆角图片</h2>
<p>使用 border-radius 属性来创建圆角图片:</p>
<img src="https://img.php.cn/upload/course/000/000/004/580989ec73194566.jpg" alt="Paris" width="400" height="300">
</body>
</html>
なし
