将课堂中的全部案例照写一遍, 并达到默写级别
手抄:
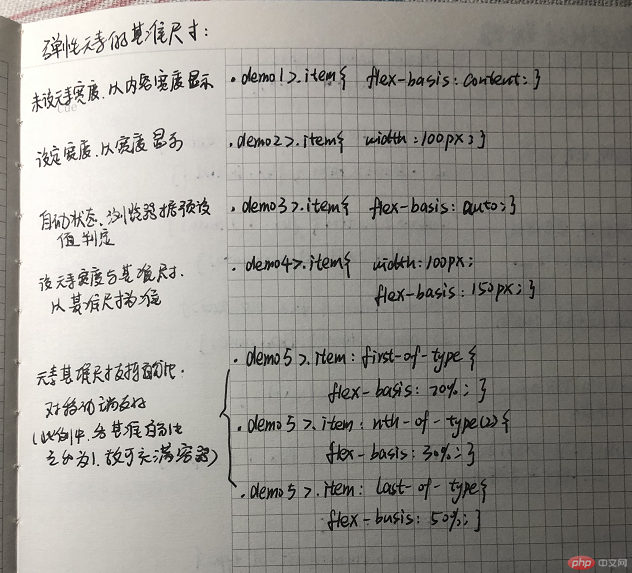
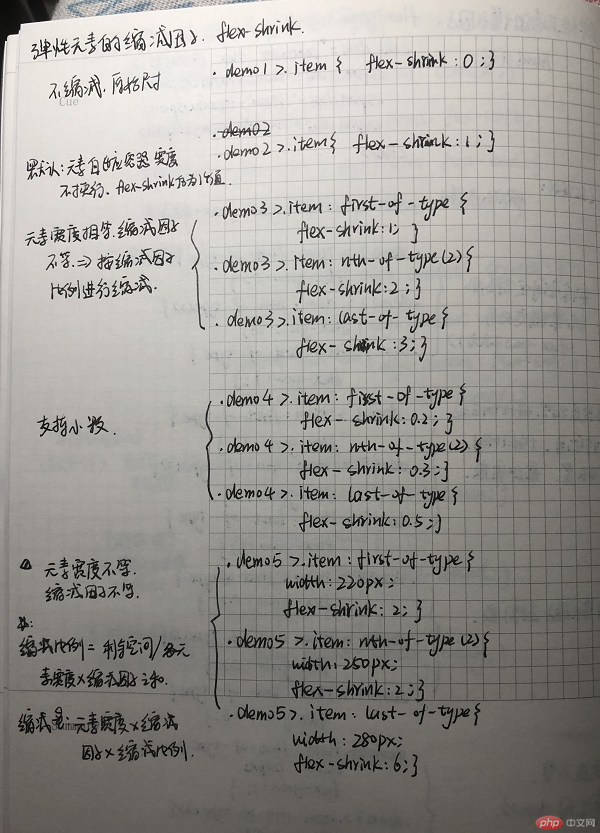
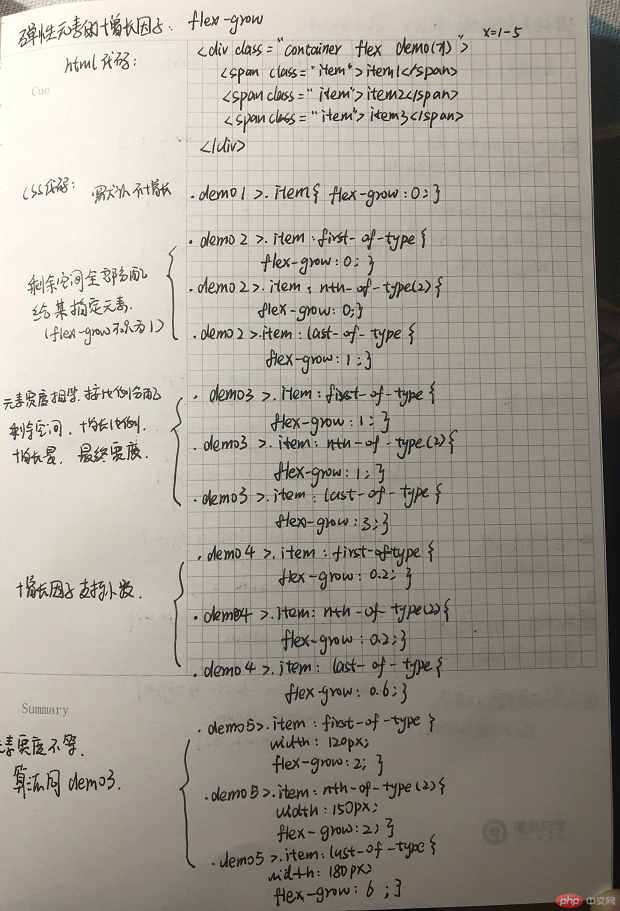
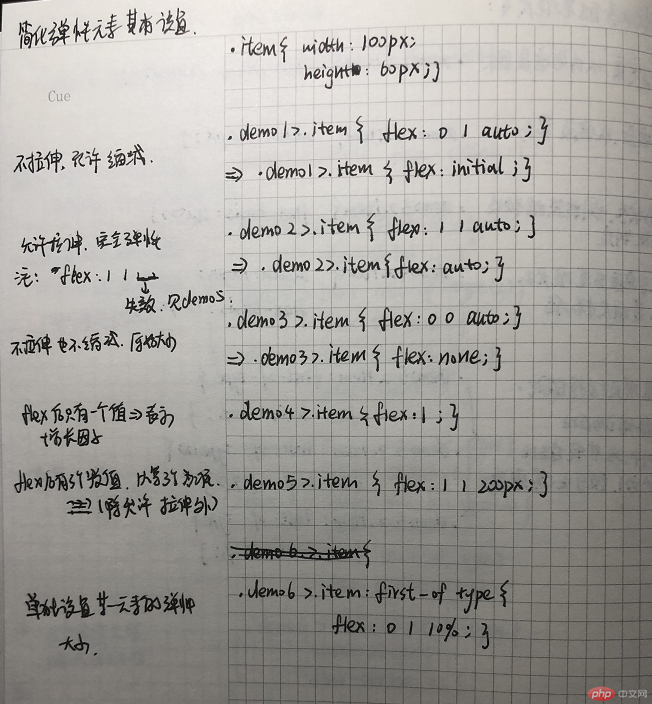
将flex属性的用法, 手抄, 建议二遍以上
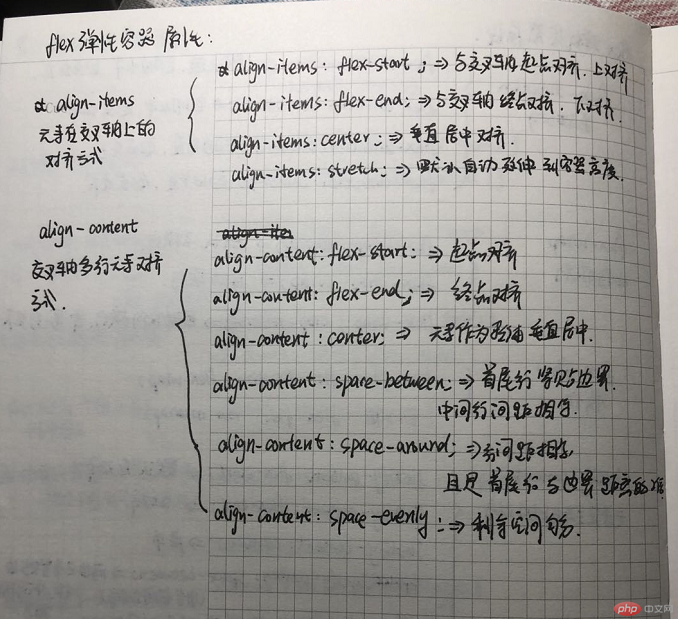
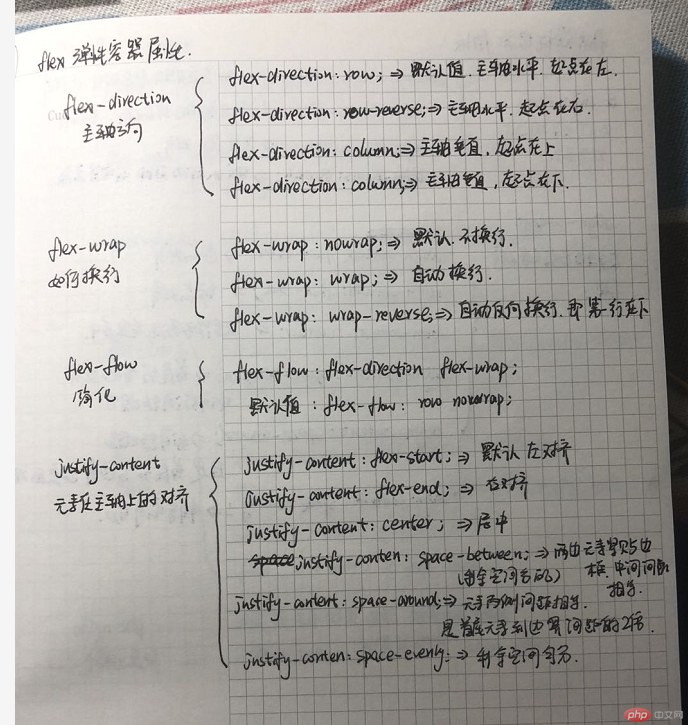
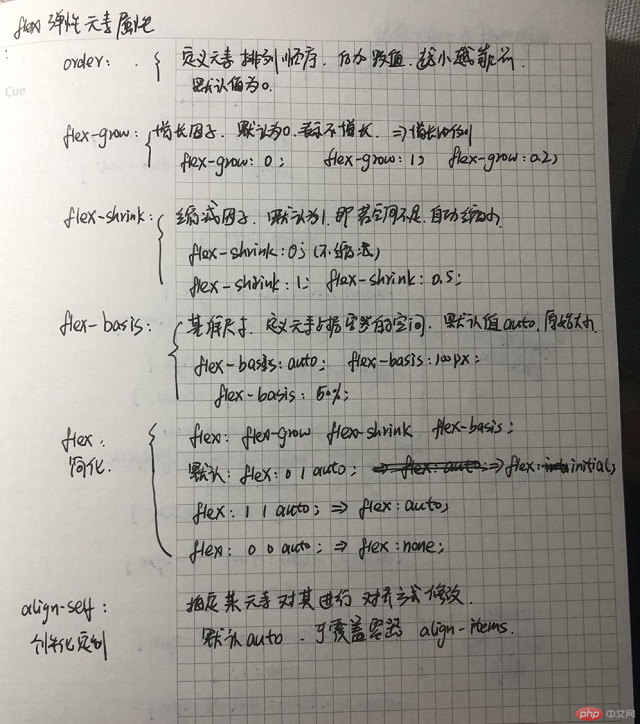
自学:align-self, order的用法
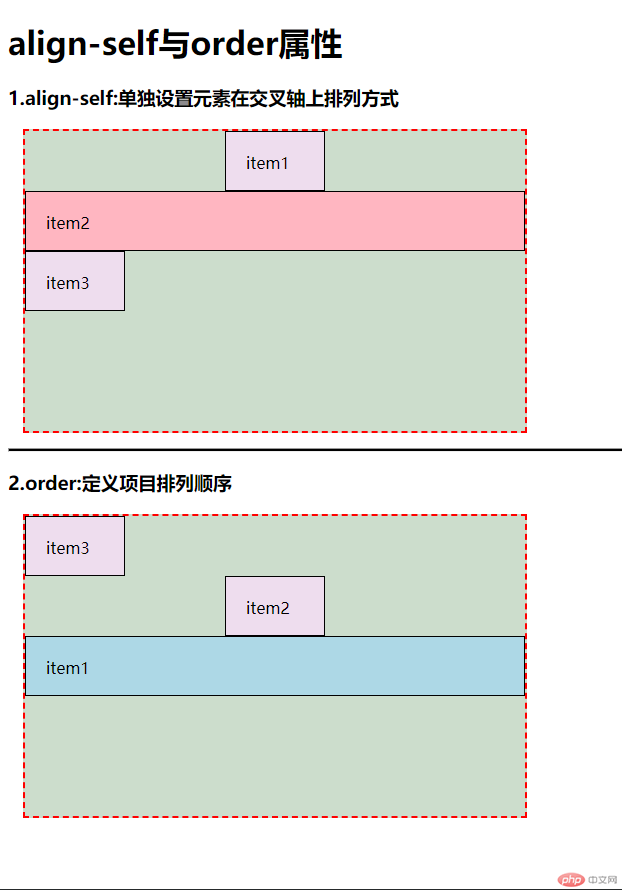
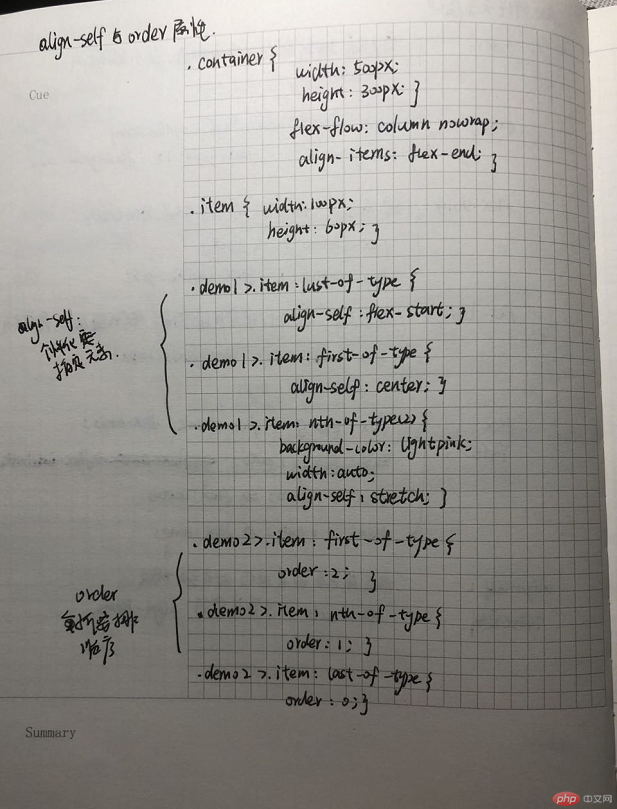
align-self:个性化定定制某单个项目的对齐方式,可覆盖容器`align-items`属性,默认auto
order:定义项目排列顺序,索引越小超靠前,默认为0
html代码:
<h3>1.align-self:单独设置元素在交叉轴上排列方式</h3>
<div class="container flex demo1">
    <span class="item">item1</span>
    <span class="item">item2</span>
    <span class="item">item3</span>
</div>

<hr style="height: 2px; background-color:black;">

<h3>2.order:定义项目排列顺序</h3>
<div class="container flex demo2">
    <span class="item">item1</span>
    <span class="item">item2</span>
    <span class="item">item3</span>
</div>
css代码:
@import "public.css";

.container {
    width: 500px;
    height: 300px;

    /*以主轴垂直为例进行演示*/
    flex-flow: column nowrap;

    /*默认元素紧贴终止线排列*/
    align-items: flex-end;
}
/*给item定义尺寸*/
.item {
    width: 100px;
    height: 60px;
}

/*最后一个元素单独调整, 紧贴起始线排列*/
.demo1>.item:last-of-type {
    align-self: flex-start;
}

/*将第一个元素单独调整到中间位置排列*/
.demo1>.item:first-of-type {
    align-self: center;
}

/*使第二个元素自动拉伸*/
.demo1>.item:nth-last-of-type(2) {
    background-color: lightpink;

    width: auto;

    align-self: stretch;
}

/*把第一个元素放到最后*/
.demo2>.item:first-of-type{
    order: 2;
    width: auto;
    align-self: stretch;
    background-color: lightblue;
}

.demo2>.item:nth-of-type(2){
    order: 1;
    align-self: center;
}
/*把最后一个元素放到最前面*/
.demo2>.item:last-of-type{
    order: 0;
    align-self: flex-start;
}
效果图:
手抄:
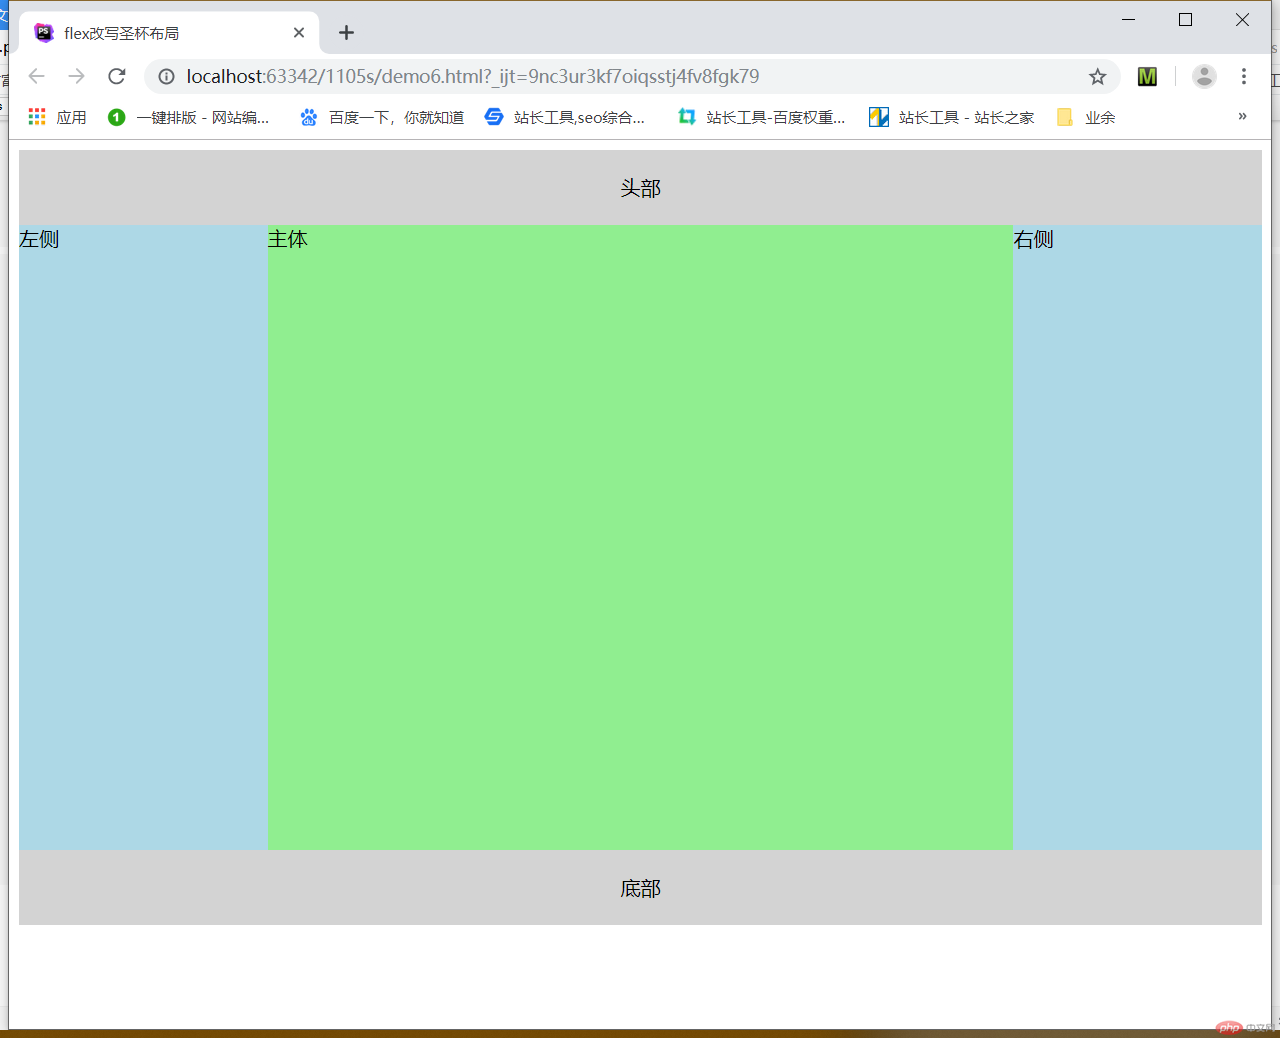
试着将之前的一些案例用flex布局改定, 例如圣杯布局
html代码:
<header>头部</header>
<main class="container flex item">
    <article class="item">主体</article>
    <aside class="item">左侧</aside>
    <aside class="item">右侧</aside>
</main>
<footer>底部</footer>
css代码:
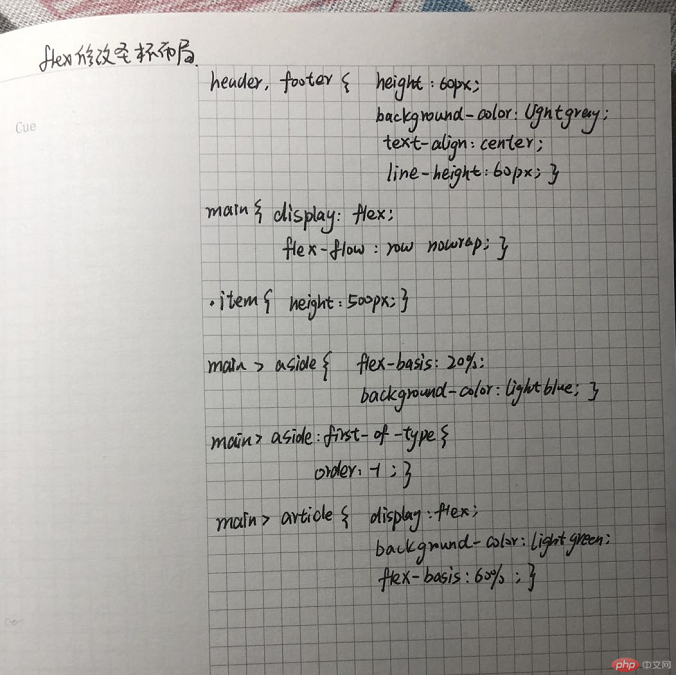
header,footer{
    height: 60px;
    background-color: lightgray;
    text-align: center;
    line-height: 60px;
}

main{
    display: flex;
    flex-flow: row nowrap;
}

/*把他设为弹性元素的通用样式*/
.item{
    height: 500px;
}


main > aside{
    flex-basis: 20%;
    background-color: lightblue;
}

main > aside:first-of-type{
    order:-1;
}

main > article{
    display: flex;
    background-color: lightgreen;
    flex-basis: 60%;
}
效果图:
手抄:
总结:
flex属性分为容器属性和元素属性
flex属性可以嵌套
使用flex属性页面布局更简洁

