
Home >Software Tutorial >Office Software >Operation steps for cutting out pictures using PPT
Operation steps for cutting out pictures using PPT

- WBOYWBOYWBOYWBOYWBOYWBOYWBOYWBOYWBOYWBOYWBOYWBOYWBforward
- 2024-04-17 14:50:21493browse
Want to cut out PPT images but don’t know how to start? PHP editor Youzi has brought you a detailed operation guide for cutting out pictures, teaching you how to easily remove the background and make the pictures more beautiful. Come and find out~
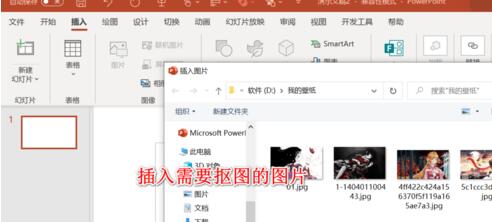
Click to open the PPT, click Insert to select the picture and find the picture you want to cut out.
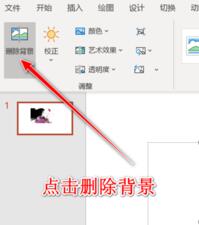
After importing the image, click the Image Format tab and click the Remove Background option.
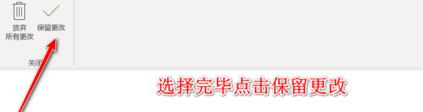
Click on the top to mark the area you want to keep, and then use a brush to circle the content that needs to be cut out.

At this time, there may be inaccurate recognition of some places. We use the mark delete area brush to select the areas that do not need to be retained.

After the marking is completed, we click to save the changes, and the picture will exit the editing function
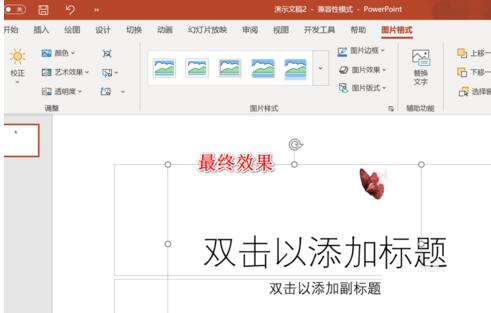
We can see the butterfly part of the picture, We dug it out.
The above is the detailed content of Operation steps for cutting out pictures using PPT. For more information, please follow other related articles on the PHP Chinese website!