将课堂介绍了三个小案例, 自己动手写一遍, 再抄一遍
案例一:移动端界面
html代码:
<header>PHP中文网</header>
<main>主体</main>
<footer>
    <a href="">首页</a>
    <a href="">视频</a>
    <a href="">手册</a>
</footer>
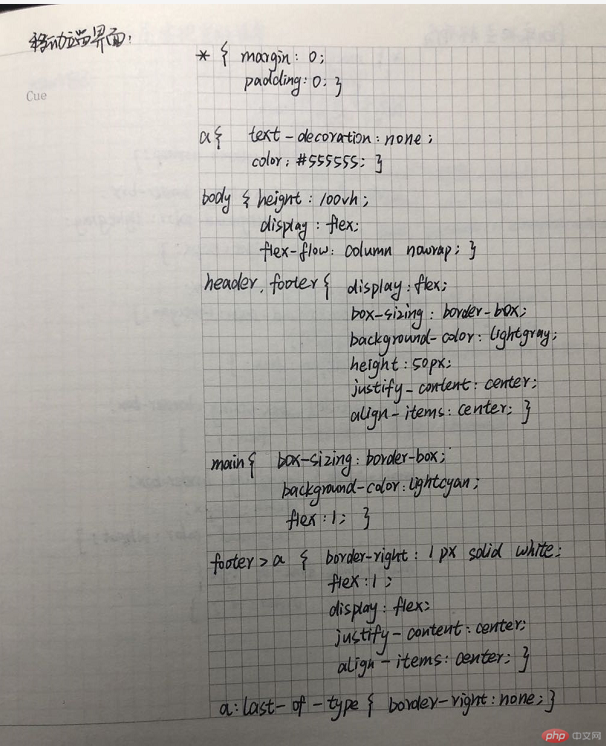
css代码:
/*样式重置*/
* {
    margin: 0;
    padding: 0;
}

/*链接重置*/
a {
    text-decoration:none;
    color: #555555;
}

body {
    height: 100vh;
    display: flex;
    flex-flow: column nowrap;
}

header,footer{
    display: flex;
    box-sizing: border-box;
    background-color: lightgray;
    height: 50px;
    justify-content: center;
    align-items: center;
}

main{
    box-sizing: border-box;
    background-color: lightcyan;
    flex: 1;
}

footer>a{
    border-right: 1px solid white;
    flex: 1;
    display: flex;
    justify-content: center;
    align-items: center;
}

a:last-of-type{
    border-right: none;
}
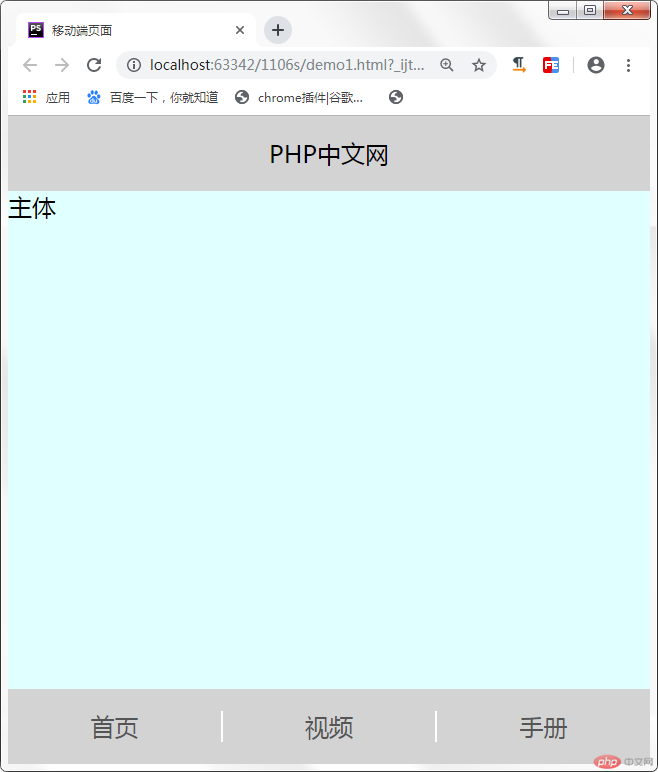
效果图:
手抄:
案例二:flex实现圣杯布局
html代码:
<header>PHP中文网</header>
<main>
    <article>主体区</article>
    <aside>左边栏</aside>
    <aside>右边栏</aside>
</main>
<footer>底部</footer>
css代码:

* {
    margin: 0;
    padding: 0;
}


body {
    height: 100vh;
    display: flex;
    flex-flow: column nowrap;
}

header,footer {

    box-sizing: border-box;
    background-color: lightgray;
    height: 50px;
}

main{
    box-sizing: border-box;
    background-color: lightcyan;
    flex: 1;
    display: flex;
}

main>article{
    box-sizing: border-box;
    flex: 1;
}

main>aside {
    box-sizing: border-box;
    width: 200px;
    background-color: wheat;
}

main>aside:first-of-type{
    order: -1;
}
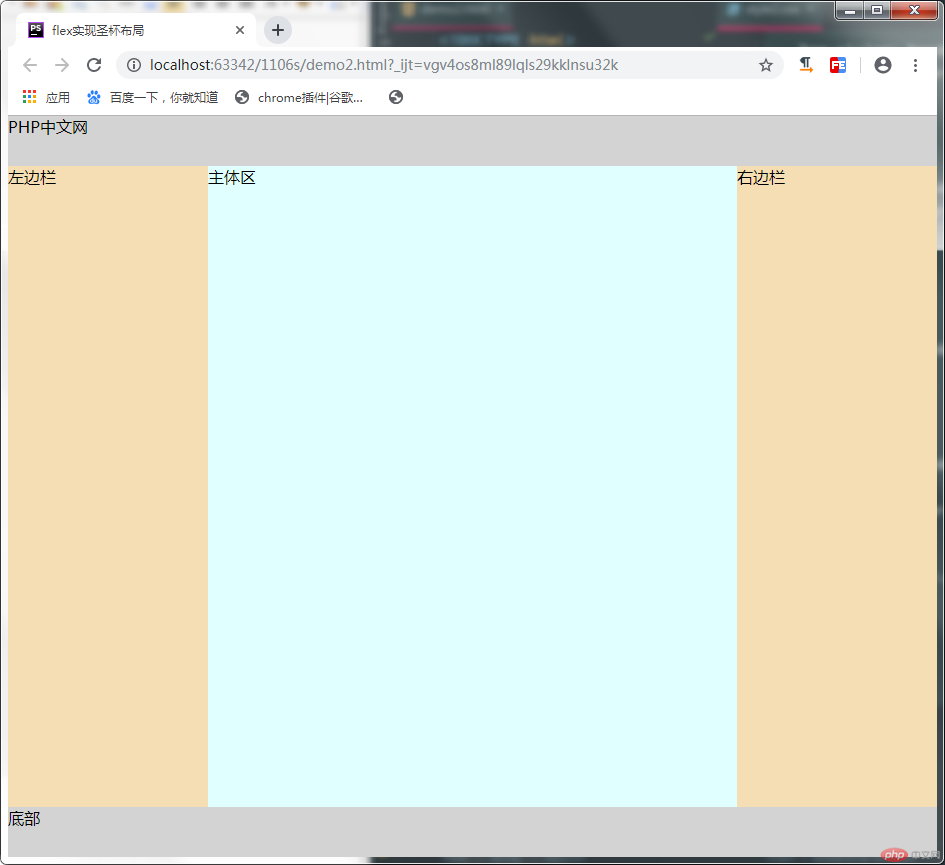
效果图:
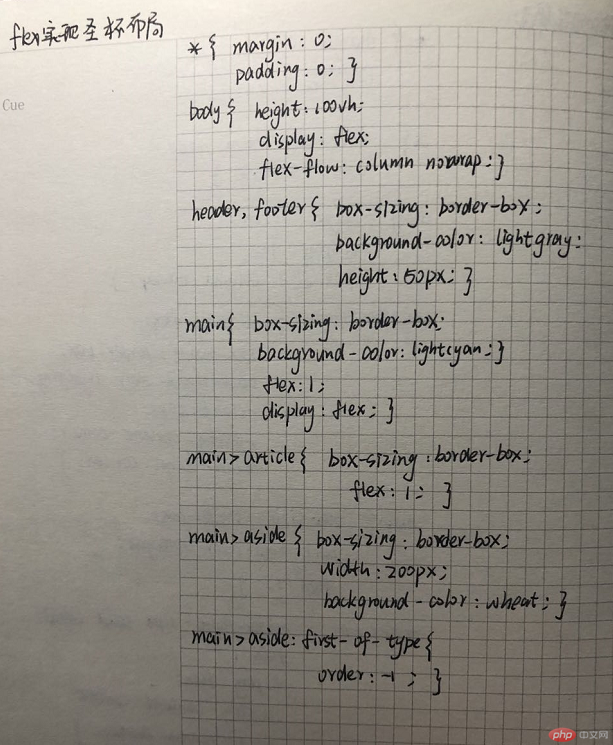
手抄:
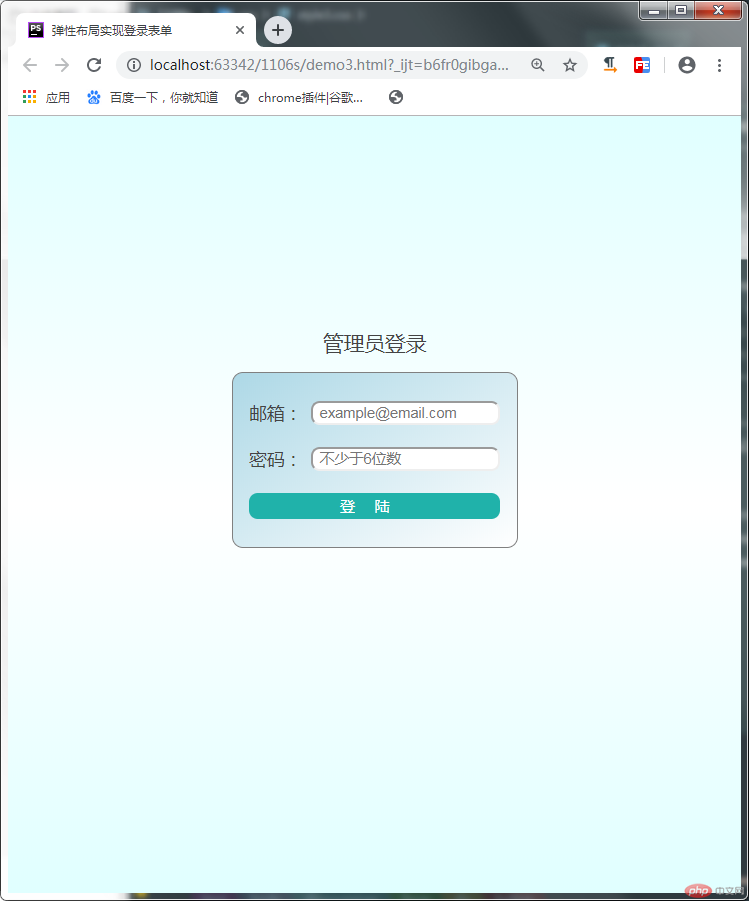
案例三:弹性布局实现登录表单
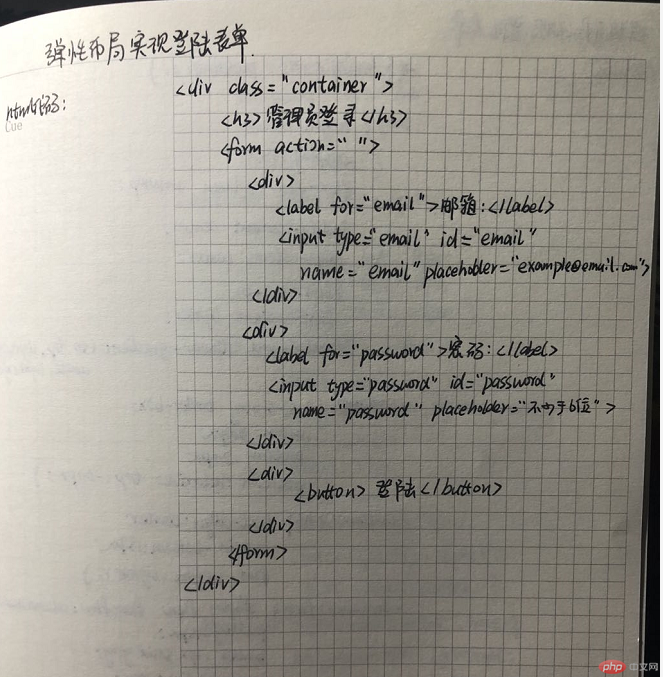
html代码:
<div class="container">
    <h3>管理员登录</h3>
    <form action="">
        <div>
            <label for="email">邮箱:</label>
            <input type="email" id="email" name="email" placeholder="example@email.com">
        </div>
        <div>
            <label for="password">密码:</label>
            <input type="password" id="password" name="password" placeholder="不少于6位数">
        </div>
        <div>
            <button>登陆</button>
        </div>
    </form>
</div>
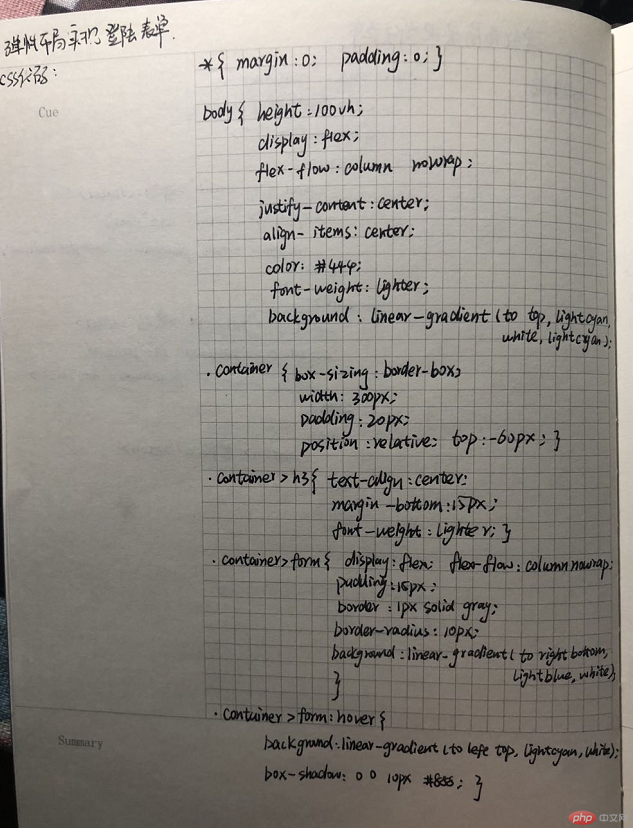
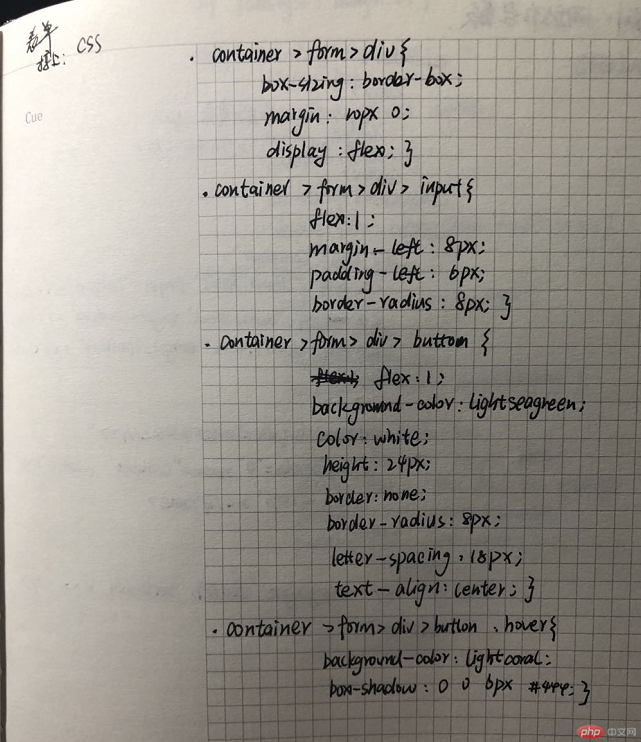
css代码:

* {
    margin: 0;
    padding: 0;

    /*outline: 1px dashed #999999;*/
}


body {
    height: 100vh;

    display: flex;
    flex-flow: column nowrap;

    justify-content: center;
    align-items: center;

    color: #444;
    font-weight: lighter;
    background:linear-gradient(to top,lightcyan,white,lightcyan);
}

.container{
    box-sizing: border-box;
    /*先设置样式尺寸,***一些*/
    width: 300px;
    padding: 20px;
    /*设置位置上移*/
    position: relative;
    top: -60px;
}

.container>h3{
    text-align: center;
    margin-bottom: 15px;
    font-weight: lighter;
}

.container>form{
    display: flex;
    flex-flow: column nowrap;

    padding: 15px;
    border: 1px solid gray;
    border-radius: 10px;
    background:linear-gradient(to right bottom,lightblue,white);
}

.container>form:hover{
    background:linear-gradient(to left top,lightcyan,white);
    /*发光*/
    box-shadow: 0 0 10px #888;
}

.container>form>div{
    box-sizing: border-box;
    margin: 10px 0;

    display: flex;

}

.container>form>div>input{
    flex: 1;
    margin-left: 8px;
    padding-left: 6px;
    border-radius: 8px;
}

.container>form>div>button{
    flex: 1;

    background-color: lightseagreen;
    color: white;
    height: 24px;
    border: none;
    border-radius: 8px;

    letter-spacing: 18px;
    text-align: center;
}

.container>form>div>button:hover{
    background-color: lightcoral;
    box-shadow: 0 0 6px #444;
}
效果图:
手抄:
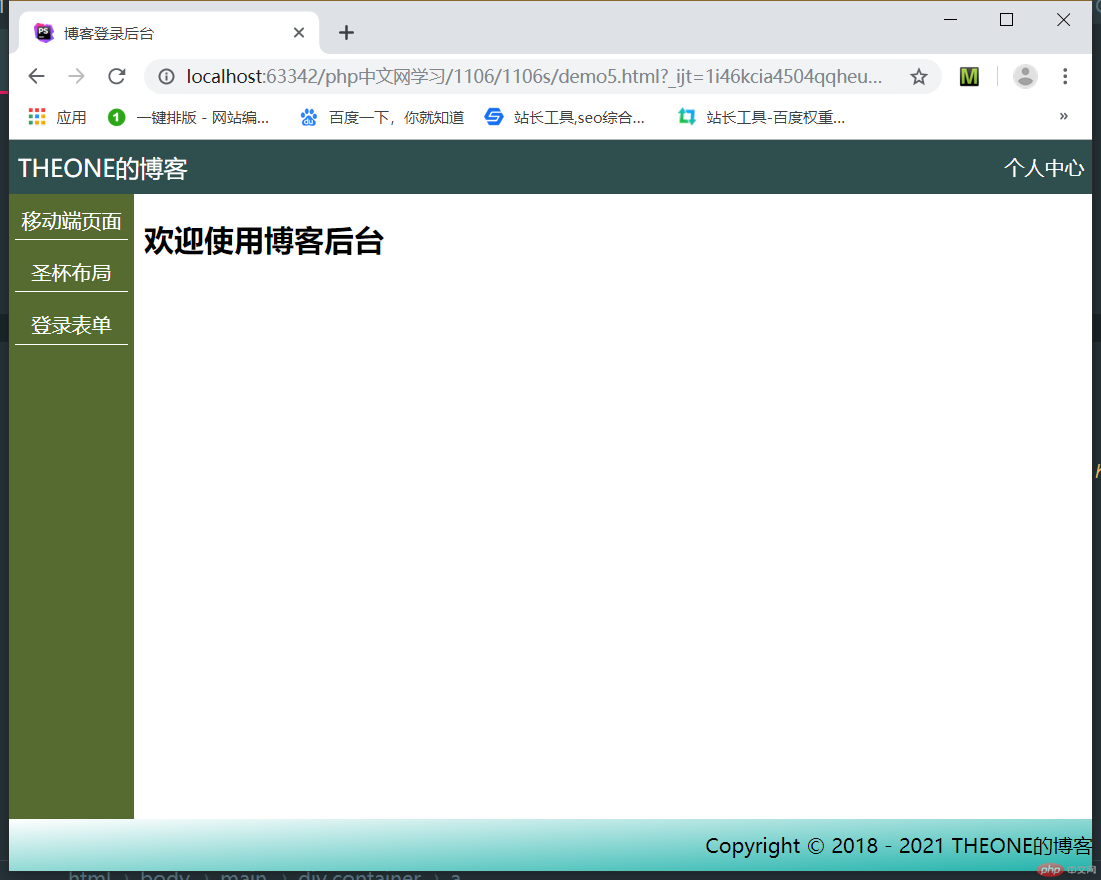
自己根据自己情况, 自定义一个小案例, 使用flex实现, 例如网站后台首页
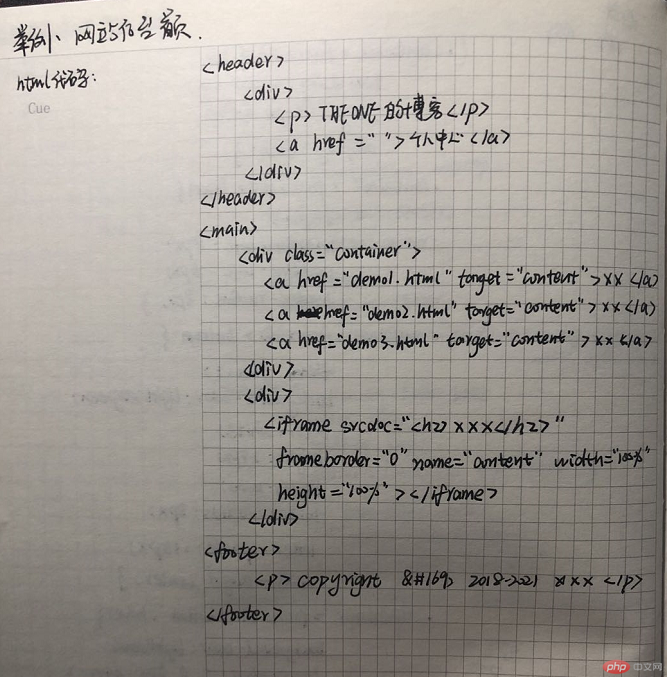
html代码:
<header>
    <div>
        <p>THEONE的博客</p>
        <a href="">个人中心</a>
    </div>
</header>
<main>
    <div class="container">
        <a href="demo1.html" target="content">移动端页面</a>
        <a href="demo2.html" target="content">圣杯布局</a>
        <a href="demo3.html" target="content">登录表单</a>
    </div>
    <div>
        <iframe srcdoc="<h2>欢迎使用博客后台</h2>" frameborder="0" name="content" width="100%" height="100%"></iframe>
    </div>

</main>
<footer>
    <p>Copyright © 2018 - 2021 THEONE的博客</p>
</footer>
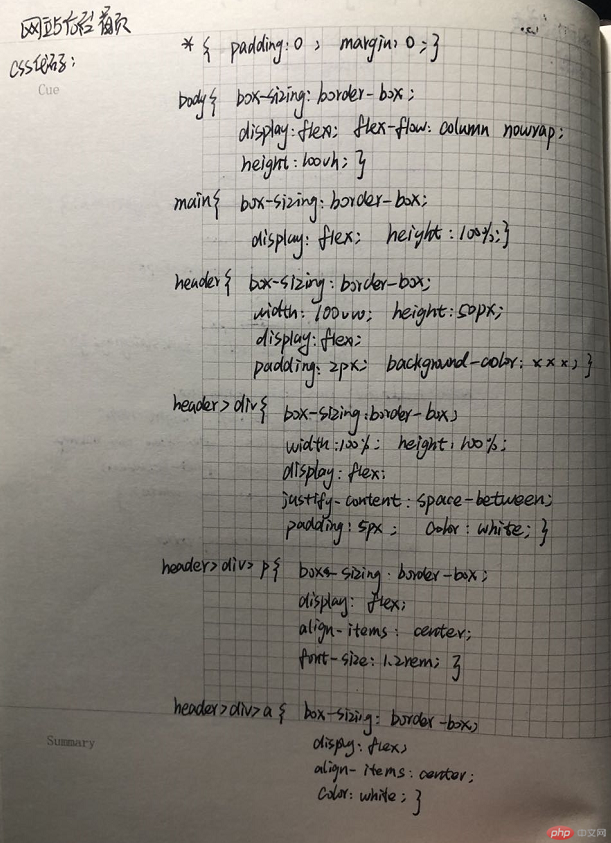
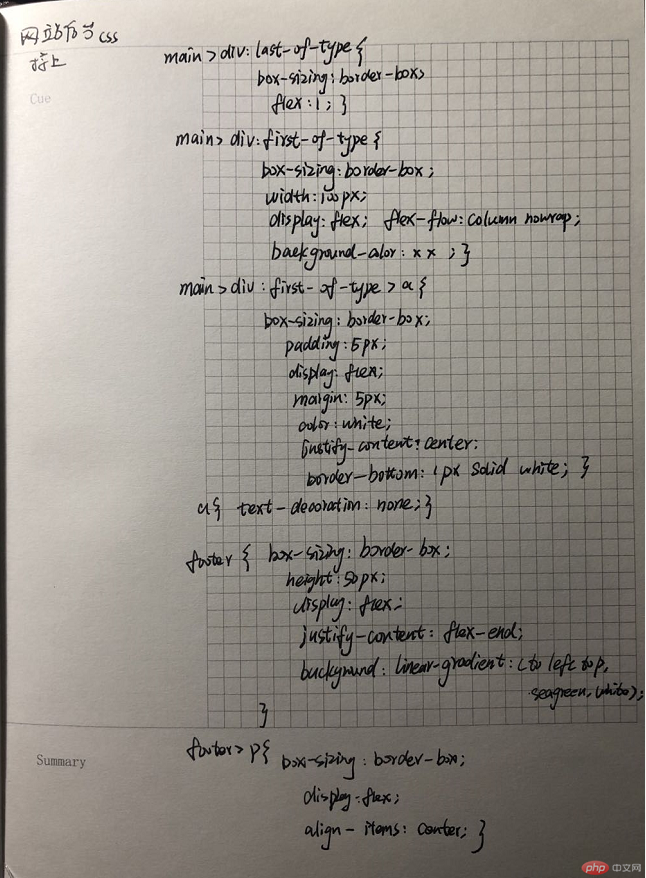
css代码:
*{
    /*outline: 1px dashed gray;*/
    padding: 0;
    margin: 0;
}
body{
    box-sizing: border-box;
    display: flex;
    flex-flow: column nowrap;
    height: 100vh;
}

main{
    box-sizing: border-box;
    display: flex;
    height: 100%;
}


header{
    box-sizing: border-box;
    width: 100vw;
    display: flex;
    padding: 2px;
    height: 50px;
    background-color: darkslategray;
}

header>div{
    box-sizing: border-box;
    width: 100%;
    height: 100%;
    display: flex;

    justify-content: space-between;
    padding: 5px;
    color: white;
}

header>div>p{
    box-sizing: border-box;
    display: flex;
    align-items: center;
    font-size: 1.2rem;
}

header>div>a{
    box-sizing: border-box;
    display: flex;
    align-items: center;
    color: white;
}


main>div:last-of-type{
    box-sizing: border-box;
    flex: 1;
}

main>div:first-of-type{
    box-sizing: border-box;
    width: 100px;
    display: flex;
    flex-flow: column nowrap;
    background-color: darkolivegreen;

}

main>div:first-of-type>a{
    box-sizing: border-box;
    padding: 5px;
    display: flex;
    margin: 5px;
    color: white;
    justify-content: center;
    border-bottom: 1px solid white;
}

a{
    text-decoration:none;
}

footer{
    box-sizing: border-box;
    height: 50px;
    display: flex;
    justify-content: flex-end;
    background:linear-gradient(to left top,lightseagreen,white);
}

footer>p{
    box-sizing: border-box;
    display: flex;
    align-items: center;

}
效果图:
手抄:
总结:
在对页面进行布局之前尽量先把思路滤清,框架做好之后再进行样式布局
有很多多余的或者可以合并的代码没必要写几遍,简化代码可以变得整洁

