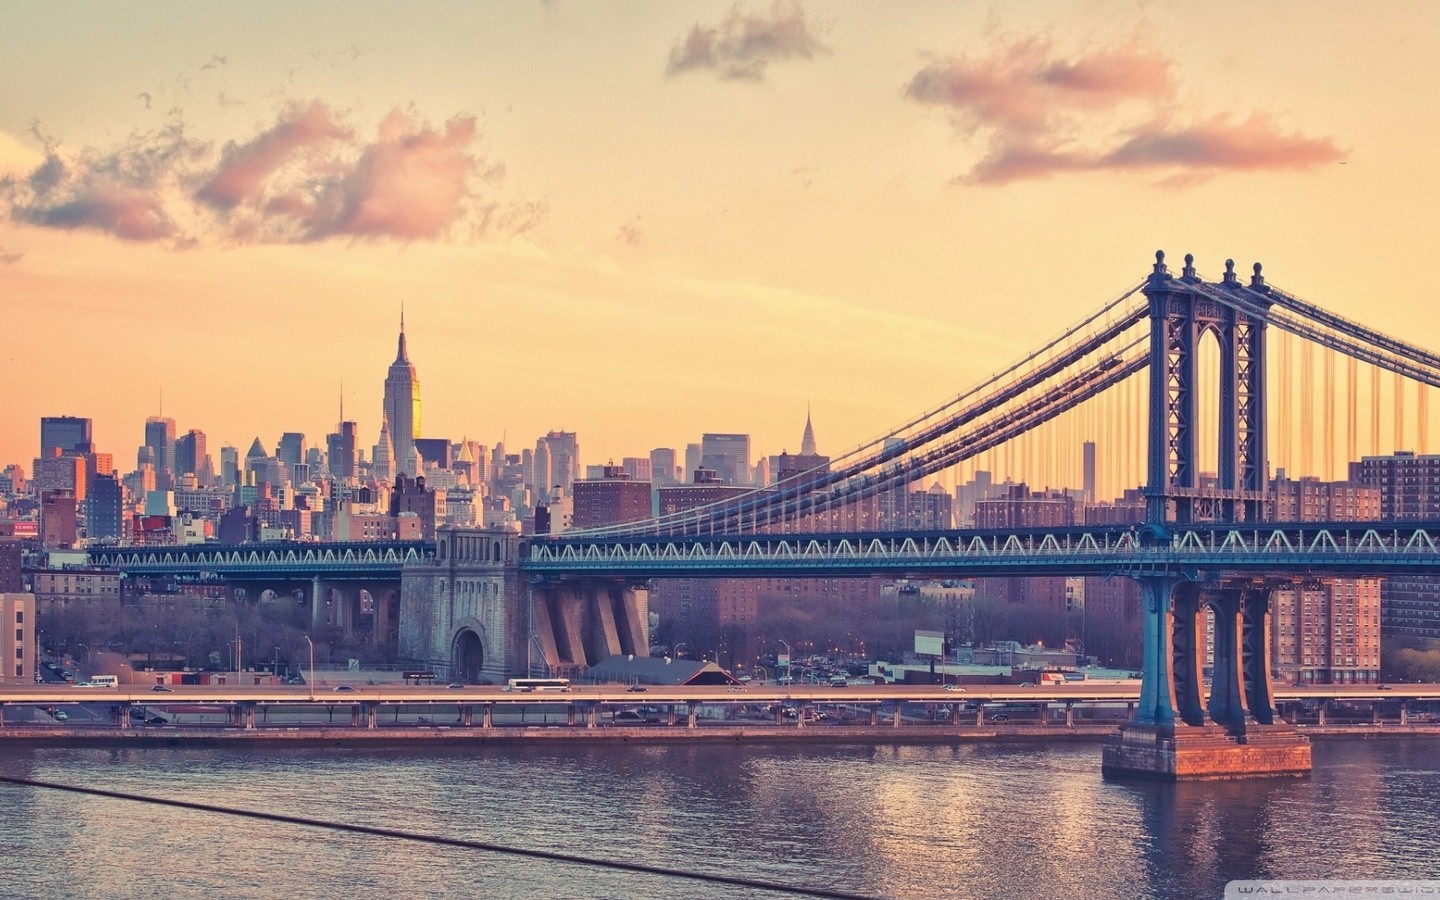
이 장에서는 CSS를 사용하여 이미지를 레이아웃하는 방법을 소개합니다.
둥근 이미지
Example
<!DOCTYPE html>
<html>
<head>
<meta charset="utf-8">
<title>php中文网(php.cn)</title>
<style>
img {
    border-radius: 8px;
}
</style>
</head>
<body>
<h2>圆角图片</h2>
<p>使用 border-radius 属性来创建圆角图片:</p>
<img src="https://img.php.cn/upload/course/000/000/004/580989ec73194566.jpg" alt="Paris" width="400" height="300">
</body>
</html>
Example
타원형 이미지:
<!DOCTYPE html>
<html>
<head>
<meta charset="utf-8">
<title>php中文网(php.cn)</title>
<style>
img {
    border-radius: 50%;
}
</style>
</head>
<body>
<h2>椭圆形图片</h2>
<p>使用 border-radius 属性来创建椭圆形图片:</p>
<img src="https://img.php.cn/upload/course/000/000/004/580989ec73194566.jpg" alt="Paris" width="400" height="300">
</body>
</html>
Thumbnail
border 속성을 사용하여 약어 스케치를 만듭니다. . border 属性来创建缩略图。
实例
img {
    border: 1px solid #ddd;
    border-radius: 4px;
    padding: 5px;
}
<img src="https://img.php.cn/upload/course/000/000/004/580989ec73194566.jpg" alt="Paris">
实例
a {
    display: inline-block;
    border: 1px solid #ddd;
    border-radius: 4px;
    padding: 5px;
    transition: 0.3s;
}
a:hover {
    box-shadow: 0 0 2px 1px rgba
    (0, 140, 186, 0.5);
}
<a href="paris.jpg">
  <img src="https://img.php.cn/upload/course/000/000/004/580989ec73194566.jpg" alt="Paris">
</a>
响应式图片
响应式图片会自动适配各种尺寸的屏幕。
实例中,你可以通过重置浏览器大小查看效果:

如果你需要自由缩放图片,且图片放大的尺寸不大于其原始的最大值,则可使用以下代码:
实例
img {
    max-width: 100%;
    height: auto;
}
图片文本
如何定位图片文本:
实例

左下角
左上角
右上角
右下角
居中
卡片式图片
实例
div.polaroid {
    width: 80%;
    background-color: white;
    box-shadow: 0 4px 8px 0 rgba(0, 0, 0, 0.2), 0 6px 20px 0 rgba(0, 0, 0, 0.19);
}
img {width: 100%}
div.container {
    text-align: center;
    padding: 10px 20px;
}
图片滤镜
CSS filter
Instancesimg
{
-webkit-filter:
grayscale(100%);
/* Chrome, Safari,
Opera */
filter:
grayscale(100%);
}Instances
.responsive {
    padding: 0 6px;
    float: left;
    width: 24.99999%;
}
@media only screen and (max-width: 700px){
    .responsive {
        width: 49.99999%;
        margin: 6px 0;
    }
}
@media only screen and (max-width: 500px){
    .responsive {
        width: 100%;
    }
}
반응형 이미지 예제에서는 브라우저 크기를 재설정하여 효과를 확인할 수 있습니다.
 이미지 크기를 자유롭게 조정해야 하고 이미지의 확대된 크기가 원래 최대값보다 크지 않은 경우 다음을 사용할 수 있습니다. 다음 코드:
예제
var modal = document.getElementById('myModal');
// 获取图片模态框,alt 属性作为图片弹出中文本描述
var img = document.getElementById('myImg');
var modalImg = document.getElementById("img01");
var captionText = document.getElementById("caption");
img.onclick = function(){
    modal.style.display = "block";
    modalImg.src = this.src;
    modalImg.alt = this.alt;
    captionText.innerHTML = this.alt;
}
// Get the <span> element that closes the modal
var span = document.getElementsByClassName("close")[0];
// When the user clicks on <span> (x), close the modal
span.onclick = function() {
    modal.style.display = "none";
}
그림 텍스트그림 텍스트 위치 지정 방법:
Example

왼쪽 하단
왼쪽 상단
오른쪽 상단 오른쪽 하단중앙
🎜카드 스타일 그림🎜🎜🎜Example🎜🎜 rrreee🎜🎜🎜🎜Image Filter🎜🎜CSS filter 속성은 요소에 시각적 효과(예: 흐림 및 채도)를 추가하는 데 사용됩니다. 🎜🎜🎜참고: 🎜 Internet Explorer🎜 또는 Safari 5.1(및 이전 버전)🎜은 이 속성을 지원하지 않습니다. 🎜🎜🎜예🎜🎜모든 사진의 색상을 흑백(100% 회색조)으로 변경:🎜🎜rrreee🎜🎜🎜🎜🎜반응형 사진 앨범🎜🎜🎜예🎜🎜rrreee🎜🎜🎜🎜 🎜🎜 🎜사진 모달( 모듈 상태)🎜🎜이 예에서는 CSS와 JavaScript를 결합하여 이미지를 함께 렌더링하는 방법을 보여줍니다. 🎜🎜먼저 CSS를 사용하여 기본적으로 숨겨져 있는 모달 창(대화 상자)을 만듭니다. 🎜🎜그런 다음 JavaScript를 사용하여 이미지를 클릭하면 이미지가 팝업 창에 표시됩니다. 🎜🎜🎜Instance🎜🎜🎜// 모달 창 가져오기🎜🎜rrreee🎜🎜 🎜다음 섹션
오른쪽 하단
중앙
<!DOCTYPE html>
<html>
<head>
<meta charset="utf-8">
<title>php中文网(php.cn)</title>
<style>
img {
border-radius: 8px;
}
</style>
</head>
<body>
<h2>圆角图片</h2>
<p>使用 border-radius 属性来创建圆角图片:</p>
<img src="https://img.php.cn/upload/course/000/000/004/580989ec73194566.jpg" alt="Paris" width="400" height="300">
</body>
</html>
없음
