
Home >Software Tutorial >Office Software >How to merge shapes to make a turn bar in PPT_The specific steps of merging shapes
How to merge shapes to make a turn bar in PPT_The specific steps of merging shapes

- 王林forward
- 2024-04-25 12:01:33983browse
How to skillfully use merged shapes to create a turn bar in PPT? PHP editor Baicao will introduce you to the specific steps. This article will explain in detail how to use the merge shape function of PPT to combine two or more shapes to create a shape with a turning effect. By reading the article, you can master the skills of merging shapes to make turn strips, adding more creativity and flexibility to PPT design.
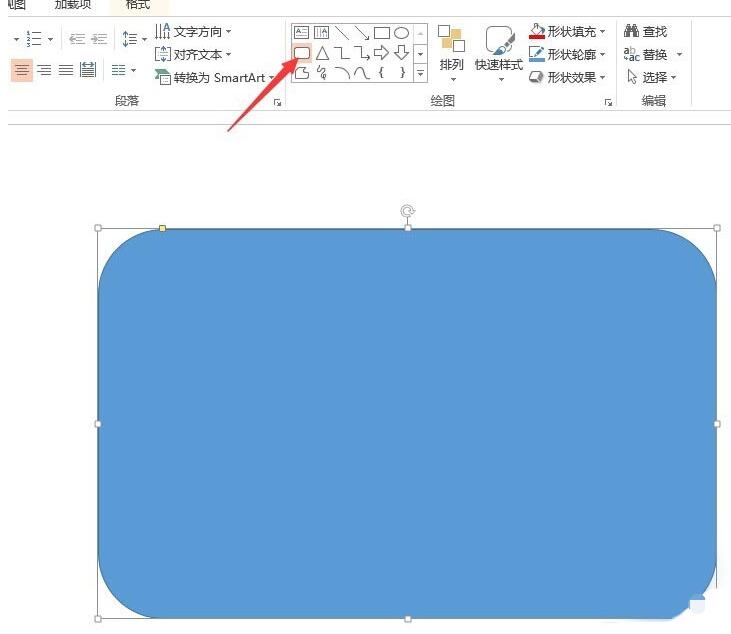
1. Use [Rounded Rectangle] to draw a rectangle.
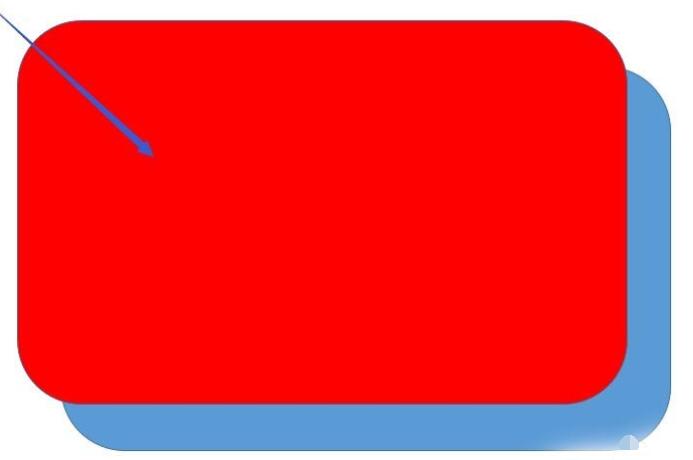
2. Copy and paste one, and move the copied rectangle to the upper left to the appropriate position.
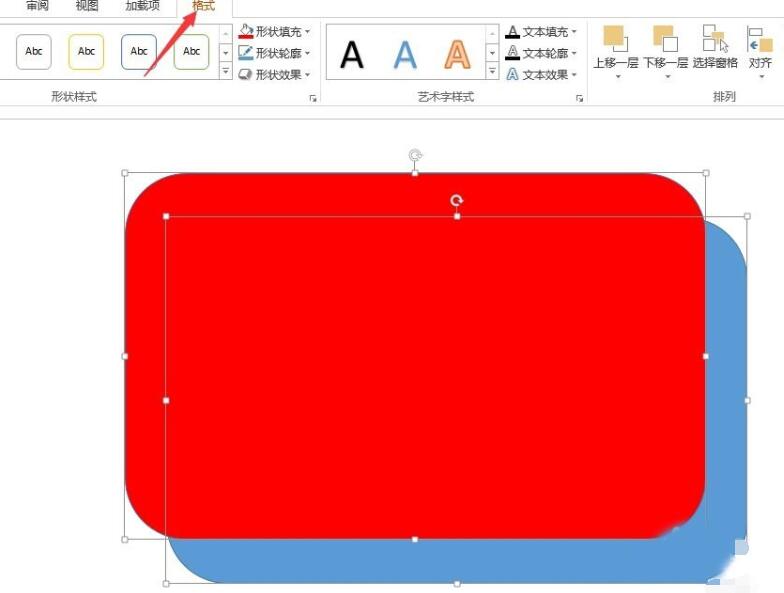
3. Select all rectangles and click [Format] of the drawing tool.
4. Click [Cut] in [Merge Shapes].
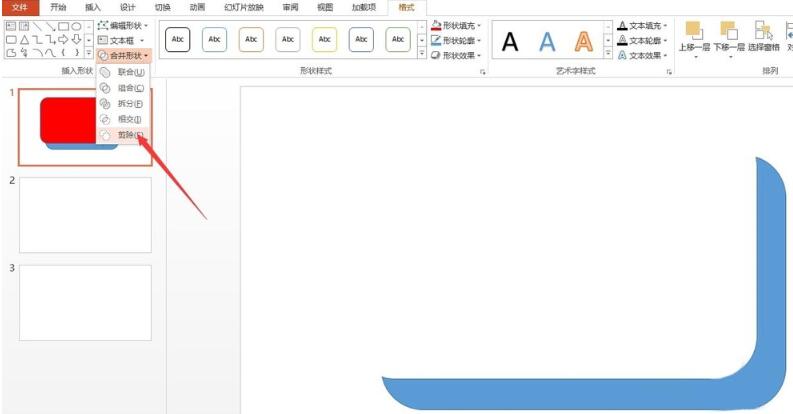
5. Get a turn bar.

The above is the detailed content of How to merge shapes to make a turn bar in PPT_The specific steps of merging shapes. For more information, please follow other related articles on the PHP Chinese website!