Home >Software Tutorial >Office Software >How to quickly import PPT images in batches
How to quickly import PPT images in batches
- PHPzforward
- 2024-04-17 15:31:191077browse
Faced with a large number of PPT images that need to be imported, how to complete the import quickly and efficiently? PHP editor Zimo brings you a detailed operation guide for batch importing PPT images, allowing you to easily deal with image import problems. See below for details.
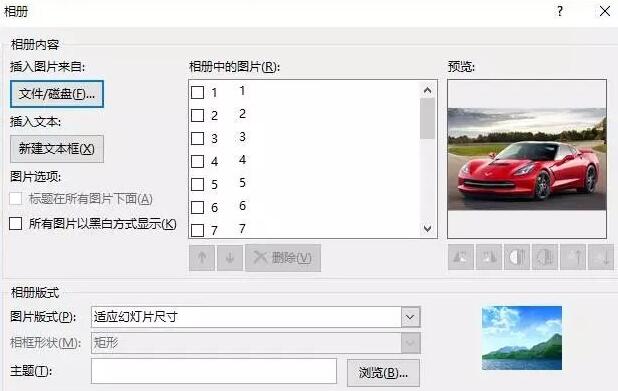
(1) Click [Insert]-[Album] in the menu bar, and select the [New Album] command in the pop-up drop-down menu.

(2) Open the [Album] dialog box, select the source of the inserted pictures from [File/Disk], press the Ctrl A key, select all the pictures you want to insert, and click [ Insert] button to return to the [Album] dialog box,

Note: After adding pictures in the [Album] dialog box, you can also adjust the picture position, picture display mode, picture layout, and photo frame Parameters such as shape, theme, etc. can be set according to your needs. Among them, the [Picture Layout] drop-down list contains four options that are particularly important, reflecting the layout style of the picture after it is imported into PPT, as shown in the figure:

Specific meaning:
Adapt to slide layout: This is the default layout. The pictures will be enlarged proportionally. The largest one will occupy the entire page, and the excess part will be displayed in white.
One picture: The page displays a picture with white borders around it.
Two pictures: Two pictures are displayed on the left and right sides of the page, with white borders around the pictures.
Four pictures: Four pictures are displayed on the top, bottom, left and right of the page, with white borders around the pictures.
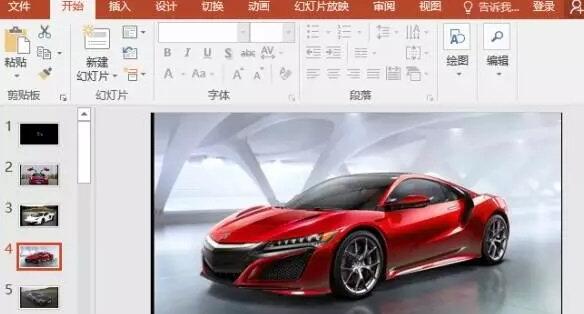
(3) OK, click the [Create] button, and all the pictures will be imported into the PPT at once.

(4) Finally, you can add an animation effect and you can watch it.
The above is the detailed content of How to quickly import PPT images in batches. For more information, please follow other related articles on the PHP Chinese website!

