Home >Software Tutorial >Office Software >Detailed steps for making an isosceles trapezoid using PPT
Detailed steps for making an isosceles trapezoid using PPT
- 王林forward
- 2024-04-17 14:52:281546browse
Is it difficult to make isosceles trapezoid PPT? don’t worry! PHP editor Xinyi brings you a detailed step-by-step guide to help you easily create a beautiful and practical isosceles trapezoid PPT. Click below to learn the specific operations!
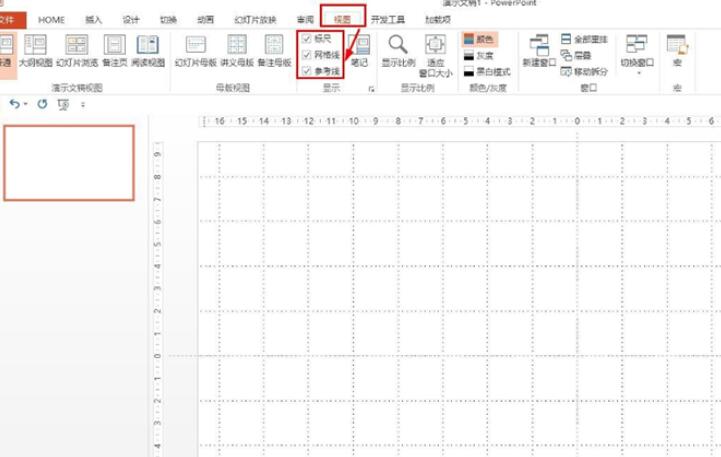
Open PPT - click View - check: ruler, grid lines, reference lines.
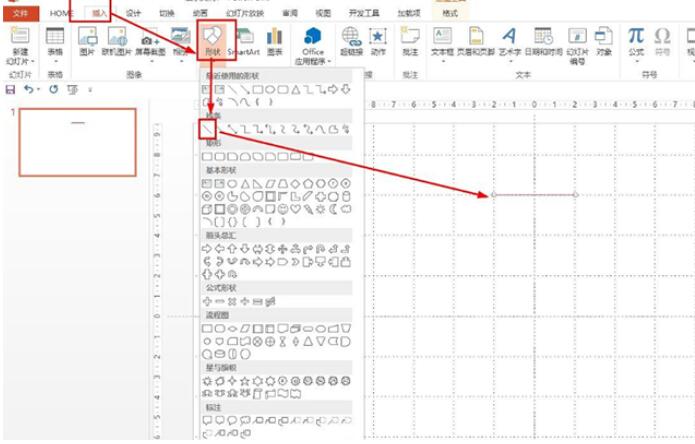
Click Insert-Shape-then select: Straight line-Draw a straight line along the horizontal line of the grid line-one space on the left and right of the center line.
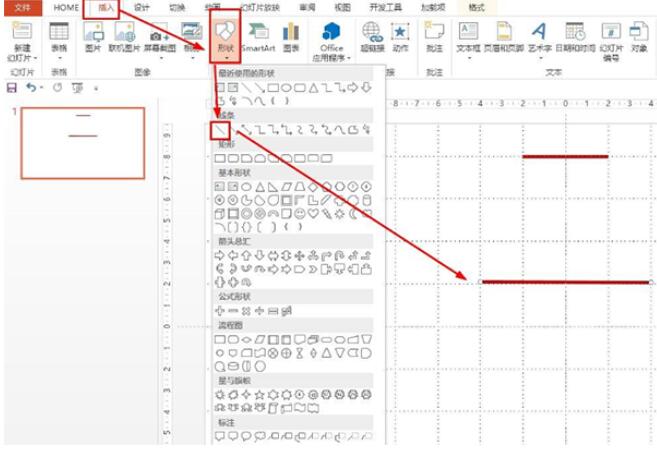
Insert a straight line three spaces below the straight line - also occupying two spaces on the left and right of the center line. In this way, two parallel lines are drawn, and the distance on both sides of the vertical line is equal.
Finally choose a straight line - draw the waists on both sides along two parallel lines, so that the isosceles trapezoid is created.
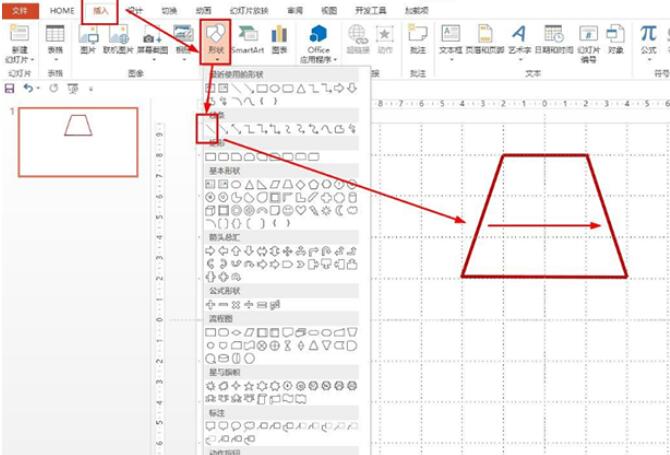
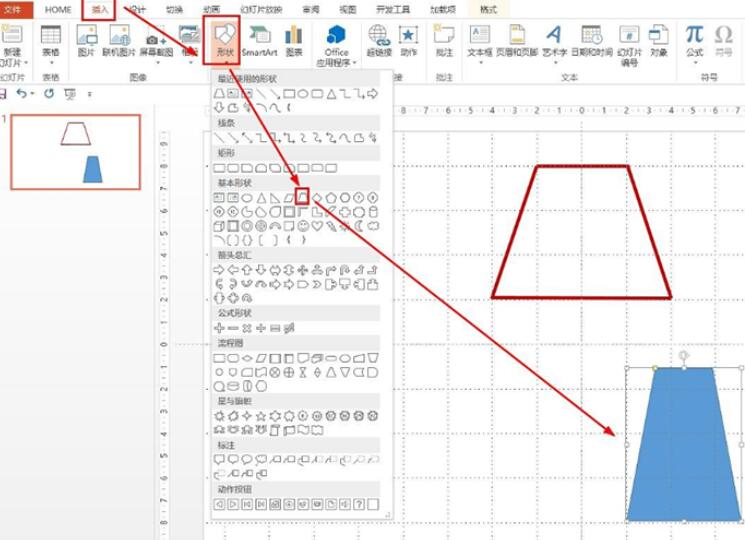
You can also click Insert directly—select the trapezoid in the basic shape—and draw an isosceles trapezoid directly.
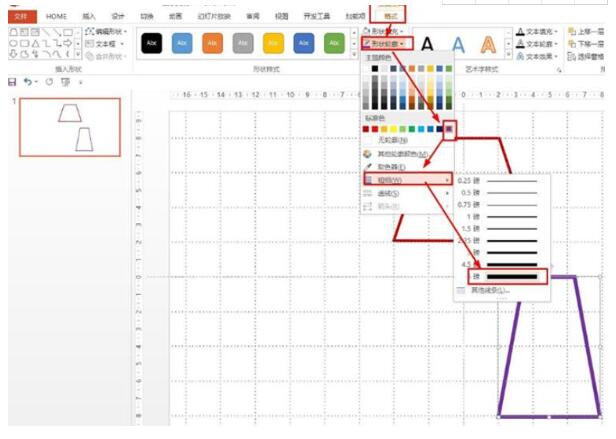
Click Format - Shape Fill Selection: None Fill Color - Shape Outline Selection: Purple, set the thickness to 6 points.
The above is the detailed content of Detailed steps for making an isosceles trapezoid using PPT. For more information, please follow other related articles on the PHP Chinese website!

