Home >Software Tutorial >Office Software >A simple way to fill the vertical text box with the correct picture in PPT
A simple way to fill the vertical text box with the correct picture in PPT
- WBOYWBOYWBOYWBOYWBOYWBOYWBOYWBOYWBOYWBOYWBOYWBOYWBforward
- 2024-04-17 14:52:21644browse
Want to fill the correct picture in the vertical text box of PPT but have difficulty? PHP editor Strawberry provides you with a simple method to easily fill images. Continue reading to learn the detailed steps.
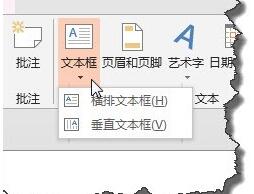
Insert [select in tab] vertical text box [
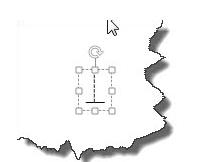
Enter the minus sign in the text box,
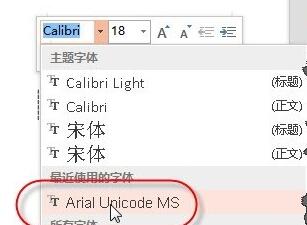
Select this part of the characters and set them to the font as shown in the picture.
In] Drawing Tools [Select] Format [Command.
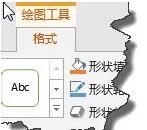
Select the text effect as shown in the picture.

Enlarge the text box and select the copied picture next to it. Select the text box and adjust the text spacing to tight.
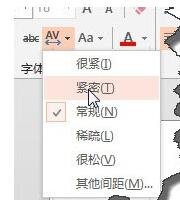
Then select the text box and select [Picture or Texture Fill] in the Format Shape pane and select the clipboard below.

Look at the filling effect at this time and find that it is not the effect we want.
It is actually very simple. Just rotate the original image 90 degrees counterclockwise and use the same method to fill it. The correct effect.
The above is the detailed content of A simple way to fill the vertical text box with the correct picture in PPT. For more information, please follow other related articles on the PHP Chinese website!

