Home >Software Tutorial >Office Software >Graphic method for creating time control buttons in Excel
Graphic method for creating time control buttons in Excel
- PHPzforward
- 2024-03-29 18:11:33862browse
The article "Picture and text method of making time control buttons in Excel" carefully created by php editor Strawberry introduces in detail how to set control buttons in Excel to improve work efficiency. Through the guidance of this article, readers can learn how to skillfully use the functions of Excel to easily optimize the production process, save time, and improve work efficiency. These practical tips will help readers make better use of Excel software, improve work efficiency, and achieve a higher level of work performance.
1. Before starting production, you must first open the development tool so that it can be found in the toolbar. Click on File in the upper left corner.
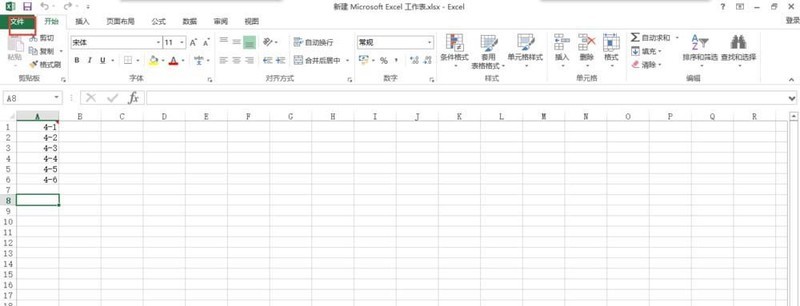
2. In the file, you can see that there are many options on the left. Move the mouse to the bottom and click on the option below.

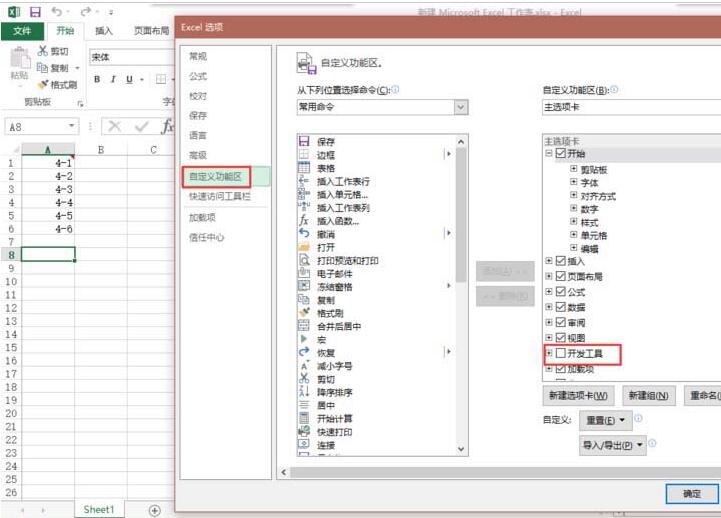
3. Enter the options, click on the custom ribbon on the left, and check the development tools on the right.
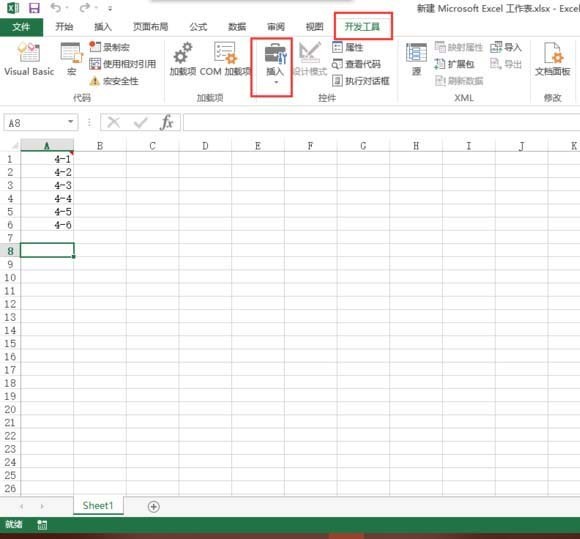
4. Next is the focus of production time control. Click on the development tool and select Insert.
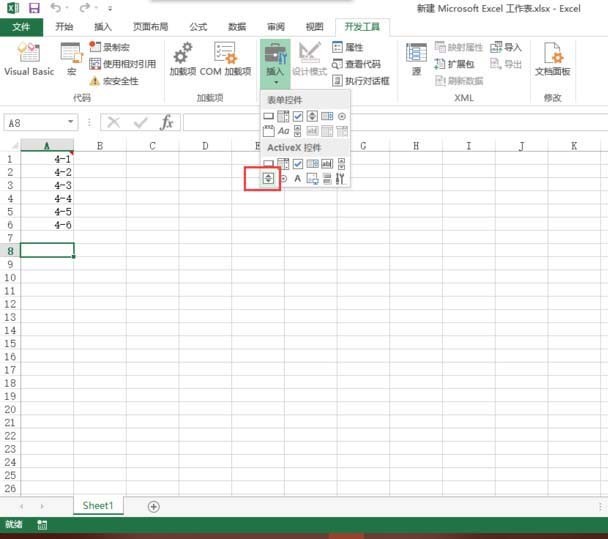
5. During insertion, click the value adjustment button in the lower left corner.
6. Make slight adjustments to the button, select it, right-click, and select Properties.
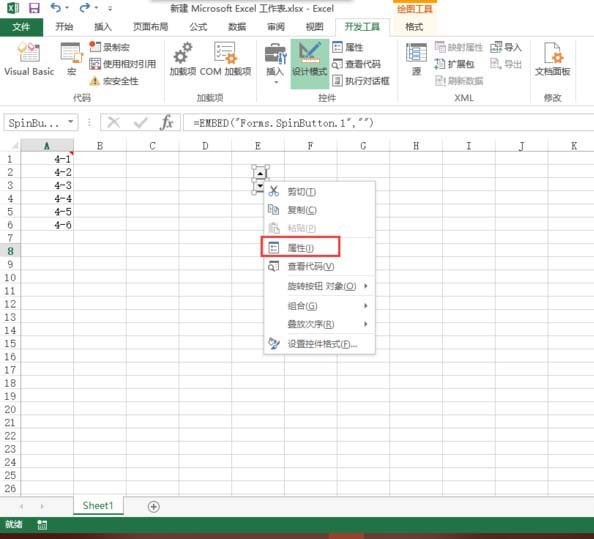
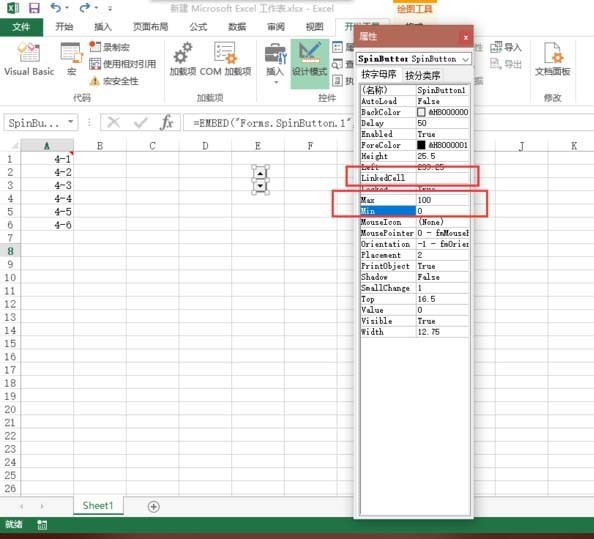
7. In the properties, set the maximum value to 100,000, set the minimum value to 0, and enter the cell where your time is located in the link cell.
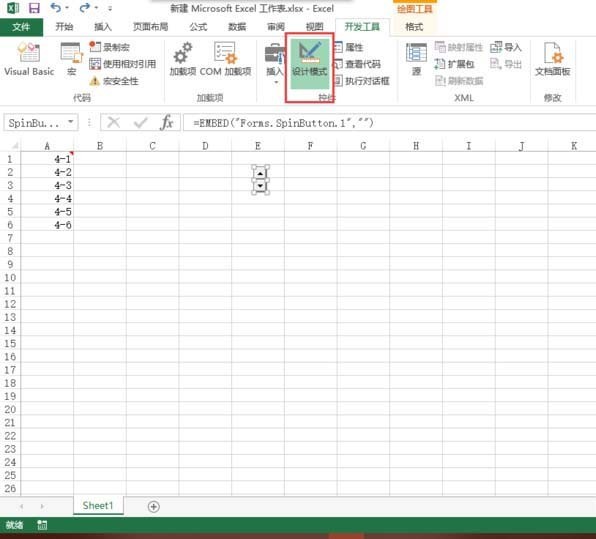
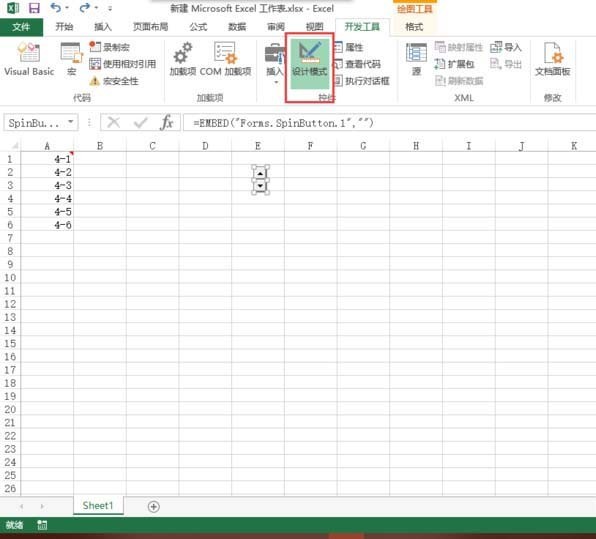
8. Finally, click the design mode under the development tools to end the design, and then enter a time in the cell just linked, and then you can control it through the buttons.
The above is the detailed content of Graphic method for creating time control buttons in Excel. For more information, please follow other related articles on the PHP Chinese website!

