


How to use iOS 17 Diagnostic Tool on iPhone

We have a handy video explaining how to use iOS 17 Diagnostic Tool on iPhone tool. Are you an iPhone user eager to keep your device in tip-top shape? With the release of iOS 17, Apple has introduced a handy feature that allows you to perform hardware diagnostics on your iPhone. This means you can now check the health of key components of your device from the comfort of your own home. Let’s take a closer look at how to make the most of this feature. The video below from Zollotech explains how to use the iOS 17 diagnostic tool on your iPhone.
Learn about iOS 17 Diagnostic Features
iOS 17 brings an innovative diagnostic tool designed to test various hardware components of your iPhone. This feature is a game-changer for users looking to detect potential issues with the quality of their device’s display, speakers, Face ID, and camera. Just like having a mini Apple Store, this tool allows users to more intuitively understand the hardware status of their devices.
Getting Started: What You'll Need
To use this diagnostic tool, you need two devices with Wi-Fi or cellular network access and a web browser. Both devices should be running on iOS 17 or higher. Keep in mind that beta versions of the software do not support this feature, so make sure you are using the official version.
Step-by-step diagnostic process
- Preparation: First turn off your iPhone. Press and hold the volume button and plug in power. This will boot your device and display the Diagnosis and Repair menu.
- Connect to Apple Support: On the second device, connect to Wi-Fi and navigate to Apple's support site. Here you will enter the serial number of the iPhone you are diagnosing and agree to the terms and conditions.
- Run tests: Various diagnostic tests can now be run. These include checking the Mobile Resource Inspector, audio output, display for pixel anomalies, multi-touch functionality, Face ID, and camera image quality.
- Interpret the results: After each test, your device will display the results to let you know whether each component is working properly.
- Exit diagnostic mode: After completing the test, the presenter in the video will guide you on how to exit diagnostic mode and restart the device.
- View test history: You can view the history of tests run on the device. This feature is especially useful when you need to contact Apple Support for further assistance.
Why This Feature Is Important
You'll be happy to know that this diagnostic tool is more than just a fancy add-on. This is a useful feature that can save you a trip to the Apple Store. By catching potential hardware issues early, you can take proactive steps to ensure your iPhone stays in top condition.
Easy Navigation Feature
If you are wondering how to navigate this feature smoothly, rest assured that the process is user-friendly. The step-by-step guide provided in the video makes it easy for even the least tech-savvy among us to follow along.
Tech-Savvy Tools
For those who are more technically inclined, this feature provides a deeper look into the health of your iPhone. This is a great way to stay informed about the condition of your device's hardware components.
The above is the detailed content of How to use iOS 17 diagnostic tools on iPhone. For more information, please follow other related articles on the PHP Chinese website!

 Smartphones Are Boring Now and It's Our FaultApr 23, 2025 am 03:06 AM
The golden age of smartphones has passed? Future Outlook Technology enthusiasts often complain that modern mobile phones are the same and lack of innovation. Although manufacturers are to blame, we also play an important role. Let us review the development history of smartphones and explore the causes of the current situation. The Golden Age of Smartphones In 1973, Motorola engineer Martin Cooper made historic calls with the DynaTAC 8000X on the streets of New York. This "brick" phone opened the era of wireless networks. Nearly 20 years later, IBM Simon was released, becoming the world's first smartphone, equipped with a resistive touch screen and simple applications. Today, although it is a hundred times more powerful, the core function of modern smartphones is still used as an application portal. Early innovation slows down
 Apple Intelligence Doesn't Impress Me Much, so I Turned It OffApr 23, 2025 am 03:03 AM
Apple Intelligence: A Disappointing AI Assistant I was initially excited about Apple Intelligence, especially after Apple's misleading advertisement promised a revolutionary AI-powered Siri. I rigorously tested it across my devices, hoping for impro
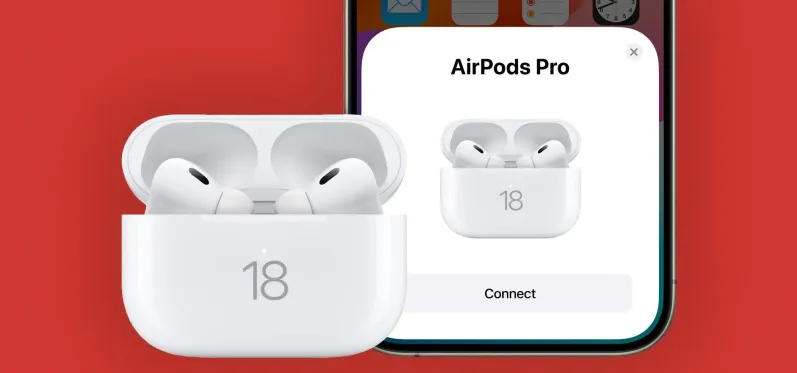 AirPods Are Getting Even Better Thanks to iOS 18 Apr 22, 2025 pm 05:42 PM
iOS 18 and iPadOS 18 significantly enhance the AirPods experience, particularly for users prioritizing privacy and gaming. These updates build upon the features introduced in iOS 17 and iPadOS 17, adding innovative capabilities for more intuitive in
 Apple Just Added Sudoku to Apple News — Here's How to Play It on iPhone, iPad, and Mac Apr 22, 2025 pm 04:05 PM
Apple News users on iPhone, iPad, and Mac now have a new game: Sudoku! This classic puzzle joins Crossword, Crossword Mini, and Quartiles in the News app's Puzzles section, thanks to recent software updates. Access is limited to paying Apple News
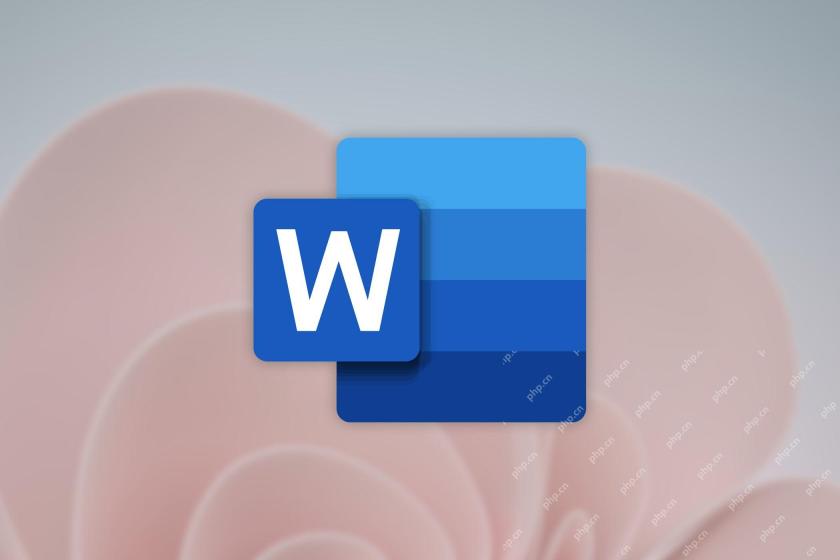 Word on iPhone Can Turn Your Voice Notes Into DocumentsApr 22, 2025 am 03:02 AM
Microsoft Word for iOS now transforms your voice notes into fully formatted documents using Copilot AI. This latest enhancement simplifies document creation on mobile devices. To access this feature, tap the "New" button ( ), select "U
 Apple News Food Made Love Cooking Again (and Turned Me Into a Subscriber)Apr 18, 2025 am 06:11 AM
Apple News Food: Start my cooking journey Apple News' new food section (iOS 18.4 and above) conquered me with its simplicity and elegant design and ease of use. It brings together recipes from many well-known food publishers and presents each step of cooking steps clearly. Saying goodbye to the ad-filled recipe website, Apple News Food provides clear step-by-step instructions, ingredient lists, pictures, videos, etc., and more importantly, it cleverly uses interactive functions to assist in cooking, making the whole process smooth. The well-designed food section made me activate the month-long free trial of Apple News without hesitation, which was unimaginable before me
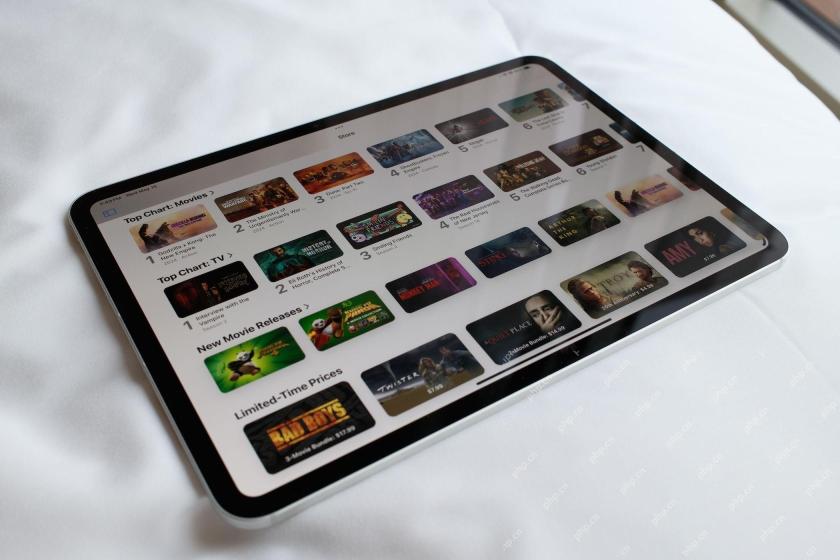 The Best iPads of 2025Apr 18, 2025 am 01:01 AM
Choosing the Right iPad: A Comprehensive Guide Apple's iPad lineup offers a tablet for every need, but selecting the perfect one can be overwhelming. This guide simplifies the process, helping you choose the ideal iPad based on your specific requirem
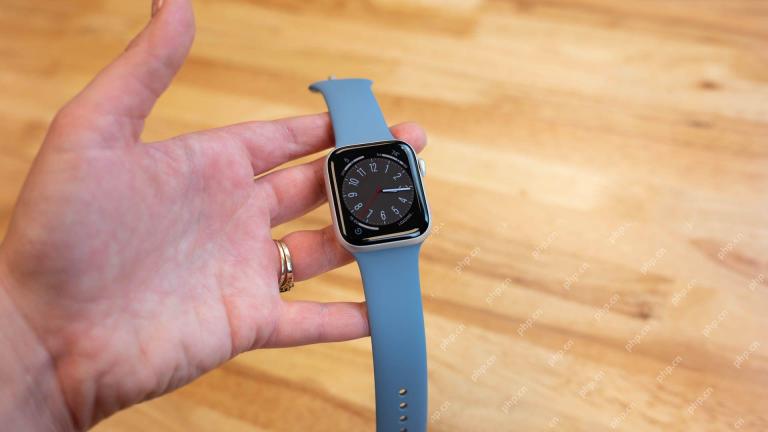 The Apple Watch Is 10 Years Old. Here's Why I Never Bought OneApr 15, 2025 am 06:09 AM
The Apple Watch: Still Not Convinced After a Decade Despite over 200 million units sold since 2015, the Apple Watch remains absent from my wrist. While its health and fitness features are impressive, they don't appeal to someone like me who doesn't


Hot AI Tools

Undresser.AI Undress
AI-powered app for creating realistic nude photos

AI Clothes Remover
Online AI tool for removing clothes from photos.

Undress AI Tool
Undress images for free

Clothoff.io
AI clothes remover

Video Face Swap
Swap faces in any video effortlessly with our completely free AI face swap tool!

Hot Article
Hot Tools

MinGW - Minimalist GNU for Windows
This project is in the process of being migrated to osdn.net/projects/mingw, you can continue to follow us there. MinGW: A native Windows port of the GNU Compiler Collection (GCC), freely distributable import libraries and header files for building native Windows applications; includes extensions to the MSVC runtime to support C99 functionality. All MinGW software can run on 64-bit Windows platforms.

VSCode Windows 64-bit Download
A free and powerful IDE editor launched by Microsoft

Safe Exam Browser
Safe Exam Browser is a secure browser environment for taking online exams securely. This software turns any computer into a secure workstation. It controls access to any utility and prevents students from using unauthorized resources.

Zend Studio 13.0.1
Powerful PHP integrated development environment

SublimeText3 English version
Recommended: Win version, supports code prompts!

