If you've already taken on the monumental task of beating Dead Rails on Roblox and are looking for an even greater challenge — or simply need some extra Bonds — look no further than the Challenge Board. Here, you'll find challenges of varying difficulties, ranging from cakewalks to brutal onslaughts.
Since the challenges can be incredibly tough, we've got some tips and tricks to help you overcome them, an explanation of each challenge's difficulty, and the rewards you can expect. With the Bonds you earn, you'll soon have enough to afford any Class in the game.
The Challenge Board, Explained
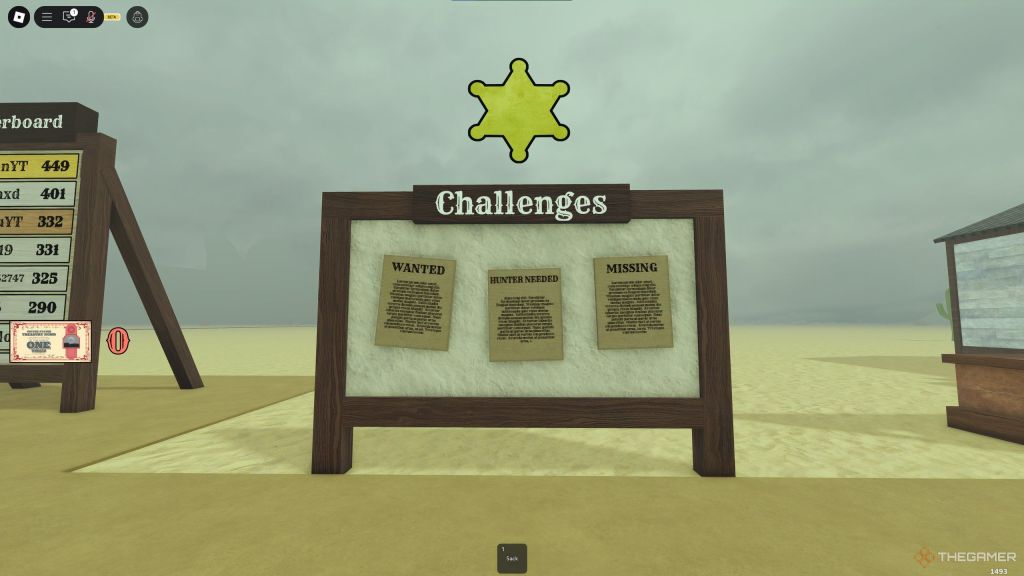
When you first enter the game, you'll be placed in the lobby. Here, on the right-hand side, you'll find the Challenge Board, where each challenge's requirements are defined along with the rewards you can expect to get from them.
Each challenge rewards Bonds and exclusive Sherrif Star Points, which are permanent, accumulative points for your account and are meant to display your skill in Dead Rails.
Whilst some challenges are meant to define your run entirely, many can be completed whilst just playing the game naturally. For this reason, we'll be defining each challenge with a few parameters of our own:
- Rewards — the in-game rewards you can get from completing the challenge.
- Description — the in-game description provided on the Challenge Board.
- Difficulty — this is usually defined by the rewards, as lower rewards mean a lower difficulty, but this isn't always the case. We will define the difficulty rating for each challenge separately from the in-game rating.
- Complexity — challenges are divided into three categories here:
| Passive | Challenges that can be beaten as you play the game regularly. |
| Missable | Challenges that need extra attention in your runs (as in, if you played the game normally, you might miss them). |
| Dedicated Run | Challenges that require a dedicated run to complete. |
How To Complete Every Challenge
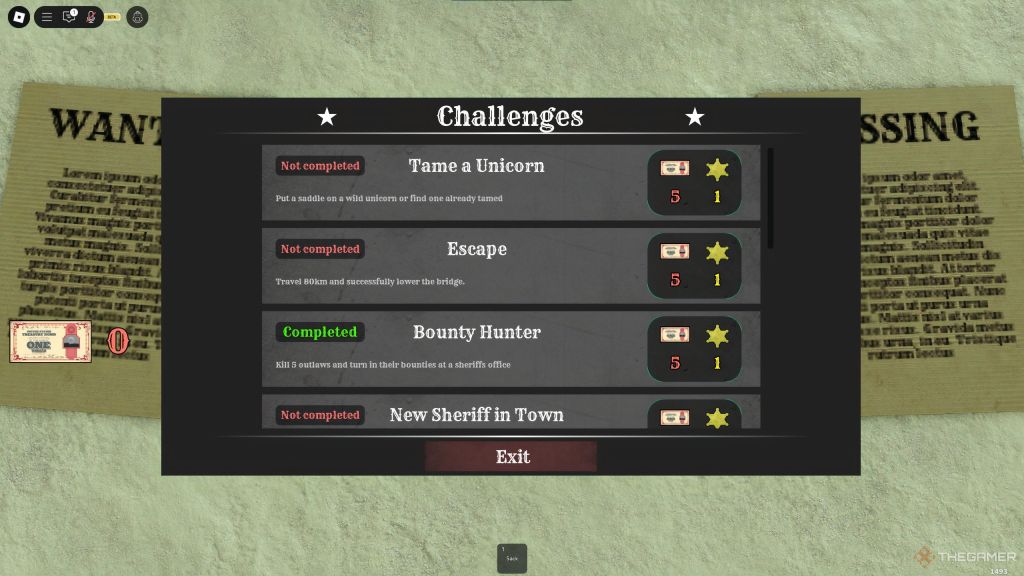
We will be taking a look at each challenge one by one and guiding you through it in the order that they're displayed on the Challenge Board.
Tame A Unicorn
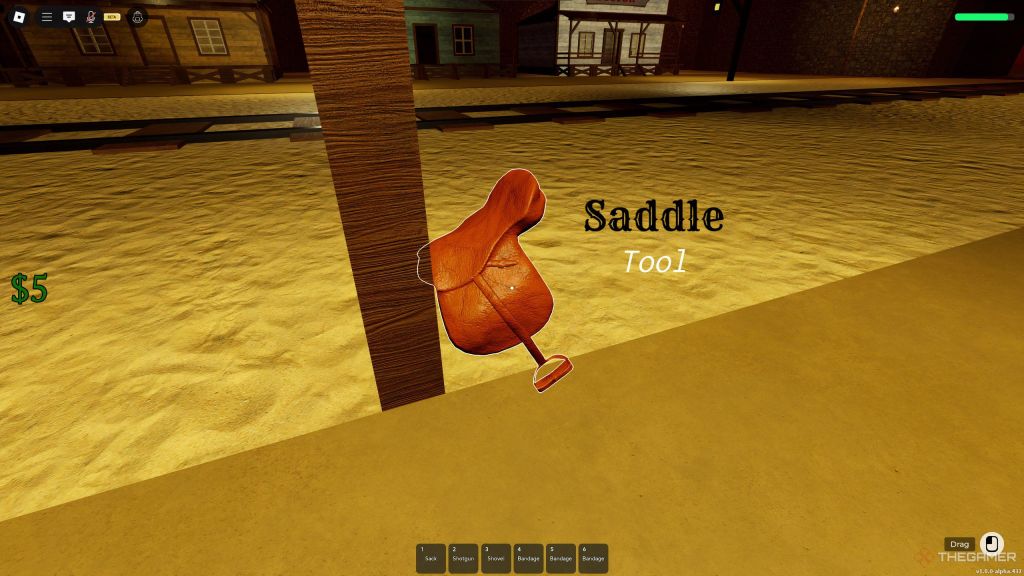
- Rewards: Five Bonds, one Star Point.
- Description: Put a saddle on a wild unicorn or find one already tamed.
- Difficulty: Medium
- Complexity: Missable
Unicorns are extremely rare variations of the horse, as every time a horse spawns (be it naturally or as a mount for Outlaws or Zombies), it has a chance to be a Unicorn instead. The chance is one percent for every horse spawned, which means even if you paid attention to every horse in a run where you won the game, you might never see a Unicorn in a single run.
To beat this challenge, your only option is to keep watch. This can be made far easier if you have a friend to keep watch for you, as you control the train. Unicorns have a purple mane, with a slightly green-tinted body and, of course, a horn.
Escape
- Rewards: Five Bonds, one Star Point.
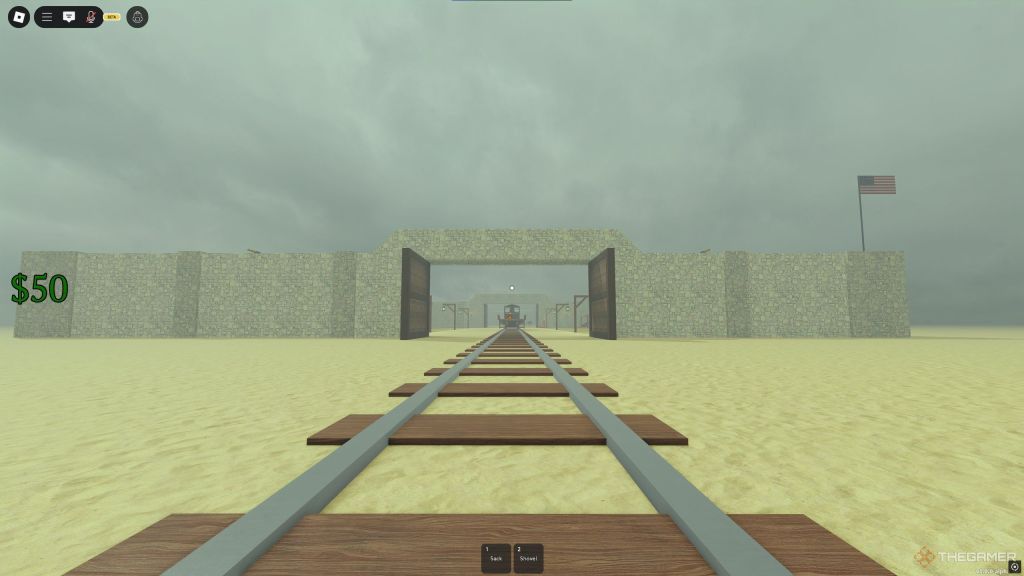
- Description: Travel 80km and successfully lower the bridge.
- Difficulty: Hard
- Complexity: Passive
This challenge is completed automatically once you win the game for the first time. As simple as this challenge is, the game's difficulty makes this quite a task, so if you're looking for tips on how to beat the game, we suggest you take a look at this guide .
Bounty Hunter
- Rewards: Five Bonds, one Star Point.
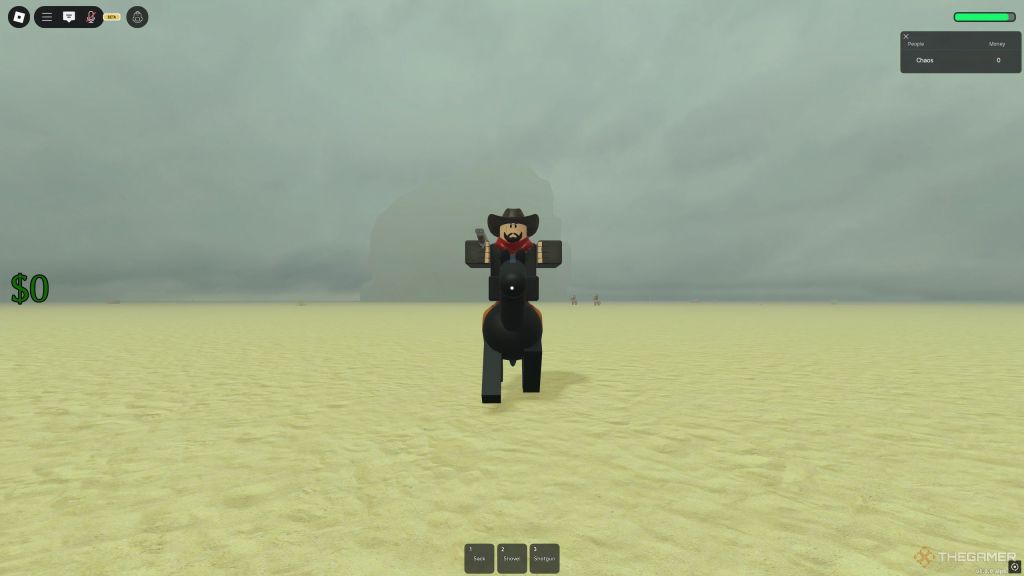
- Description: Kill 5 outlaws and turn in their bounties at a sheriff's office.
- Difficulty: Easy
- Complexity: Passive
On your trip to Mexico, you are bound to be attacked by some outlaws. These fierce enemies are armed with the same guns you can find in stores, so they should be dealt with urgently or avoided quickly.
If you do manage to kill them, however, you can sell their corpses to the sheriff's office at any checkpoint for $35 each.
Checkpoints appear every ten kilometers traveled, and each checkpoint has a sheriff's office. If you aren't in urgent need of fuel, weld them to your train when they're dead to sell them, as they're the most valuable standard corpse you can find in the game. When they die, they also leave behind a horse for you, which is a nice bonus.
New Sheriff In Town
- Rewards: 15 Bonds, three Star Points.
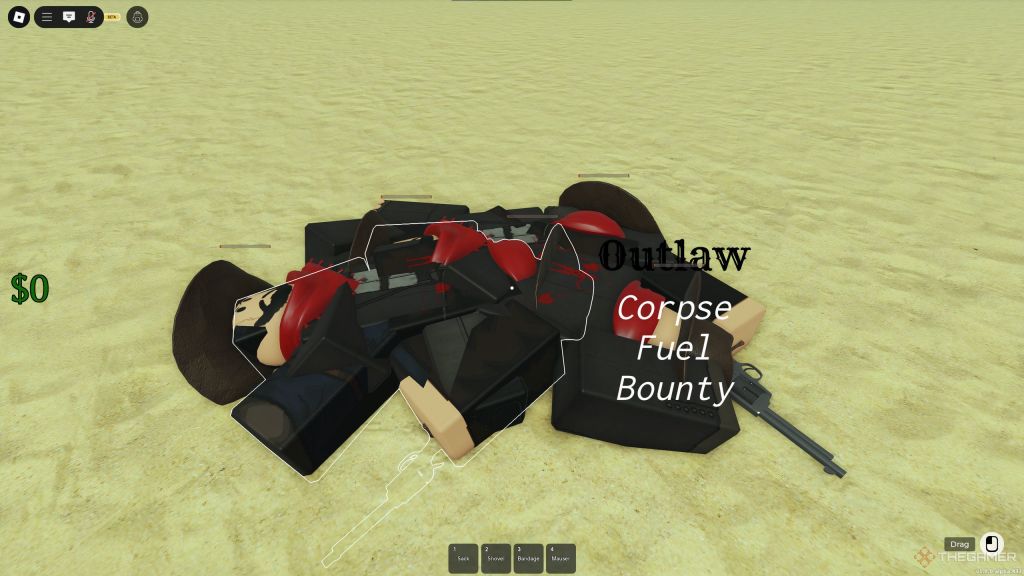
- Description: Kill 50 outlaws in one game.
- Difficulty: Medium
- Complexity: Missable
This challenge requires a lot of attention, as it's usually far more beneficial to avoid outlaws, rather than to attack them. For this, we recommend going for the rifle instead of the shotgun at the first checkpoint, as it becomes a lot easier to snipe them from a distance before they notice you. The challenge only tracks kills made by each player individually (checkpoint turret kills don't count), and it does not track if the outlaws have been sold, though this is recommended as they are very valuable.
Outlaws tend to spawn in groups of up to five, so keep track of how many you've killed on your way to the final checkpoint. There, you'll find the Outlaw Town that, true to its name, has many outlaws in the area. If you're still missing a few at the end, you can use a horse to back away from the town to make the outlaws respawn.
Werewolf Hunter
- Rewards: 15 Bonds, three Star Points.
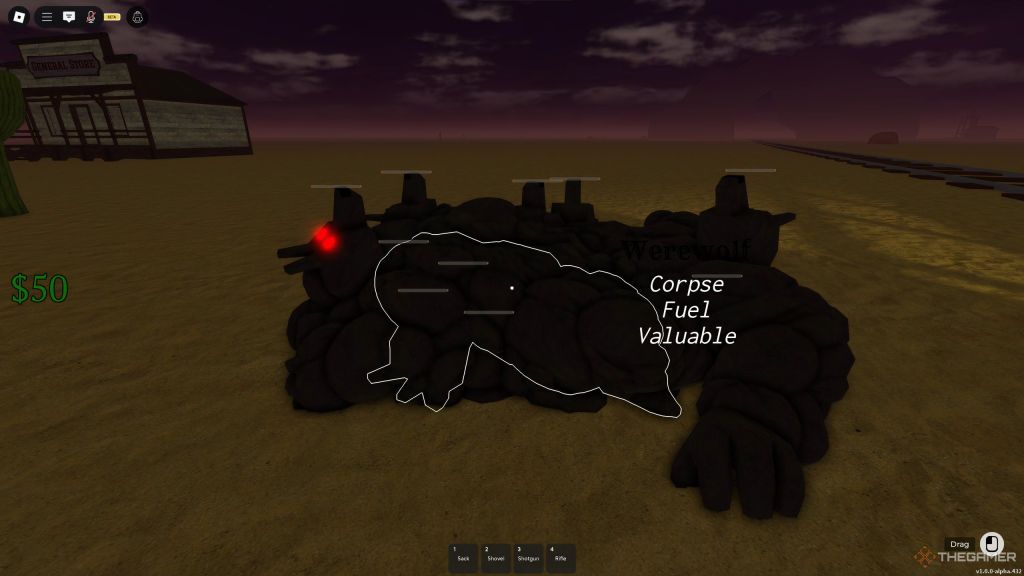
- Description: Kill 50 werewolves in one game.
- Difficulty: Medium
- Complexity: Missable
Werewolves spawn in a night event, during a Full Moon. They are some of the toughest enemies in the game, with high health, speed, and damage, though they usually only spawn one by one during the night. They can also spawn in the Castle, where they are far more frequent. Similarly to the previous one, this challenge tracks kills made by each player individually (checkpoint turret kills don't count) and does not track sold corpses.
If you're looking to complete this challenge, we recommend you take both the shotgun and rifle, as you can easily get overwhelmed if more than one werewolf is chasing you. This challenge can be completed more easily if you wait for the Full Moon event multiple nights in a row, far from the checkpoint.
Once you've stocked up on ammo and healing supplies, just wait until the sky becomes clear with a bright, white, full moon - then, you can climb on top of the train and watch for glowing red eyes. This may take a long time, as this event isn't common, but it is the easiest way to complete it.
If you'd rather not wait for the event to happen every night, you can visit the Castle first. It appears around the 40 km mark and is full of vampires and werewolves. This area is extremely dangerous, though, as you'll be fighting werewolves in an area where they excel; close quarters. We recommend you only visit the Castle if you're confident you'll survive or have a friend to bandage you up when you're down.
Zombie Hunter
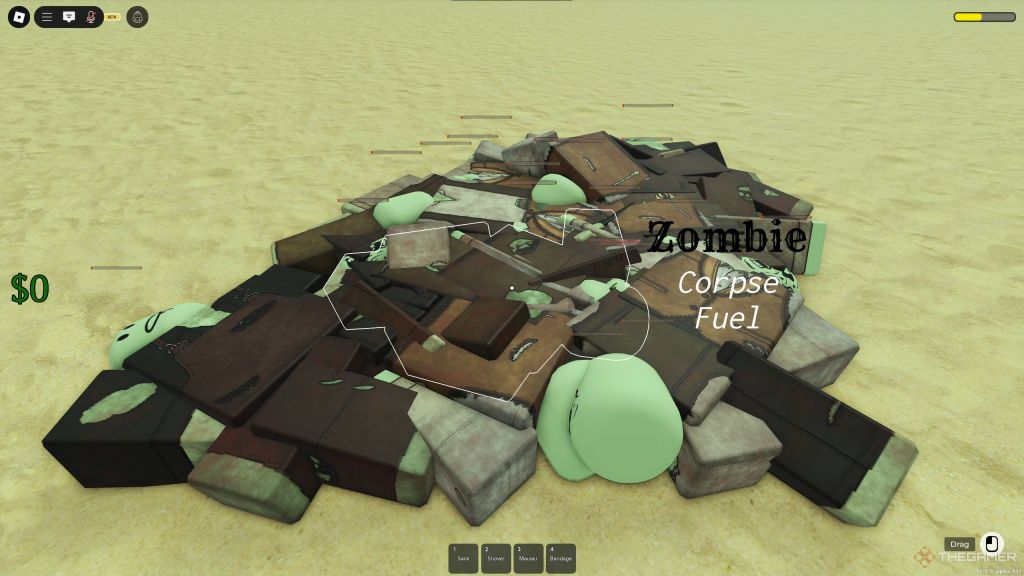
- Rewards: 15 Bonds, three Star Points.
- Description: Kill 200 zombies in one game.
- Difficulty: Easy
- Complexity: Passive
Zombies are the most common enemy in the game, so this challenge isn't a hard task to complete. They spawn near every house in small numbers, and hordes of them appear in towns. Naturally, you should be aiming for towns here, as each one has at least 30 to 40 zombies, with bigger towns having even more than this. Again, this challenge tracks kills made by each player individually and checkpoint turret kills don't count.
One town is guaranteed to spawn between checkpoints.
When entering a town, try to count how many zombies you can see first. If you have twice the amount of bullets as there are zombies, you should be good to go. A town is the last place you want to be during the night, so make sure it's noon at the latest when entering it, so you have enough time to kill all the zombies and loot all the buildings.
Unkillable
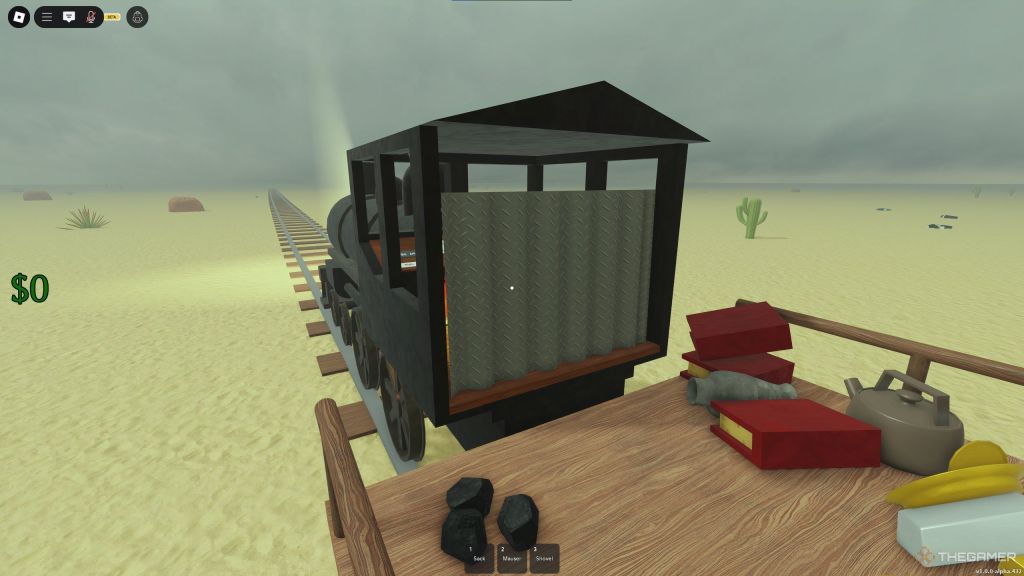
- Rewards: 30 Bonds, nine Star Points.
- Description: Complete the game without having any players die.
- Difficulty: Very Hard
- Complexity: Dedicated Run
This challenge is difficult no matter how you look at it. If you're playing solo, it's automatically completed when you win, though beating the game solo is a monumental task already.
If you're attempting this challenge, you'll need to keep track of each aspect of the game very well. Once it hits 9 pm, you'll need enough fuel, so the train doesn't stop until either daytime, or you've reached a checkpoint. For this reason, you'll always need coal on deck.
You should ignore the Castle and Fort Constitution altogether, as the rewards here are simply not worth the risk. Always have snake oil on hand, or at least some bandages for emergencies, and just take as much loot as you need to secure fuel and healing items.
Keep the train going until the very end, and once you're at Outlaw Town, carefully pick out opponents at a range while you can, and take out the rest with any means you have.
Pacifist
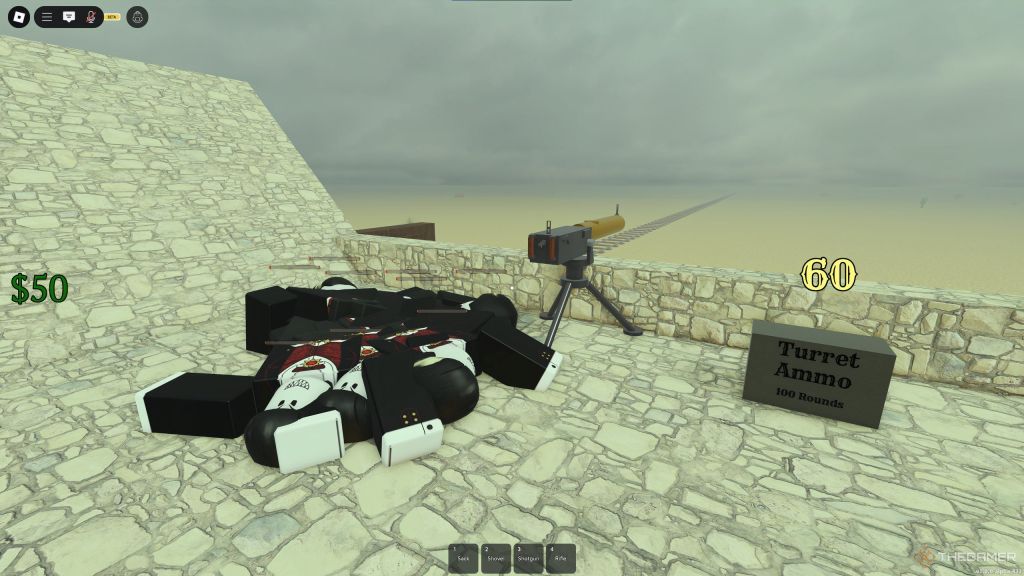
- Rewards: 30 Bonds, nine Star Points.
- Description: Complete the game without any player killing an enemy (Safezone turrets don't count)
- Difficulty: Very Hard
- Complexity: Dedicated Run
The only way to make money and get fuel for this challenge will be checkpoint turrets, so this run will take a very long time to complete. You can't loot buildings, as they always have zombies around them, and you can't travel during the night, as you'll be overwhelmed very quickly.
We recommend that upon starting a run you wait for nightfall before anything else. If you're lucky, you'll get either werewolves or vampires spawning around you, and they'll quickly get mowed down by turret fire. This will be your only income for the entire run, going from checkpoint to checkpoint and waiting for a lucky night.
You won't need to spend any money on weapons and ammo, so you'll mainly be spending your income on armor, healing items, and, most importantly, bulletproof sheet metal.
For the final checkpoint, you'll need every opening on your train entirely sealed off with sheet metal. You'll only be stepping off the train to activate the bridge, after which you must wait out the timer for the ending.
Pony Express
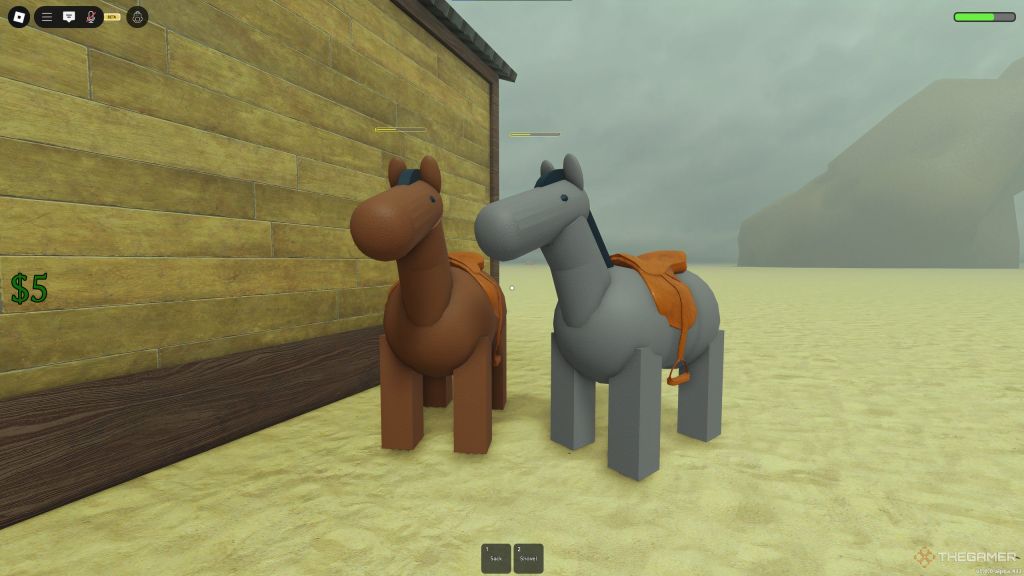
- Rewards: 30 Bonds, nine Star Points.
- Description: Complete the game without any player using the train.
- Difficulty: Very Hard
- Complexity: Dedicated Run
The moment any player sits in the driver's seat, the run is over. This means your only method of traveling will be on foot or horseback, so getting a horse with a saddle first will be of the utmost importance.
You will have no choice but to fight your way through every night if you're not at a checkpoint, but since fuel isn't a concern, all of your money can go towards ammo and healing items.
For the run, we highly recommend getting the Cowboy class before anything else, as it comes with a horse and saddle. On horseback, if you start going right as the night ends, you can make it from one checkpoint to another before the next night starts. The strategy here will be the same as Pacifist at first, as you do not want to find yourself out in the open when night starts.
Towns spawn a few kilometers behind checkpoints, so wait out the night at checkpoints before going back to check them out. Don't use shotguns, as they'll damage horses with every shot - instead, save up for rifles, and use them to pick out enemies at a distance.
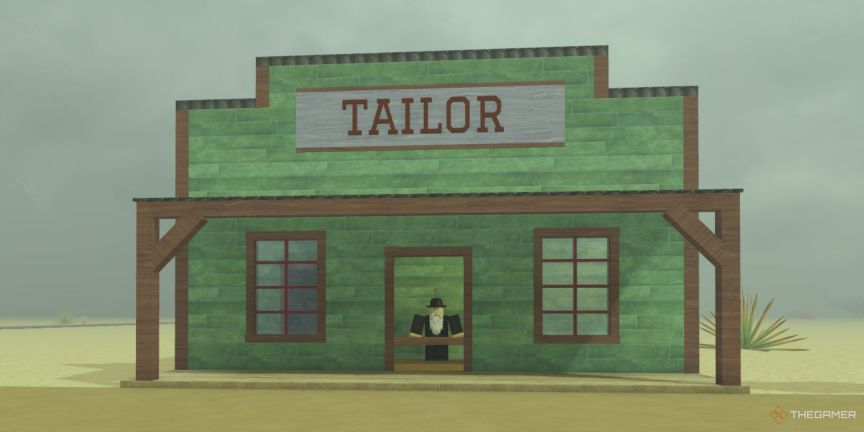
The above is the detailed content of Roblox: Dead Rails - How To Complete Every Challenge. For more information, please follow other related articles on the PHP Chinese website!
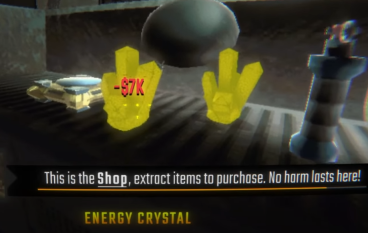 R.E.P.O. Energy Crystals Explained and What They Do (Yellow Crystal)Mar 18, 2025 am 12:07 AM
I bought expensive weapons or drones in R.E.P.O. but found that the energy was exhausted and became useless? Don't worry, you don't have to spend $50,000 on replacements, just charge your gear! That strange machine at the back of your truck is not a decoration. Here are how to get energy crystals and use them to keep your gear running continuously to avoid bankruptcy. More Reads: All R.E.P.O. Items How to get energy crystal You can buy energy crystals from the service store between levels. They usually cost between $7,000 and $9,000 — while expensive, they are far cheaper than repurchasing gear. In the first few levels, no purchase is required. You don't need them for the time being, so
 Repo: How To Revive TeammatesMar 04, 2025 am 02:44 AM
In the terrifying co-op horror game, R.E.P.O, you and your friends must gather loot and extract valuables. Navigating the creepy corridors and shadowy rooms is perilous, with lurking enemies and horrors around every corner. (Or, let's be honest, so
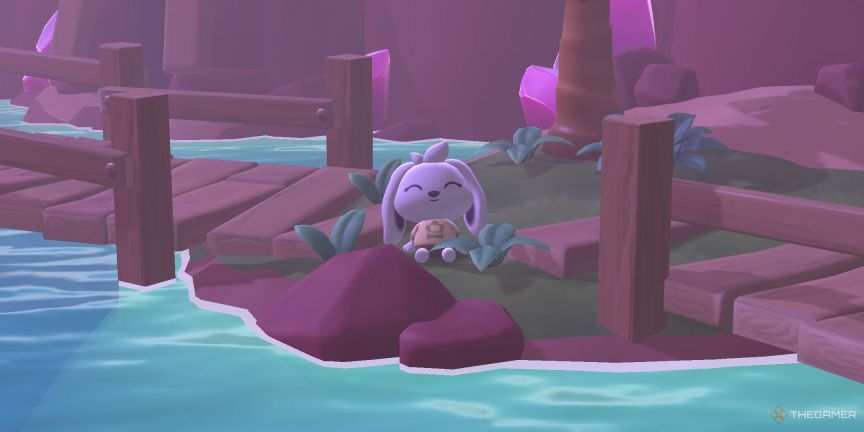 Hello Kitty Island Adventure: How To Get Giant SeedsMar 05, 2025 am 04:03 AM
Explore the enchanting Merry Meadows in Hello Kitty Island Adventure! This guide reveals the secrets to unlocking and utilizing Giant Seeds to reach new heights in this delightful game. Friendship Island initially offers five zones, but three more u
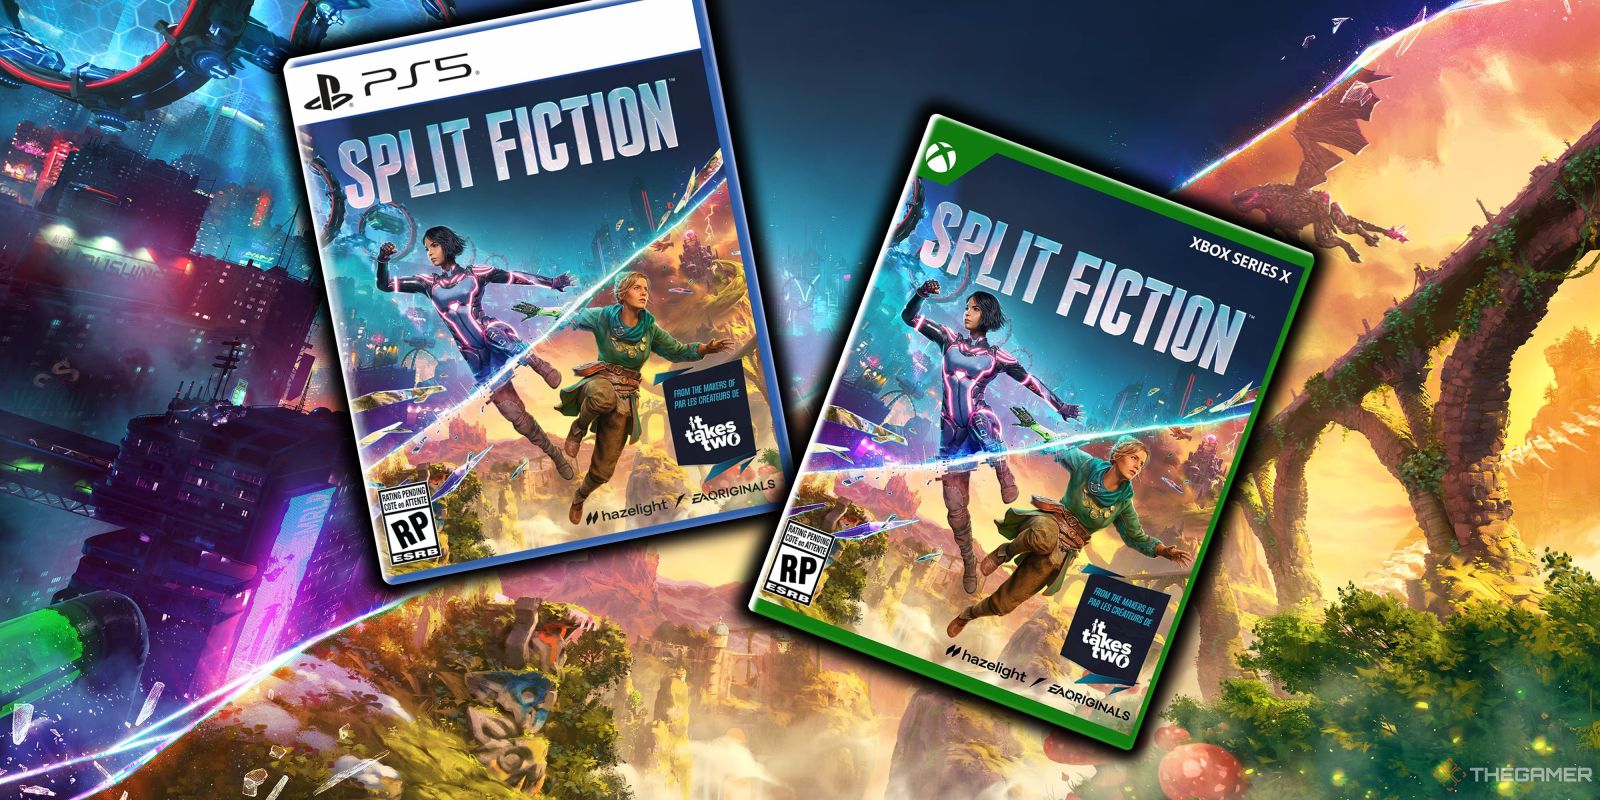 How Long Does It Take To Beat Split Fiction?Mar 07, 2025 am 04:16 AM
Detailed explanation of the game duration of "Split Fiction": main line, branch line and 100% completion Like Hazelight Studio's previous works, Split Fiction is a relatively linear game, but it also contains some extra interesting content. There are some side stories, optional dialogues and easter eggs in the game, but there are not many elements to collect. Although the level is long and includes multiple mechanisms and boss battles, it still takes a considerable time to complete "Split Fiction", especially to achieve 100% completion. The following is a detailed analysis of the game duration: The main plot duration In the case of two-player game (the player level is comparable), it takes about 12 hours to pass the main plot. But this game is more suitable
 Two Point Museum: All Exhibits And Where To Find ThemMar 05, 2025 am 01:02 AM
Two Point Museum: A Comprehensive Guide to Exhibit Discovery Embark on exciting expeditions across various locations in Two Point Museum to unearth a wealth of curiosities for your museums. This guide details how to plan expeditions, manage your fin
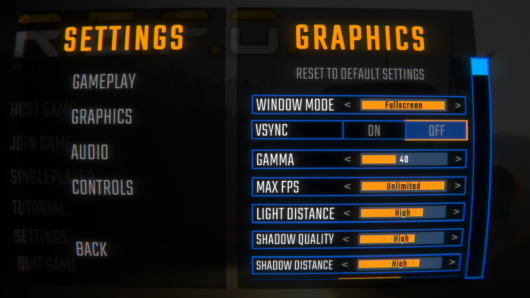 R.E.P.O. Best Graphic SettingsMar 18, 2025 am 01:33 AM
R.E.P.O. Game Screen Setting Guide: How to improve frame rate while ensuring picture quality? This article will guide you to optimize game settings and find the best balance point. Step 1: Full Screen Mode and Frame Rate Adjustment Before adjusting other settings, make sure the game is running in the best mode: Display Mode: Full Screen - Always use Full Screen Mode for optimal performance. Window mode will reduce the frame rate. Vertical Sync (V-Sync): Off - Unless a screen tear occurs, turn off vertical synchronization for a smoother gaming experience. Maximum FPS: Unlimited - If your computer is configured strongly, you can set it to Unlimited. Otherwise, it is recommended to limit it to 60 frames or match your monitor refresh rate. second
 R.E.P.O. How to Fix Audio if You Can't Hear AnyoneMar 17, 2025 pm 06:10 PM
Can't hear other players' voices in the R.E.P.O. game? Even if your microphone is working properly, it can be a problem caused by audio settings or device conflicts. Here are some effective solutions to help you restore your voice chat functionality. 1. Check the output device Open the audio settings of R.E.P.O. and check the output device settings. If set to "Default", manually select your headset or speaker. Restart the game and test voice chat again. 2. Adjust Windows sound settings If R.E.P.O. does not output the sound to the correct device, check the Windows Sound Settings: Right-click the speaker icon in the taskbar and select Sound Settings. Under "Output",
 Suikoden 1 HD Remaster: How To Win The Duel With General TeoMar 06, 2025 pm 06:03 PM
In "Awakening 1&2 HD Remake", some seemingly invincible boss battles can actually be won, and the duel between General Theo and Paine is the best example. In difficult and difficult terms, this battle is very tricky, and you might think that Paine will definitely die. But that's not the case. This guide will explain in detail the key duel: the timing of the duel, the best equipment of Paine, the conditions to be met before the battle, and General Theo's action prediction to help you defeat him. Paine recommended levels and equipment First, go to the Emperor Garden to sharpen Paine's claws to level 12 (the highest level in this stage of the game). Then, equip ninja suits, headdresses and two bodyguard rings (available at Antai’s Armory). Finally, Paine's level should be higher than level 30, at least level 30, the closer it is to 35


Hot AI Tools

Undresser.AI Undress
AI-powered app for creating realistic nude photos

AI Clothes Remover
Online AI tool for removing clothes from photos.

Undress AI Tool
Undress images for free

Clothoff.io
AI clothes remover

AI Hentai Generator
Generate AI Hentai for free.

Hot Article

Hot Tools

MinGW - Minimalist GNU for Windows
This project is in the process of being migrated to osdn.net/projects/mingw, you can continue to follow us there. MinGW: A native Windows port of the GNU Compiler Collection (GCC), freely distributable import libraries and header files for building native Windows applications; includes extensions to the MSVC runtime to support C99 functionality. All MinGW software can run on 64-bit Windows platforms.

DVWA
Damn Vulnerable Web App (DVWA) is a PHP/MySQL web application that is very vulnerable. Its main goals are to be an aid for security professionals to test their skills and tools in a legal environment, to help web developers better understand the process of securing web applications, and to help teachers/students teach/learn in a classroom environment Web application security. The goal of DVWA is to practice some of the most common web vulnerabilities through a simple and straightforward interface, with varying degrees of difficulty. Please note that this software

Safe Exam Browser
Safe Exam Browser is a secure browser environment for taking online exams securely. This software turns any computer into a secure workstation. It controls access to any utility and prevents students from using unauthorized resources.

SAP NetWeaver Server Adapter for Eclipse
Integrate Eclipse with SAP NetWeaver application server.

mPDF
mPDF is a PHP library that can generate PDF files from UTF-8 encoded HTML. The original author, Ian Back, wrote mPDF to output PDF files "on the fly" from his website and handle different languages. It is slower than original scripts like HTML2FPDF and produces larger files when using Unicode fonts, but supports CSS styles etc. and has a lot of enhancements. Supports almost all languages, including RTL (Arabic and Hebrew) and CJK (Chinese, Japanese and Korean). Supports nested block-level elements (such as P, DIV),


