


Quick Links
- How to Edit Images in the Photos App
- Making Image Adjustments
- Previewing Your Changes
- Revert to Your Original Photo
- Editing with Filters
- Crop, Straighten and Perspective
- Choose a Key Photo from a Live Photo
- Doing More with Live Photos
- Copying and Pasting Edits and Other Apps
- Some Good Editing Tips to Remember
You can use your iPhone to capture and share images in seconds, but it's worth pausing before you hit upload. Editing your photos before you share them can make a huge difference to the final image, and everything you need is already built into the Photos app on your iPhone.
How to Edit Images in the Photos App
To edit an image on your iPhone, first locate it in the Photos app. Once you've found an image, tap on it to view it, then tap "Edit" in the top-right corner of the screen. If your image is stored in the cloud you'll need to wait a second for the full-sized image to download.

Across the bottom of the screen, you will see four buttons, each referring to a particular set of editing tools. From left-to-right, they are:
- Live: Only visible if your image is a Live Photo (video recorded along with a still image).
- Adjust: Standard editing controls you'll find in most image editing apps.
- Filters: Apply or remove Apple's photo filters.
- Crop: For changing the aspect ratio, straightening, shifting the perspective, cropping, and more.
At the top of the screen you'll also find the Markup tool, which looks like a pen. This allows you to add text, draw, highlight, and perform other markup operations on your photo.

Photo editing in Apple's Photos app is non-destructive. This means that you can make all sorts of edits to your photos and still revert to the original if you want. Make adjustments, apply filters, and crop your image without worrying about destroying anything.
You can edit photos on an iPad, too. Thanks to iCloud Photo Library, photos you take on your iPhone will sync to your iPad where you can edit them on the bigger screen.
Making Image Adjustments
The vast majority of editing tools are found under the "Adjust" section, which is automatically selected whenever you tap on the "Edit" button in the Photos app. You'll find the standard photo-editing tools for changing the way your photo looks here.

In total, there are 15 adjustment parameters plus an "auto" option with a "magic wand" icon. Tap the wand to enhance the image automatically, then move the slider left and right to adjust the image. Tap on the wand again to undo these changes.
While automatic edits make it easy to improve a mediocre image, you'll learn more about photo editing in general by experimenting with the other options. If you want your images to exhibit a unique sense of style, manually editing your image is a must.
Light Adjustments
These parameters primarily affect the light in your scene, giving you the ability to increase overall exposure and boost or tone down shadows and highlights
- Exposure: Determine how much light is in the scene, providing a uniform increase or reduction of the total light in an image.
- Brilliance: Brighten dark images while increasing highlights and contrast (and vice versa). Often used to boost dark and dreary images.
- Highlights: Make adjustments to the lightest parts of your image. Reducing highlights may recover some detail in over-exposed areas.
- Shadows: Shadows are the darkest parts of your image. Increasing shadows may recover more detail in underexposed areas.
Compressed images discard a lot of "invisible" data, so there are limits to what you can achieve with a JPEG or HEIF image. Shooting in RAW on your iPhone can overcome these limitations at the cost of file size.
Color Adjustments
You can change the look of your image by adjusting the various color options. These can be used to make images "pop" by tweaking contrast or saturation, or to correct white balance inaccuracies for more natural-looking skin tones.
- Contrast: The overall difference between color tones in the image. Increasing contrast makes for a more striking image at the cost of detail in the shadows and highlights.
- Brightness: Lighten or darken your image without adjusting exposure and risking under- or over-exposing areas of your image.
- Black point: Target the darkest parts of your photo. Increasing the black point will saturate blacks to create a more contrasty, dramatic image.
- Saturation: Determine how colorful an image is overall. Turn it up for loud colors, or down to create a monotone (black and white) image.
- Vibrance: Target the dullest colors in your scene while limiting changes to skin tones. Like the saturation tool, but tamer.
- Warmth: Adjust the overall temperature in your image by turning this up to warm the image and down to cool it off. Good for correcting white balance.
- Tint: Apply a green or magenta tint to your photo. Turn it down for green, and up for magenta. Use in conjunction with the Warmth tool to correct white balance.
Detail Adjustments
The overall amount of detail in your image is limited by the sensor size of your iPhone. Software processing can help bring out details or hide unsightly noise. Just be careful not to overdo it, particularly if you're going for a natural look.
- Sharpness: Apply digital sharpening to your image.
- Definition: Make small adjustments to contrast for a more striking image.
- Noise reduction: Apply digital noise reduction to smooth out image grain, useful for images shot in low light.
- Vignette: A vignette is a dark or light ring around the edge of an image, which is often an unwanted effect of shooting with certain lenses.
Previewing Your Changes
At any point while editing your image, you can tap once on the photo to see the original. This provides a point of reference for any edits you have made. You can see whether your changes enhance the image or not. The original image is indicated by the "Original" label that appears on the screen.

If you're editing a Live Photo, which is a still image with a few seconds of video for context, you can also tap and hold the image at any point to see how your edits affect the video.
Revert to Your Original Photo
Revert to the original image at any time using the "Cancel" button in the top-left corner of the screen. You can also edit your image again to change or undo any parameters you've modified. There's also a quick way to discard all edits after hitting "Done" and saving your photo.
To get back to your original image, find it in the Photos app, then tap "Edit" in the top-right corner. Tap on the red "Revert" button in the top-right corner of the screen to discard all of your edits. You can't get these edits back (without re-editing all over again), so make sure you're happy before you commit.

Can't see the "Revert" option? You'll need to hit "Done" first to save your image, then tap "Edit" to enter the editing interface so that the "Revert" button appears.
Editing with Filters
Tap on the "Filters" button to the right of the "Adjust" section to see a selection of Apple photo filters. Swipe through them and tap on one to apply it, then move the slider underneath to adjust the intensity of the effect. You can only apply one filter at a time.

Like Apple's other photo-editing tools, filters are non-destructive. You can apply a filter, save your image, then come back at any time and select a different filter (or turn filters off altogether).
You can't shoot with filters enabled, but you can apply in-camera Photographic Styles to give your images a certain look.
Crop, Straighten and Perspective
To the right of the other editing tools is the Crop section. When you tap on this button, you'll see manual straightening tools at the bottom of the screen. Move the slider left or right to reposition your image as you see fit.

There are also two perspective correction tools: one horizontal, the other vertical. These tools distort the image on either a horizontal or vertical axis to correct for perspective distortion. A good example would be a picture of a building taken at a wide focal length, which has caused the straight lines in the image to distort.
There are a few more options at the top of the screen. On the far left, you have the mirroring tool, which mirrors the image as it currently appears. Next to that is the rotate tool for quickly rotating an image 90 degrees clockwise. If you see an "Auto" button in the middle, tap it and your iPhone will attempt to straighten your image automatically.

On the right-hand side of the screen is the aspect ratio tool. This allows you to pick from a predetermined aspect ratio including portrait/landscape and square presets.
You can use these tools to crop your photos for a better composition, to remove sensitive information from a screenshot you intend to share, or to create square format images from portrait and landscape shots. Just like the other tools on this list, you can always get back to your original photo by editing it or using the "Revert" button.
Choose a Key Photo from a Live Photo
When you tap Edit on an image in the Photos app, you might see a Live Photo icon at the bottom of the screen. (It looks like a circle surrounded by a dotted circle). Tap this to see the few seconds of video that was recorded alongside your photo.
You can trim this video just as you would any other by grabbing the start and stop points at either edge of the filmstrip. You can also grab a still from the video to replace your main image, just in case you didn't hit the shutter at the right time.

To do this, scrub with your finger until you find a frame you like. Tap on "Make Key Photo" to select that frame instead. Now when you go back to the Photos app you will see the still frame you selected, rather than the image you originally shot.
Unfortunately, the quality of these stills can vary quite a bit. They're essentially still frames from a video, so they can't match the resolution or detail of the original key photo.
Doing More with Live Photos
Live Photos give you the option of creating animations and faux time-lapse photographs thanks to the video that's recorded alongside your image. Find any Live Photo in the Photos app (don't hit "Edit") and look for the "Live" drop-down box in the top-left corner.

Here you can pick from Live, Loop, Bounce, Long Exposure, and Live Off.
Loop creates a looping animation that attempts to blend the end of the video with the start. Bounce plays the video, then reverses it, and plays it again (and so on) to create a seamless if a little repetitive video. Long Exposure mimics the effect of leaving the shutter open on a digital SLR or mirrorless camera by blurring movement and creating light trails.
Exporting a loop or a bounce via the Share menu exports a looping MOV video. You can also create GIFs from Live Photos right on your iPhone. If you want to share a still image you'll need to enable "Live" or "Live Off" using the drop-down.
Copying and Pasting Edits and Other Apps
The iPhone includes support for editing with other apps that you have installed, without having to leave the photos app.
To do this, open "Photos" and find an image you want to edit. Tap "Edit" in the top-right corner, then on the editing screen tap on the ellipsis "..." button in the top-right corner. You should see a list of apps appear that have editing tools that you can invoke right here in the Photos app.

You can also use this option to copy edits you have applied to an image or paste edits that you've already copied. This can make batch editing a little easier.
Some Good Editing Tips to Remember
Hopefully, with this guide and some experimentation, you can take your images to the next level. The best way to learn is to experiment, and you can do so consequence-free, knowing that you can simply revert to the original image at any point.
Remember that you can always edit in landscape mode by rotating your iPhone (and disabling orientation lock) to get a better view. You can also pinch to zoom or use two fingers to move the image around as you edit.

With that in mind, it's a good idea to exercise restraint with a few sliders. Overdoing the saturation can result in overly colorized images and highly unnatural skin tones. Some digital sharpening can help save a soft image, but too much will introduce noise.
If you're editing a dark image, don't forget to adjust noise reduction last of all once you are happy with the overall exposure. You can introduce a lot of grain into an image by adjusting exposure and boosting shadows, and the noise reduction slider is a helpful tool to combat this.
Balancing exposure adjustments by turning down the highlights and recovering detail lost by turning up the shadows can be useful. Once you've done this the image can look a little flat, so turn up the contrast slightly to make the image pop again.
If you've enjoyed learning about Apple's photo-editing tools, why not learn more about shooting the best photos with your iPhone.
Your changes have been saved
Email Is sent
Please verify your email address.
Send confirmation emailYou’ve reached your account maximum for followed topics.
Manage Your List Follow Followed Follow with Notifications Follow UnfollowThe above is the detailed content of How to Edit Photos on Your iPhone (Using the Photos App). For more information, please follow other related articles on the PHP Chinese website!

 Using These 8 Apps Has Reduced My Waste and Now I Can't Live Without ThemApr 23, 2025 pm 12:03 PM
8 environmentally friendly apps help you easily reduce waste and start a sustainable life! Still worrying about garbage sorting and waste reduction? don’t worry! This article recommends 8 practical apps to help you easily start a journey of sustainable life! From garbage recycling reminders to second-hand transactions, to water-saving tracking, these apps can help you effectively reduce domestic waste and contribute to environmental protection. 1. Recycle Coach: Garbage Recycling Calendar and Classification Guide Recycle Coach is your indispensable garbage collection reminder app. It can clearly display the garbage recycling calendar in your area, including recycling time, recycling items and holiday adjustment information, and you no longer have to worry about missing garbage recycling days or classification errors! Garbage classification query is also provided in the app
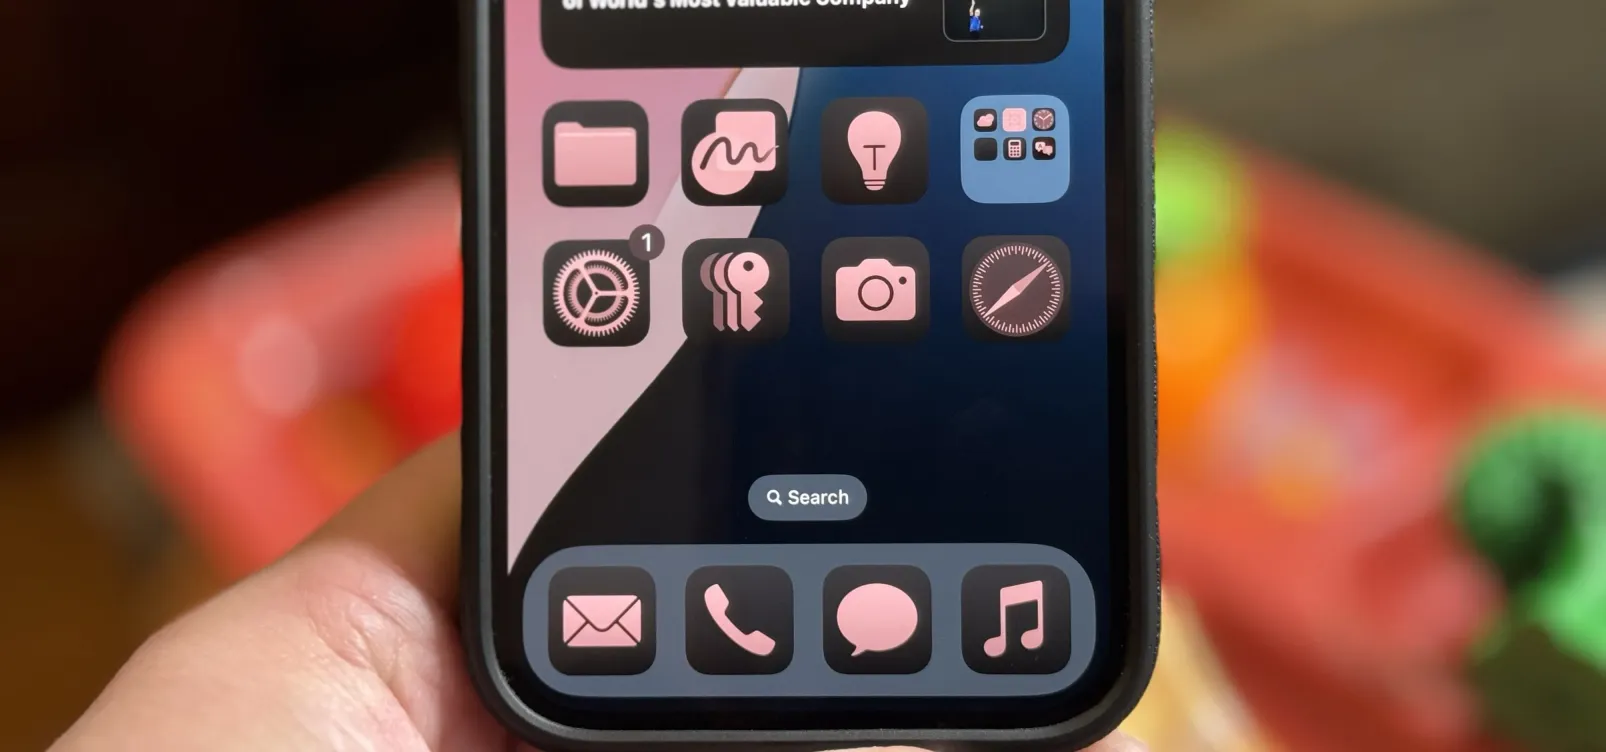 12 New Home Screen Features iOS 18 and iPadOS 18 Has for Your iPhone or iPad Apr 23, 2025 am 11:23 AM
iOS 18 and iPadOS 18 bring a wave of exciting Home Screen customization features, some long-awaited by users. While Apple's release notes didn't highlight all the changes, this article details twelve key improvements: Unrestricted App Placement: F
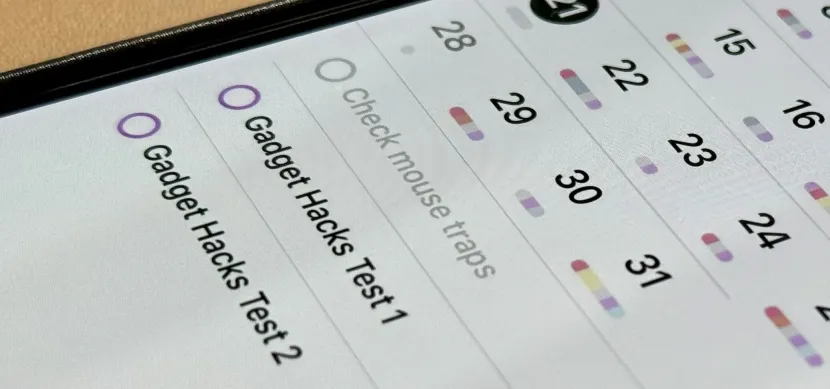 11 Ways Apple's Reminders App Is Even Better with iOS 18, iPadOS 18, and macOS 15 Apr 23, 2025 am 09:52 AM
iOS 18 brings significant enhancements to the Reminders app, transforming it from a simple to-do list into a powerful task management tool. These improvements, also available on iPadOS 18 and macOS Sequoia 15, include enhanced integration with Calen
 Smartphones Are Boring Now and It's Our FaultApr 23, 2025 am 03:06 AM
The golden age of smartphones has passed? Future Outlook Technology enthusiasts often complain that modern mobile phones are the same and lack of innovation. Although manufacturers are to blame, we also play an important role. Let us review the development history of smartphones and explore the causes of the current situation. The Golden Age of Smartphones In 1973, Motorola engineer Martin Cooper made historic calls with the DynaTAC 8000X on the streets of New York. This "brick" phone opened the era of wireless networks. Nearly 20 years later, IBM Simon was released, becoming the world's first smartphone, equipped with a resistive touch screen and simple applications. Today, although it is a hundred times more powerful, the core function of modern smartphones is still used as an application portal. Early innovation slows down
 Apple Intelligence Doesn't Impress Me Much, so I Turned It OffApr 23, 2025 am 03:03 AM
Apple Intelligence: A Disappointing AI Assistant I was initially excited about Apple Intelligence, especially after Apple's misleading advertisement promised a revolutionary AI-powered Siri. I rigorously tested it across my devices, hoping for impro
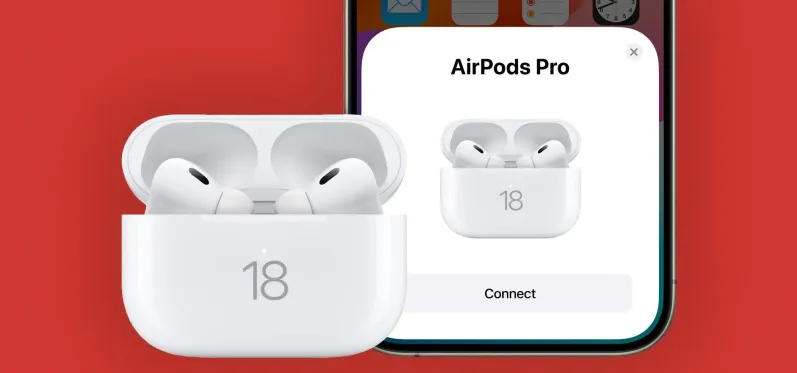 AirPods Are Getting Even Better Thanks to iOS 18 Apr 22, 2025 pm 05:42 PM
iOS 18 and iPadOS 18 significantly enhance the AirPods experience, particularly for users prioritizing privacy and gaming. These updates build upon the features introduced in iOS 17 and iPadOS 17, adding innovative capabilities for more intuitive in
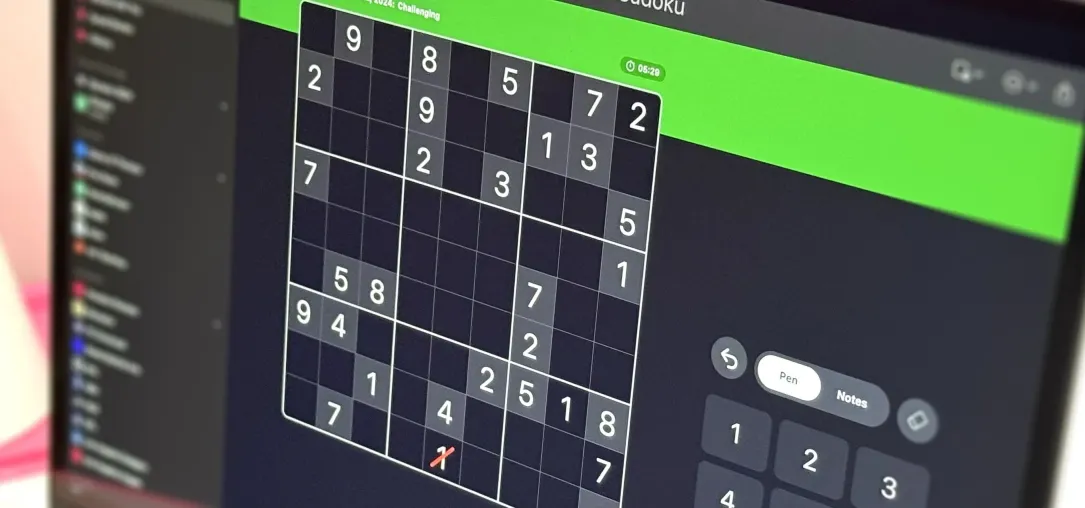 Apple Just Added Sudoku to Apple News — Here's How to Play It on iPhone, iPad, and Mac Apr 22, 2025 pm 04:05 PM
Apple News users on iPhone, iPad, and Mac now have a new game: Sudoku! This classic puzzle joins Crossword, Crossword Mini, and Quartiles in the News app's Puzzles section, thanks to recent software updates. Access is limited to paying Apple News
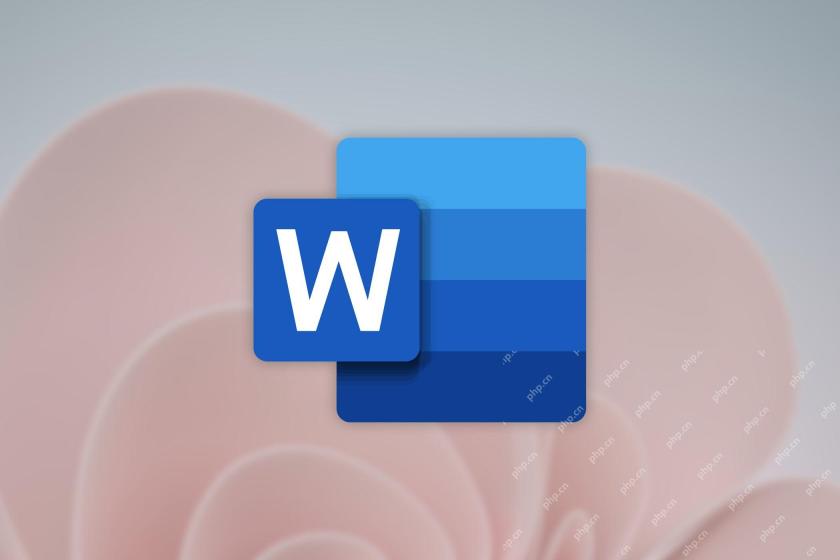 Word on iPhone Can Turn Your Voice Notes Into DocumentsApr 22, 2025 am 03:02 AM
Microsoft Word for iOS now transforms your voice notes into fully formatted documents using Copilot AI. This latest enhancement simplifies document creation on mobile devices. To access this feature, tap the "New" button ( ), select "U


Hot AI Tools

Undresser.AI Undress
AI-powered app for creating realistic nude photos

AI Clothes Remover
Online AI tool for removing clothes from photos.

Undress AI Tool
Undress images for free

Clothoff.io
AI clothes remover

Video Face Swap
Swap faces in any video effortlessly with our completely free AI face swap tool!

Hot Article
Hot Tools

Dreamweaver CS6
Visual web development tools

WebStorm Mac version
Useful JavaScript development tools

VSCode Windows 64-bit Download
A free and powerful IDE editor launched by Microsoft

SublimeText3 Mac version
God-level code editing software (SublimeText3)

MantisBT
Mantis is an easy-to-deploy web-based defect tracking tool designed to aid in product defect tracking. It requires PHP, MySQL and a web server. Check out our demo and hosting services.

