PHP native development news station backend login preparation work
After we install the background template, the first thing we need to do is the background login interface. The login the day after tomorrow is the administrator login, so we don’t need to write the registration page in the background. Then the first step we need to do is to first Create databases and data tables!
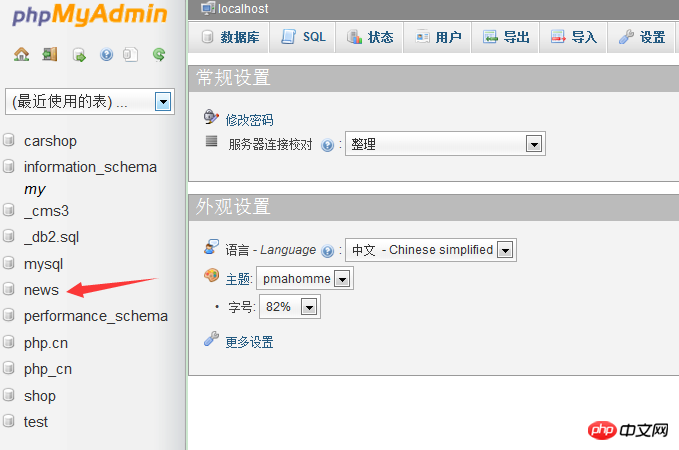
I am using phpStudy here, open the database management page, which is phpmyadmin, and then start to create the database. Because we are doing a news website, then we name the database: "news". I believe this small Partners can all do it skillfully!

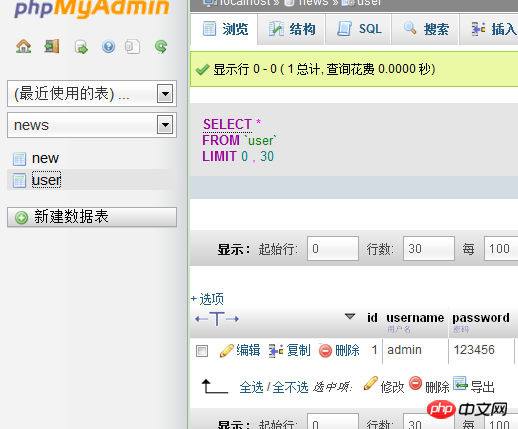
Next we have to create a data table. Ours is a login template, so we need to create a membership table. We don’t need too many fields in this table. Three A lot is enough, "id" "username" "password",

After successfully creating the data table, we will first add some data to the data table so that we Use it for testing in subsequent development, as shown below

Here we have created the database and data table!
You can also enter in the command box to create a database. I created the database directly in the database management interface!
Start - Run, open the "Run" dialog box, enter cmd, click "OK" to enter the DOS window, enter the command to log in to the MySQL database
mysql -h 127.0.0.1 -u root -p
mysql is the command to log in to the database, -h is followed by the IP of the server. Since the MySql server in this example is installed locally, the IP address is 127.0.0.1; -u is followed by the user name. In this example, the root user is used to log in; -p is followed by the login password.
Enter the above command and press Enter, then enter the login password. Generally, the default password is root
Press Enter
After successfully logging into the MySQL database, you can use SQL statements under DOS "create database" creates the database
mysql>create database The name of the new database to be created;
At this point we will prepare the login page Done, now we will explain how to implement the login function!
Next Section