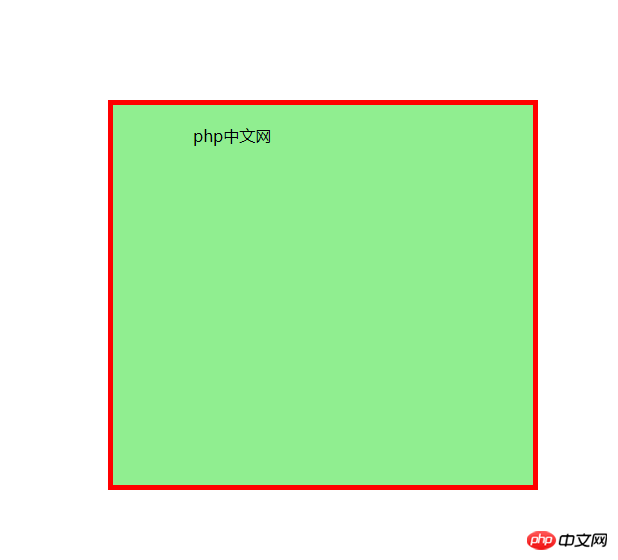
编程实现盒模型的基本要素: 内容,内外边距与边框
实例
<!DOCTYPE html>
<html lang="en">
<head>
    <meta charset="UTF-8">
    <title>盒模型</title>
    <style>
        .box1 {
            width: 300px;
            height: 300px;
            background-color: lightgreen;
            margin: 100px;/*设置边框的:边框的宽度 边框的样式 边框的颜色*/
			border: 5px solid red;/*设置内边距:上,右,下,左*/
			padding: 20px 40px 60px 80px;}
        }
    </style>

</head>
<body>

<div class="box1">
    <span>php中文网</span>
</div>

</body>
</html>
运行实例 »
点击 "运行实例" 按钮查看在线实例
实例的运行效果图:

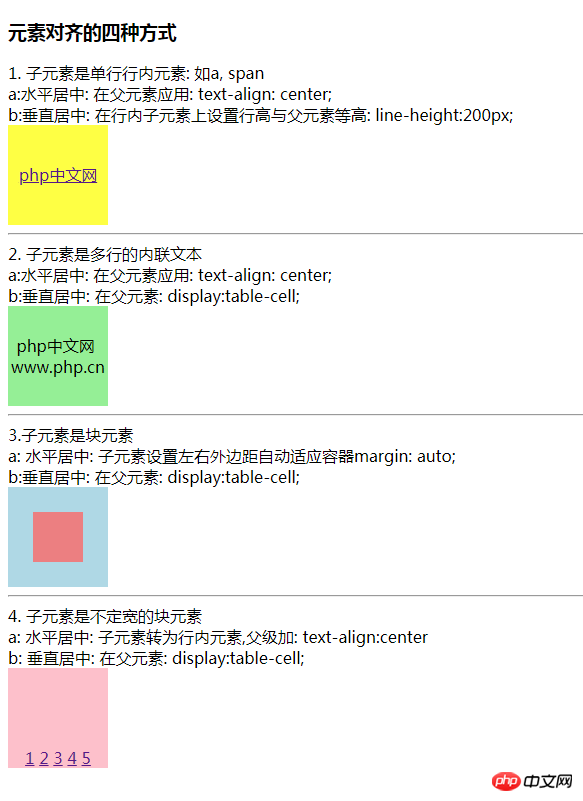
2. 编程实现最常用的四种元素对齐方案:
实例
<!DOCTYPE html>
<html lang="en">
<head>
    <meta charset="UTF-8">
    <title>元素对齐的四种方式</title>
</head>
<body>
<h3>元素对齐的四种方式</h3>
1. 子元素是单行行内元素: 如a, span <br>
a:水平居中: 在父元素应用: text-align: center;<br>
b:垂直居中: 在行内子元素上设置行高与父元素等高: line-height:200px;

<style>
    .box1 {
        width: 100px;
        height: 100px;
        background-color: #ffff0a;
        text-align: center;
    }
    .box1 a {
        line-height: 100px;
    }
</style>
<div class="box1">
    <a href="">php中文网</a>
</div>
<hr>

2. 子元素是多行的内联文本 <br>
a:水平居中: 在父元素应用: text-align: center;<br>
b:垂直居中: 在父元素: display:table-cell;

<style>
    .box2 {
        width: 100px;
        height: 100px;
        background-color: lightgreen;
        text-align: center;  /*水平居中*/
        display: table-cell;
        vertical-align: middle; /*垂直居中*/
    }
</style>
<div class="box2">
    <span>php中文网</span> <br>
    <span>www.php.cn</span>
</div>
<hr>

3.子元素是块元素 <br>
a: 水平居中: 子元素设置左右外边距自动适应容器margin: auto;<br>
b:垂直居中: 在父元素: display:table-cell;
<style>
    .box3 {
        width: 100px;
        height: 100px;
        background-color: lightblue;
        display: table-cell;
        vertical-align: middle; /*垂直居中*/
    }
    .box3 .child {
        width: 50px;
        height: 50px;
        background-color: lightcoral;
        /*margin-left: auto;*/
        /*margin-right: auto;*/
        margin: auto;  /*水平居中*/
    }
</style>
<div class="box3">
    <div class="child"></div>
</div>
<hr>
4. 子元素是不定宽的块元素<br>
a: 水平居中: 子元素转为行内元素,父级加: text-align:center<br>
b: 垂直居中: 在父元素: display:table-cell;
<style>
    .box4 {
        width: 100px;
        height: 100px;
        background-color: pink;
        text-align: center; /*水平居中*/
        display: table-cell;
        vertical-align: bottom; /*位于底部*/

    }
    ul {
        margin: 0;
        padding-left: 0;
    }
    .box4 li {
        display: inline;  /*将块元素转为行内元素*/
    }
</style>

<div class="box4">
    <ul>
        <li><a href="">1</a></li>
        <li><a href="">2</a></li>
        <li><a href="">3</a></li>
        <li><a href="">4</a></li>
        <li><a href="">5</a></li>
    </ul>
</div>

</body>
</html>
运行实例 »
点击 "运行实例" 按钮查看在线实例
实例运行效果图:

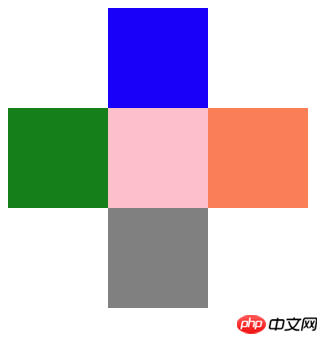
3. 编程实现用五个色块制作一个十字架
实例
<!DOCTYPE html>
<html lang="en">
<head>
    <meta charset="UTF-8">
    <title>绝对定位</title>
    <style>
        body {
            /*margin:0;*/
        }
        .box {
            width: 300px;
            height: 300px;
            /*background-color: wheat;*/
            /*定位父级必须设置定位属性*/
            position: relative;
        }
        .box1 {
            width: 100px;
            height: 100px;
            background-color: blue;
            /*绝对定位元素会脱离文档流*/
            position: absolute;
            top:0;
            left: 100px;

        }
        .box2 {
            width: 100px;
            height: 100px;
            background-color: green;
            position: absolute;
            top:100px;
            left:0;
        }
        .box3 {
            width: 100px;
            height: 100px;
            background-color: coral;
            position: absolute;
            top: 100px;
            left: 200px;
        }
        .box4 {
            width: 100px;
            height: 100px;
            background-color: grey;
            position: absolute;
            top: 200px;
            left: 100px;

        }
        .box5 {
            width: 100px;
            height: 100px;
            background-color: pink;
            position: absolute;
            top: 100px;
            left: 100px;

        }

    </style>
</head>
<body>
<div class="box">
    <div class="box1"></div>
    <div class="box2"></div>
    <div class="box3"></div>
    <div class="box4"></div>
    <div class="box5"></div>
</div>

</body>
</html>
运行实例 »
点击 "运行实例" 按钮查看在线实例
实例运行效果图:

总结:盒子模型的概念是容易理解的,基本元素就记住那个解析的图片就可以了,元素的对齐有些新概念(如:display:table cell)要牢记。

