1.CSS表格控制
先来看一下用<table>标签制作的一张简单商品信息表
实例
<!DOCTYPE html>
<html lang="en">
<head>
    <meta charset="UTF-8">
    <title>商品信息表</title>
    <style>
        table {
            /*因为单元格也要设置边框,并且会用到边框折叠,所以表格外框可选*/
            border: 1px solid #444444;
            color: #444;
            width: 700px;
            margin: 20px auto;
            box-sizing: border-box;
            box-shadow: 1px 1px 1px #999;
            border-collapse: collapse;
        }
        th, td {
            border: 1px solid #444444;
            text-align: center;
            padding: 10px;
        }
        /*设置表格的标题*/
        table caption {
            font-size: 1.3rem;
            margin-bottom: 15px;
        }
        /*在奇数行上实现隔行变色效果*/
        tbody tr:nth-of-type(odd) {
            background-color: #ededed;
        }
        /*设置表头样式*/
        table thead > tr:first-of-type {
            background: linear-gradient(lightblue, honeydew);
        }
        /*设置底部样式*/
        table tfoot > tr:last-of-type {
            background: radial-gradient(lightgreen, white);
        }
        /*给上午单元素格添加小麦色背景*/
        table tbody > tr:first-of-type > td:first-of-type {
            background: radial-gradient(lightcoral, white);
        }
    </style>
</head>
<body>
<table>
    <caption>本周食堂特色菜预备表</caption>
    <thead>
    <tr>
        <th>时间</th>
        <th>星期一</th>
        <th>星期二</th>
        <th>星期三</th>
        <th>星期四</th>
        <th>星期五</th>
    </tr>
    </thead>
    <!--    表格主体-->
    <tbody>
    <tr>
        <td rowspan="3">上午<br>11:30 - 13:30</td>
        <td>爆炒腰花</td>
        <td>坛子肉</td>
        <td>锅贴鸡片</td>
        <td>鱼香肉片</td>
        <td>叉烧鱼</td>
    </tr>
    <tr>
        <td>回锅肉</td>
        <td>辣子鸡丁</td>
        <td>芝麻兔</td>
        <td>粉蒸牛肉</td>
        <td>东坡肘子</td>
    </tr>
    <tr>
        <td>毛血旺</td>
        <td>宫保鸡丁</td>
        <td>水煮牛肉</td>
        <td>棒棒鸡</td>
        <td>麻辣肉丁</td>
    </tr>

    <tr>
        <td rowspan="3">下午<br>17:30 - 19:30</td>
        <td>芝麻肉丝</td>
        <td>陈皮鸡</td>
        <td>虾花</td>
        <td>蘑菇炖鸡</td>
        <td>丁香鸭</td>
    </tr>
    <tr>
        <td>泡菜鱼</td>
        <td>酸菜鱼</td>
        <td>清蒸鱼</td>
        <td>红烧鱼</td>
        <td>剁椒鱼</td>
    </tr>
    <tr>
        <td>辣子鸡</td>
        <td>黄焖鸡</td>
        <td>清汤鸡</td>
        <td>红烧毛肚</td>
        <td>腊排骨</td>
    </tr>
    </tbody>
    <tfoot>
    <tr>
        <td>备注:</td>
        <td colspan="5">具体每日菜品视实际情况而定</td>
    </tr>
    </tfoot>
</table>
</body>
</html>
运行实例 »
点击 "运行实例" 按钮查看在线实例
运行效果:

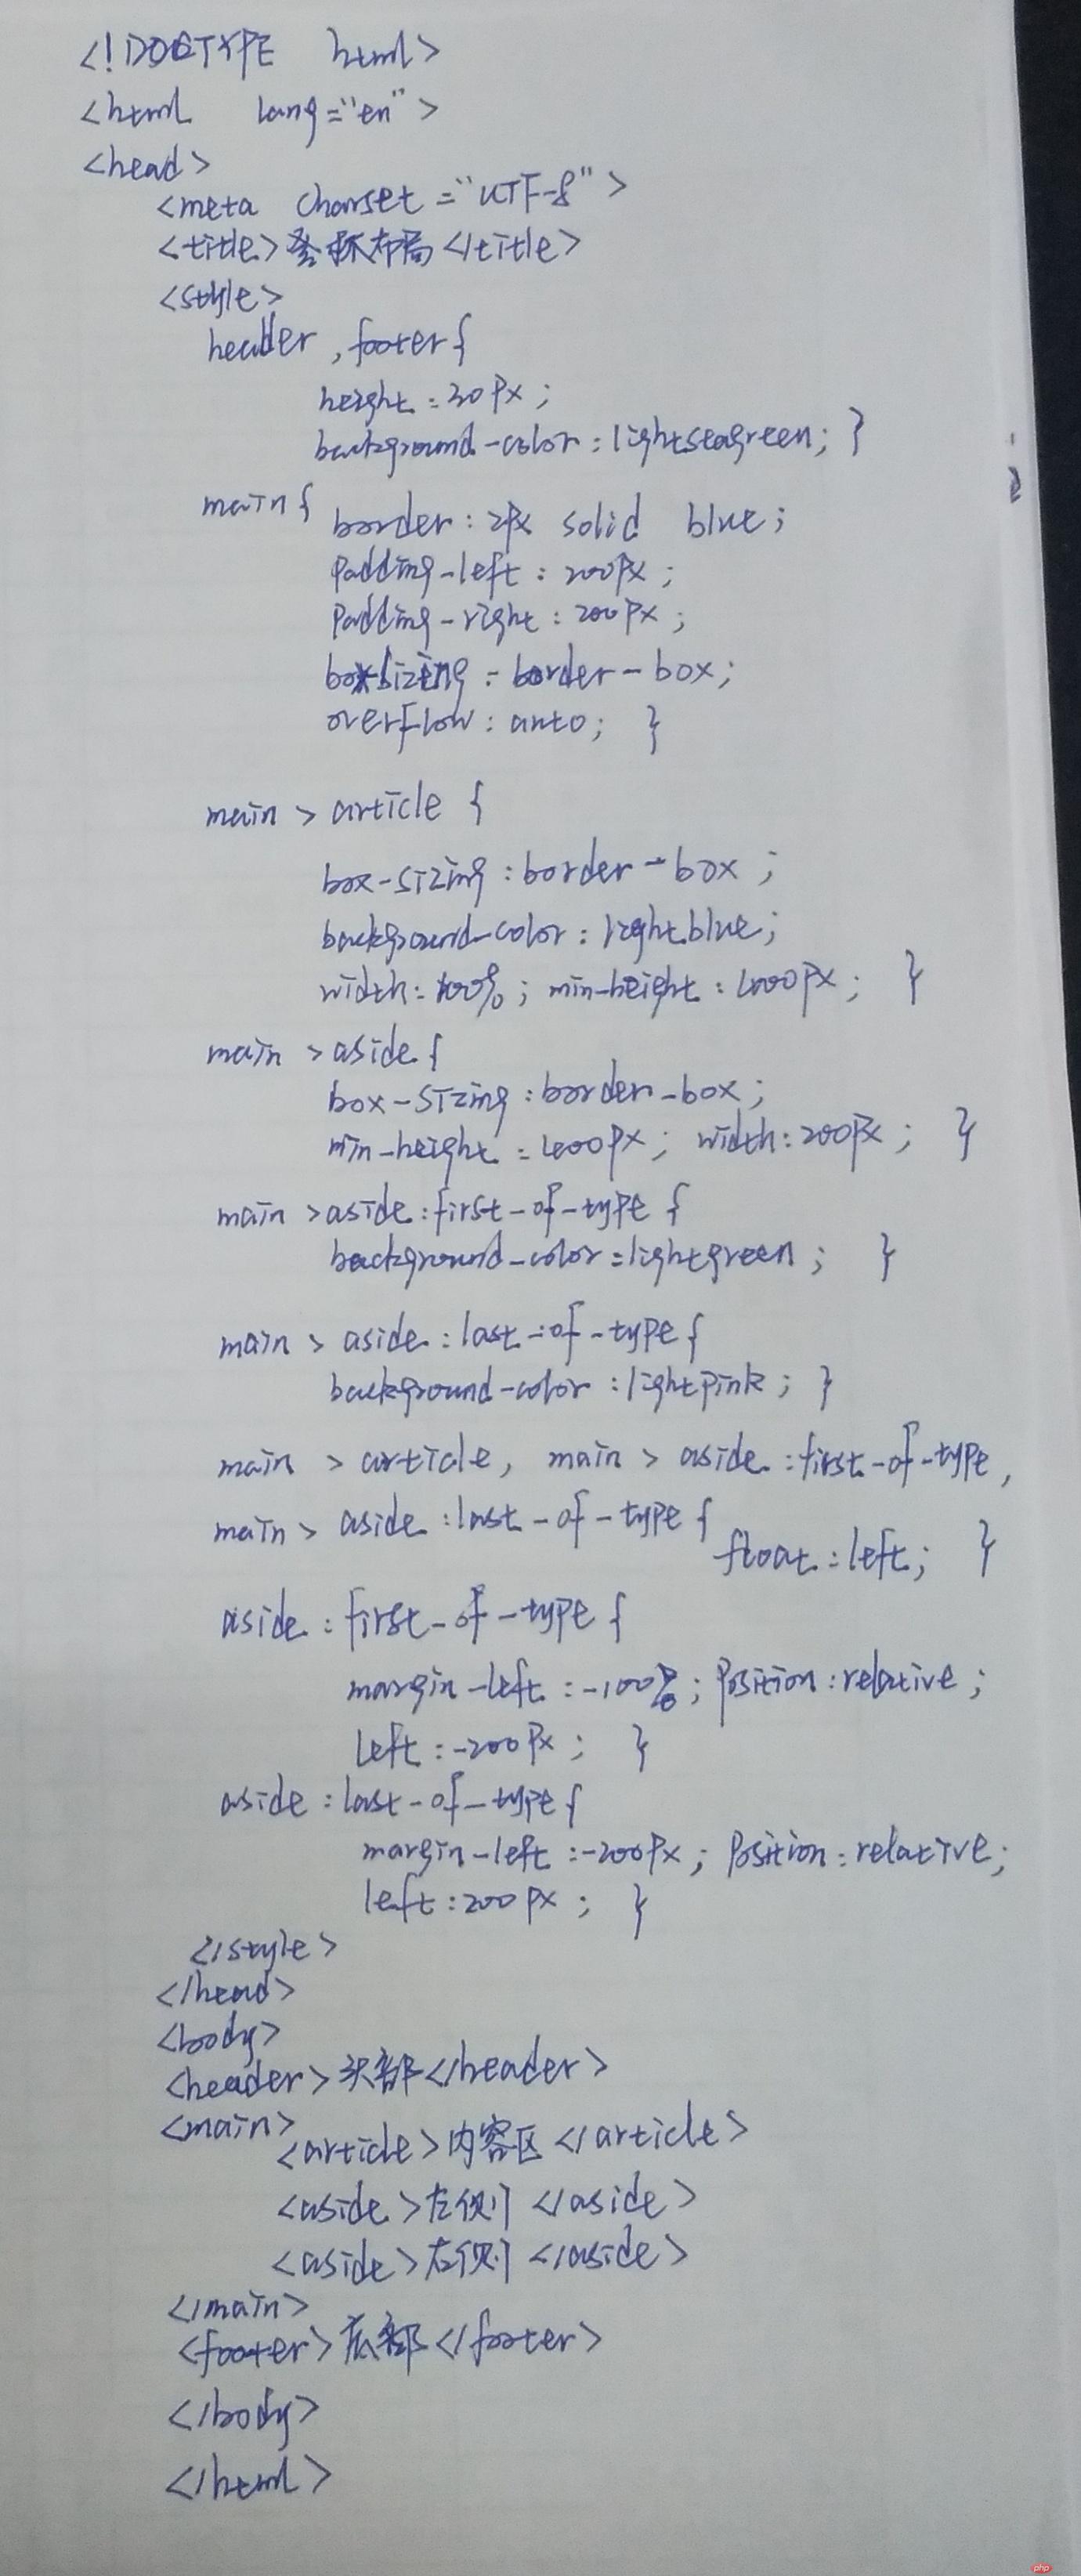
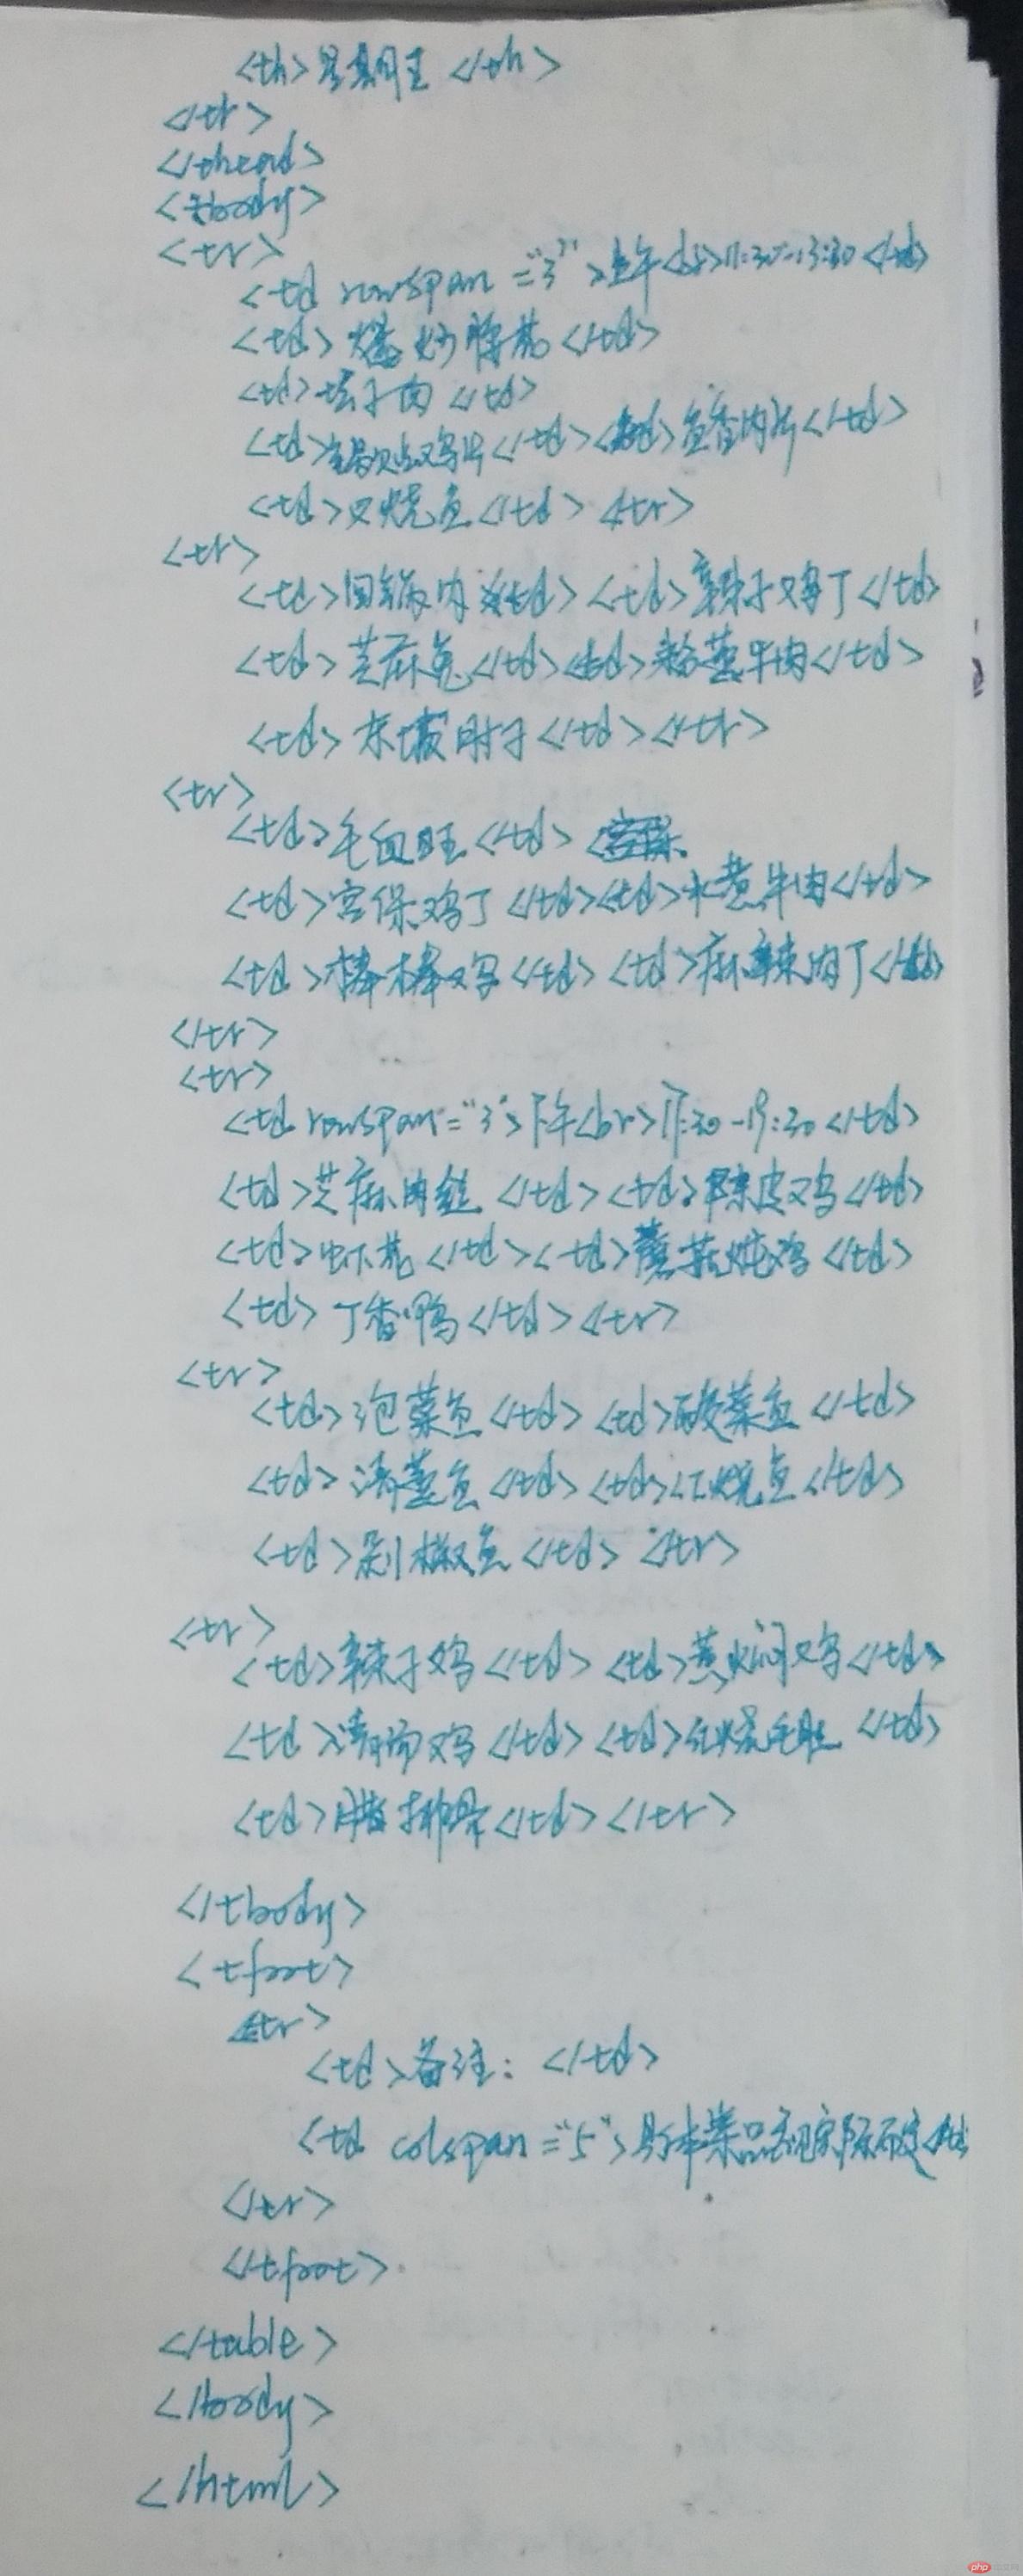
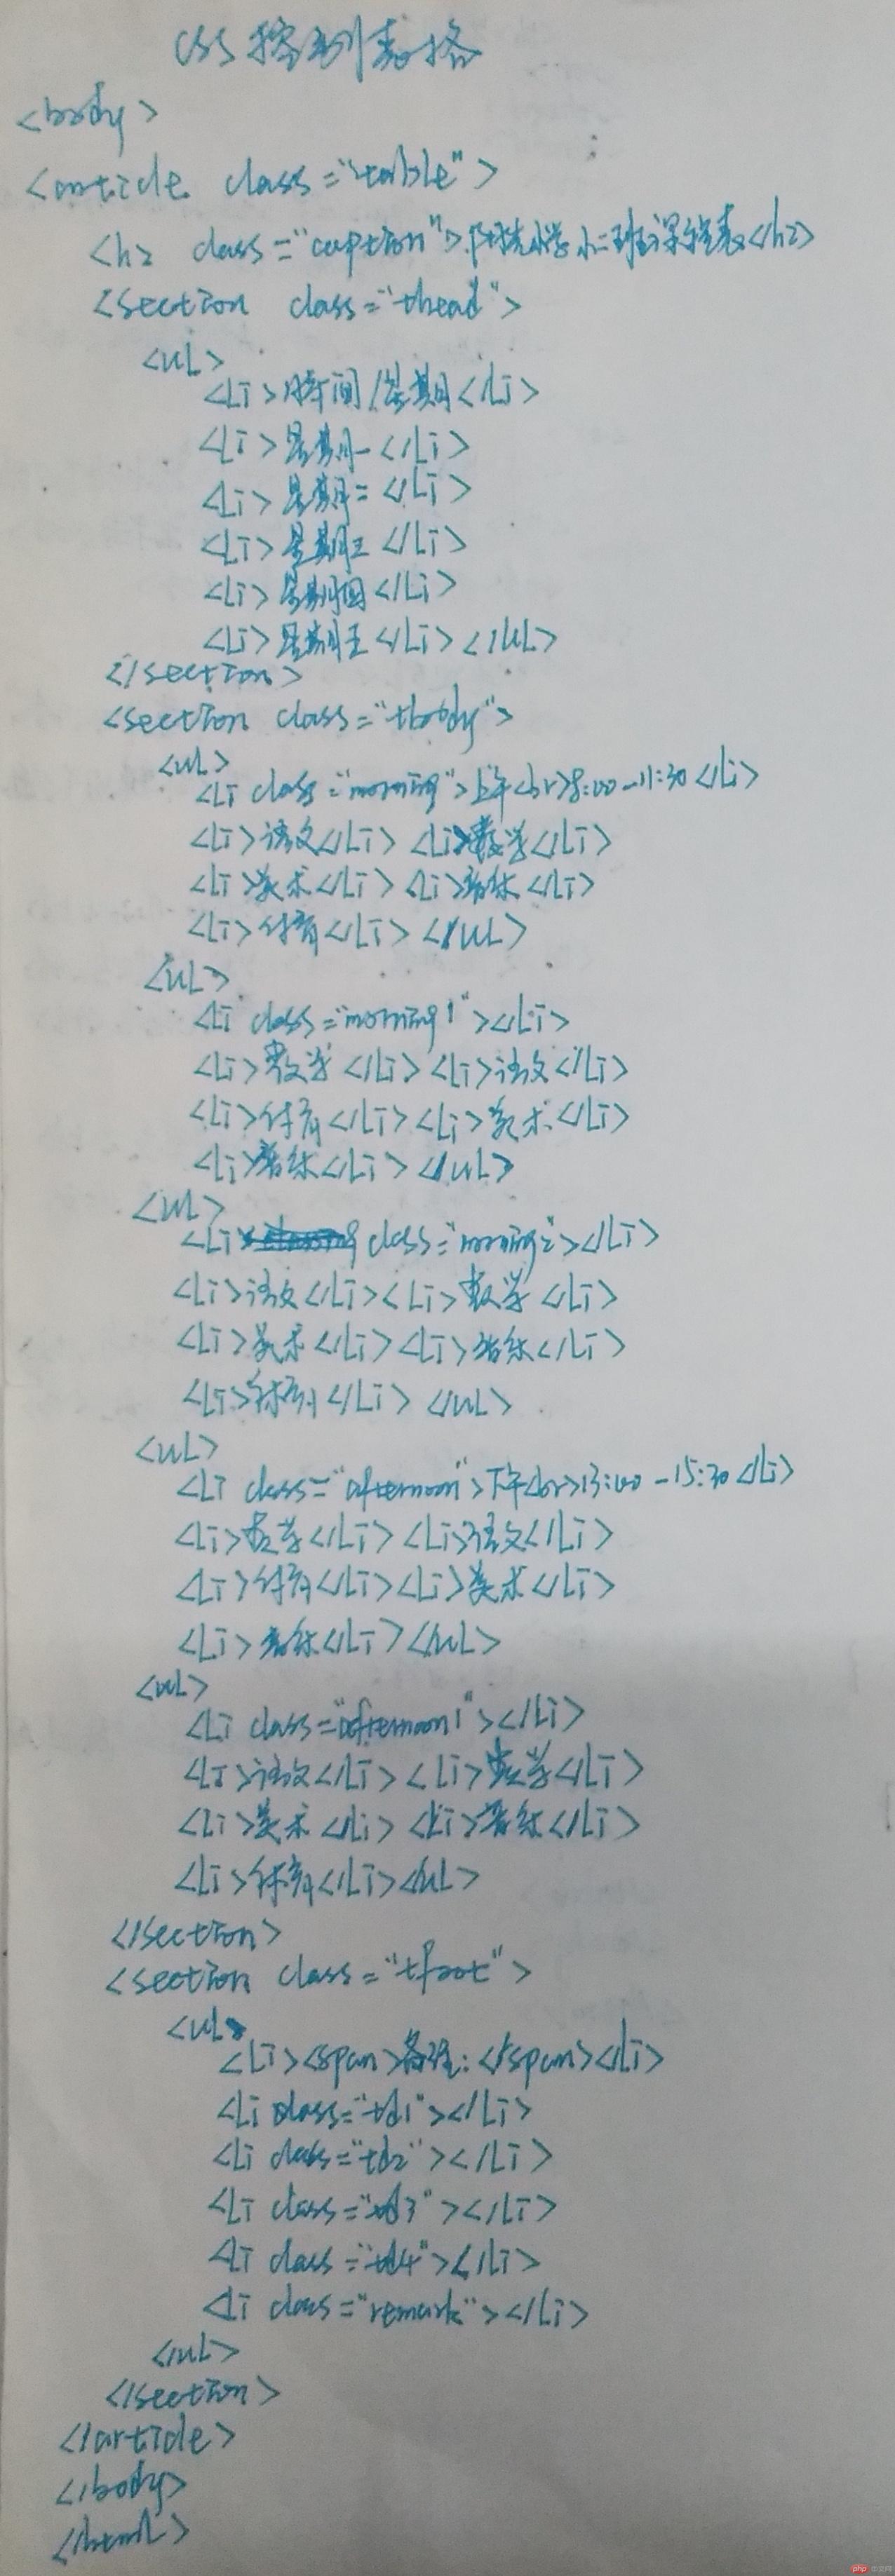
手写代码:

然而,CSS提供了强大的表格样式控制与模拟功能,display属性可以设置页面元素的显示类型, CSS3预置了系统表格相关的display属性值,可用来绘制表格:
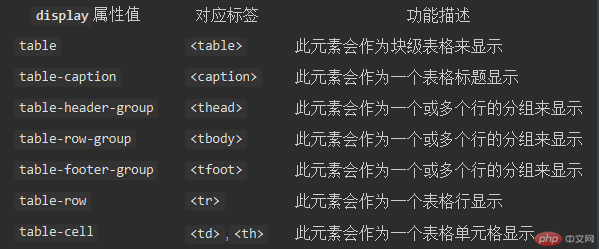
将某个元素的display属性设置为上面表格中的值,则该元素就会按它要求的样式显示。
注意:a 表格中的数据,必须保存在<td>标签中, 所以样式主要设置给它
b 表格只需要设置单元格设置边框即可, 折叠后整个表格就都有了
c border-collapse: collapse; 折叠单元格边框间隙
d 为防止单元格的内边距与边框影响到表格大小, 应设置box-sizing
e 表格也是盒元素, 遵循盒模型的基本特征
实例
<!DOCTYPE html>
<html lang="en">
<head>
    <meta charset="UTF-8">
    <title>阳光小学小二班课程表</title>
    <link rel="stylesheet" href="static/css/style7.css">
</head>
<body>
<article class="table">
    <h2 class="caption">阳光小学小二班课程表</h2>
    <section class="thead">
        <ul>
            <li>星期</li>
            <li>星期一</li>
            <li>星期二</li>
            <li>星期三</li>
            <li>星期四</li>
            <li>星期五</li>
        </ul>
    </section>
    <section class="tbody">
        <ul>
            <li class="morning">上午<br>8:00 - 11:30</li>
            <li>语文</li>
            <li>数学</li>
            <li>美术</li>
            <li>音乐</li>
            <li>体育</li>
        </ul>
        <ul>
            <li class="morning1"></li>
            <li>数学</li>
            <li>语文</li>
            <li>体育</li>
            <li>美术</li>
            <li>音乐</li>
        </ul>
        <ul>
            <li class="morning2"></li>
            <li>语文</li>
            <li>数学</li>
            <li>美术</li>
            <li>音乐</li>
            <li>体育</li>
        </ul>
        <ul>
            <li class="afternoon">下午<br>13:30 - 15:30</li>
            <li>数学</li>
            <li>语文</li>
            <li>体育</li>
            <li>美术</li>
            <li>音乐</li>
        </ul>
        <ul>
            <li class="afternoon1"></li>
            <li>语文</li>
            <li>数学</li>
            <li>美术</li>
            <li>音乐</li>
            <li>体育</li>
        </ul>
    </section>
    <section class="tfoot">
        <ul>
            <li><span>备注:</span></li>
            <li class="td1"></li>
            <li class="td2"></li>
            <li class="td3"></li>
            <li class="td4"></li>
            <li class="remark"></li>
        </ul>
    </section>
</article>
</body>
</html>
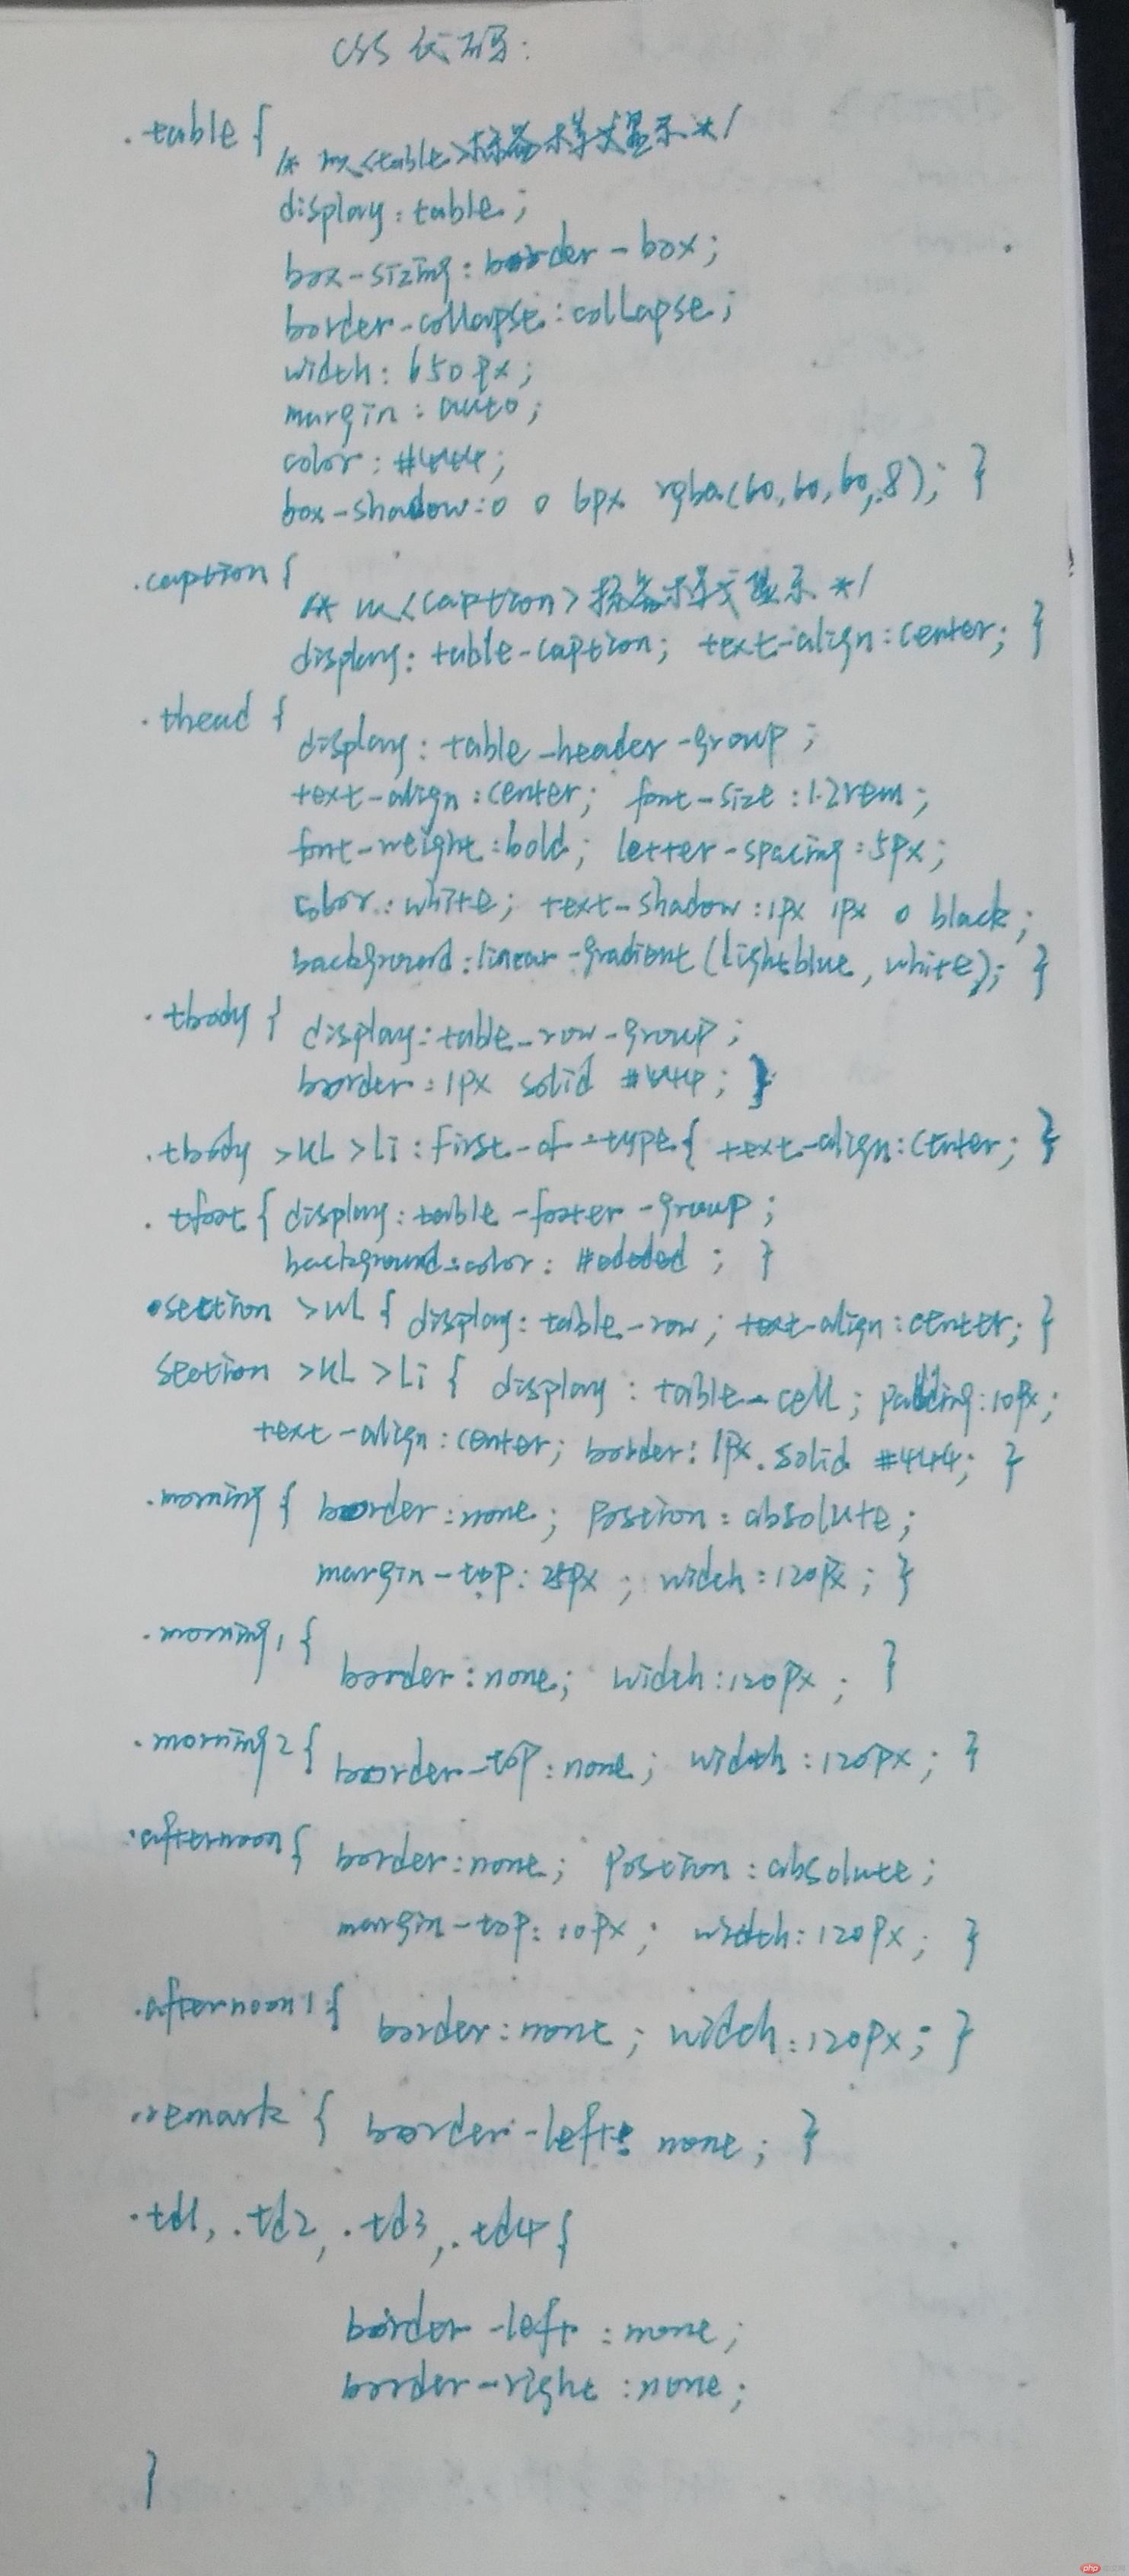
.table {
    /*以<table>标签样式显示*/
    display: table;
    /*设置表格的基本样式*/
    /*确保内部单元格如何变化,宽度总不变*/
    box-sizing: border-box;
    /*折叠单元格之间的边框线, 消除间隙*/
    border-collapse: collapse;
    width: 650px;
    margin: auto;
    color: #444;
    box-shadow: 0 0 6px rgba(60,60,60,.8);
}
.caption {
    /*以<caption>标签样式显示*/
    display: table-caption;
    text-align: center;
}
.thead {
    display: table-header-group;
    /*设置页眉文本样式*/
    text-align: center;
    /*字体大小为页面根字体1.2倍*/
    font-size: 1.2rem;
    /*加粗*/
    font-weight: bold;
    /*字间距*/
    letter-spacing: 5px;
    /*前景色*/
    color: white;
    /*字体阴影*/
    text-shadow: 1px 1px 0 black;
    /*设置背景色*/
    background: linear-gradient(lightblue, white);
}
.tbody {
    display: table-row-group;
    border: 1px solid #444;
}
/*将第一列(序号列)文本居中对齐显示*/
.tbody > ul > li:first-of-type {
    text-align: center;
}
.tfoot {
    display: table-footer-group;
    background-color: #ededed;
}
/*将所有<ul>转为<tr>标签样式*/
section > ul {
    display: table-row;
    text-align: center;
}
/*将所有的<li>转为<td>标签样式*/
section > ul > li {
    display: table-cell;
    text-align: center;
    /*必须给单元格设置边框*/
    border: 1px solid #444;
    /*设置单元素内容与边框之间的内内边距*/
    padding: 10px;
}
.morning{
    border: none;
    position: absolute;
    margin-top: 25px;
    width: 120px;
}
.morning1{
    border: none;
    width: 120px;
}
.morning2{
    border-top: none;
    width: 120px;
}
.afternoon{
    border: none;
    position: absolute;
    margin-top: 10px;
    width: 120px;
}
.afternoon1{
    border: none;
    width: 120px;
}
.remark{
    border-left: none;
}
.td1, .td2, .td3, .td4{
    border-left: none;
    border-right: none;
}
运行实例 »
点击 "运行实例" 按钮查看在线实例
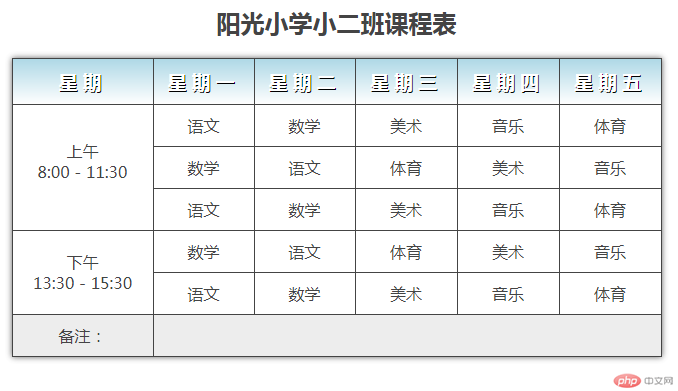
运行效果:
手写代码:
2 元素浮动
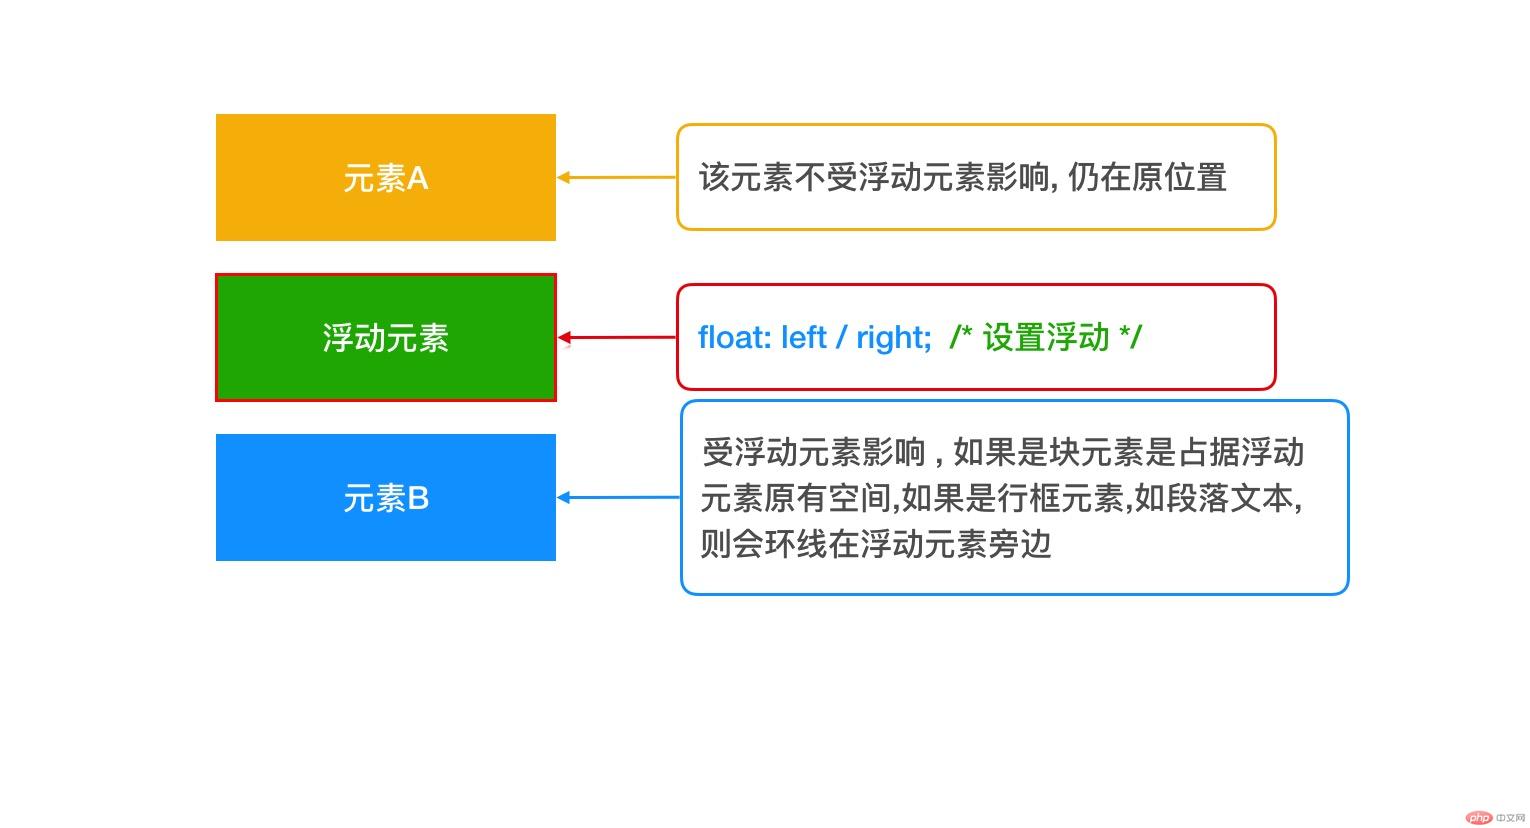
元素浮动最初是用来实现图文混排的,现在已成为网页布局的重要工具,一旦给某个元素添加float属性后, 则该元素就转换成了"浮动元素",元素浮动有二种方式: float: left / right , 不存在居中
浮动元素的三大特征:
a 浮动元素会脱离正常文档流, 但只会对后面的元素产生影响
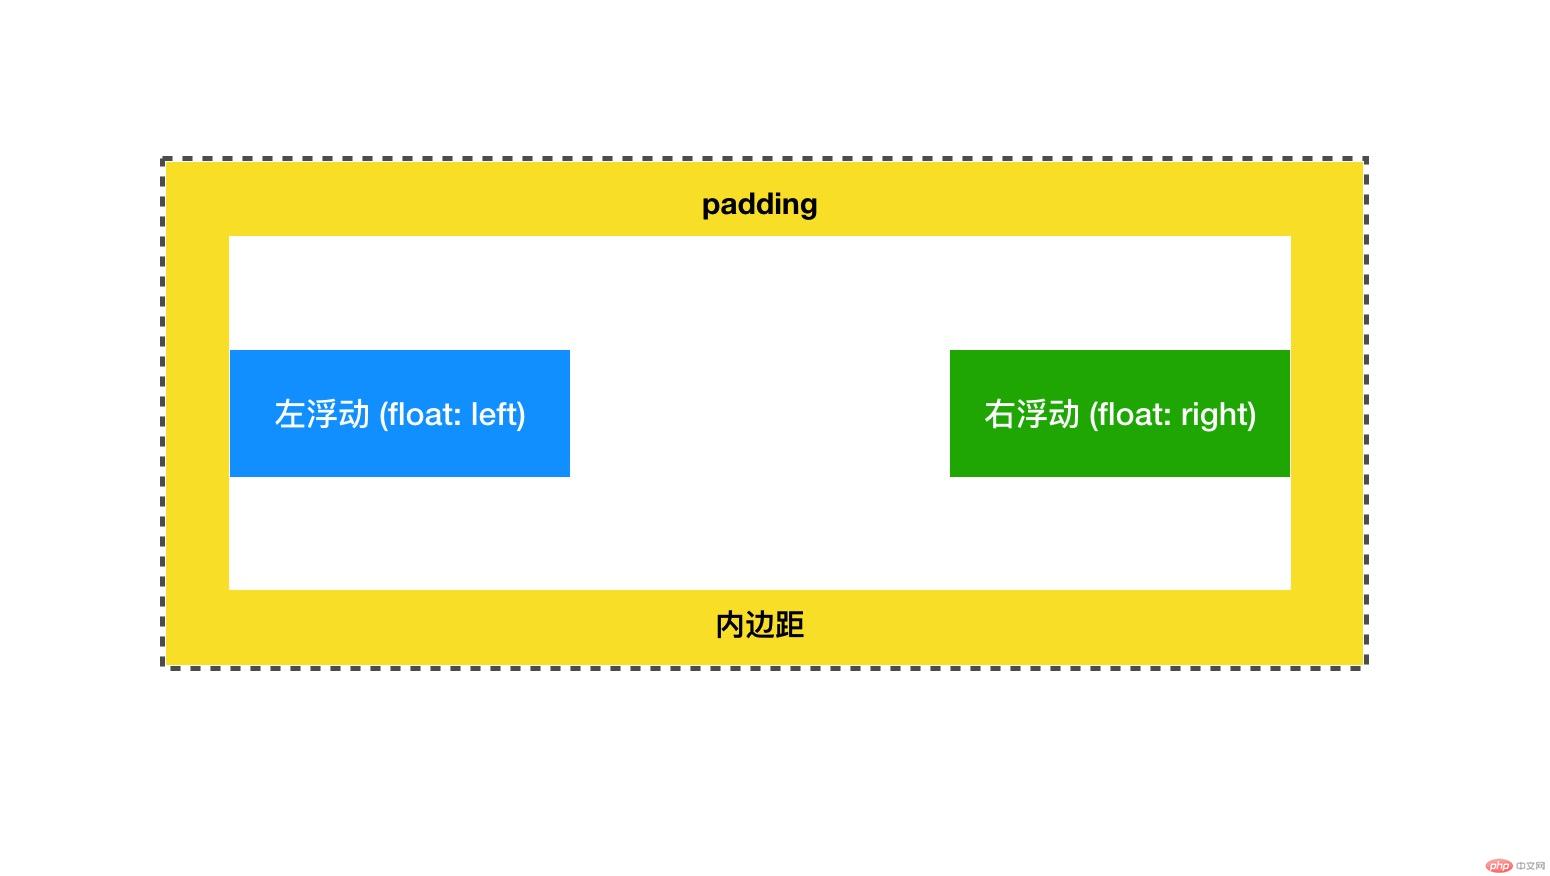
b 浮动元素只允许沿着水平浮动,不能越出父元素内边距
c 浮动元素都是块级元素, 哪怕转换之前为行内元素也是如此
说了元素浮动那又怎样清除元素浮动呢?
clear: left; : 清除左浮动对它的影响
clear: right; : 清除右浮动对它的影响
clear: both; : 清除左右浮动对它的影响
当子元素浮动时,会导致父元素失去高度而折叠, 常用处理手段有:
添加伪元素 ::after ,如:
nav::after {
content: '';
display: block;
clear: both;
}
或者,给父元素添加overflow属性转为BFC块,使其计算高度时包括浮动元素,如:
nav {
/*overflow: auto;*/
overflow: hidden;
}
3 元素定位
了解元素定位前先了解几个专业的术语:
文档流: 块级元素垂直布局, 行内元素与相邻文本同行显示
定位: 允许覆盖文档流中的默认布局行为, 达到预期效果
定位元素: 具有定位属性position的元素
定位上下文: 也称定位父级, 距离定位元素最近的,具有定位属性的包含元素,其有两层含义:
(1) 自身必须要设置定位属性:`position: relative / absolue`
(2) 它的子元素采用了绝对定位, `position: absolute; top...`
初始包含块: 也叫初始块容器, 是CSS中定位元素的计算基础(特指绝对定位)
注意:定位元素,如果有定位父级,则相对于距它最近的定位父级进行相对定位,否则就相对于初始包含块定位
定位类型:常用有四种: 静态定位, 相对定位,绝对定位, 固定定位
3.1 静态定位
属性: position: static
页面元素的默认定位类型, 其实就是标准的文档流布局
严格按照HTML文档的源代码编写顺序,排列页面元素
块级元素: 垂直排列, 独占一行
行内元素: 水平排列, 自动换行
3.2 相对定位
属性: position: relative
相对定位: 元素相对它在文档流中的原来位置,发生偏移
相对定位必须要设置偏移量,否则与静态定位没有区别
偏移量: top, bottom, left,right
3.3 绝对定位
属性: position: absolute
绝对定位: 完全从文档流中接管元素的定位权, 既彻底脱离了文档流
注意: 浮动定位并非完全脱离文档流,它只对后面的元素产生影响
3.4 固定定位
属性: position: fixed
固定定位: 顾名思义, 是指定位元素始终相对初始包含块来定位,忽略定位父级
固定定位元素, 始终会出现在窗口可视区域内, 非常适合设置导航, 广告位, 在线客服等...
实例:绝对定位实现用户登录框在页面中始终居中显示
实例
<!DOCTYPE html>
<html lang="en">
<head>
    <meta charset="UTF-8">
    <title>用户登录框</title>
    <style>
        div{
            position: absolute;
            text-align: center;
            box-sizing: border-box;
            width: 400px;
            height: 400px;
            left: 50%;
            top: 50%;
        }
        form{
            border: 1px solid black;
            position: relative;
            background-color: lightblue;
            left: -50%;
            top:-50%;
        }
        input[name="submit"]{
            font-size: 1.2rem;
            background-color: lightseagreen;
            color: #ededed;
        }
    </style>
</head>
<body>
<div>
    <form action="" method="post">
        <p>
            <label for="text"> 用户名:</label>
            <input type="text" name="text" id="text">
        </p>
        <p>
            <label for="password">密   码:</label>
            <input type="password" name="password" id="password">
        </p>
        <p>
            <input type="submit" name="submit" value="登录">
            <label for="checkbox">记住密码:</label>
            <input type="checkbox" name="checkbox" id="checkbox" checked>
        </p>
    </form>
</div>
</body>
</html>
运行实例 »
点击 "运行实例" 按钮查看在线实例
运行效果:
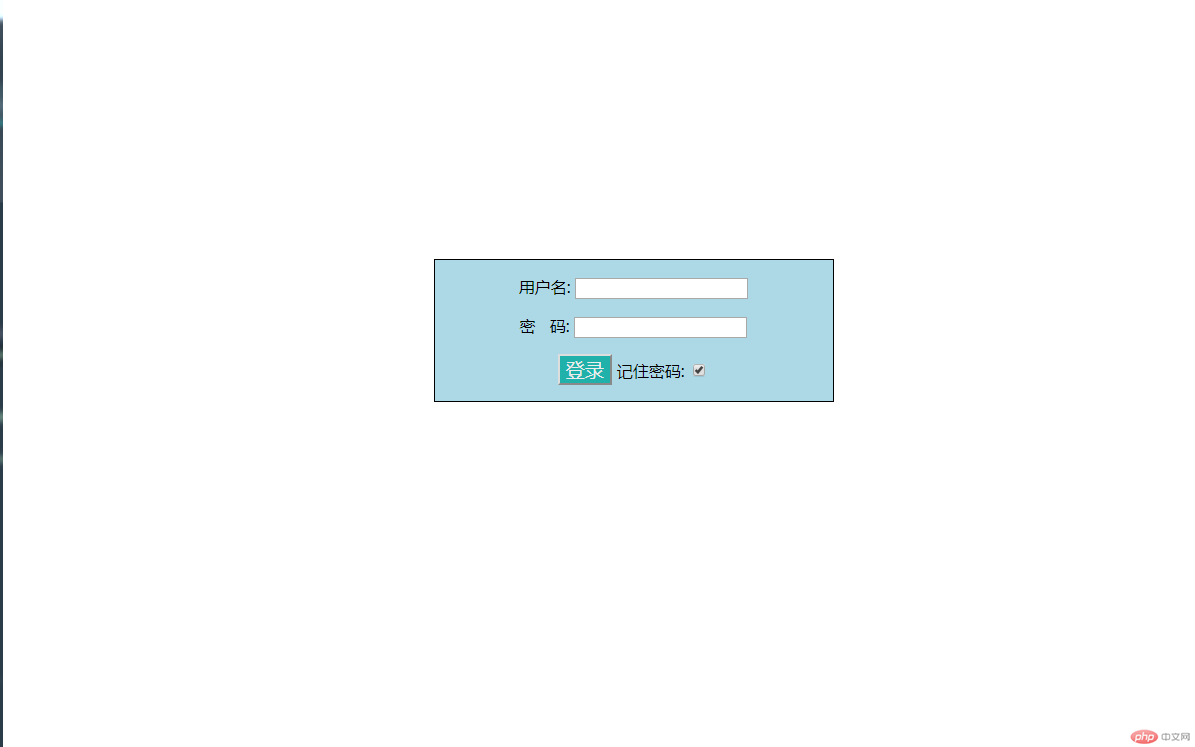
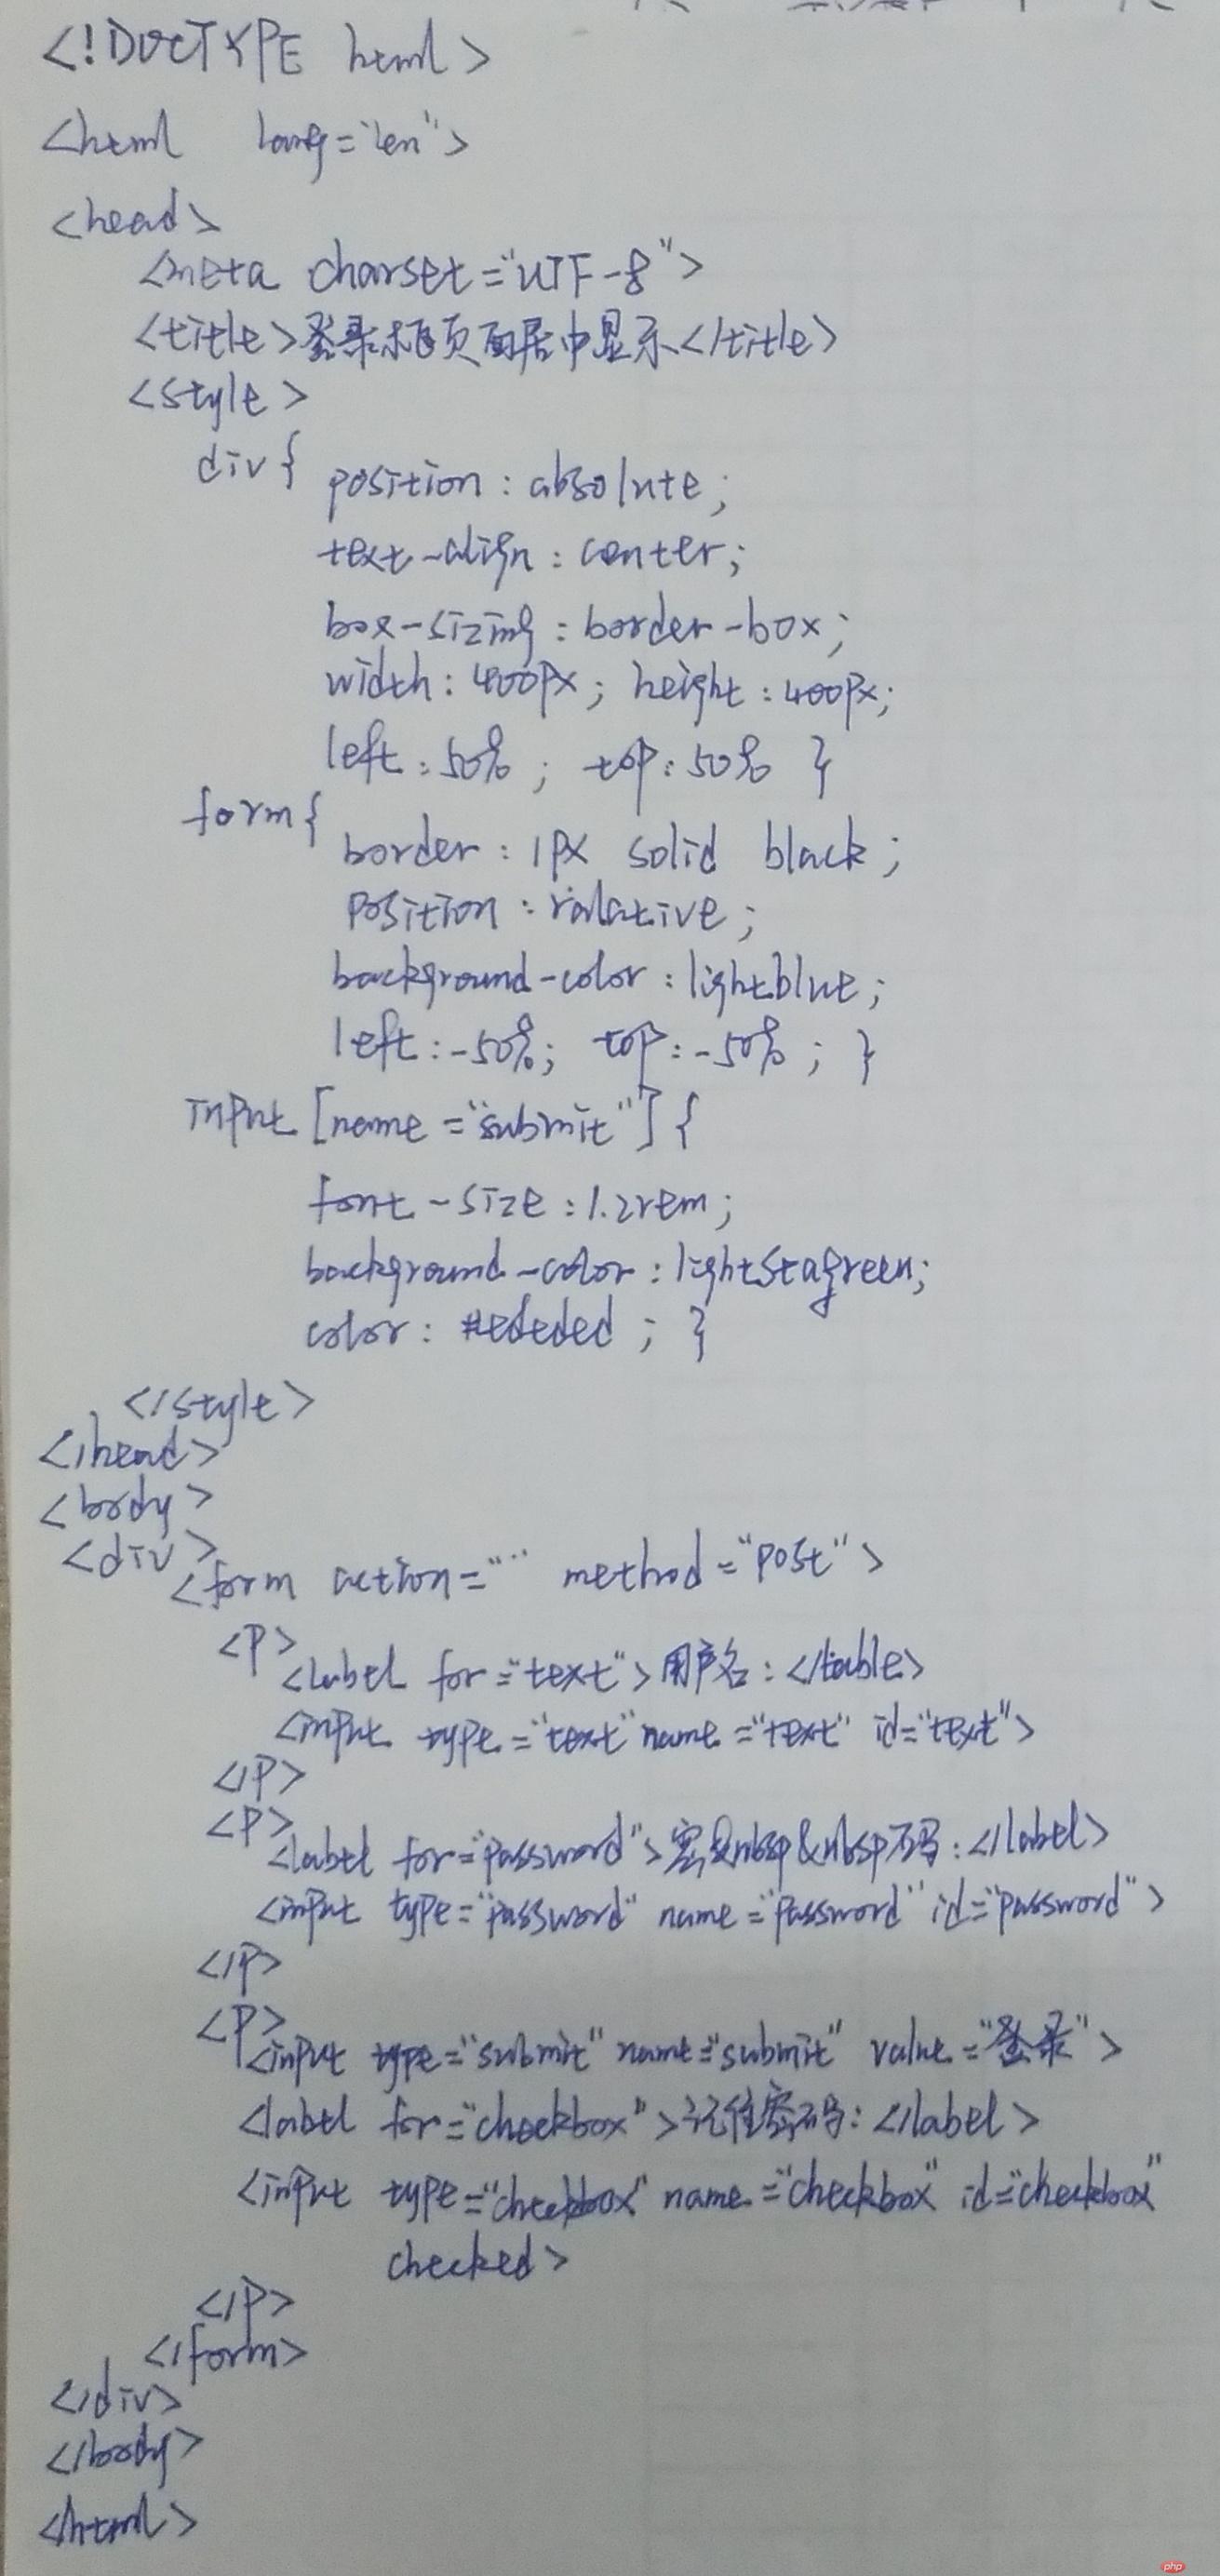
手写代码:
4 圣杯布局
PC端布局中, "圣杯布局"的思路与实现非常经典,具有代表性
圣杯布局的基本思路与原则:
确保主体内容区优先渲染
左右二列固定, 主体内容区自适应
DOM结构尽可能简单
圣杯布局用到的知识点:
box-sizing: 盒模型大小计算
padding: 对布局的影响,为其它元素预留空间技术
float: left: 浮动的应用
margin-left: -100%: 负边距为负值的妙用
position: relation: 相对定位的使用场景
实例
<!DOCTYPE html>
<html lang="en">
<head>
    <meta charset="UTF-8">
    <title>圣杯布局</title>
    <style>
        header, footer {
            height: 30px;
            background-color: lightseagreen;
        }
        /*设置主体区*/
        main {
            /*参考边框*/
            border: 2px solid blue;
            /*左内边距: 显示左侧内容*/
            padding-left: 200px;
            /*右内边距: 显示右侧内容*/
            padding-right: 200px;
            /*稳定盒子布局*/
            box-sizing: border-box;
            /*将main转为BFC块, 使浮动元素包含在内, 撑开父级*/
            overflow: auto;
        }
        /*主体内容区*/
        main > article {
            box-sizing: border-box;
            background-color: lightblue;
            /*占据父容器全部空间,百分比使之自适应*/
            width: 100%;
            /*使用最小高度弥补内容不足问题*/
            min-height: 400px;
        }
        /*设置左右二侧通用样式*/
        main > aside {
            box-sizing: border-box;
            min-height: 400px;
            width: 200px;
        }
        main > aside:first-of-type {
            background-color: lightgreen;
        }

        main  > aside:last-of-type{
            background-color: lightpink;
        }
        /*主体区内容全部浮动*/
        main > article,
        main > aside:first-of-type,
        main > aside:last-of-type {
            float: left;
        }
        aside:first-of-type {
            /*左侧通过负外边距拉到主体的左边*/
            /*margin负值,可以元素反向移动*/
            /*-100%:从当前位置向左移动一个父元素宽度*/
            margin-left: -100%;
            position: relative;
            /*将左侧通过相对定位,移入到预留的main的左内边距中*/
            left: -200px;
        }
        aside:last-of-type {
            /*右侧可直接设置一个固定值即可*/
            margin-left: -200px;
            /*与左侧一样, 将右侧移入到它的预留空间中*/
            position: relative;
            left: 200px;
            /*可以简写成*/
            /*margin-right: -200px;*/
        }
    </style>
</head>
<body>
<header>头部</header>
<main>
    <article>内容区</article>
    <aside>左侧</aside>
    <aside>右侧</aside>
</main>
<footer>底部</footer>
</body>
</html>
运行实例 »
点击 "运行实例" 按钮查看在线实例
运行效果:
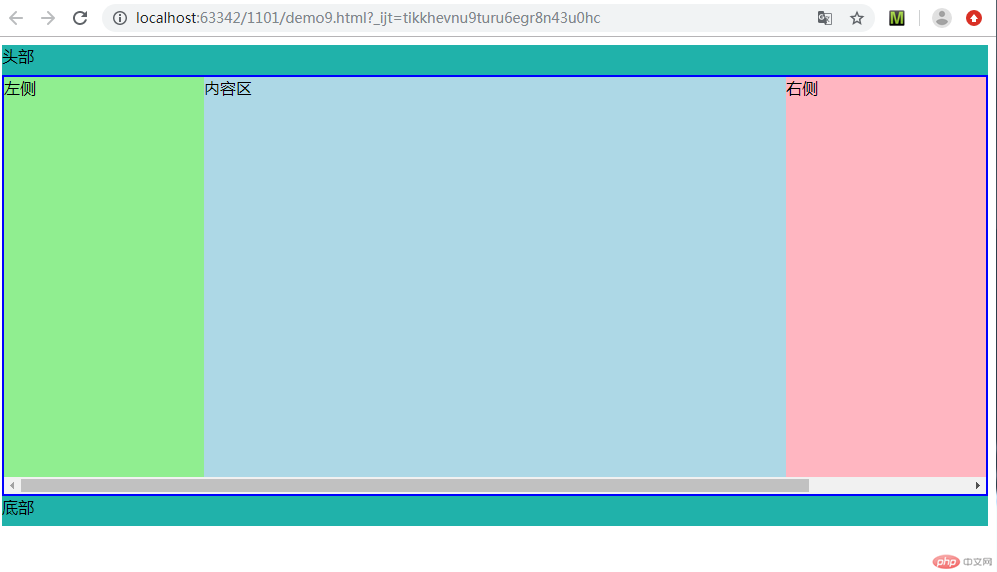
手写代码:
