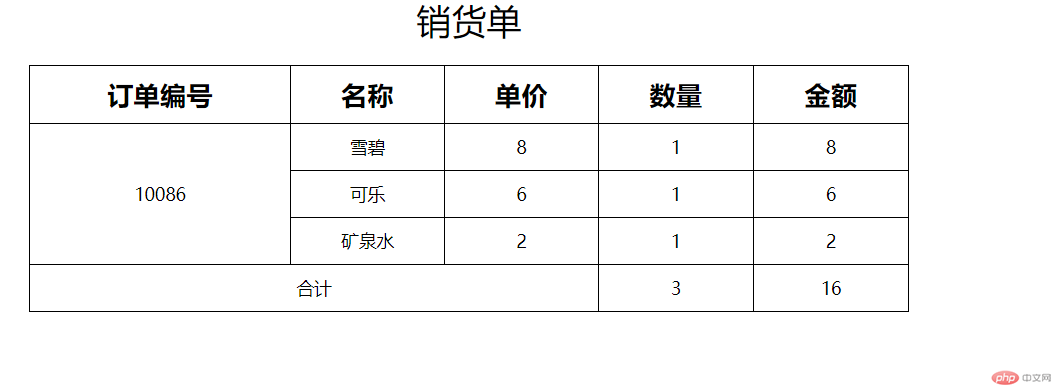
* 制作一张商品信息表,内容自定,要求用到行与列的合并
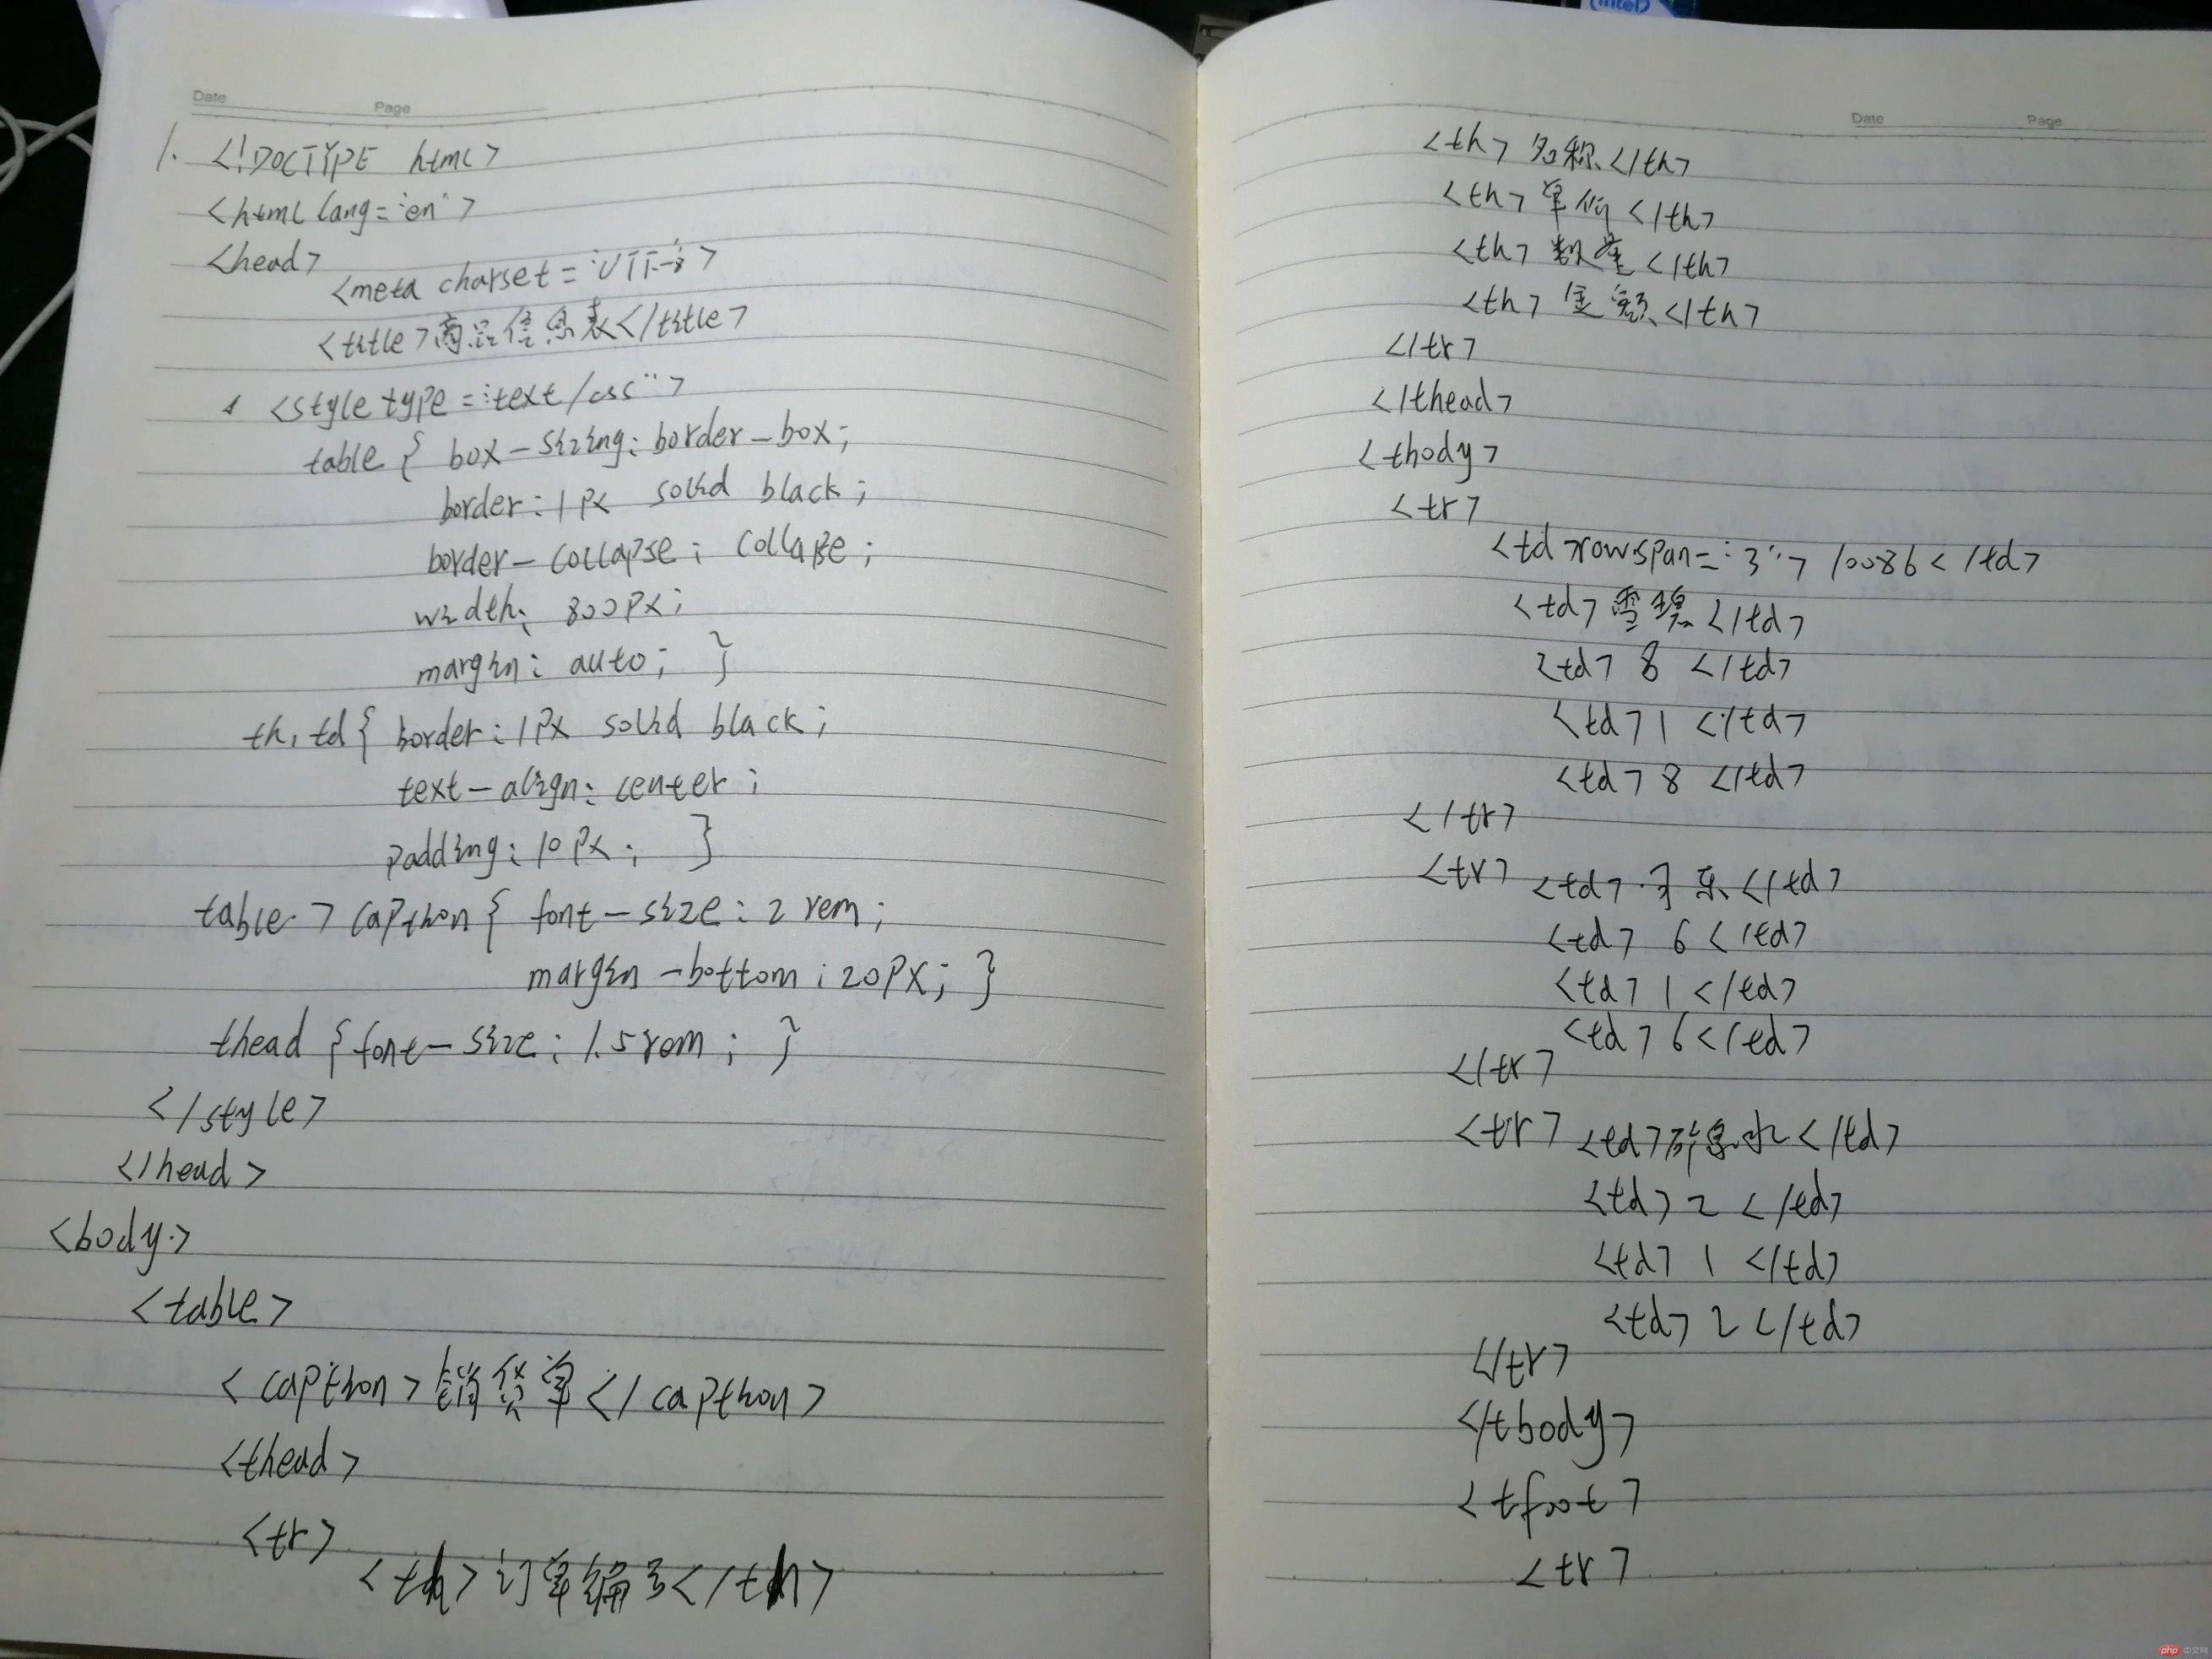
实例
<!DOCTYPE html>
<html lang="en">
<head>
 	<meta charset="utf-8">
	<title>商品信息表</title>
	<style type="text/css">
		table {
			box-sizing: border-box;
			border: 1px solid black;
			border-collapse: collapse;
			width: 800px;
			margin: auto;

		}
		th,td {
			border: 1px solid black;
			text-align: center;
			padding: 10px;
		}
		table > caption {
			font-size: 2rem;
			margin-bottom: 20px;
		}
		thead {
			font-size: 1.5rem;
		}
	</style>
</head>
<body>
	<table>
	<!-- 表格标题 -->
		<caption>销货单</caption>
		<!-- 表格头部 -->
		<thead>
		<tr>
			<th>订单编号</th>
			<th>名称</th>
			<th>单价</th>
			<th>数量</th>
			<th>金额</th>
		</tr>
		</thead>
		<!-- 表格主体 -->
		<tbody>
		<tr>
			<td rowspan="3">10086</td>
			<td>雪碧</td>
			<td>8</td>
			<td>1</td>
			<td>8</td>
		</tr>
		<tr>
			<!-- <td>2</td> -->
			<td>可乐</td>
			<td>6</td>
			<td>1</td>
			<td>6</td>
		</tr>
		<tr>
			<!-- <td>3</td> -->
			<td>矿泉水</td>
			<td>2</td>
			<td>1</td>
			<td>2</td>
		</tr>
		</tbody>
		<!-- 表格底部 -->
		<tfoot>
			<tr>
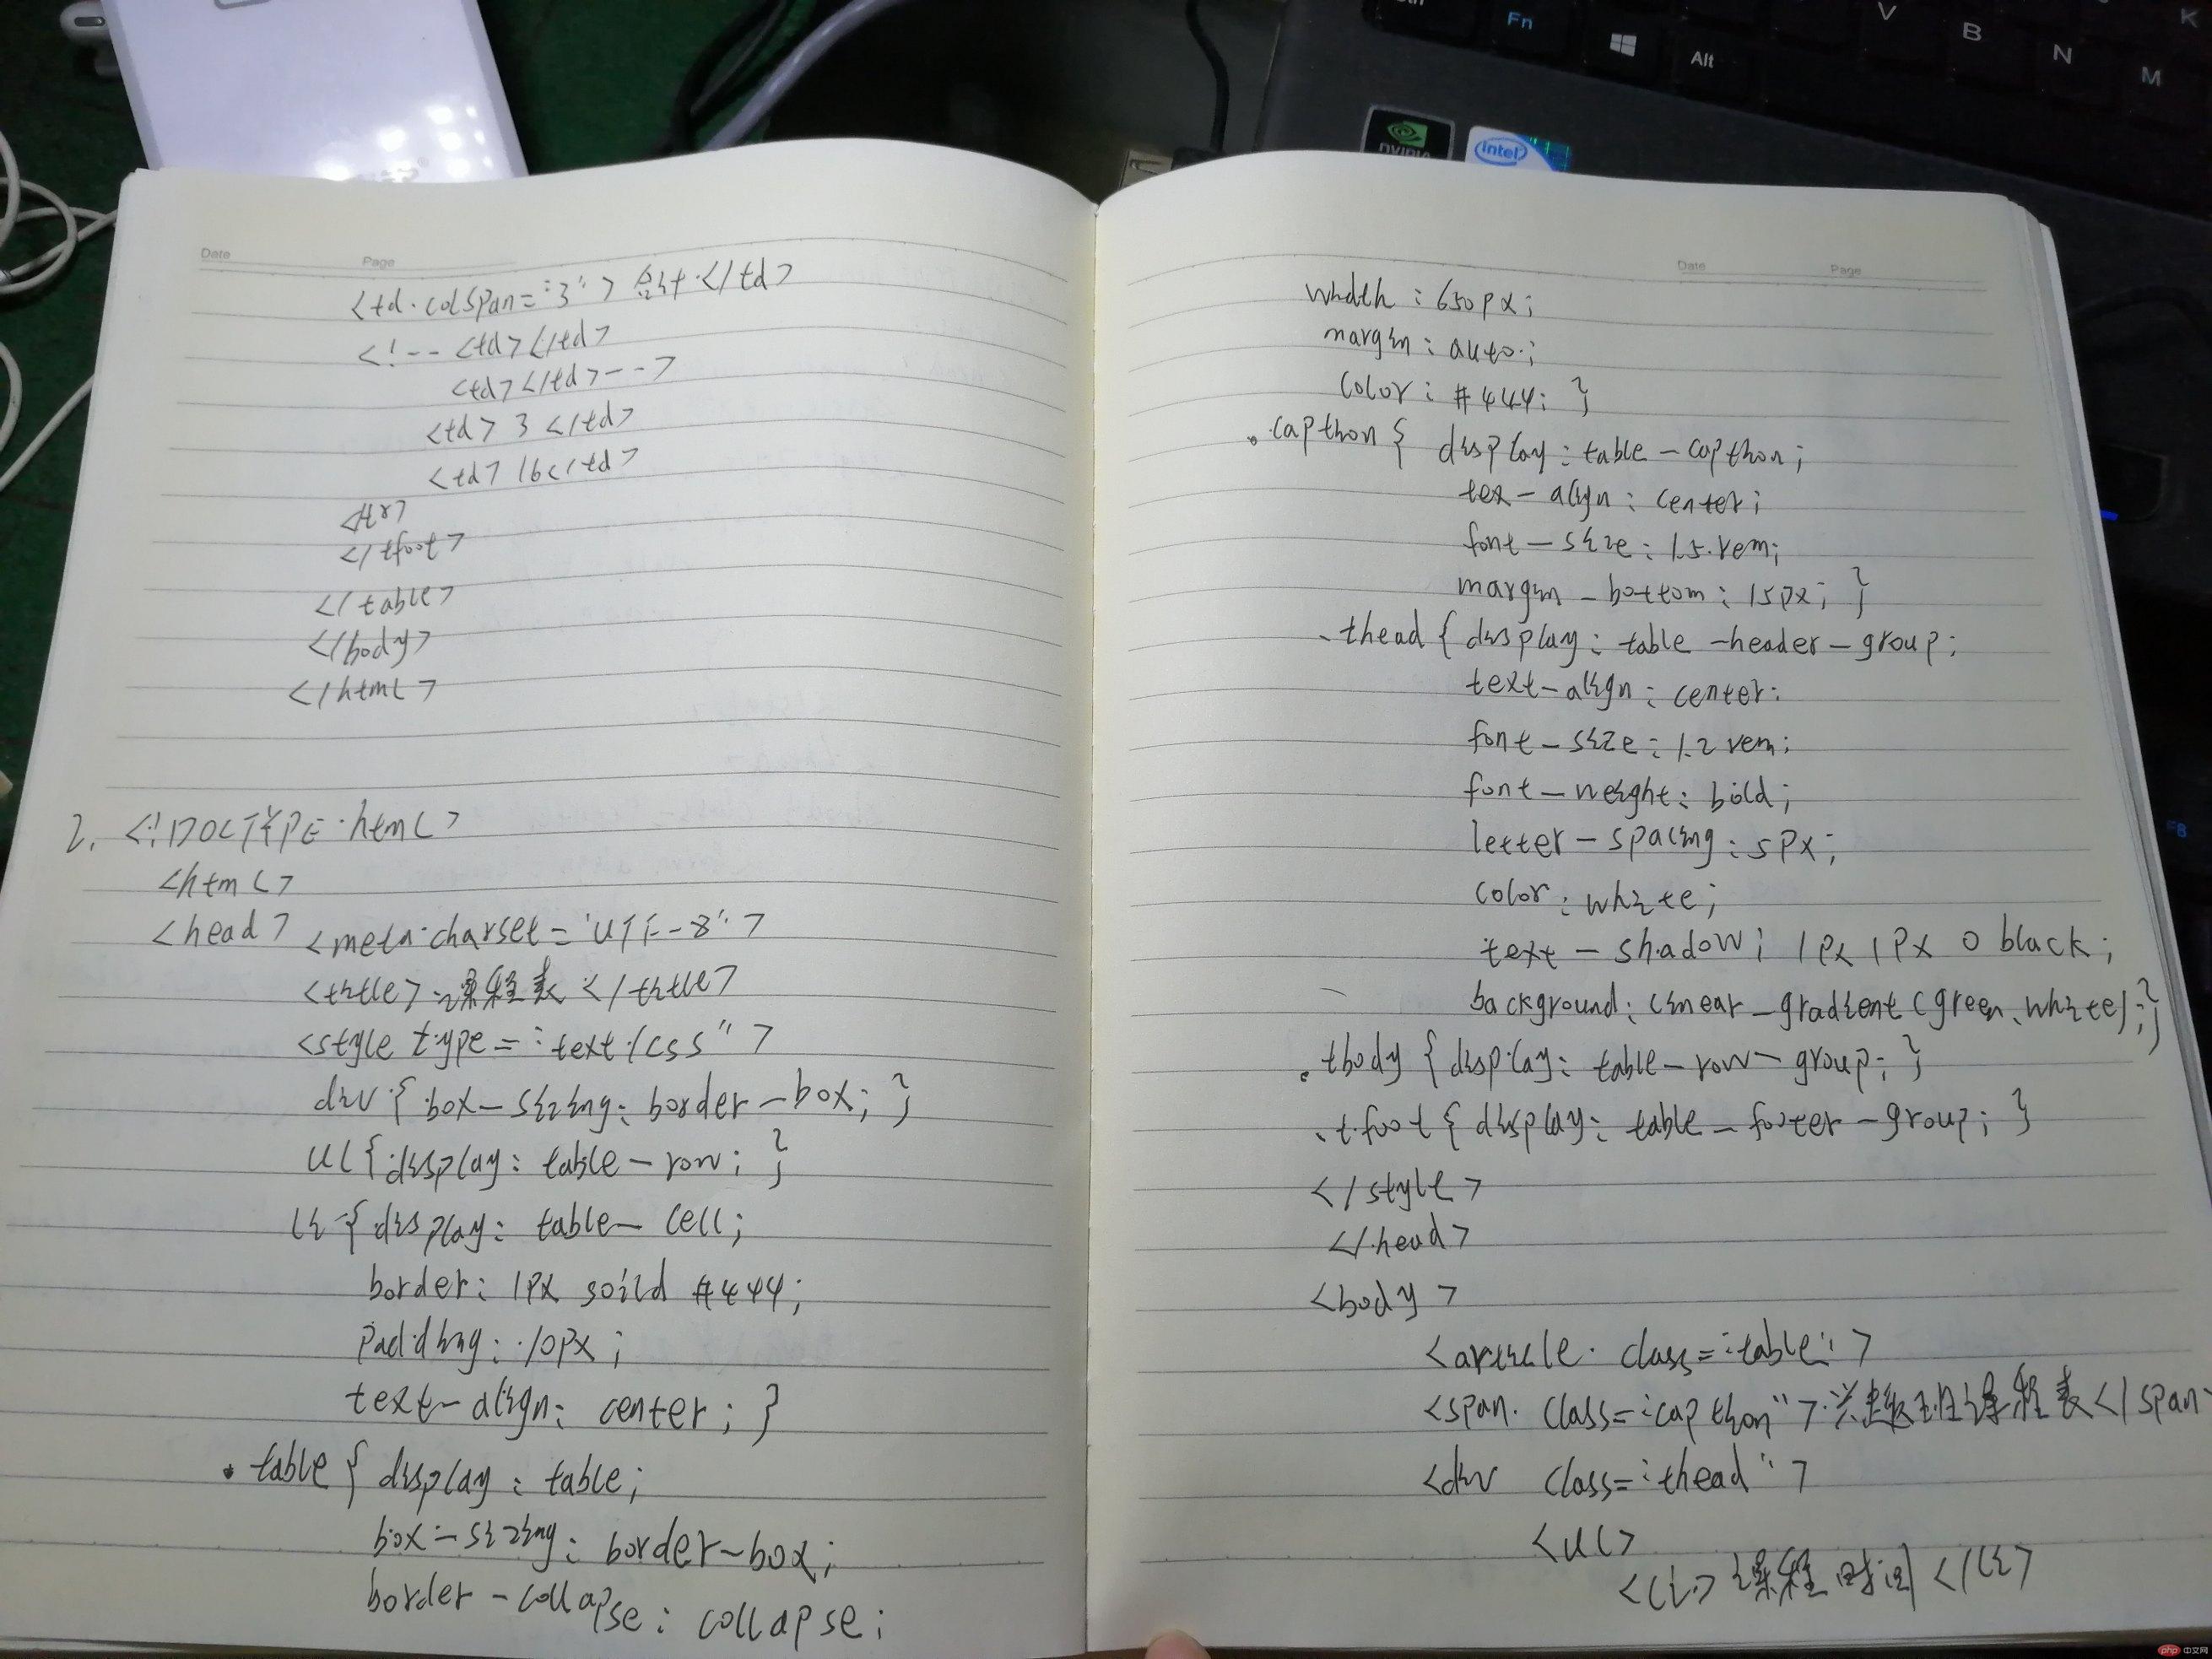
			<td colspan="3">合计</td>
			<!-- <td></td>
			<td></td> -->
			<td>3</td>
			<td>16</td>
		</tr>
		</tfoot>

	</table>
</body>
</html>
运行实例 »
点击 "运行实例" 按钮查看在线实例
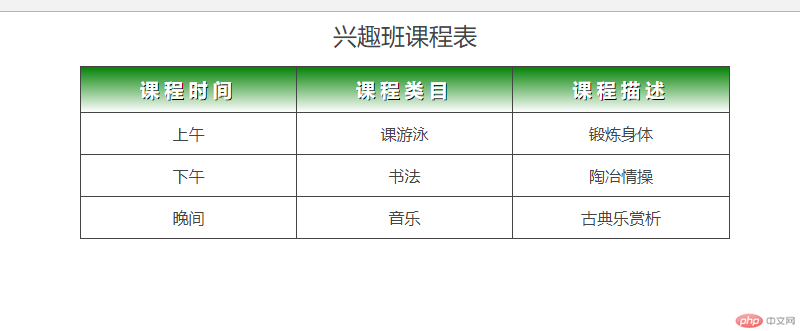
* 使用<div><span><p><ul>...等标签来制作一张课程表
实例
<!DOCTYPE html>
<html>
<head>
	<meta charset="utf-8">
	<title>课程表</title>
	<style type="text/css">
		div {
			box-sizing: border-box;

		}
		ul {
		    display: table-row;
		}
		li {
		    display: table-cell;
		    border: 1px solid #444;
		    padding: 10px;
		    text-align: center;
		}
		.table {
		    display: table;
		    box-sizing: border-box;
		    border-collapse: collapse;
		    width: 650px;
		    margin: auto;
		    color: #444;
		}
		.caption {

		    display: table-caption;
		    text-align: center;
		    font-size: 1.5rem;
		    margin-bottom: 15px;

		}
		.thead {
		    display: table-header-group;
		    text-align: center;
		    font-size: 1.2rem;
		    font-weight: bold;
		    letter-spacing: 5px;
		    color: white;
		    text-shadow: 1px 1px 0 black;
		    background: linear-gradient(green, white);

		}
		.tbody {
		    display: table-row-group;
		}


		.tfoot {
		    display: table-footer-group;
		}
	</style>
</head>
<body>
	<article class="table">
	<!-- 标题 -->
		<span class="caption">兴趣班课程表</span>
		<div class="thead">
			<ul>
				<li>课程时间</li>
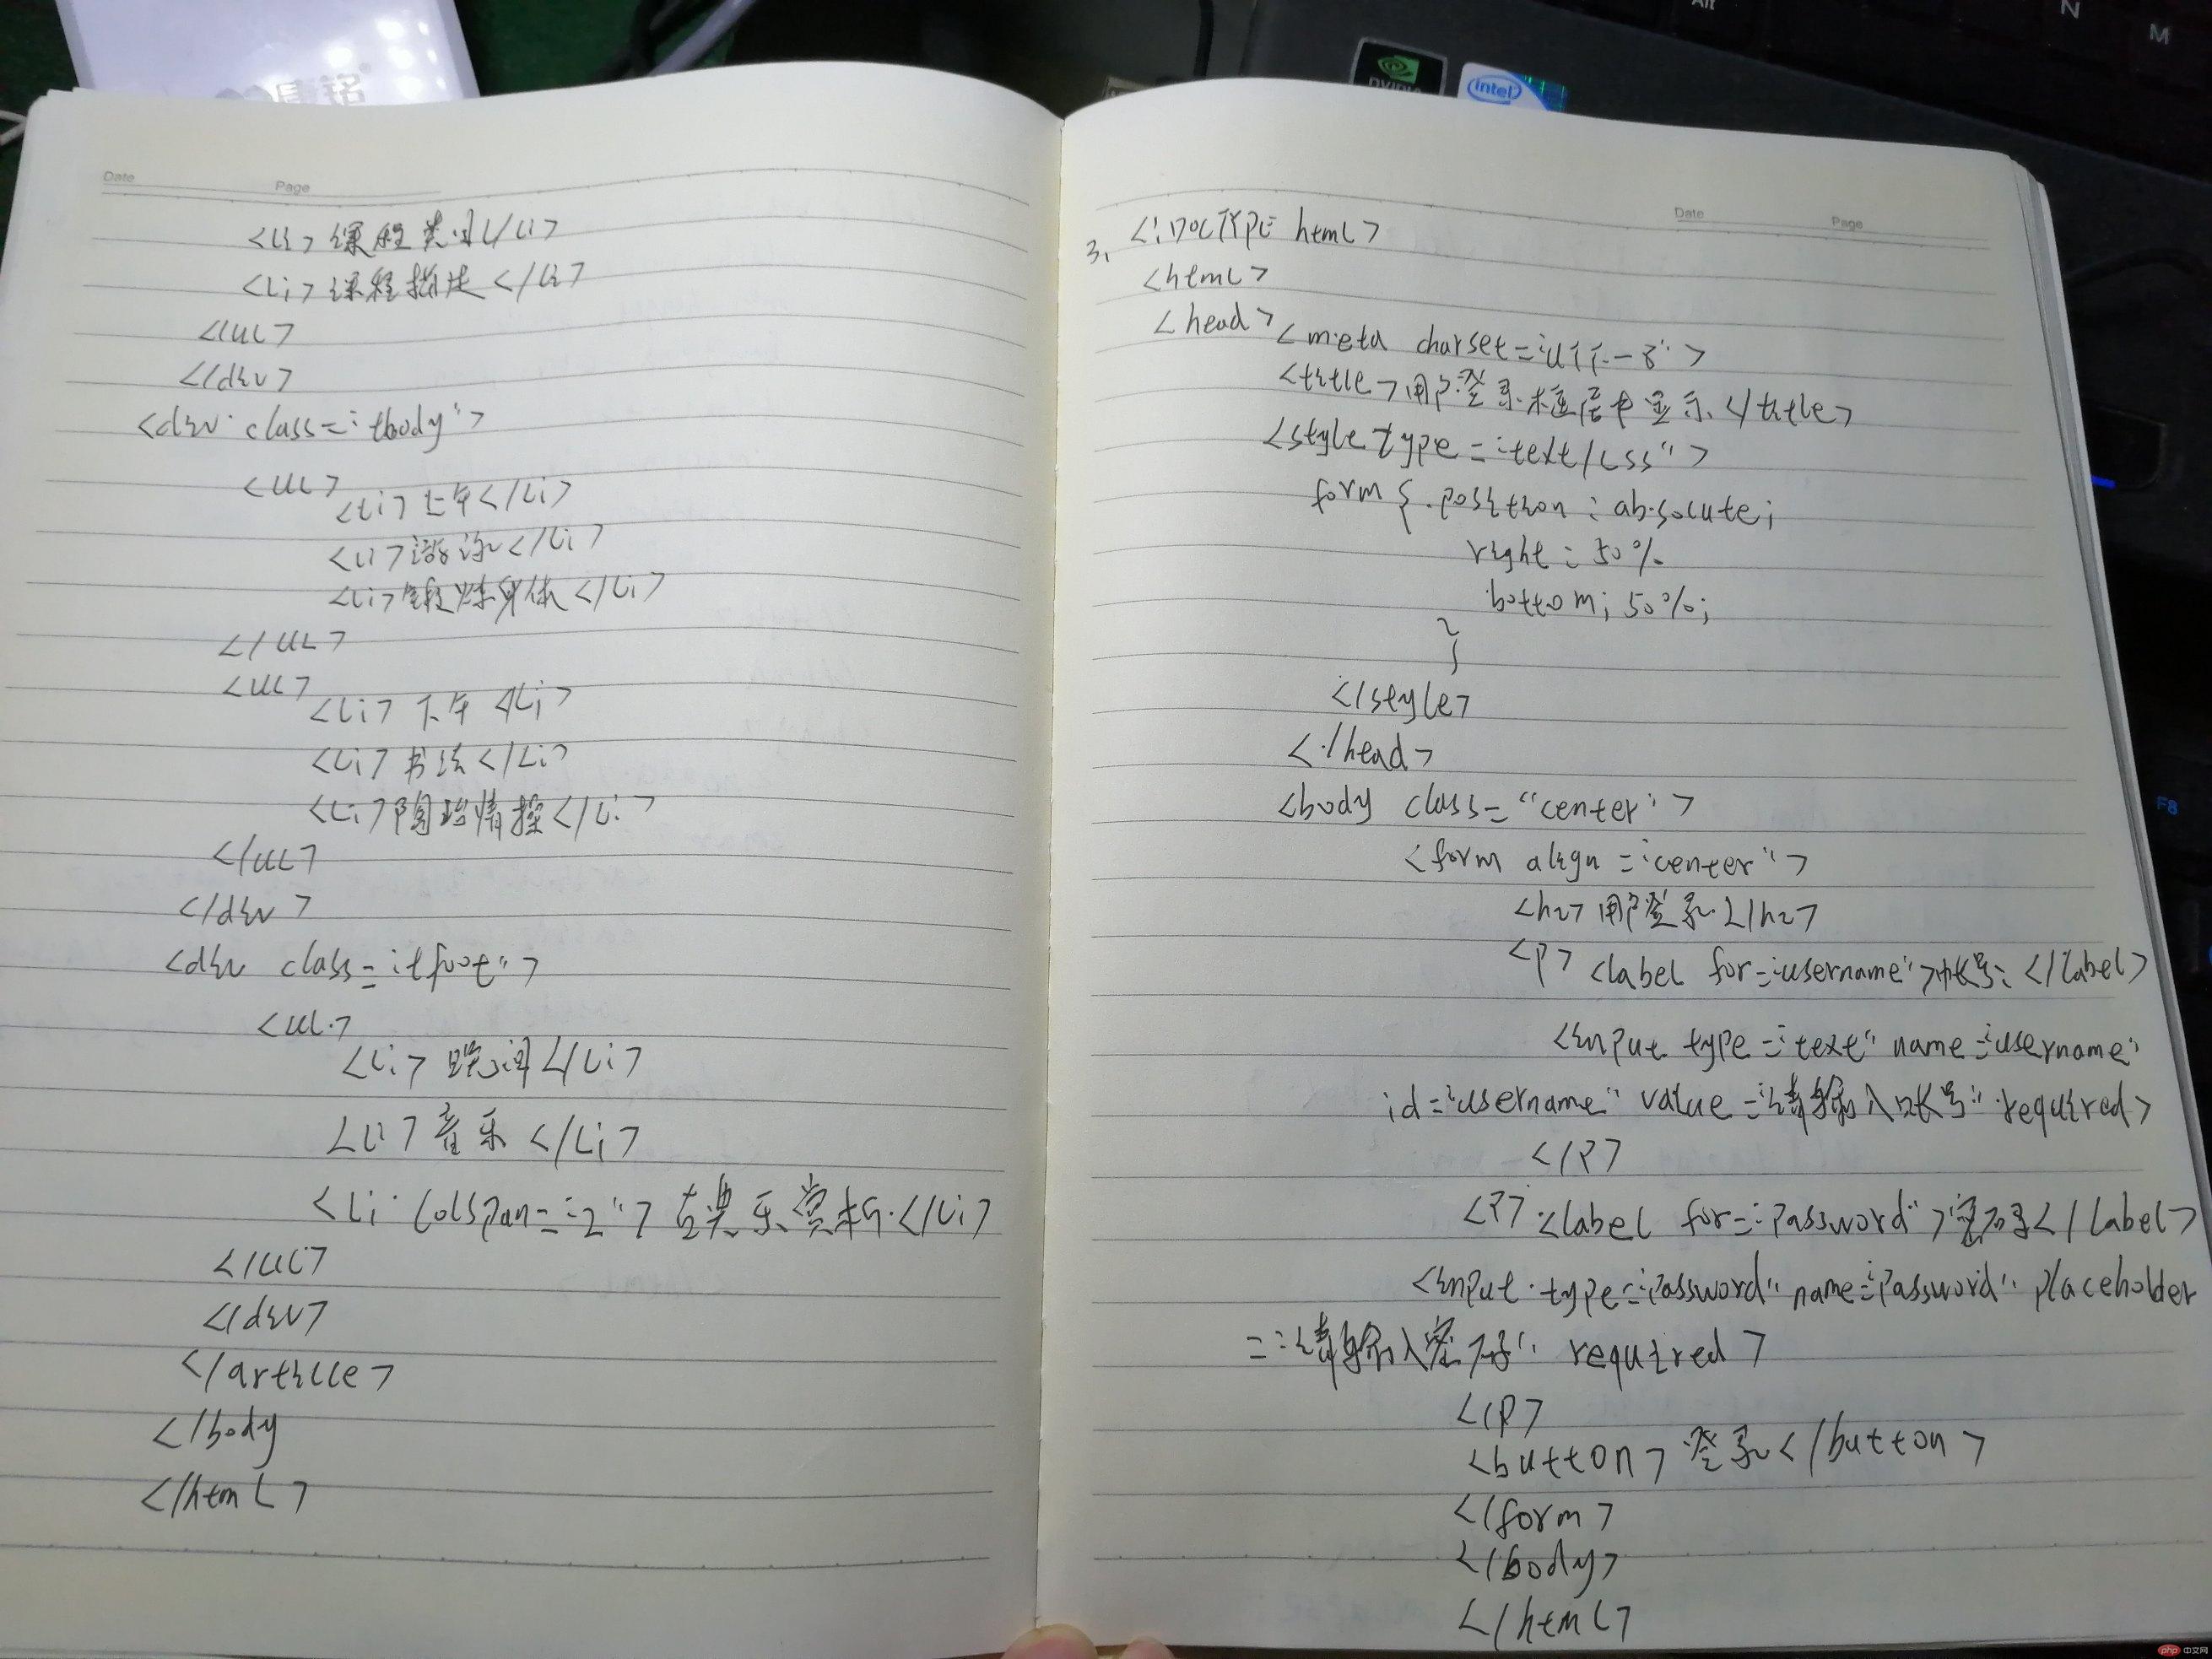
				<li>课程类目</li>
				<li>课程描述</li>
			</ul>
		</div>
		<!-- 主体 -->
		<div class="tbody">
			<ul>
				<li>上午</li>
				<li>游泳</li>
				<li>锻炼身体</li>
			</ul>
			<ul>
				<li>下午</li>
				<li>书法</li>
				<li>陶冶情操</li>
			</ul>
		</div>
		<div class="tfoot">
			<ul>
				<li>晚间</li>
				<li>音乐</li>
				<li colspan="2">古典乐赏析</li>
			</ul>
		</div>
	</article>

</body>
</html>
运行实例 »
点击 "运行实例" 按钮查看在线实例
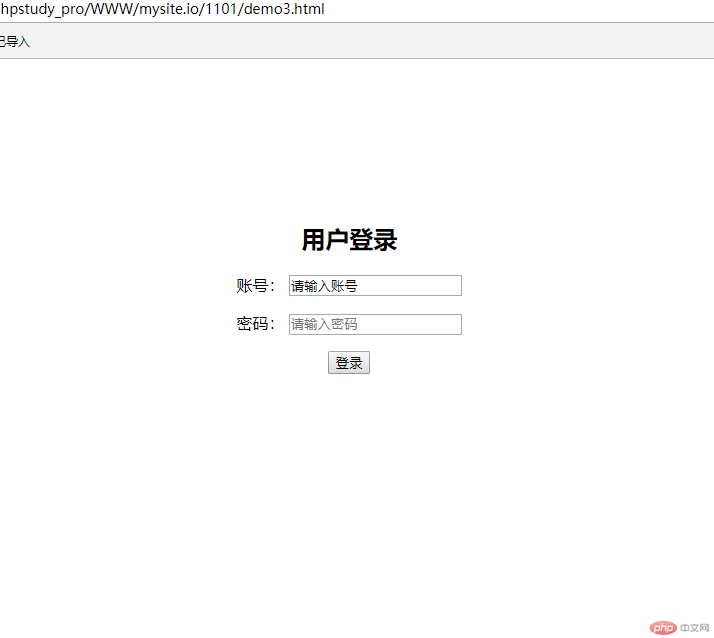
* 使用绝对定位,实现用户登录框在页面中始终居中显示
实例
<!DOCTYPE html>
<html lang="en">
<head>
	<meta charset="utf-8">
	<title>用户登录框页面居中显示</title>
	<style type="text/css">

		form {
			position: absolute;
			right: 50%;
			bottom: 50%;
		}
	</style>
</head>

<body class="center">

		<form align="center">
			<h2>用户登录</h2>
			<p>
			    <label for="username">账号:</label>
			    <input type="text" name="username" id="username" value="请输入账号" required>
			</p>
			<p>
			<label for="password">密码:</label>
			<input type="password" name="password" placeholder="请输入密码" required>
			</p>
			<button>登录</button>
		</form>
</body>
</html>
运行实例 »
点击 "运行实例" 按钮查看在线实例
* 模仿课堂案例, 实现圣杯布局,并写出完整流程与布局思路
实例
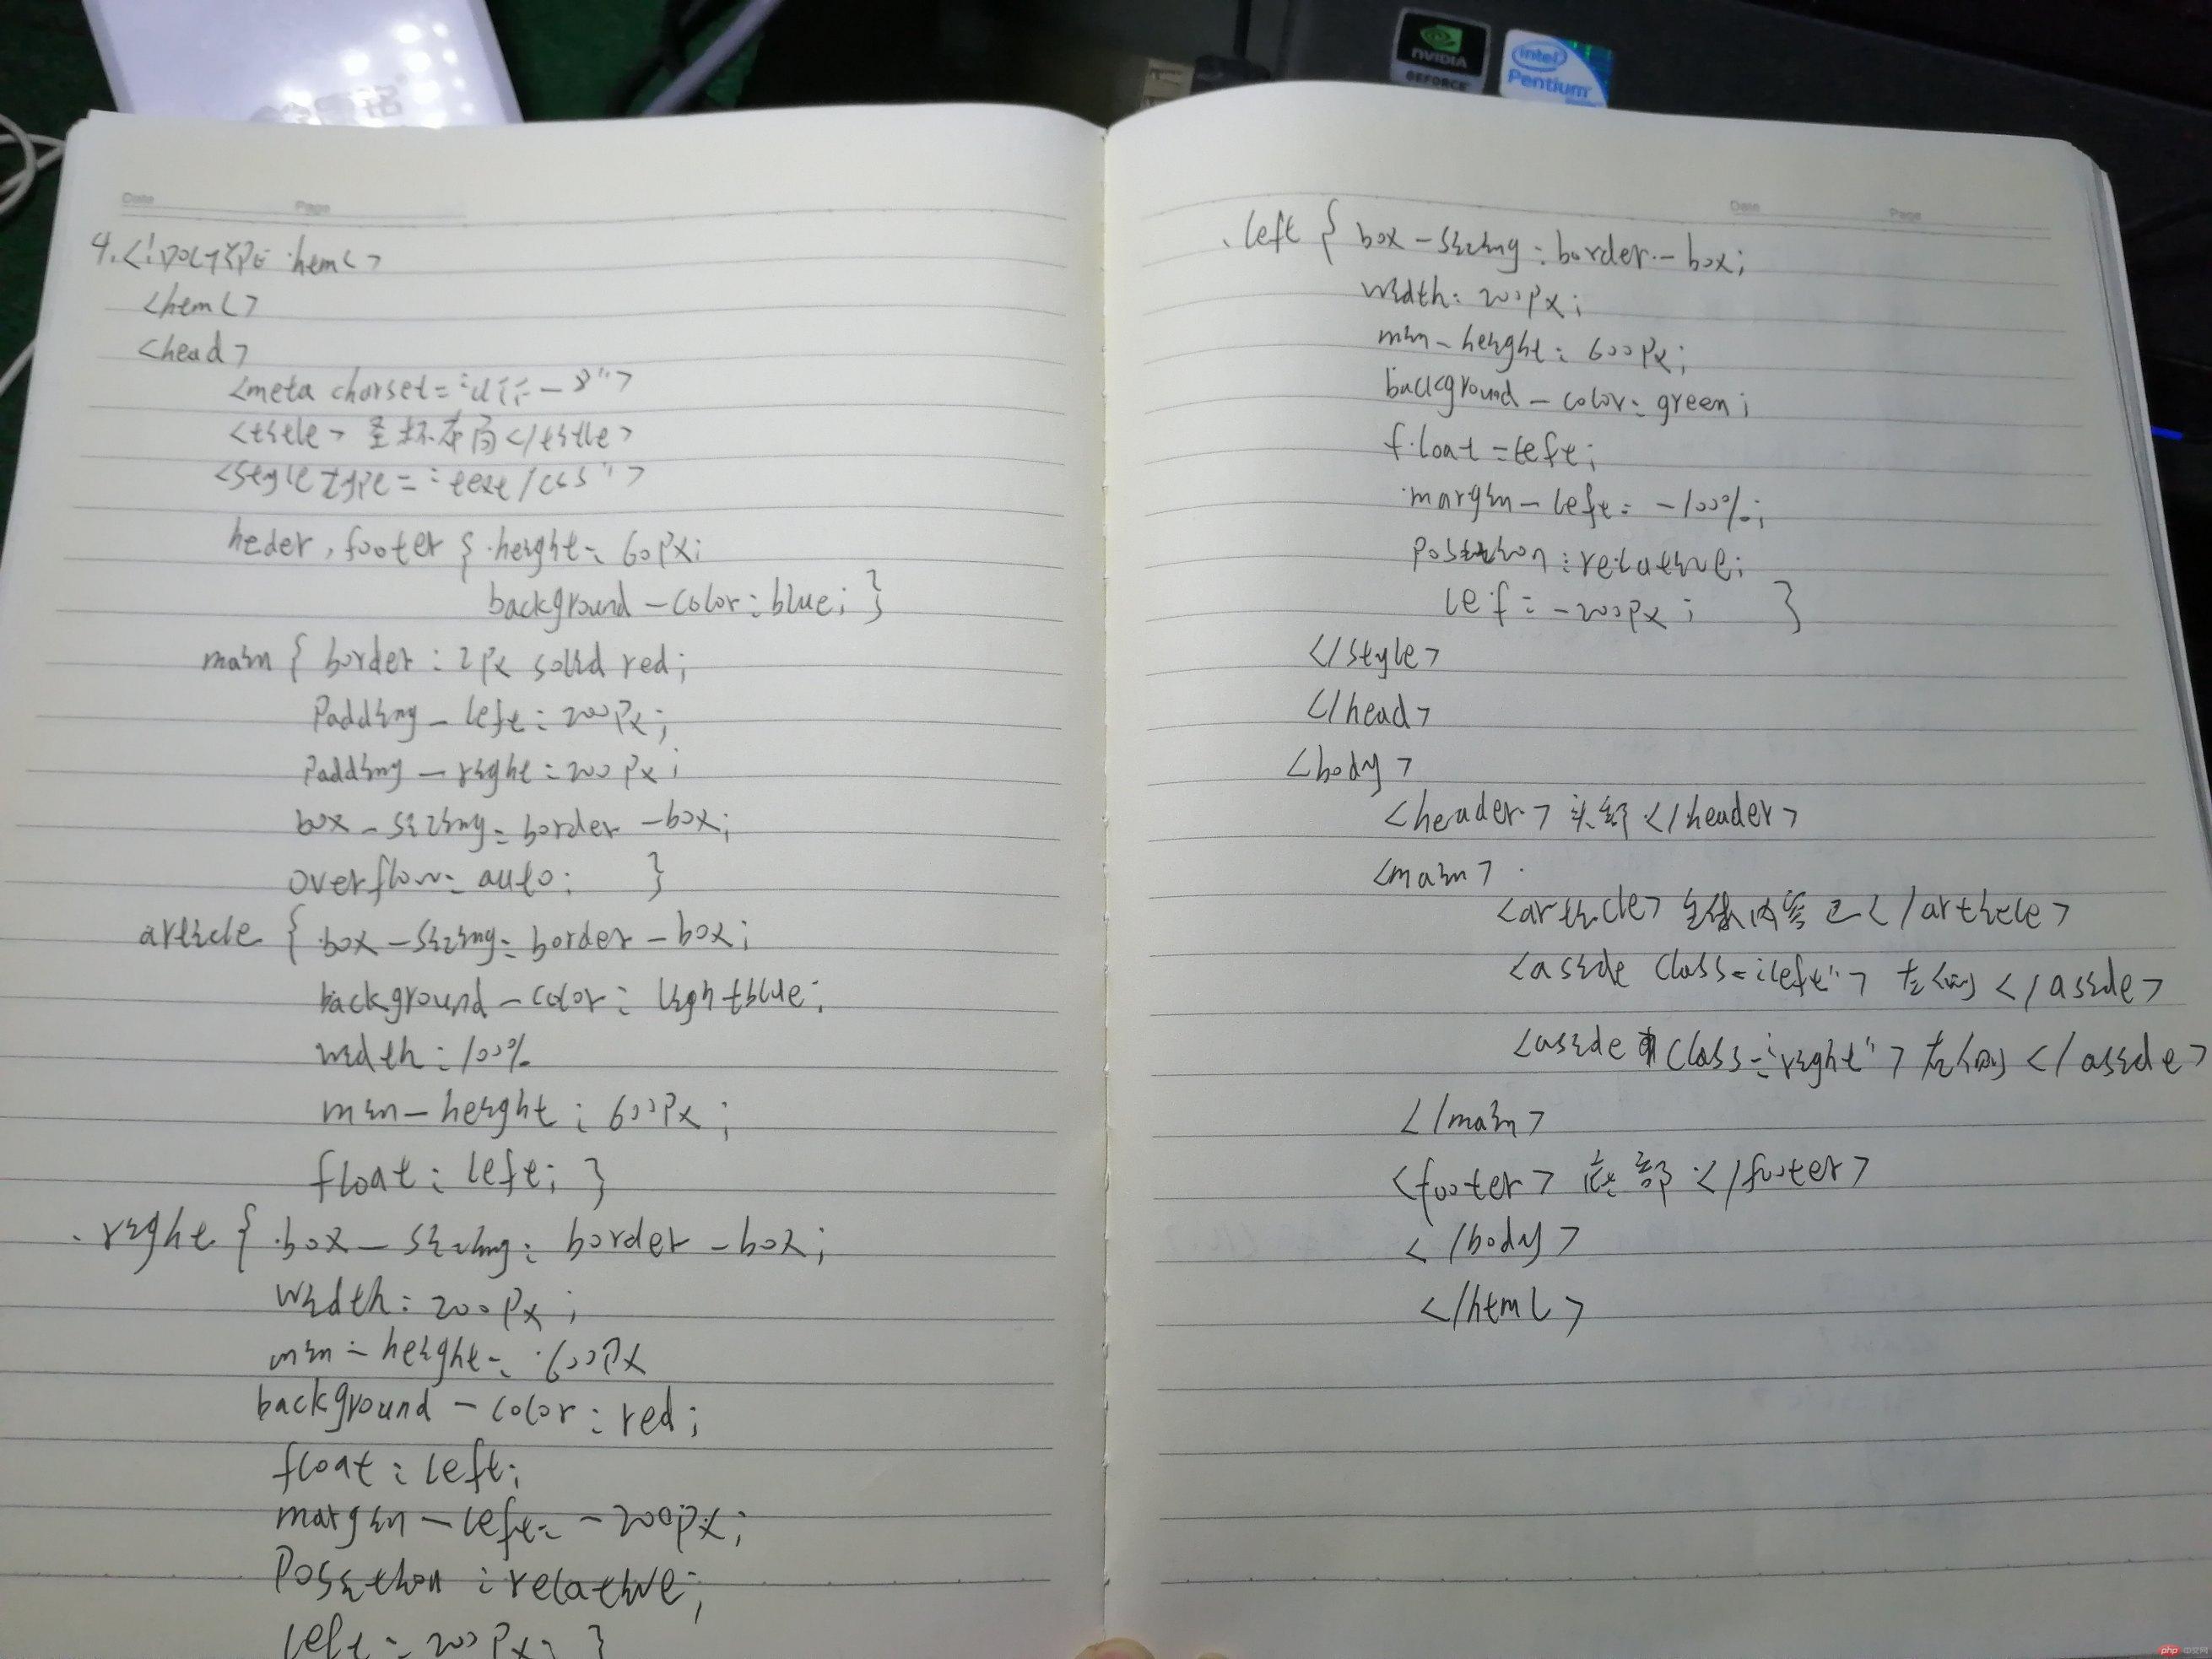
<!DOCTYPE html>
<html lang="en">
<head>
    <meta charset="UTF-8">
    <title>圣杯布局</title>
    <style type="text/css">
   		header,footer {
   			height: 60px;
   			background-color: blue;
   		}
   		main {

		    border: 2px solid red;
		    padding-left: 200px;
		    padding-right: 200px;
		    box-sizing: border-box;
		    overflow: auto;
		}
		article {
		    box-sizing: border-box;
		    background-color: lightblue;
		    width: 100%;
		    min-height: 600px;
		    float: left;
		}


		.right {
			box-sizing: border-box;
			width: 200px;
			min-height: 600px;
			background-color: red;
			float: left;
			margin-left: -200px;
			position: relative;
			left: 200px;

		}
		.left {
			box-sizing: border-box;
			width: 200px;
			min-height: 600px;
			background-color: green;
			float: left;

			margin-left: -100%;
			position: relative;
			left: -200px;

		}


    </style>
</head>
<body>
<header>头部</header>
<main>
    <article>主体内容区</article>
    <aside class="left">左侧</aside>
    <aside class="right">右侧</aside>
</main>
<footer>底部</footer>
</body>
</html>
运行实例 »
点击 "运行实例" 按钮查看在线实例
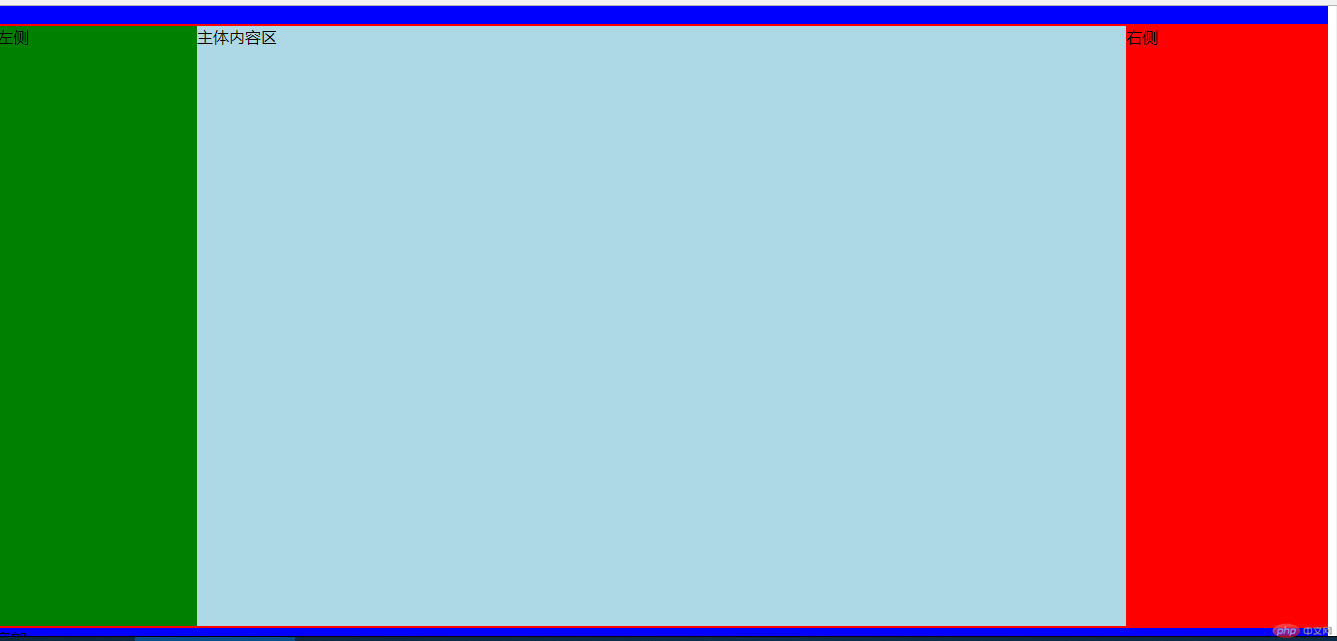
圣杯布局思路:首先画出要实现的布局简图,然后置头部底部样式,主要是中间内容区,通过设置主体盒子内边距,挤压出左右边栏目位置,在用浮动,将左右边栏目拉至第一目标位,在用相对定位,将左右栏目移动到指定预留位置!
PS:手抄如下
总结:通过一周学习,目前可以听懂,就是动手操作较差,并且忘得快,需要多写,多练习。希望下周可以跟上老师的节奏!

