一.盒模型的全部属性及应用场景
1.`width`: 宽度
2.`height`: 高度
3.`background`: 背景
4.`border`: 边框
5.`padding`: 内边距
(1)`padding-top`: 上内边距
(2)`padding-right`: 右内边距
(3)`padding-bottom`: 下内边距
(4)`padding-left`: 左内边距
6.`margin`: 外边距
(1)`margin-top`: 上外边距
(2)`margin-right`: 右外边距
(3)`margin-bottom`: 下外边距
(4)`margin-left`: 左外边距
7.盒模型广泛应用于页面上在栏目、图片等内容。
二.`box-sizing`: 解决了什么问题, 不用它应该如何处理?
默认盒子的宽度和高度只包括了内容区的大小,当给盒子添加边框和内边距时, 会撑开盒子改变大小,影响布局,使用`box-sizing`属性可以解决此问题。如果不使用,需要手动计算盒子的宽度和高度。
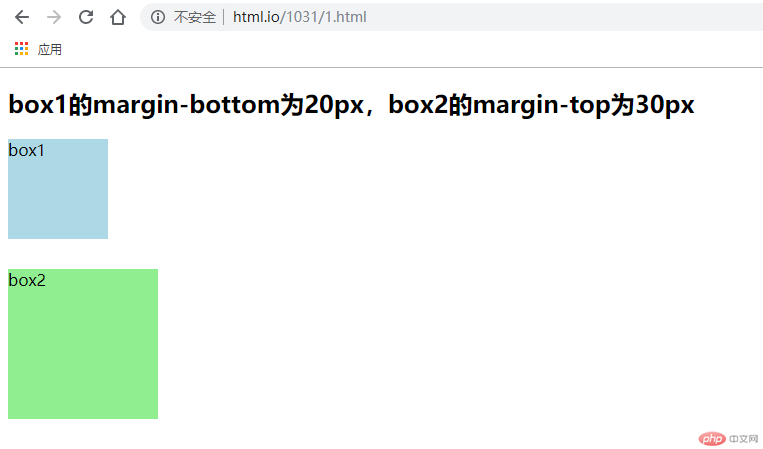
三.盒子外边距的合并是怎么回事,并实例演示
同级盒子之间,添加外边距后,最终由以较大值确定,叫做外边距的合并, 也叫外边距的塌陷
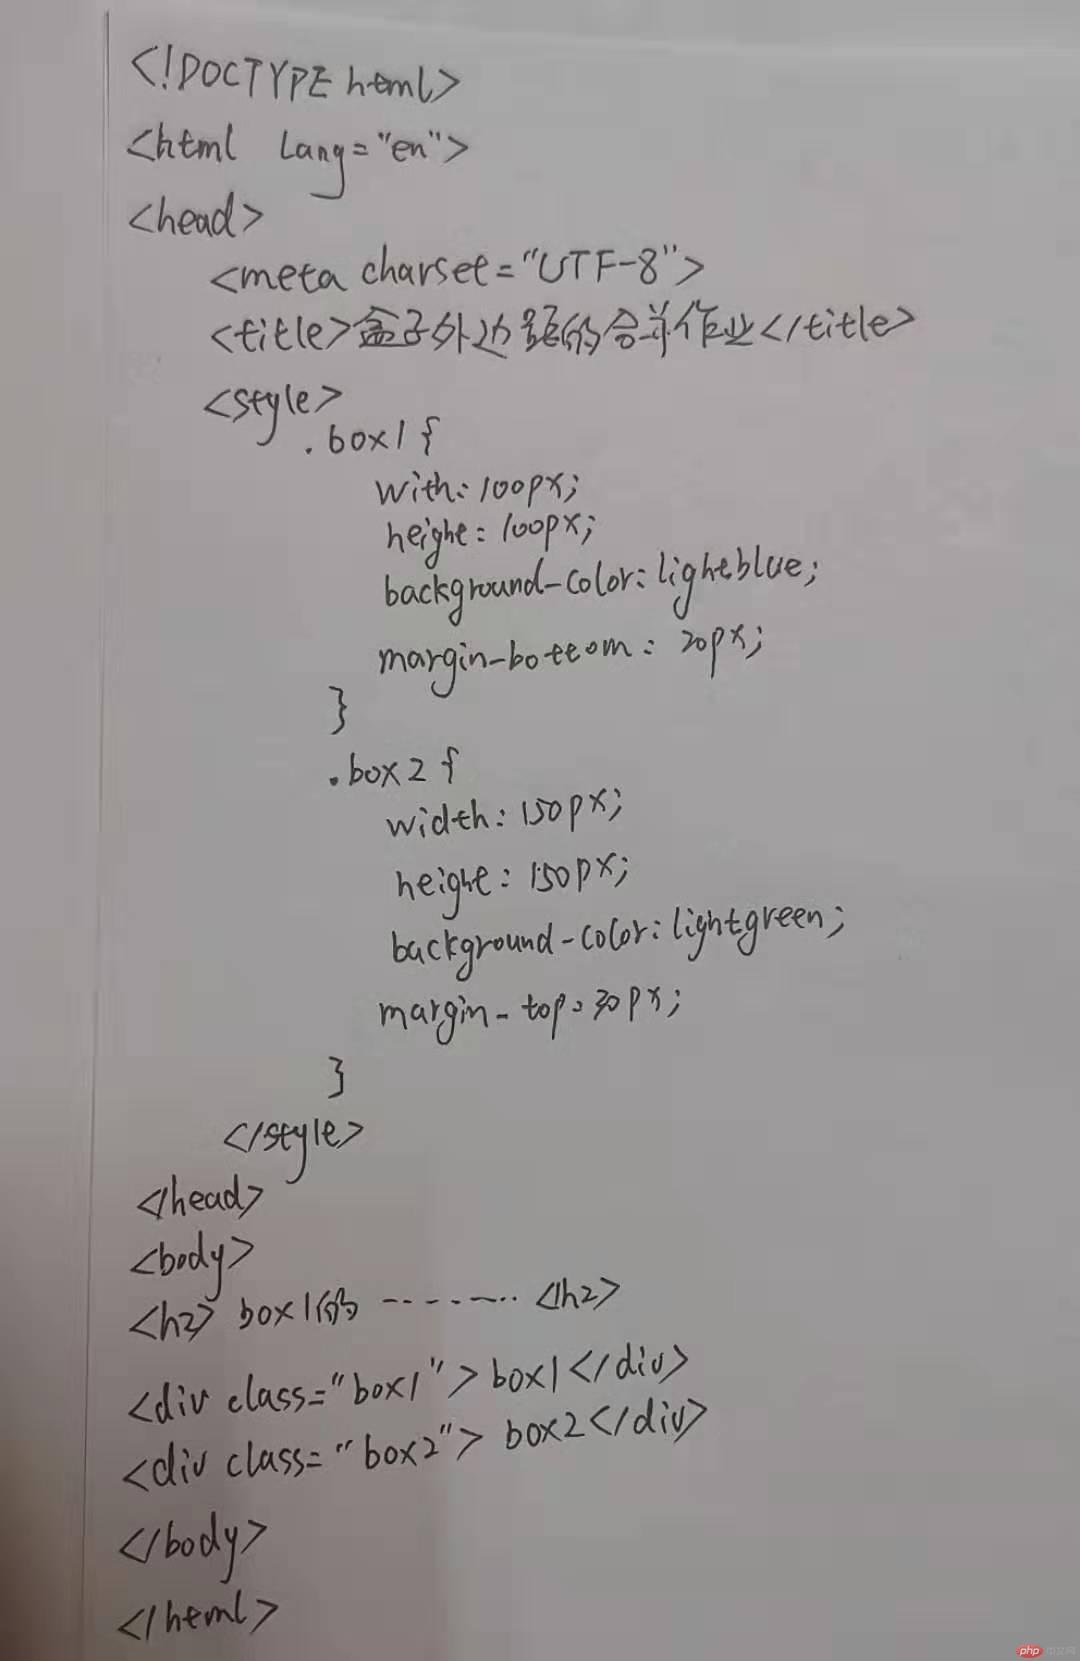
实例
<!DOCTYPE html>
<html lang="en">
<head>
    <meta charset="UTF-8">
    <title>盒子外边距的合并作业</title>
    <style>
        .box1 {
            width: 100px;
            height: 100px;
            background-color: lightblue;
            margin-bottom: 20px;
        }

        .box2 {
            width: 150px;
            height: 150px;
            background-color: lightgreen;
            margin-top: 30px;
        }
    </style>
</head>
<body>
<h2>box1的margin-bottom为20px,box2的margin-top为30px</h2>
<div class="box1">box1</div>
<div class="box2">box2</div>
</body>
</html>
运行实例 »
点击 "运行实例" 按钮查看在线实例
四.嵌套盒子之间内边距与外边距的表现有何不同, 如何处理?
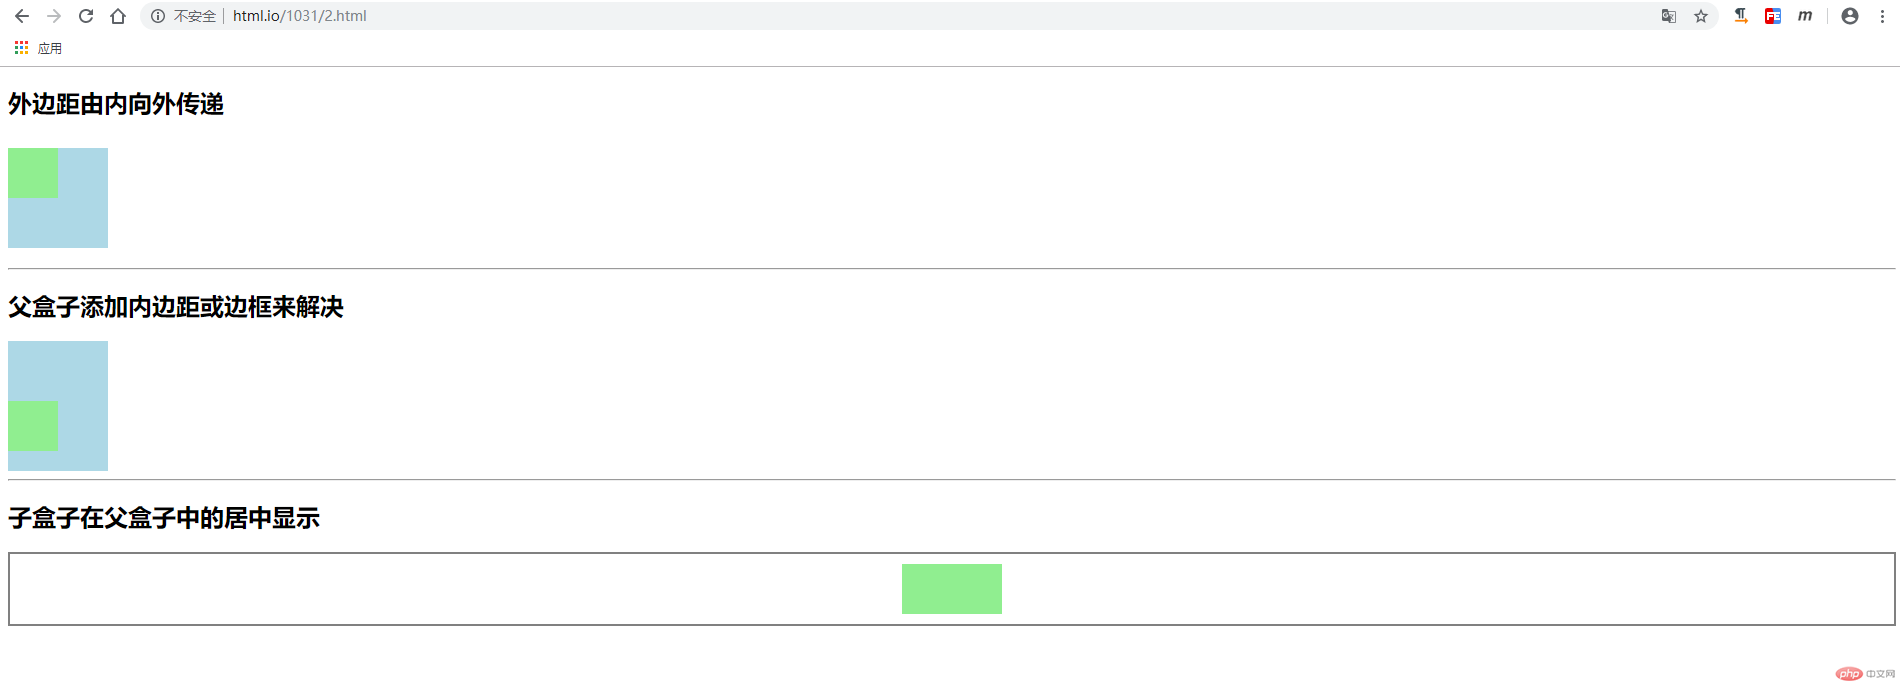
嵌套盒子中子盒子外边距会传递到父盒子,通过给父盒子添加内边距或边框来解决,当外边距在水平方向取值auto时, 可以实现子盒子的水平居中显示效果。
实例
<!DOCTYPE html>
<html lang="en">
<head>
    <meta charset="UTF-8">
    <title>外边距由内向外传递/解决/居中显示-作业</title>
    <style>
        .box1 {
            width: 100px;
            height: 100px;
            background-color: lightblue;
        }
        .box2 {
            width: 50px;
            height: 50px;
            background-color: lightgreen;
        }
        .box1 {
            margin-bottom: 20px;
        }
        .box2 {
            margin-top: 30px;
        }

        .box3 {
            width: 100px;
            height: 100px;
            background-color: lightblue;
        }
        .box4 {
            width: 50px;
            height: 50px;
            background-color: lightgreen;
        }
        .box3 {
            padding-top: 30px;
        }
        .box4 {
            margin-top: 30px;
        }

        .box5 {
            border: 2px solid gray;
        }

        .box6 {
            width: 100px;
            height: 50px;
            background-color: lightgreen;
            margin: 10px auto;
        }
    </style>
</head>
<body>
<!--外边距由内向外传递-->
<h2>外边距由内向外传递</h2>
<div class="box1">
    <div class="box2"></div>
</div>
<hr>
<h2>父盒子添加内边距或边框来解决</h2>
<div class="box3">
    <div class="box4"></div>
</div>
<hr>
<h2>子盒子在父盒子中的居中显示</h2>
<div class="box5">
    <div class="box6"></div>
</div>

</body>
</html>
运行实例 »
点击 "运行实例" 按钮查看在线实例
五.实例演示: 背景颜色的线性渐变的
实例
<!DOCTYPE html>
<html lang="en">
<head>
    <meta charset="UTF-8">
    <title>背景颜色的线性渐变作业</title>
    <style>
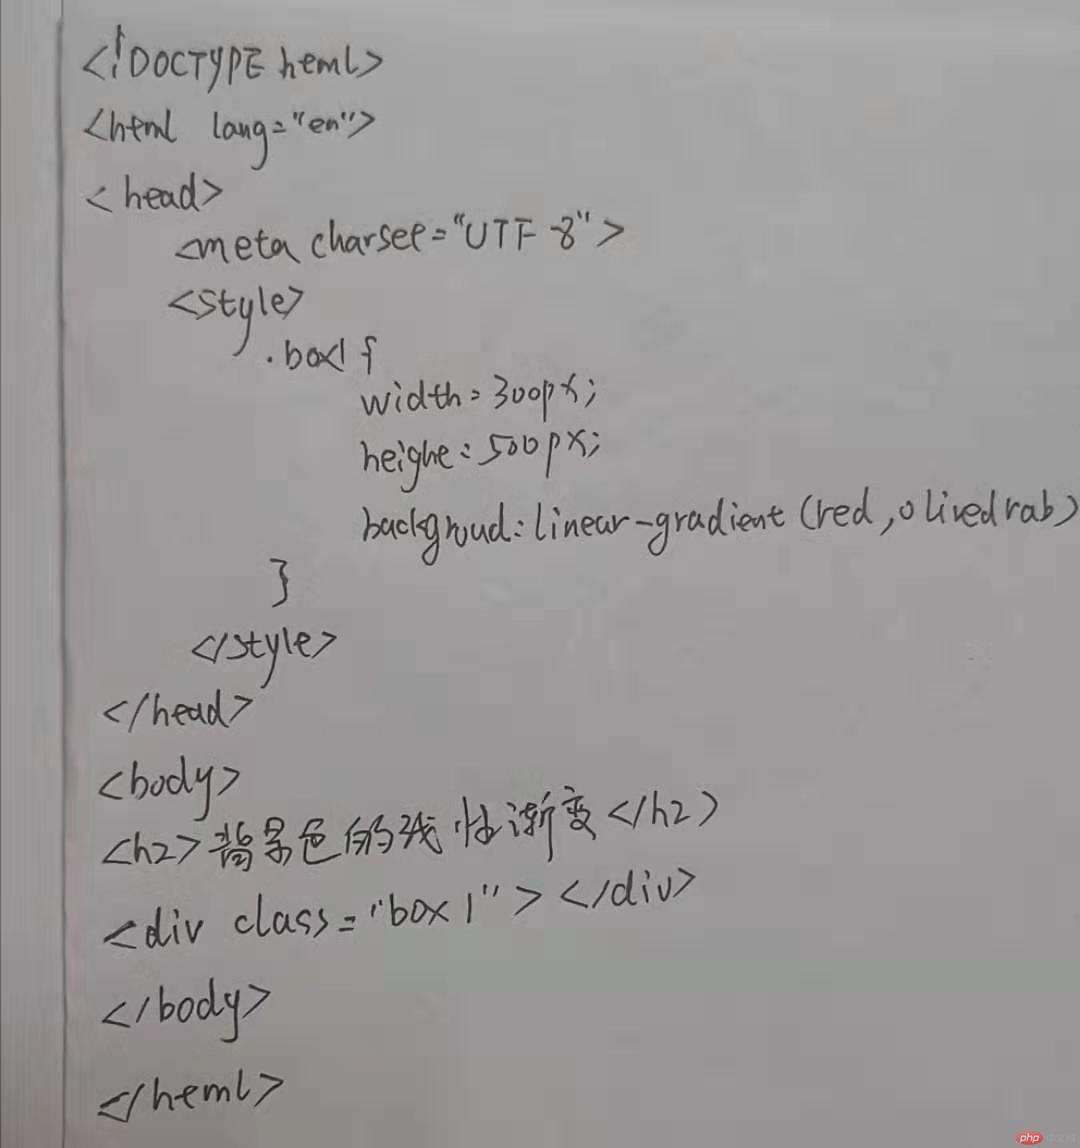
        .box1{
            width: 300px;
            height: 500px;
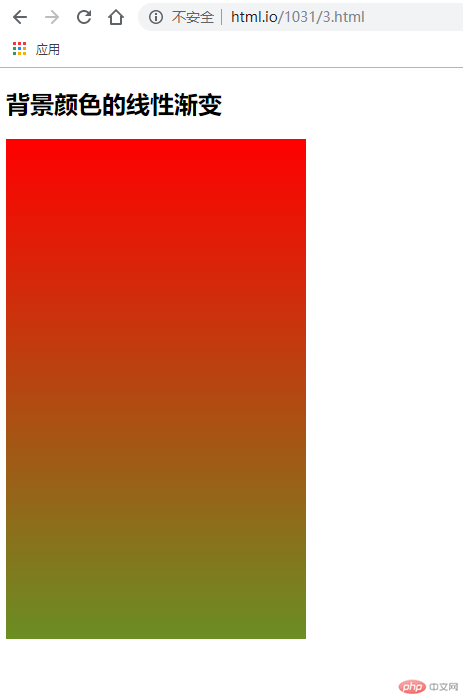
            background:linear-gradient(red,olivedrab)
        }
    </style>
</head>
<body>
<h2>背景颜色的线性渐变</h2>
<div class="box1"></div>
</body>
</html>
运行实例 »
点击 "运行实例" 按钮查看在线实例
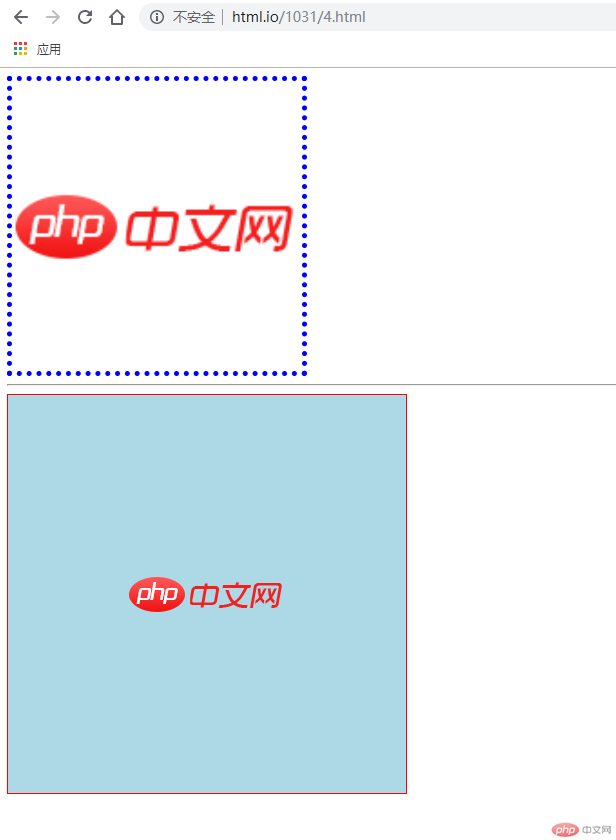
六.实例演示: 背景图片的大小与位置的设定
实例
<!DOCTYPE html>
<html lang="en">
<head>
    <meta charset="UTF-8">
    <title>背景图片的大小与位置的设定作业</title>
    <style>
        .box1{
            width: 300px;
            height: 300px;
            box-sizing: border-box;
            border: 5px dotted blue;
            background-image: url("https://www.php.cn/static/images/logos.png");
        }
        .box2{
            width: 400px;
            height: 400px;
            box-sizing: border-box;
            border: 1px solid red;
        }

        .box1{
            background-repeat: no-repeat;
            background-position: center center;
            background-size: contain;

        }
        .box2{
            background: lightblue url("https://www.php.cn/static/images/logos.png") no-repeat center center;
        }
    </style>
</head>
<body>
<div class="box1"></div>
<hr>
<div class="box2"></div>
</body>
</html>
运行实例 »
点击 "运行实例" 按钮查看在线实例
