帶你吃透CSS3屬性:transition 與 transform
- 青灯夜游轉載
- 2022-10-21 19:46:532436瀏覽
這篇文章帶大家了解下CSS 中的transition (過渡) 和transform (動畫) 屬性,這兩個屬性的參數確實比較複雜,它們可以做出CSS 的一些基礎動畫效果,平移,旋轉,傾角……等等,這些也是我早期學習CSS 的難忘之處,今天就給大家詳細總結出來。
一:transition 過渡
#transition 可以做出CSS 的過渡效果,例如要過渡的屬性名稱,要過渡的時間,過渡的延遲等待時間,過渡的速度變化(過渡類型)......等等
transition 常用屬性:
- transition-property:#用於指定要參與過渡的屬性名稱
- transition-duration:用於指定過渡的持續時間
- transition-delay:#用於指定過渡的延遲等待時間
- transition-timing-function:用於指定過渡的類型
#下面會對這四個常用屬性做出逐一講解,大家記住一句話------- 誰做過渡給誰加過渡屬性
1.1 transition-property 指定過渡屬性
#transition-property 用於指定要參與過渡的屬性名稱,例如您想要要長寬過渡,那麼在後面寫width,height 即可,如果想省事可以寫成all,即全屬性都變化。
<style>
        div{
            width: 200px;
            height: 200px;
            background-color: rgb(255, 156, 156);
            transition-property: width,height;  //设置要过渡的属性为宽高
        }
        div:hover{
            width: 300px;
            height: 300px;
        }
</style>
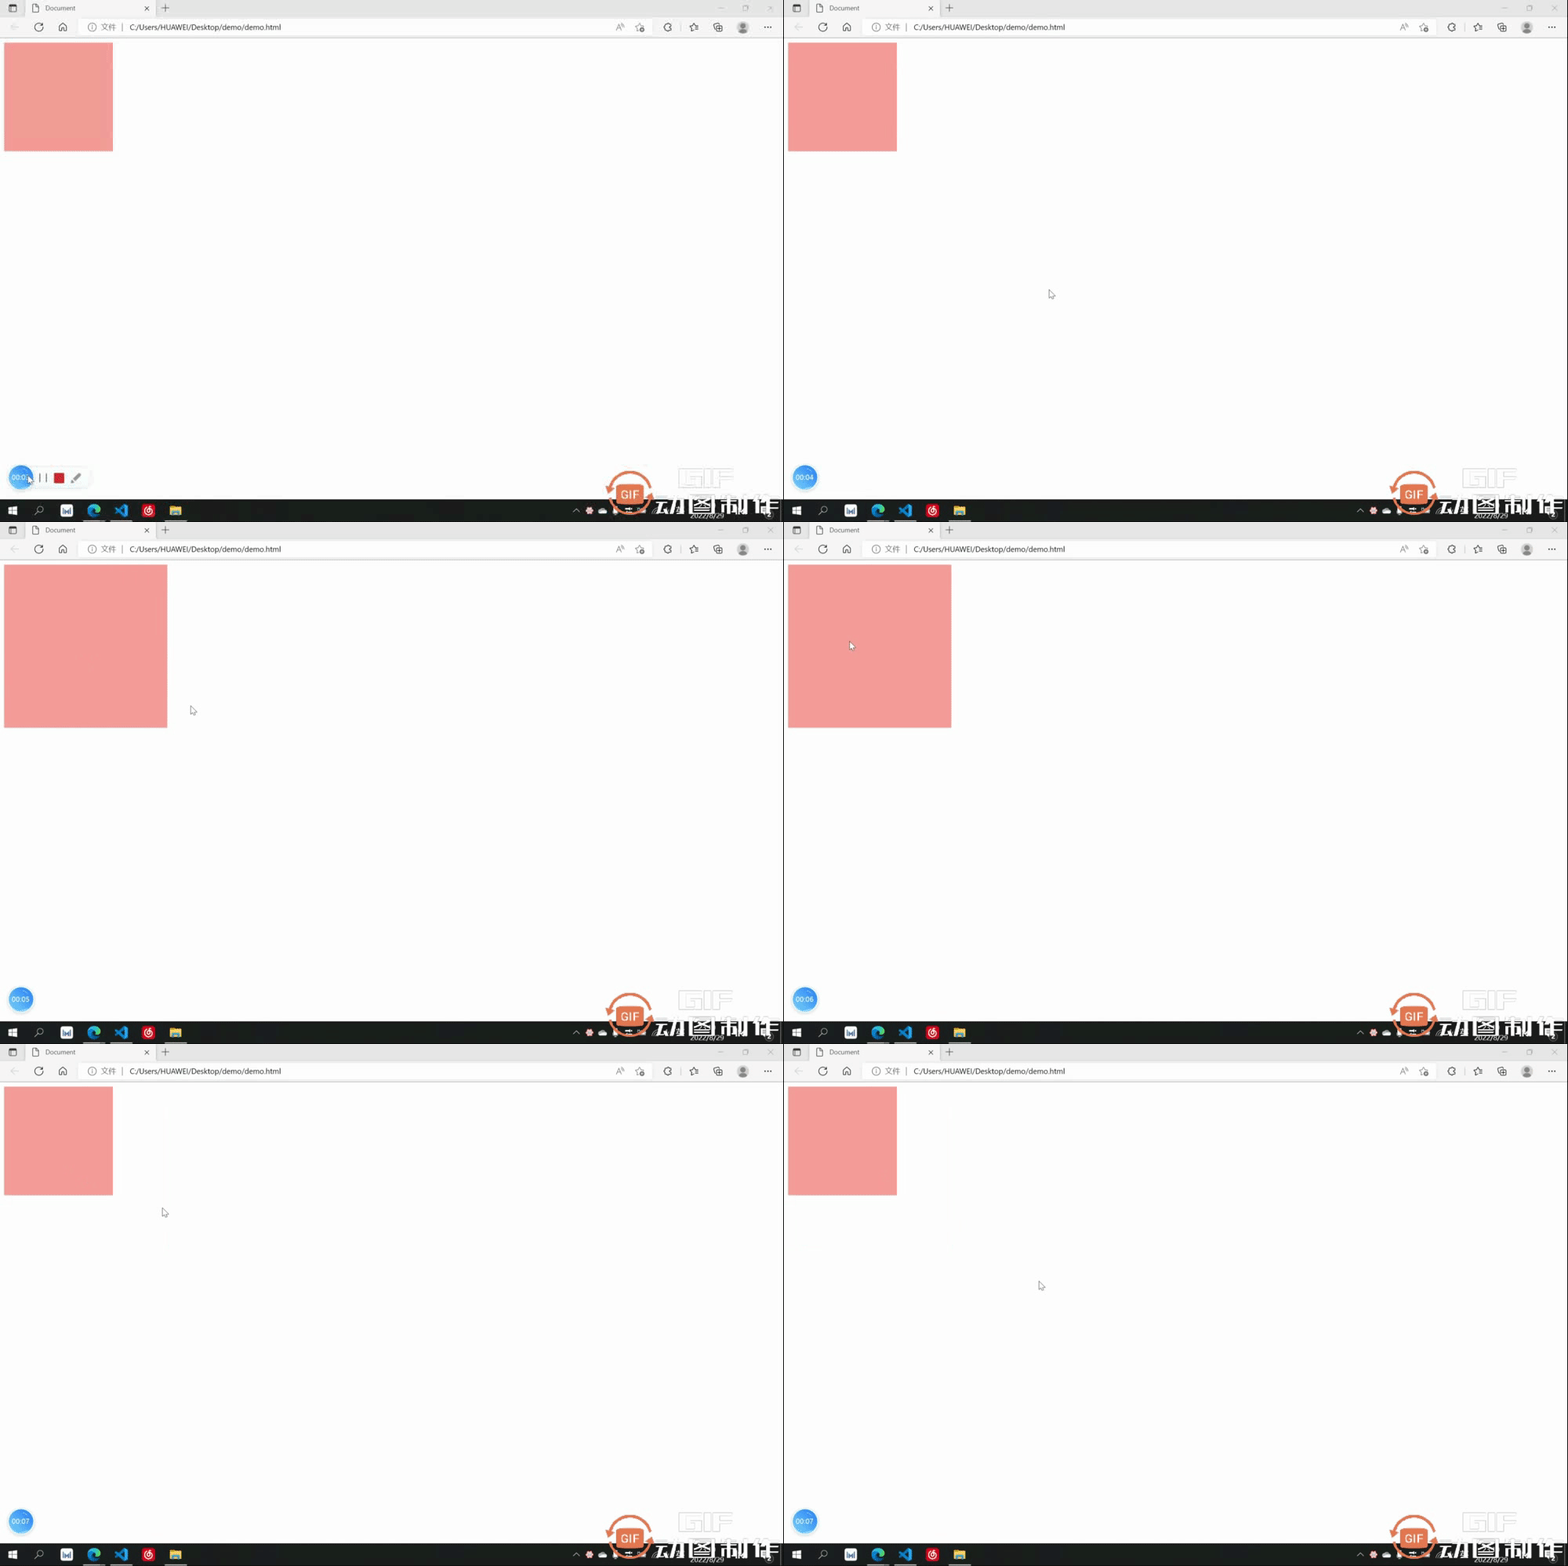
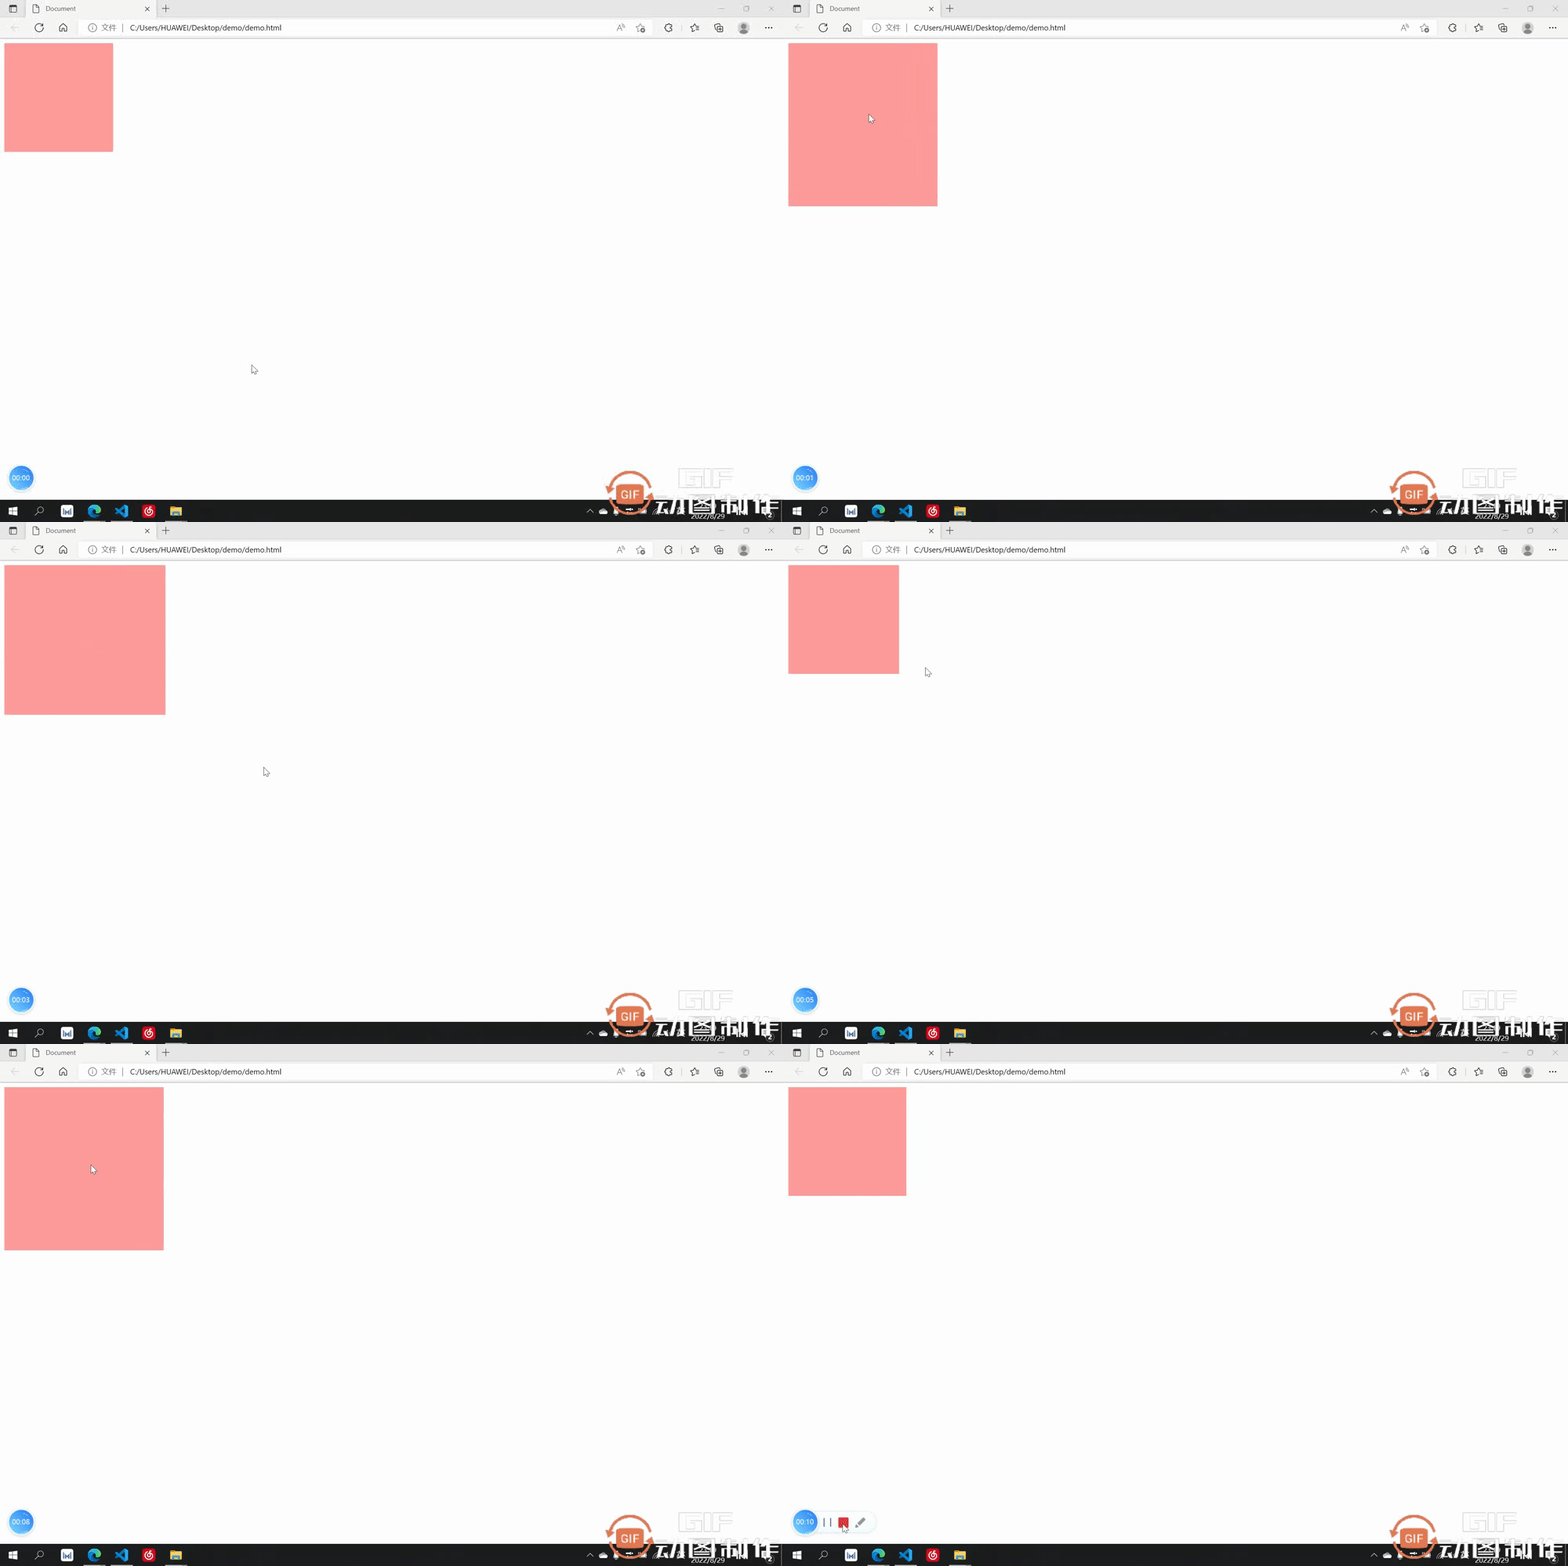
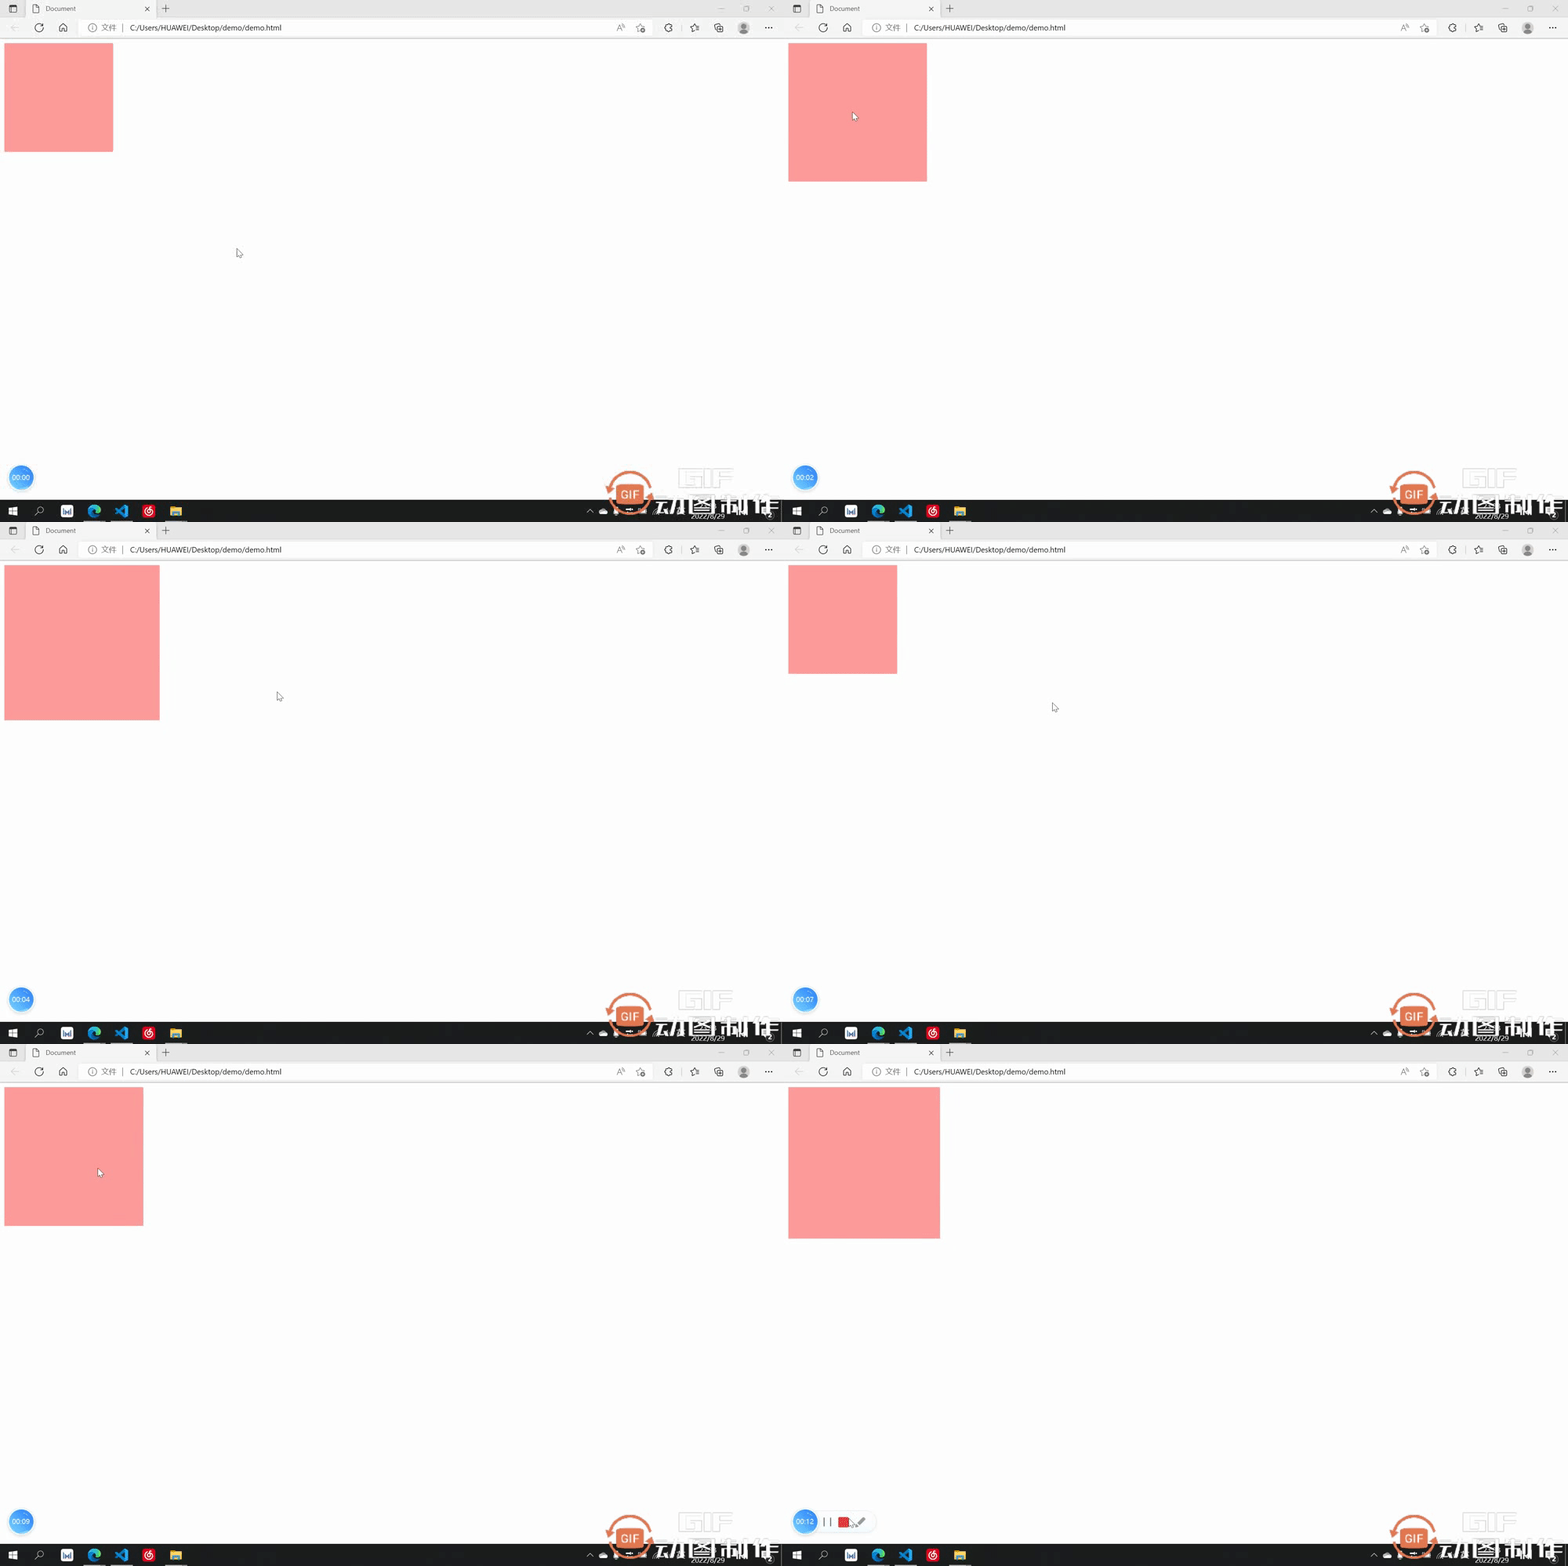
過渡效果:長寬過渡前皆為200,過渡後變成了300
# 1.2 transition-duration 過渡時間
##transition-duration用於指定過渡的時間,只需要在後面加上想要過渡的時間即可,可以分別設定與property 相對應的過渡時間,也可以只設定一個應用於全部
    <style>
        div{
            width: 200px;
            height: 200px;
            background-color: rgb(255, 156, 156);
            transition-property: width,height;
            transition-duration: 3s,1s;
        }
        div:hover{
            width: 300px;
            height: 300px;
        }
    </style>
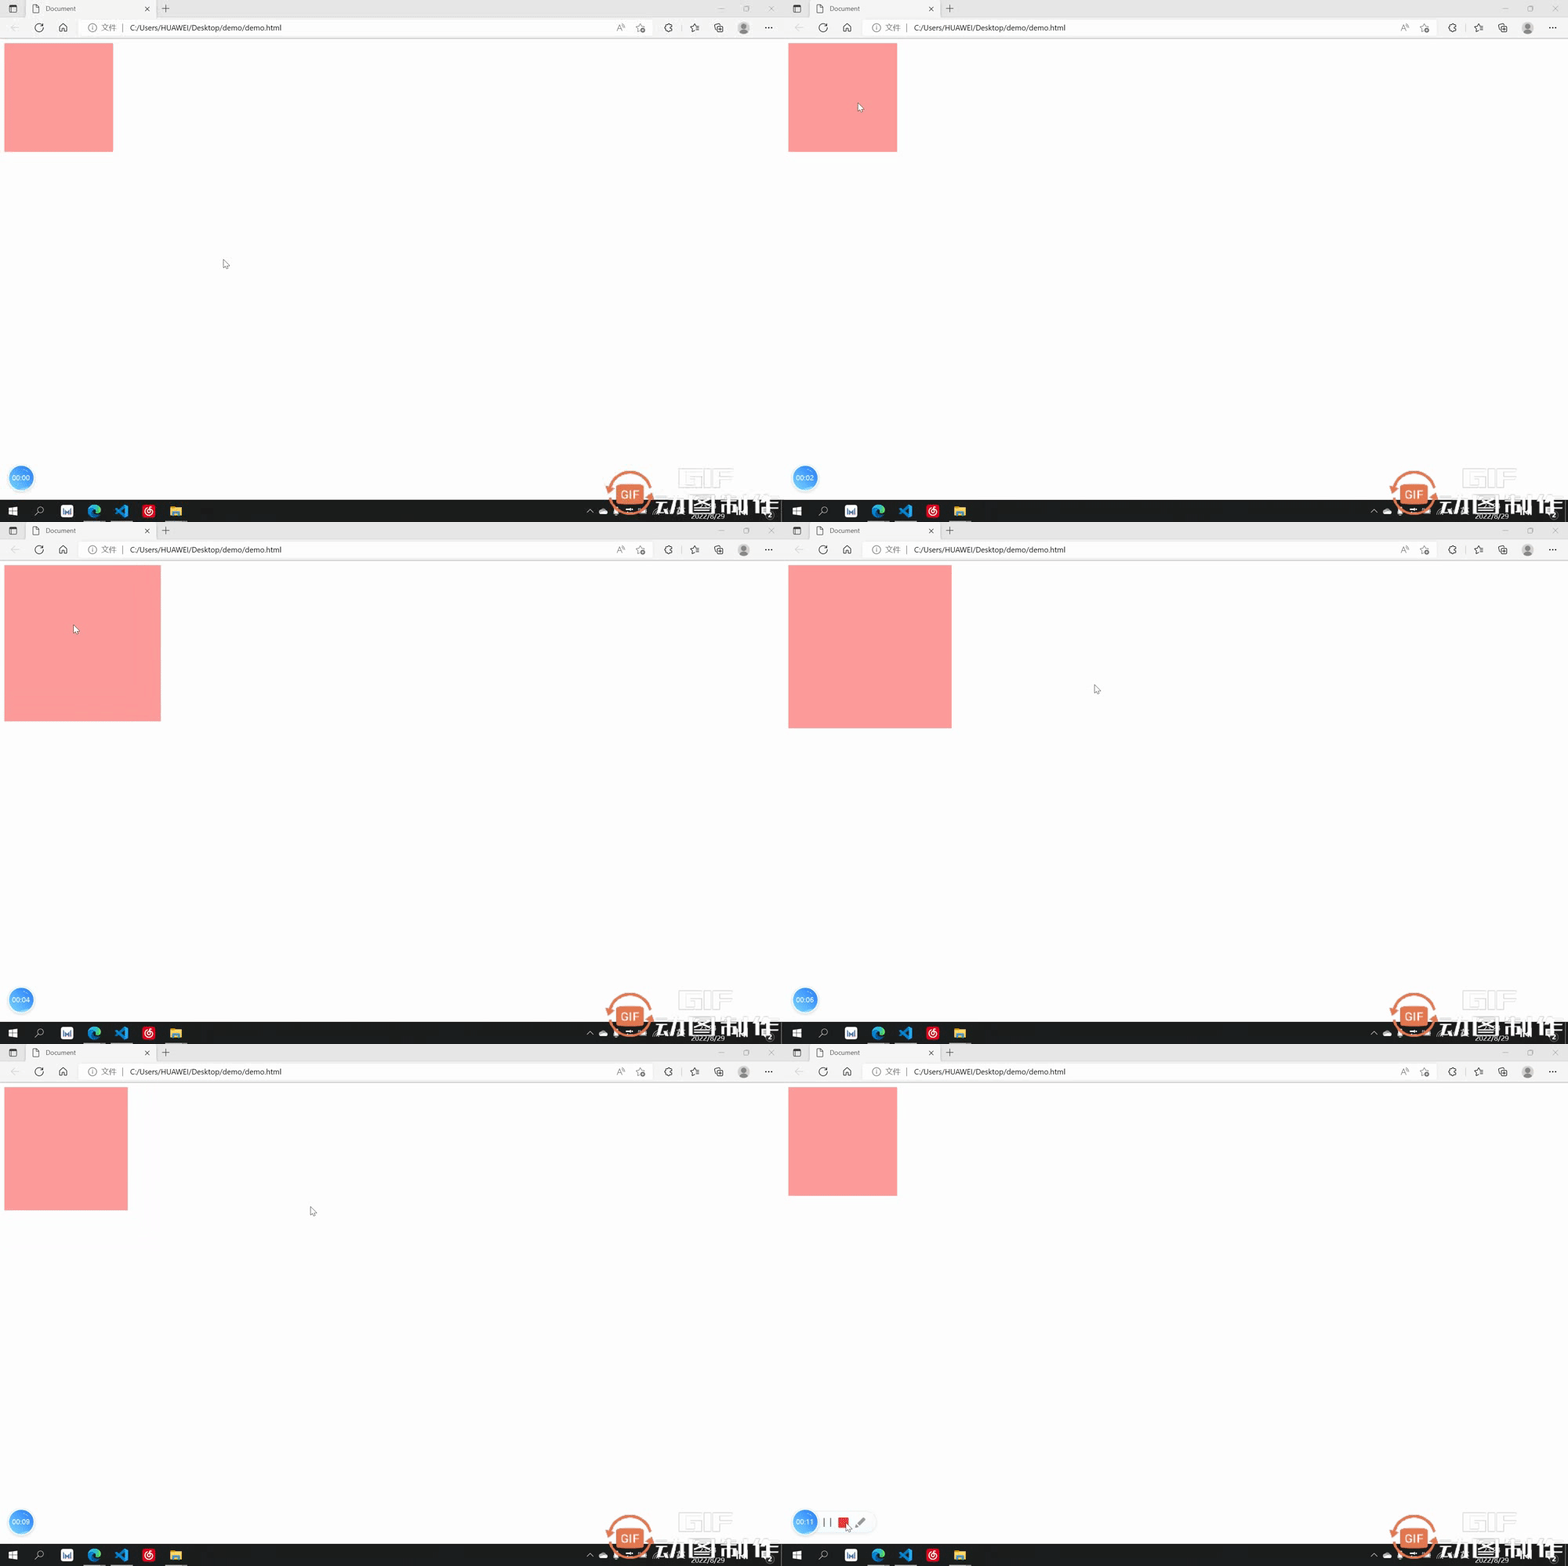
過渡效果:長寬過渡前皆為200,在經歷了長為3s,寬為1s的過渡後長寬均變成了300
1.3 transition-delay 過渡延遲
transition-delay##transition-timing-function用來指定過渡的延遲等待時間,也就是多少秒後開始過渡,只需要在後面加上想要等待的時間即可,可以分別設定與property 相對應的等待時間,也可以只設定一個應用於全部
    <style>
        div{
            width: 200px;
            height: 200px;
            background-color: rgb(255, 156, 156);
            transition-property: width,height;
            transition-duration: 3s;
            transition-delay: 2s;
        }
        div:hover{
            width: 300px;
            height: 300px;
        }
    </style>
- 過渡效果:遊標放上去後等了2s才開始過渡
1.4 transition-timing-function 過渡類型
可以用來設定過渡時的類型,其有以下常用類型:#ease:
 先加速後減速
    <style>
        div{
            width: 200px;
            height: 200px;
            background-color: rgb(255, 156, 156);
            transition-property: width,height;
            transition-duration: 3s;
            transition-timing-function: ease-in;
        }
        div:hover{
            width: 300px;
            height: 300px;
        }
    </style>
###### ###過渡效果:過渡類型為ease-in 逐漸加速########### ########1.5 过渡的连写形式
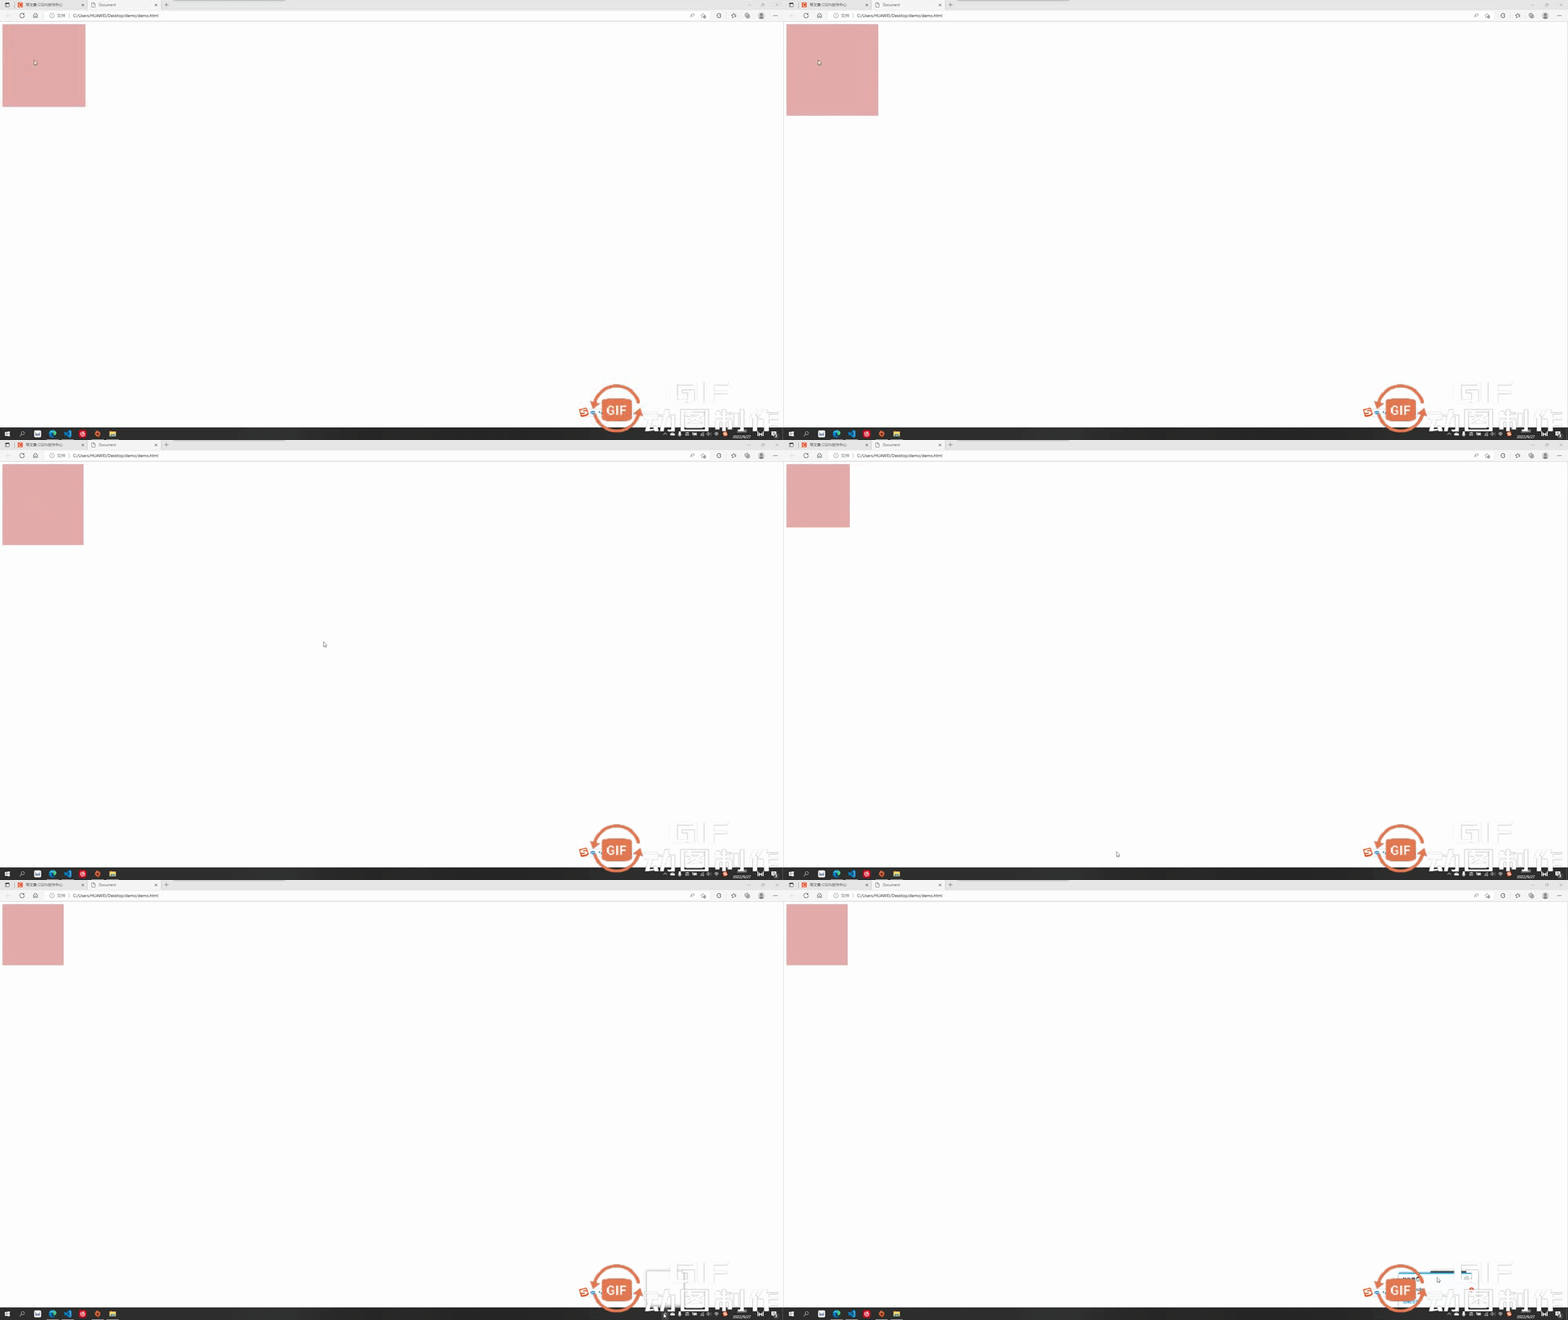
我们过渡中最常用的还是连写形式,连写形式过渡属性我们方便起见写作 all 即可,然后别的过渡属性跟在后面空格隔开即可,哪个元素要做过渡就把过渡加给哪个元素,此处是div鼠标放上后扩大,但是是div做过渡,所以过渡属性加给div
    <style>
        div{
            width: 200px;
            height: 200px;
            background-color: rgb(229, 171, 171);
            transition: all 2s linear;
        }
        div:hover{
            width: 300px;
            height: 300px;
        }
    </style>
二:transform 2D动画效果
transform 可以让过渡元素产生一些常规的 2D 动画效果,例如旋转,位移,缩放,扭曲......等等,以及 3D 的立体效果。
transform 2D/3D中常用属性:
- transform-origin:基点
- transform:translate:平移效果
- transform-rotate:旋转效果
- transform-scale:缩放效果
下面会对这六个常用属性做出逐个讲解,有个注意点要提醒:大多数情况下,如果既有旋转也有移动,要先写移动再写旋转
2.1 transform-origin 基点
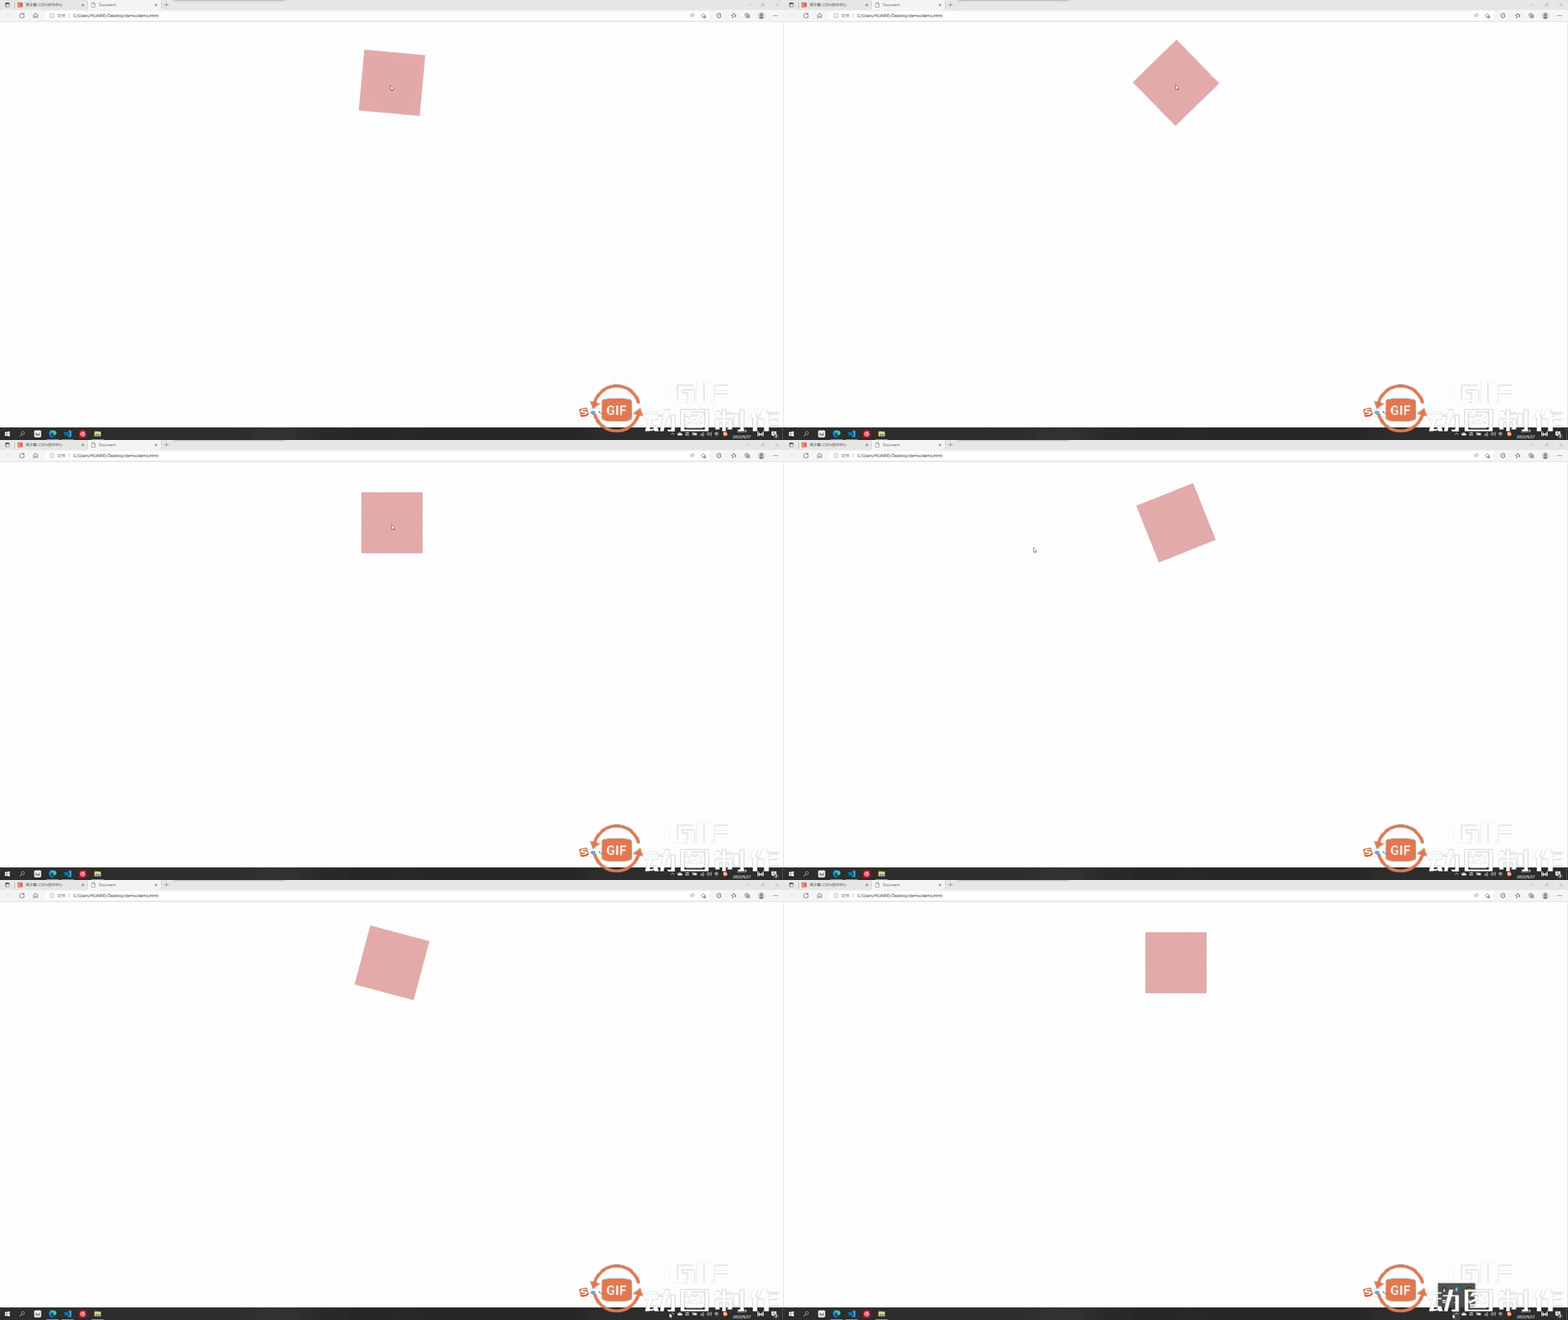
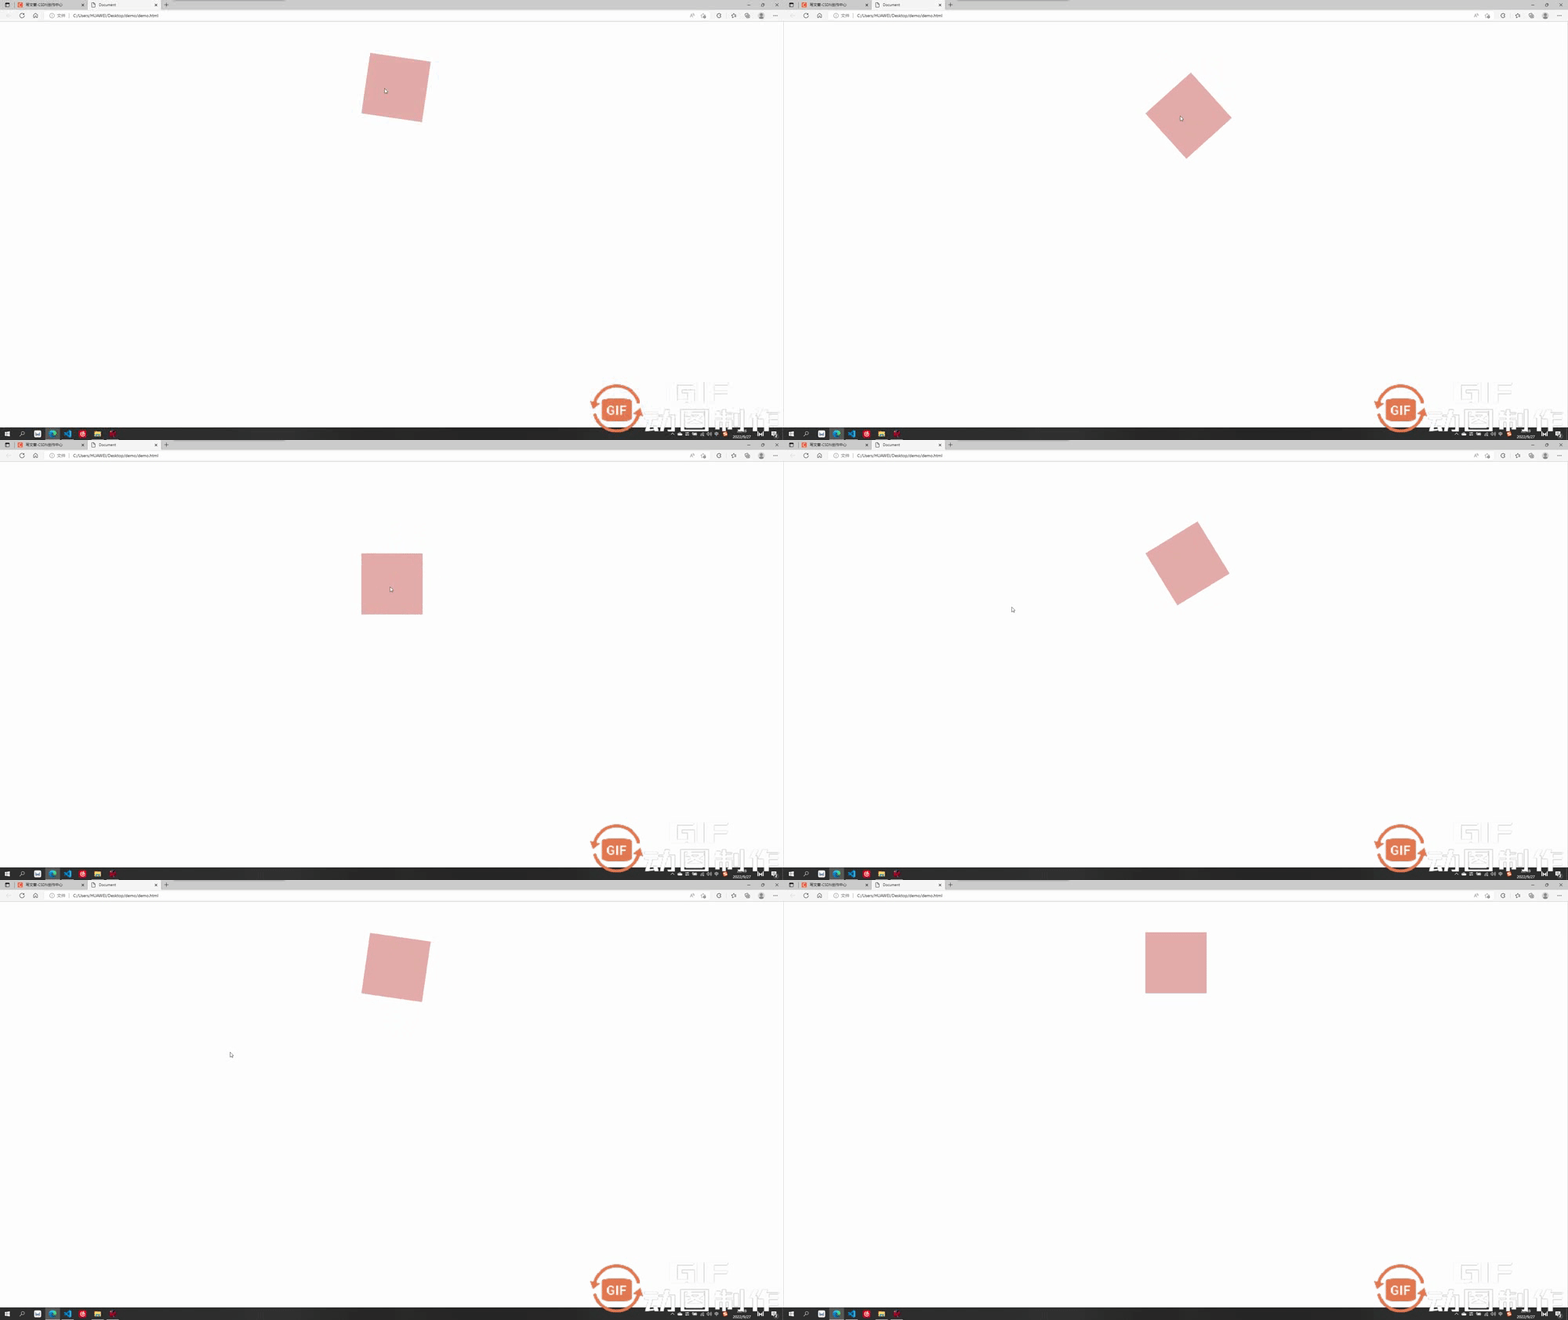
基点就是位移或者旋转等变形围绕的中心,默认都是中心点,例如先举个旋转的例子(旋转后面会讲到)大家体会一下基点的概念。切记:基点设置给要过渡的元素
基点的值:
基点的值可以是具体数值例如 transform-origin:20px 30px; 第一个为x方向,第二个为y方向,也可以是方位名词 transform-origin:top left; 此处先写x或先写y方向都可以,此处 top left 表示基点为左上角,bottom right 表示右下角......
2.1.1 默认的基点
默认基点为元素正中心
    <style>
        div{
            width: 200px;
            height: 200px;
            background-color: rgb(229, 171, 171);
            margin: 100px auto;
            transition: all 2s linear;
        }
        div:hover{
            transform: rotateZ(90deg);
        }
    </style>
2.1.2 设置后的基点
设置基点为 transform-origin:bottom left; (左下角)
    <style>
        div{
            width: 200px;
            height: 200px;
            background-color: rgb(229, 171, 171);
            margin: 100px auto;
            transition: all 2s linear;
            transform-origin: left bottom;
        }
        div:hover{
            transform: rotateZ(90deg);
        }
    </style>
2.2 transform:translate 平移
平移可分为以下几种:
- transform:translateX 沿水平方向平移
- transform: translateY 沿竖直方向平移
- transform: translateZ 沿Z方向移动的距离,不加透视的话看不出来效果,这个放在后面3D板块讲解
- transform:translate(x, y, z) 沿和向量方向平移,第一个为x方向移动距离,第二个为y方向移动的距离,第三个为z轴移动的距离,中间要求逗号隔开
案例中我们只举例第最后一个组合写法,其它都是单独的朝某个方向移动较为简单
    <style>
        div{
            width: 200px;
            height: 200px;
            background-color: rgb(229, 171, 171);
            transition: all 2s linear;
        }
        div:hover{
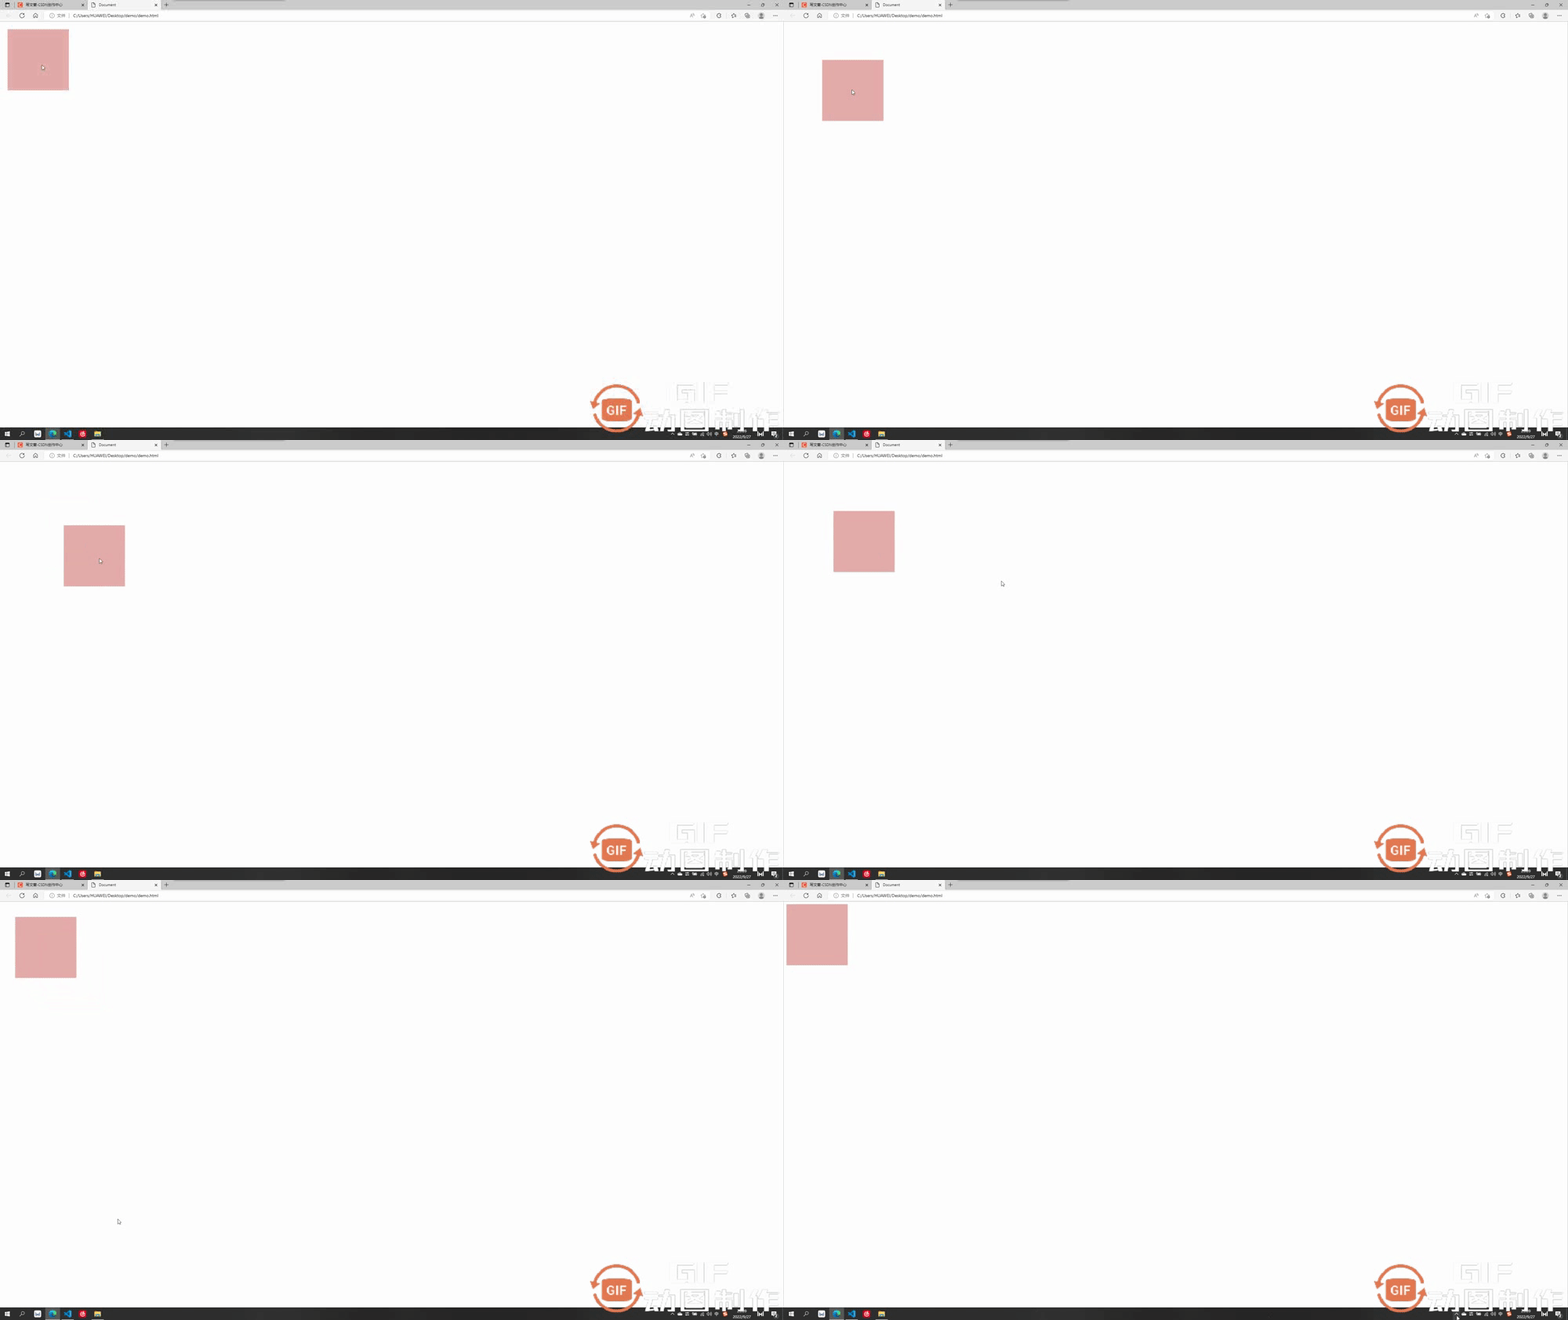
            transform:translate(200px,200px)
        }
    </style>
效果为水平走200px,竖直走200px
2.3 transform:rotate 旋转
旋转的角度单位为 deg,要旋转360度即为 360deg
旋转可分为以下几种:
- transform:rotateX 以x为轴旋转,不加3D透视看不出立体3D效果,后面讲到3D再讲解
- transform: translateY 以y为轴旋转,不加3D透视看不出立体3D效果,后面讲到3D再讲解
- transform: translateZ 沿Z为轴旋转,为2D平面旋转,可以设置基点
此处先讲第三个不需要加3D透视的沿z轴旋转
    <style>
        div{
            width: 200px;
            height: 200px;
            background-color: rgb(229, 171, 171);
            margin: 100px auto;
            transition: all 2s linear;
        }
        div:hover{
            transform: rotateZ(90deg);
        }
    </style>
效果为绕z轴旋转了90度

2.4 transform:scale 放缩
此处放缩的优点在于其是不影响其他页面布局的位置的,并且可以设置基点,默认基点为中心,放缩默认为围绕中心向外扩大或向内缩小,参数直接填写 要放缩的倍数即可,例如要放缩2倍: transform:scale(2)
    <style>
        div{
            width: 200px;
            height: 200px;
            background-color: rgb(229, 171, 171);
            transition: all 2s linear;
            margin: 100px auto;
            transform-origin: top left;
        }
        div:hover{
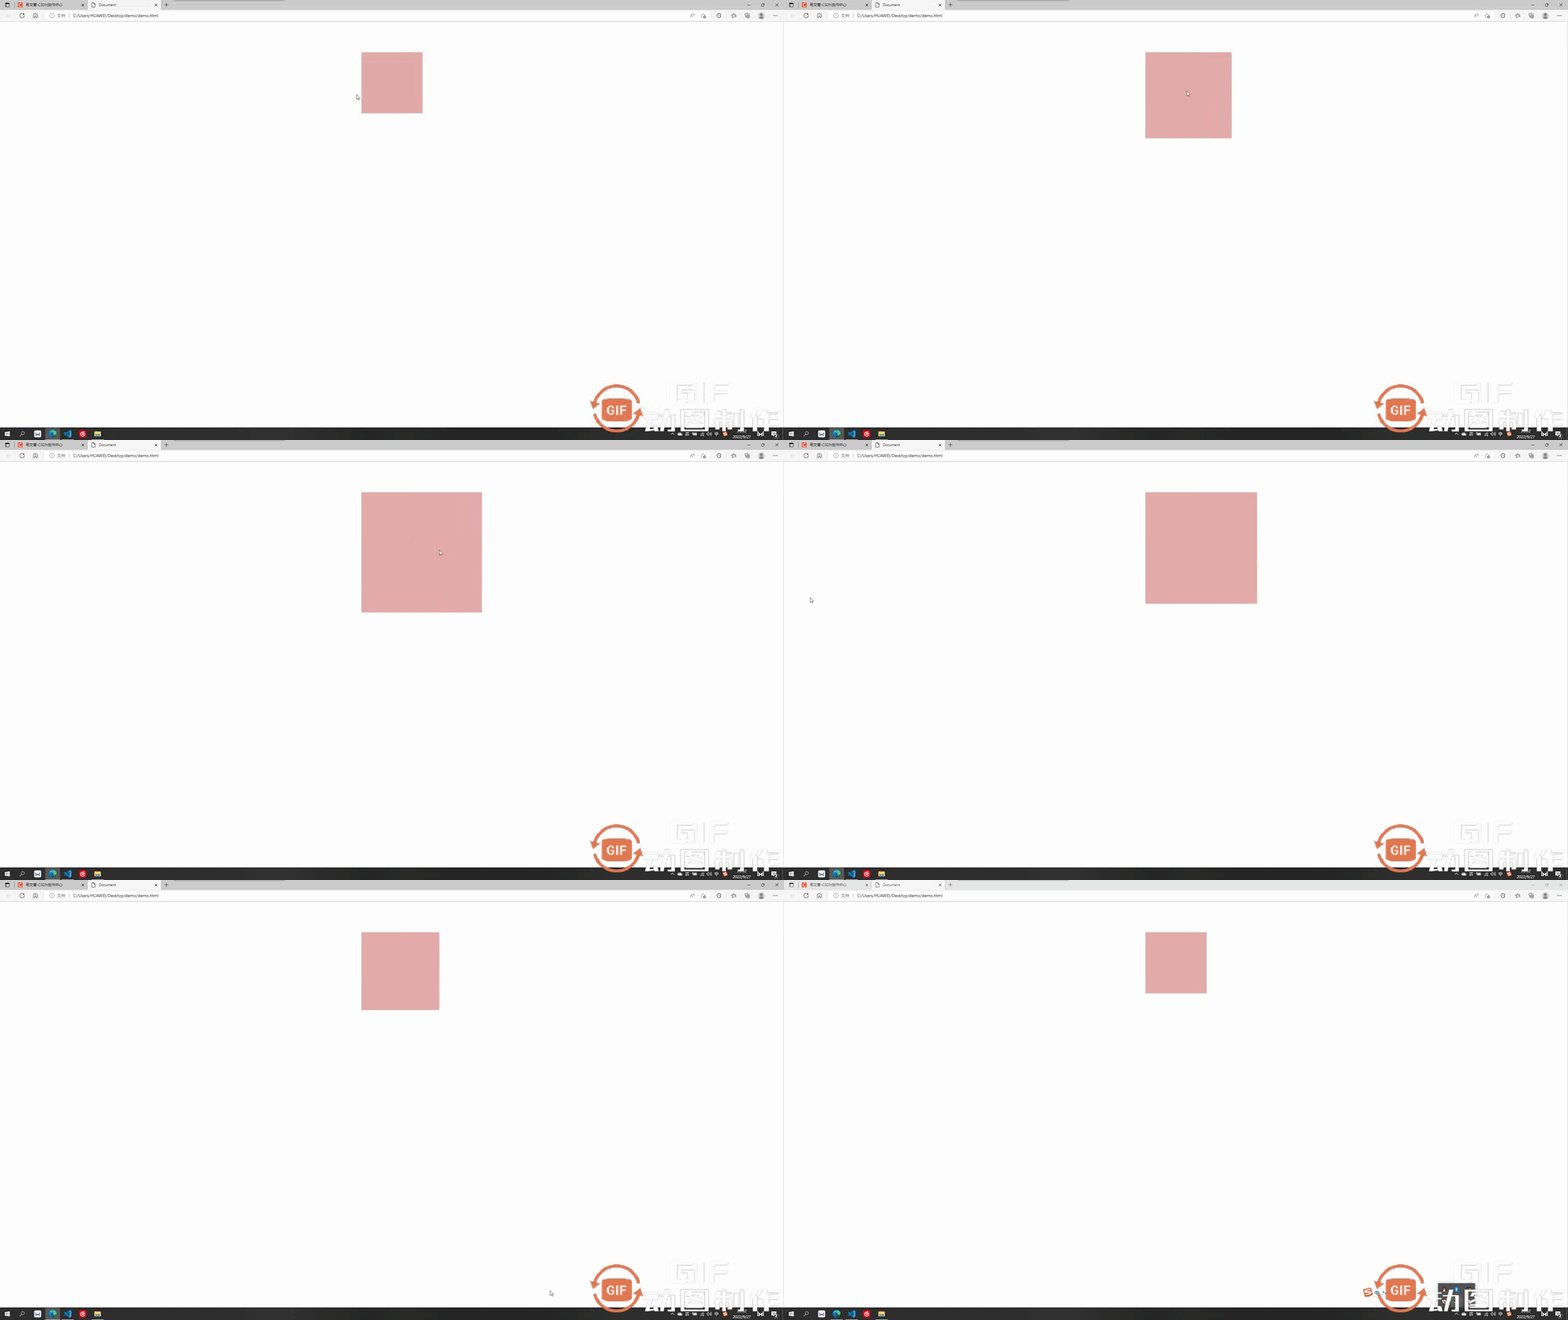
            transform:scale(2)
        }
    </style>
效果为以左上角为基点扩大了两倍
三:transform 3D动画效果
这一板块就要开始我们的3D效果了,上述案例中的沿z位移,绕x/y旋转等等,其实都是3D的动画效果,我们需要加上透视属性才能有用:perspective: 1000px; 数值是视距可以自己设置,这个值大小可以根据自己的视觉感受调整满意即可。
注意:透视要加给需要3D效果的元素的父元素
举个例子感受下透视perspective的重要性:
3.1 不加透视的绕x轴旋转
    <style>
        div{
            width: 200px;
            height: 200px;
            background-color: rgb(229, 171, 171);
            transition: all 2s linear;
            margin: 100px auto;
        }
        div:hover{
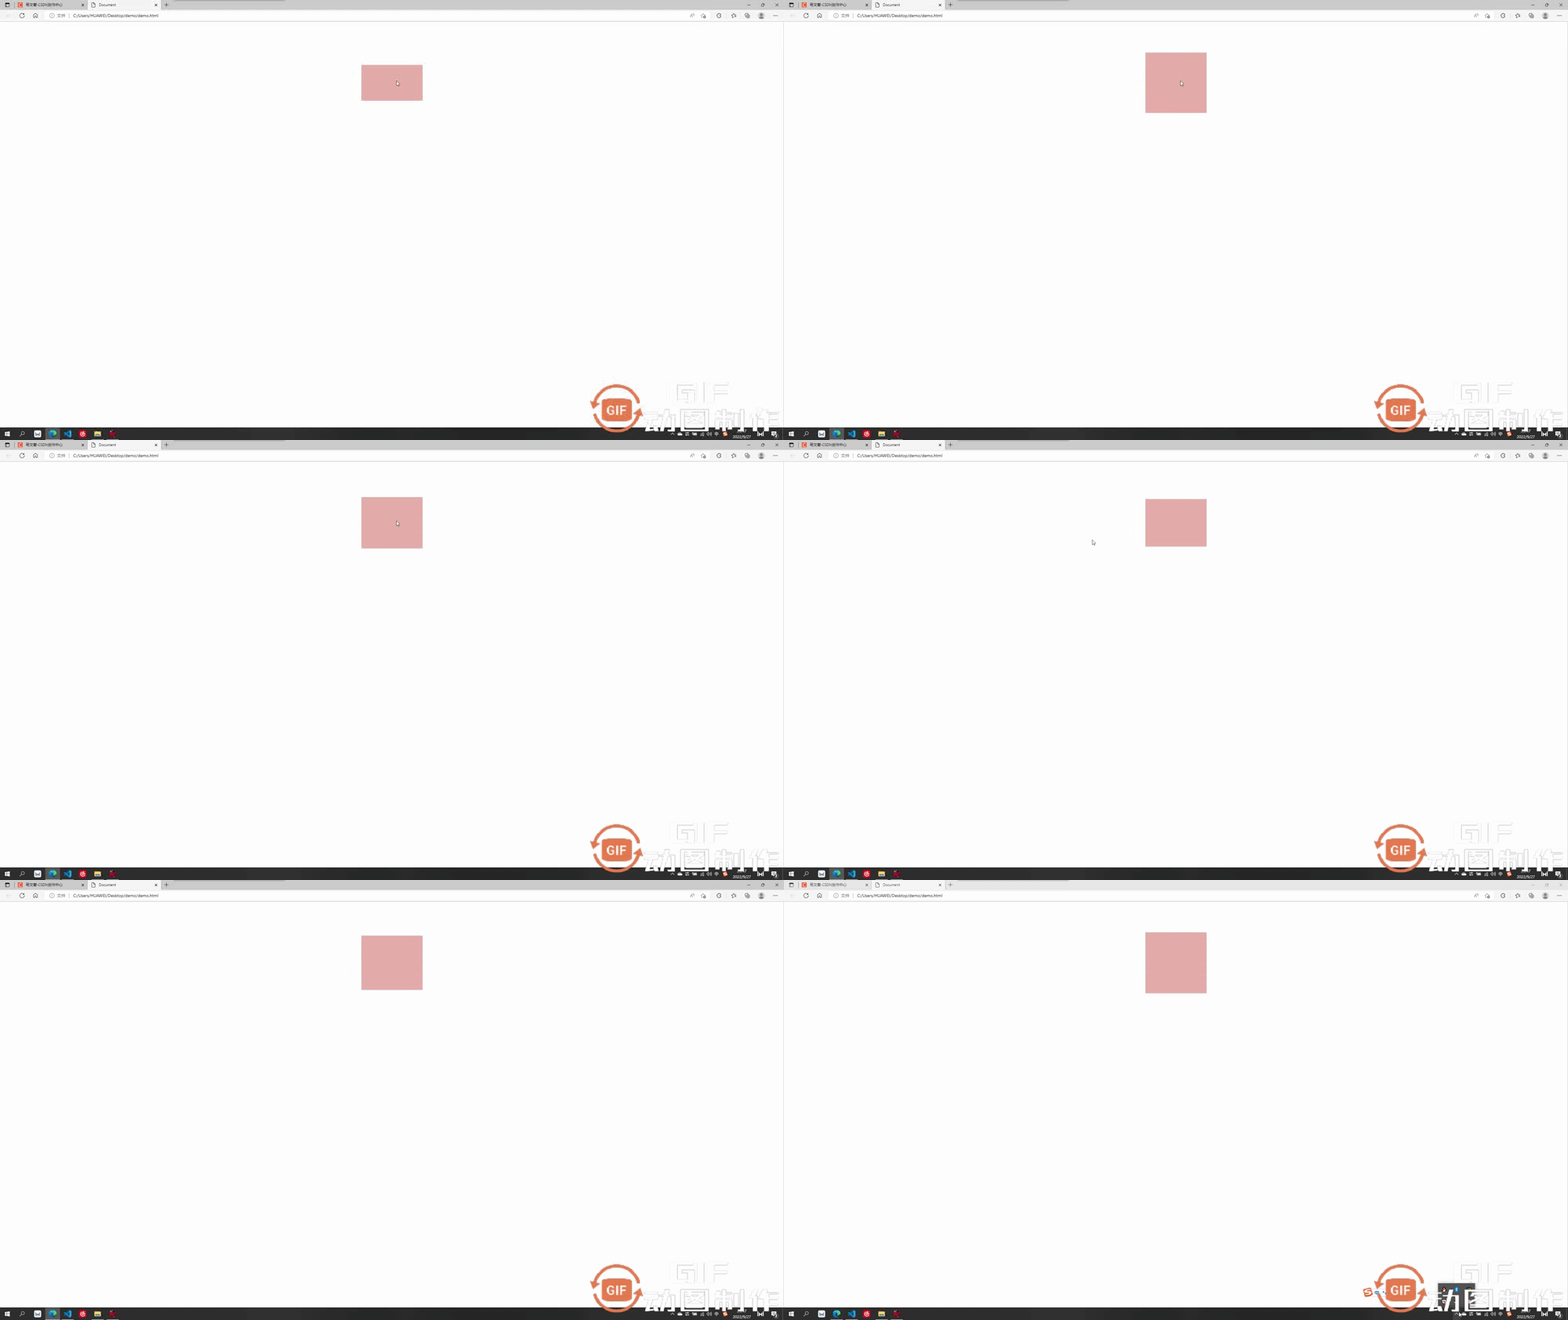
            transform:rotateX(360deg)
        }
    </style>
不加透视视觉效果毫无立体感
3.2 加透视的绕x轴旋转
透视要加给需要3D效果的元素的父元素,此处div的父元素为body,所以给body加透视
    <style>
        body{
            perspective: 500px;  //透视
        }
        div{
            width: 200px;
            height: 200px;
            background-color: rgb(229, 171, 171);
            transition: all 2s linear;
            margin: 100px auto;
        }
        div:hover{
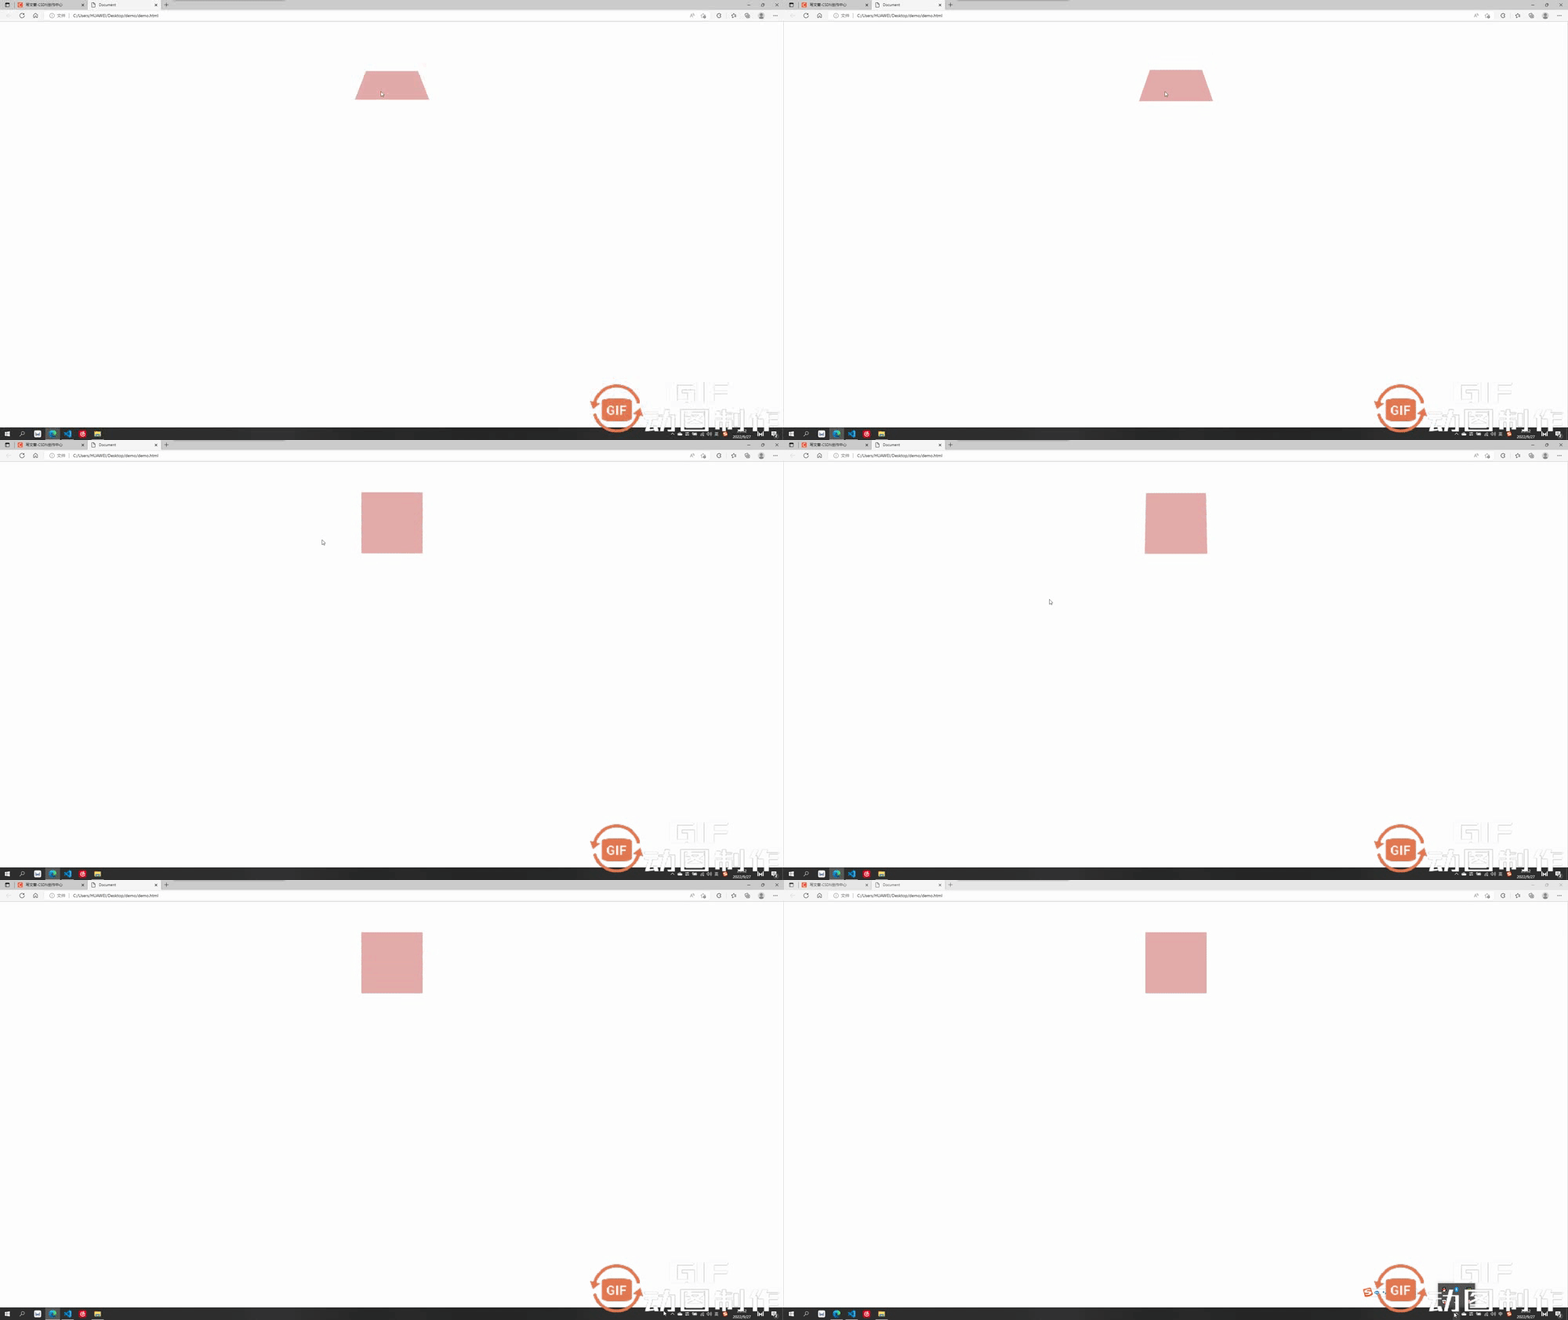
            transform:rotateX(360deg)
        }
    </style>
加上透视后有了近大远小的立体呈现感,不同的透视值对应的效果也不同,自己觉得合适即可,绕 y 旋转同理。
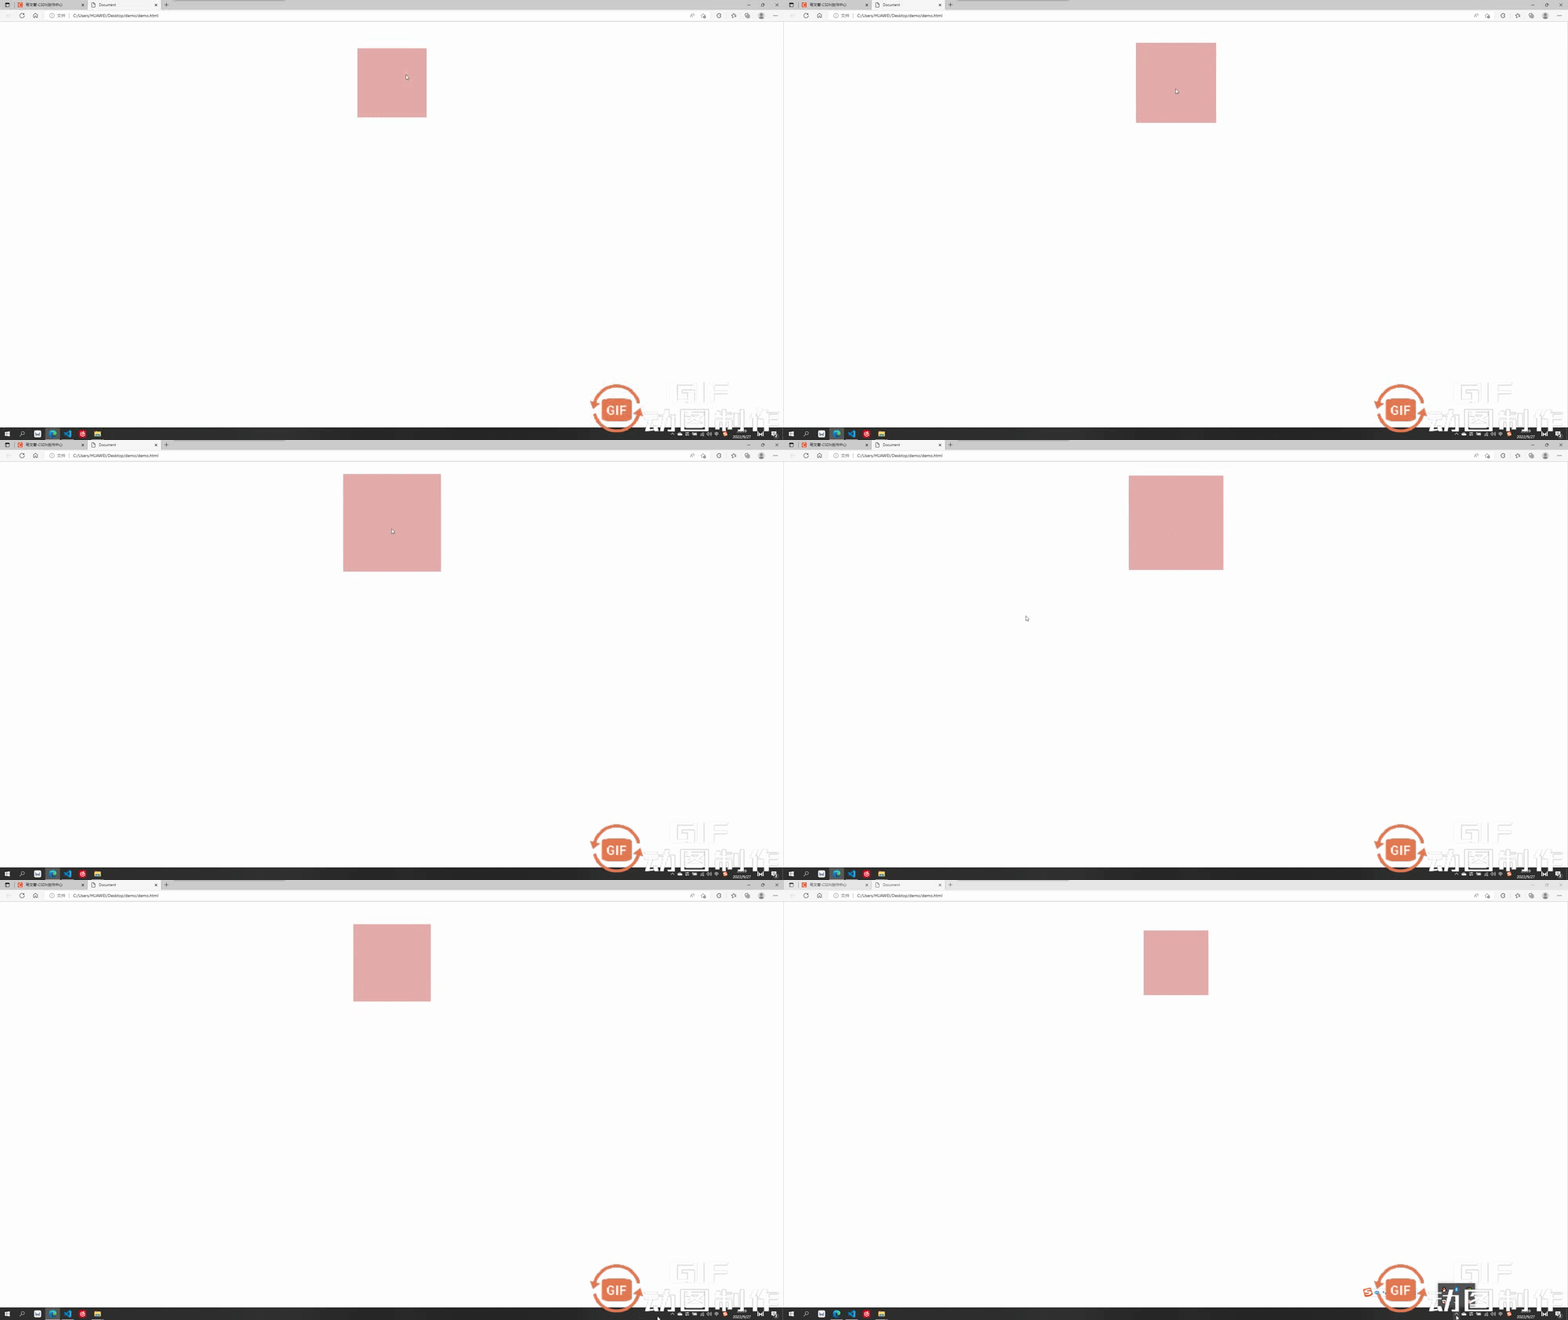
3.3 加透视的沿z轴平移
加上透视后沿z轴移动,我们想想是不是效果应该是慢慢变大或变小
    <style>
        body{
            perspective: 500px;
        }
        div{
            width: 200px;
            height: 200px;
            background-color: rgb(229, 171, 171);
            transition: all 2s linear;
            margin: 100px auto;
        }
        div:hover{
            transform:translateZ(200px)
        }
    </style>
沿z平移200px,视觉上立体感为盒子放大了
3.4 重要属性:是否开启3D效果呈现
这个属性为 transform-style,默认值为 flat ,即不开启子盒子3D效果保持呈现,如果值改为 preserve-3d,则开启子盒子3D效果保持呈现,这个属性和透视一样也是 写给父级,但是影响的是子盒子3D效果是否保持呈现
- transform-style:flat 默认值,代表不开启保持子盒子3D效果
- transform-style:preserve-3d 代表开启保持子盒子3D效果
举例子说明一下 :
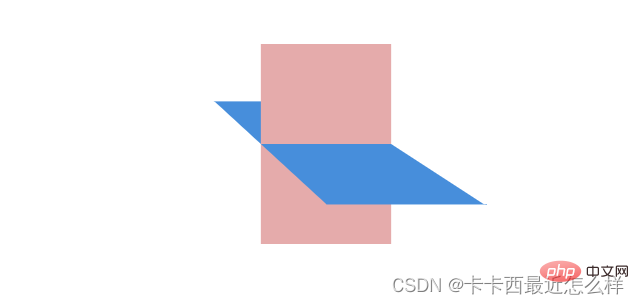
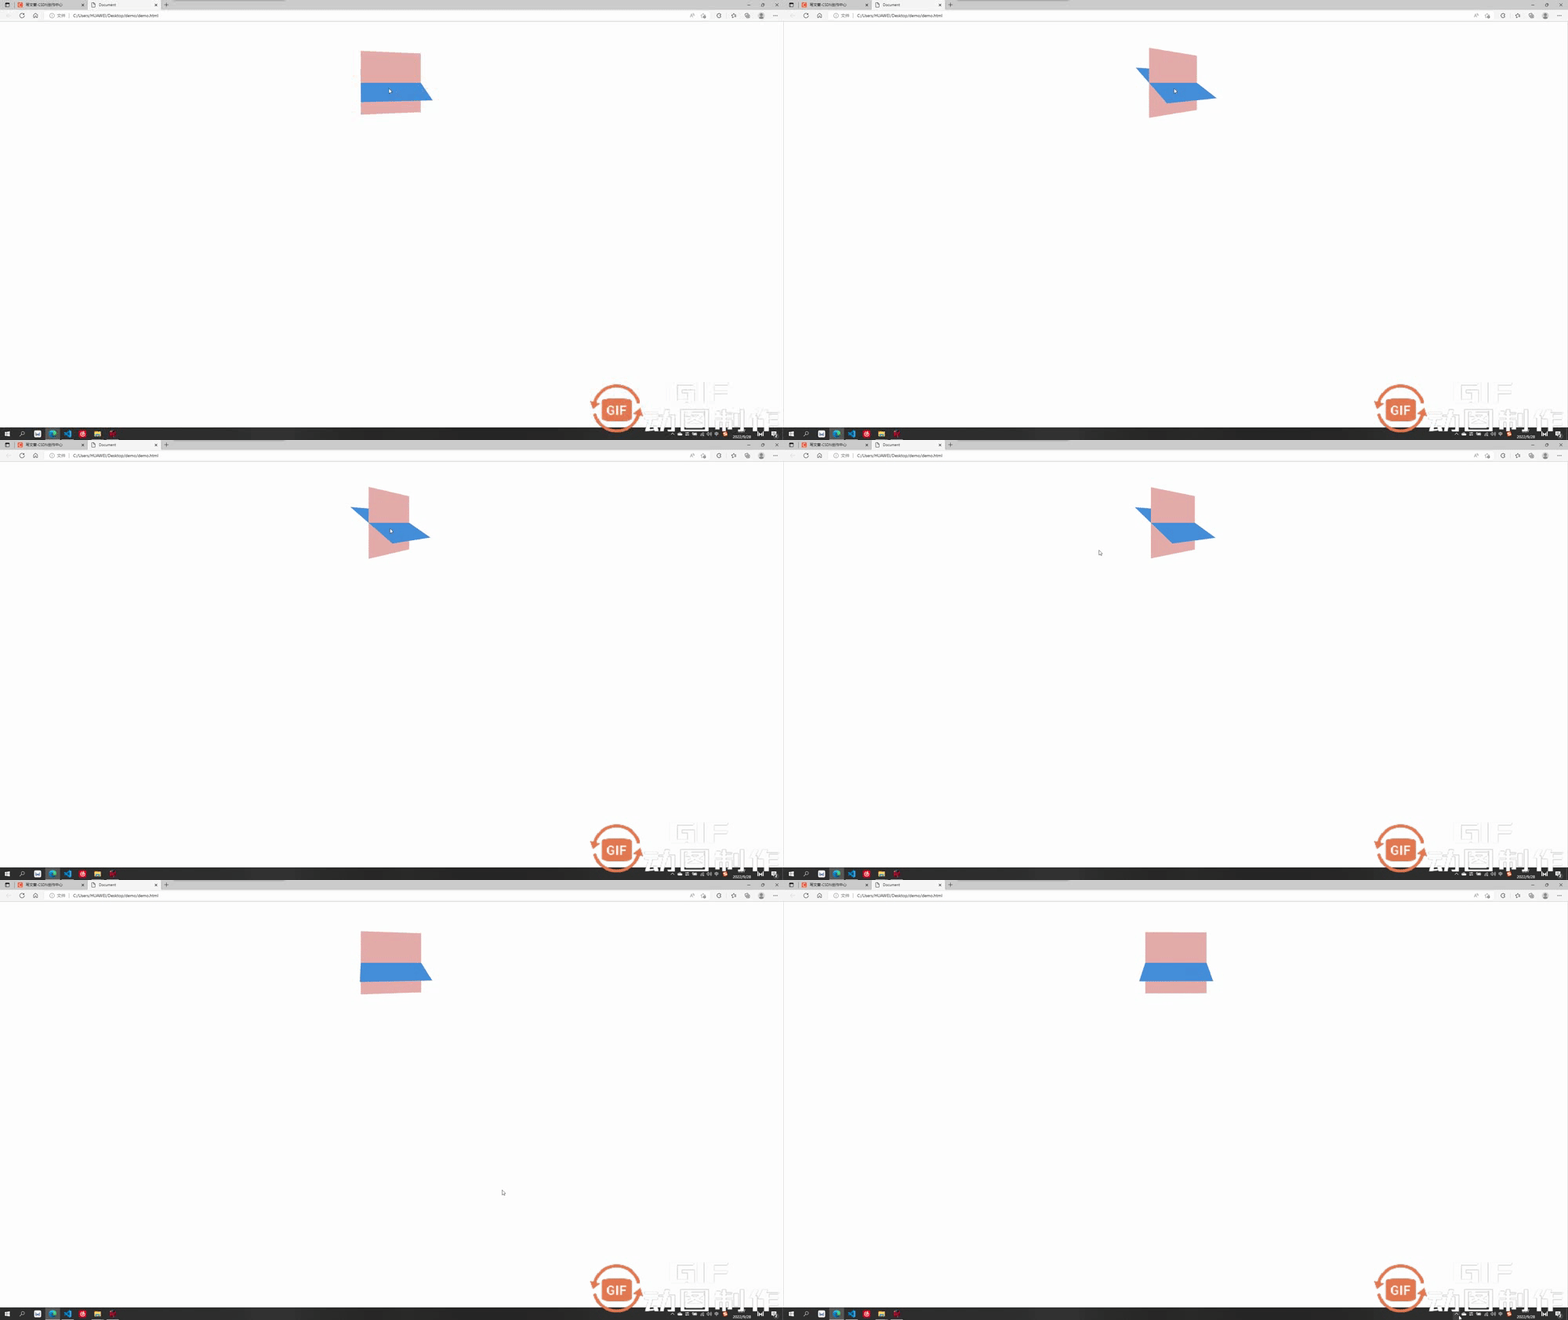
例如我们想做出这个效果,理论上只需要让蓝色的子盒子绕x旋转一定角度,再让外部粉色大盒子绕y旋转一定角度即可呈现
第一步:
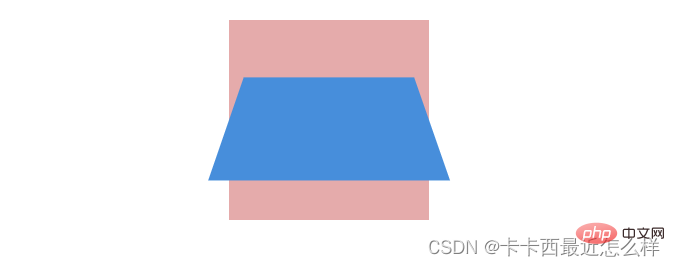
让蓝色子盒子绕x旋转一定角度,并且记得父盒子添加透视
        .out{
            width: 200px;
            height: 200px;
            background-color: rgb(229, 171, 171);
            margin: 100px auto;
            perspective: 500px;
        }
        .inner{
            width: 200px;
            height: 200px;
            background-color: rgb(71, 142, 219);
            transform: rotateX(60deg);
        }
成功呈现出以下效果:
第二步:
让外部粉色父盒子绕y旋转一定角度即可,由于外部大盒子也需要透视效果,所以给其父元素body也要加上透视
    <style>
        body{
            perspective: 500px;
        }
        .out{
            width: 200px;
            height: 200px;
            background-color: rgb(229, 171, 171);
            margin: 100px auto;
            transition: all 2s;
            perspective: 500px;
        }
        .inner{
            width: 200px;
            height: 200px;
            background-color: rgb(71, 142, 219);
            transform: rotateX(60deg);
        }
        .out:hover{
            transform: rotateY(50deg);
        }
    </style>
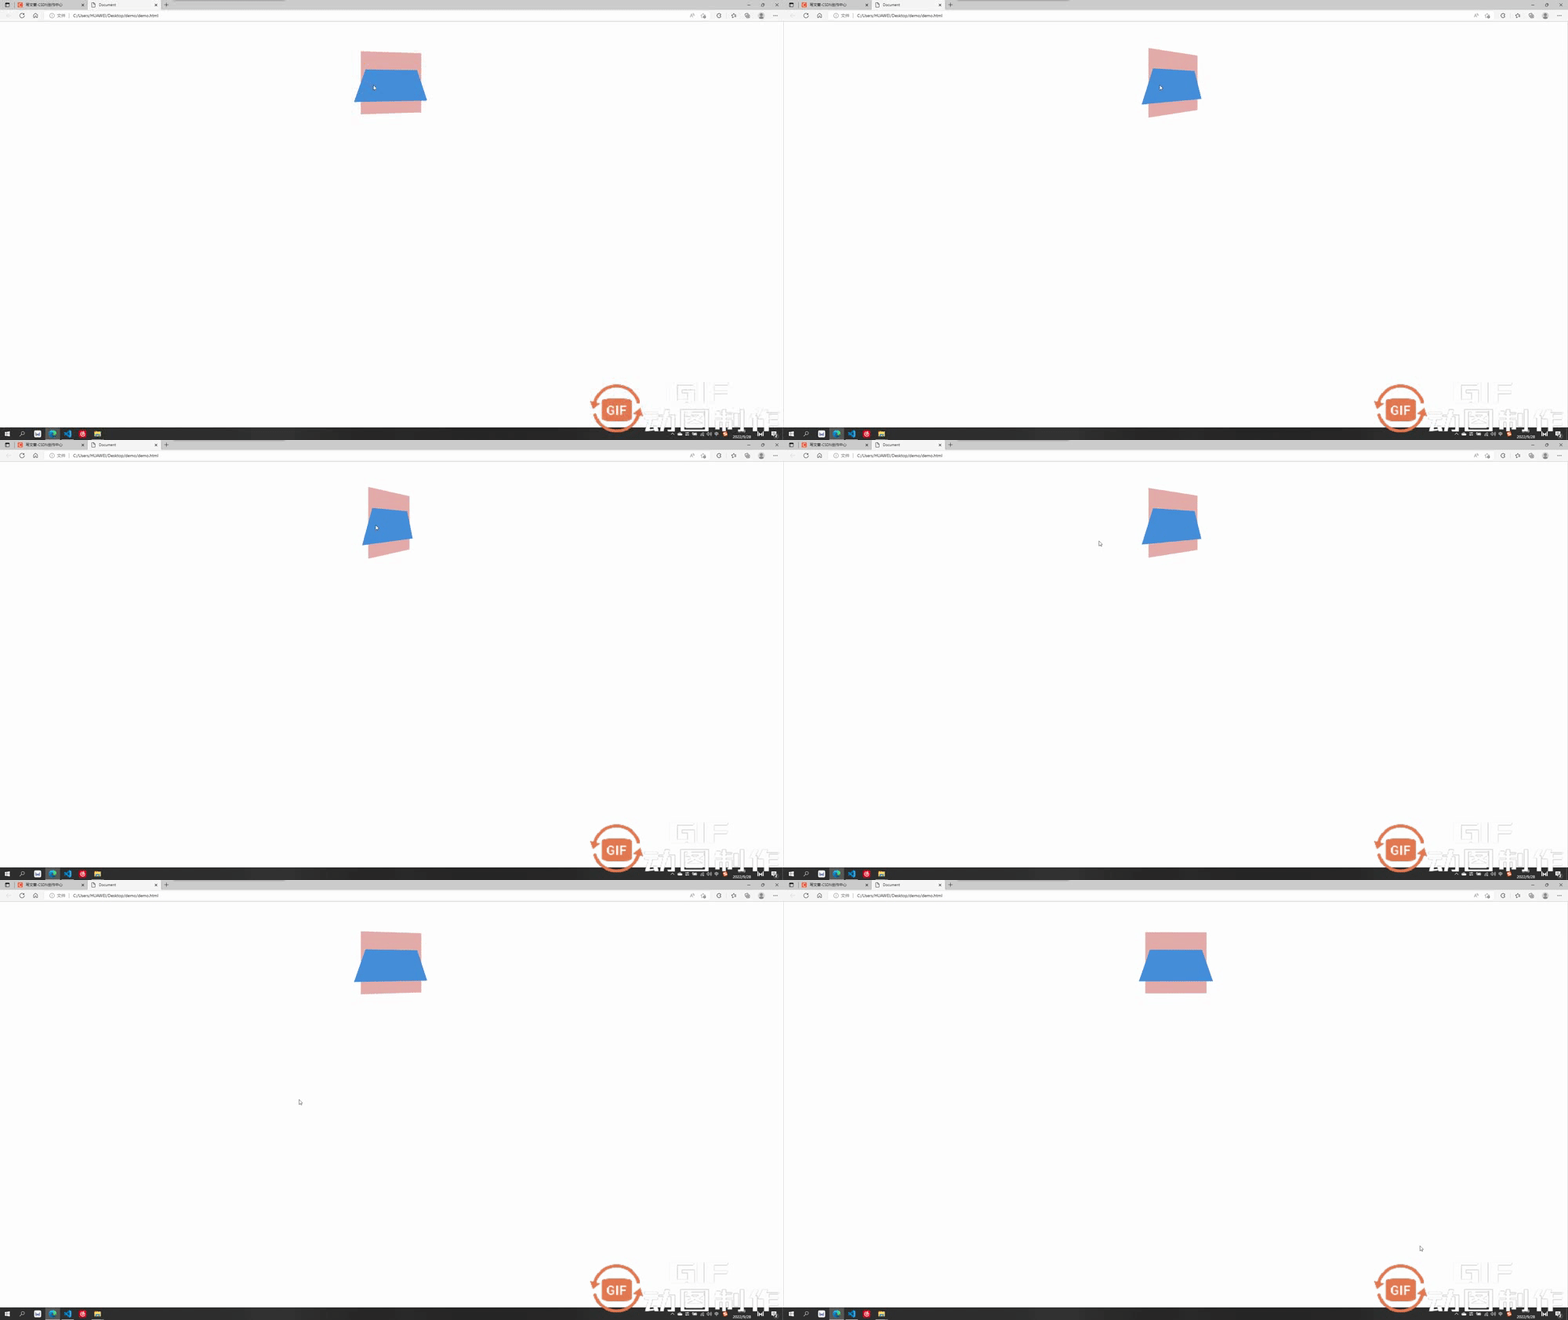
出现了很严重的问题,蓝色子盒子的透视效果没有呈现出来
这时候就需要我们这个很重要的属性了 transform-style:preserve-3d 开启子元素的3D效果保持
第三步:
开启内部蓝色盒子的3D效果保持 transform-style:preserve-3d,注意要写给父级。另外我们的透视可以写给父亲的父亲,所以此处当父子两个盒子都需要透视时,只需要给父亲的父亲body加上透视即可,父亲不需要再加透视。
    <style>
        body{
            perspective: 500px;
        }
        .out{
            width: 200px;
            height: 200px;
            background-color: rgb(229, 171, 171);
            margin: 100px auto;
            transition: all 2s;
            transform-style: preserve-3d;  //开启子元素3D保持
        }
        .inner{
            width: 200px;
            height: 200px;
            background-color: rgb(71, 142, 219);
            transform: rotateX(60deg);
        }
        .out:hover{
            transform: rotateY(50deg);
        }
    </style>
更多编程相关知识,请访问:编程视频!!
以上是帶你吃透CSS3屬性:transition 與 transform的詳細內容。更多資訊請關注PHP中文網其他相關文章!


