H5-12__터치 앤 클릭: 기본 이벤트 처리
- 黄舟원래의
- 2017-02-18 15:01:031511검색
HTML5에서 마우스 기반 인터페이스 상호작용이 클릭이라면 터치 인터페이스의 기본 상호작용 방식은 탭입니다.
1.
터치 장치(예: 휴대폰)에 마우스가 없더라도 해당 브라우저는 여전히 마우스 이벤트를 트리거하고 클릭, 마우스 오버, 마우스 다운 및 마우스 업은 계속 발생합니다. 트리거됩니다.
2. 모바일 브라우저에는 4가지 유형의 터치 이벤트가 있습니다
설명
|
터치 배열 포함 | |||||||||||||||
| touchstart | 터치 시작 | 예 | ||||||||||||||
| touchmove | 접점 변경 | 예 | ||||||||||||||
| 터치엔드 | 터치엔드 | 예 | ||||||||||||||
| touchcancel | 터치가 취소되었습니다 | 아니요 |
터치 배열은 터치 이벤트에 의해 생성된 터치 개체 집합입니다. 터치 개체는 화면을 터치하는 손가락을 나타냅니다.
3. 터치 이벤트 처리
첫 번째 방법은 브라우저에서 지원하는 표준 터치 이벤트를 사용하는 것입니다. index.html 예시를 참조하세요.
<!DOCTYPE html>
<html>
<head>
<meta charset="utf-8">
<meta http-equiv="X-UA-Compatible" content="IE=edge,chrome=1">
<meta name="viewport" content="width=device-width">
<title>Touch</title>
<style type="text/css" media="screen">
body {
margin: 0;
padding: 0;
font-family: sans-serif;
text-align: center;
}
.button {
font-size: 16px;
padding: 10px;
font-weight: bold;
border: 0;
color: #fff;
border-radius: 10px;
box-shadow: inset 0px 1px 3px #fff, 0px 1px 2px #000;
background: #ff3019;
opacity: 1;
}
.active, .button:active {
box-shadow: inset 0px 1px 3px #000, 0px 1px 2px #fff;
}
.hidden {
display: none;
}
</style>
</head>
<body>
<p id="touchme">
<button class="button" id="toggle">切换图片</button>
<p class="hidden" style="display: none">
<p>Goldfinch by ibm4381 on Flickr</p>
<a href="http://www.flickr.com/photos/j_benson/3504443844/"
title="Goldfinch by ibm4381, on Flickr">
<img src="http://www.php.cn/"
width="320" height="256" alt="Goldfinch">
</a>
</p>
</p>
</body>
<script type="text/javascript" charset="utf-8">
var node = document.getElementById('toggle');
function togglePicture(){
var h = document.querySelector(".hidden");
if(h.style.display == "none") {
h.style.display = "block";
} else {
h.style.display = "none";
}
}
node.addEventListener('touchstart', function(e){
alert("touchstart");
//阻止事件的默认行为导致按钮不会出现活跃状态(active)
// e.preventDefault();
e.target.className = "active button";
togglePicture();
});
node.addEventListener('touchend', function(e){
//e.preventDefault();
e.target.className = "button";
});
node.addEventListener("click", function(e){
alert("click");
});
</script>
</html>
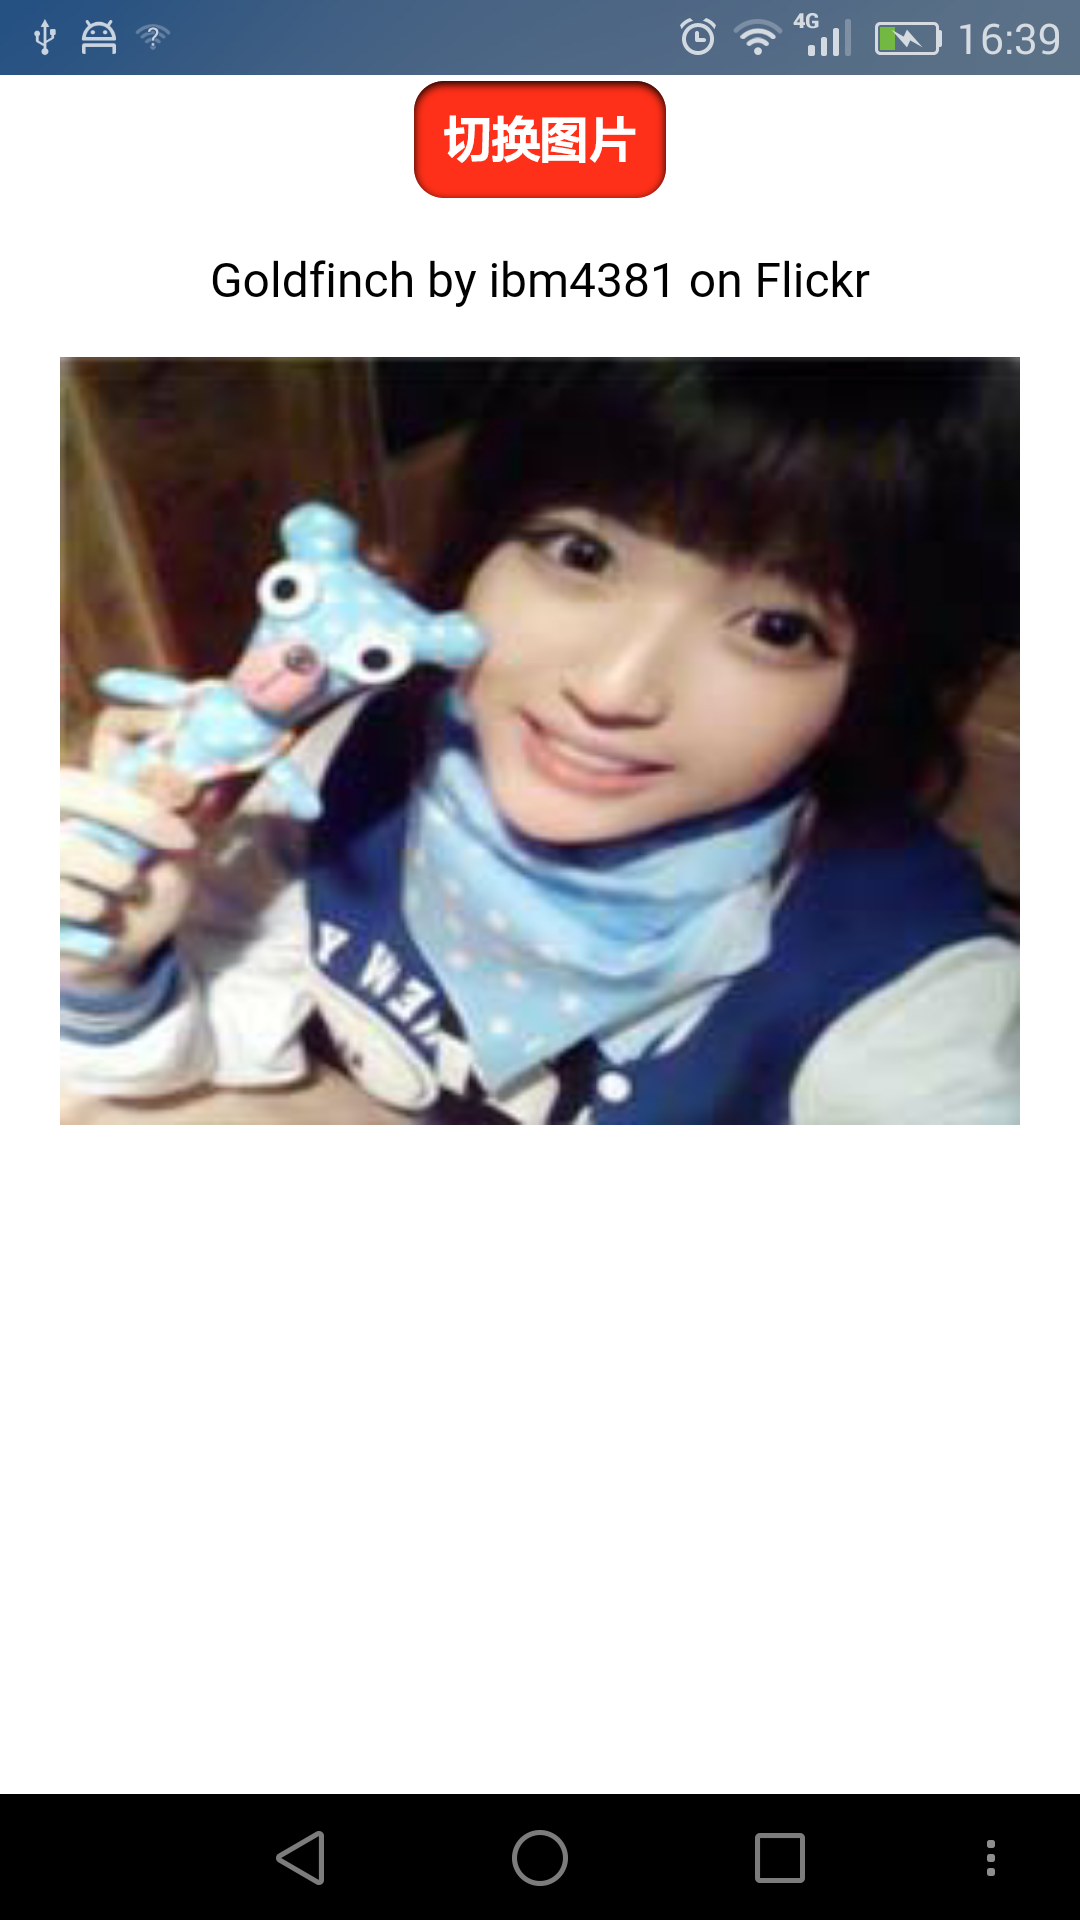
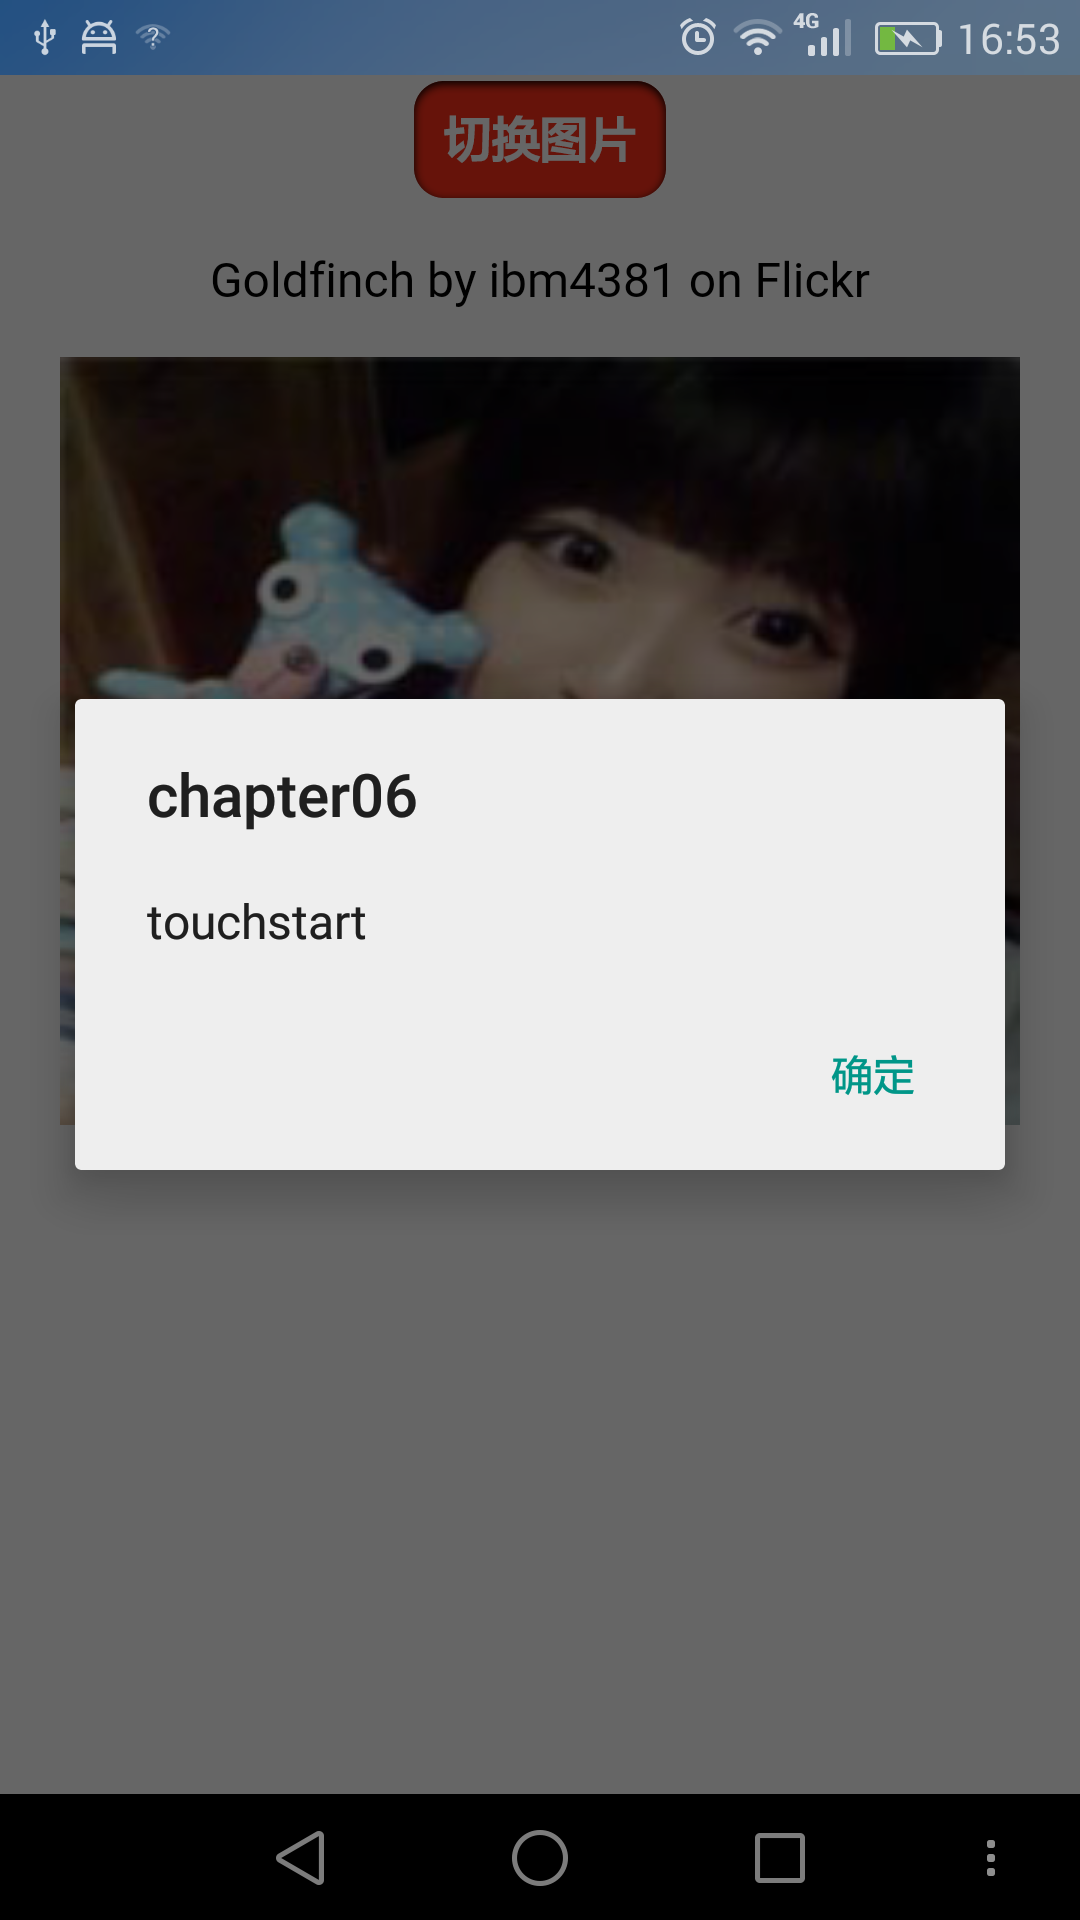
렌더링은 아래와 같습니다. 참고: 휴대폰의 터치 이벤트에는 응답하지만 클릭 이벤트에는 응답하지 않습니다. PC 브라우저의 경우. 반대


두 번째 방법은 이벤트를 사용자 정의하는 것입니다.
addEventListener를 사용하여 이벤트가 트리거되는 시기와 이벤트 동작을 정의합니다.
여전히 이전 예를 따릅니다. 몇 가지 수정 작업을 수행하면 단계는 다음과 같습니다.
1. 사용자 정의 이벤트 사용
node.addEventListener("tap",  function(e){
    togglePictrue();
});
node.addEventListener("touchstart",  function(e){
     var tap = document.createEvent("CustomEvent");
    tap.initCustomEvent("tap",  true,  true,  null);
    node.dispatchEvent(tap);
});
여기서 initCustomEvent 메소드에는 4개의 매개변수가 필요합니다.
● 이벤트명
● 이벤트 버블 여부
● 본 이벤트 취소 가능 여부
● 상세 데이터, 임의 데이터가 전달됩니다. 이벤트 초기화 시
2. 터치스타트 리스너를 추가해야 하는데 아직 클릭(click)이 되지 않습니다. 따라서 터치 이벤트가 지원되는지 여부를 감지해야 하며, 그렇지 않으면 마우스 이벤트와의 호환성이 저하됩니다.
위 메서드를 호출하는 코드는 다음과 같습니다.
function addTapListener(node, callback) {

		node.addEventListener('tap', callback);

		//一开始 定义为鼠标 按下,抬起事件,这是为PC浏览器考虑的
		var startEvent = 'mousedown', endEvent = 'mouseup';

		//if touch events are available use them instead
		if (typeof(window.ontouchstart) != 'undefined') {

			//如果判断为触摸设备,改变为触摸开始、触摸结束事件
			startEvent = 'touchstart';
			endEvent   = 'touchend';
		}

		//开始事件
		node.addEventListener(startEvent, function(e) {
			var tap = document.createEvent('CustomEvent');
			tap.initCustomEvent('tap', true, true, null);
			node.dispatchEvent(tap);
		});

		//结束事件
		node.addEventListener(endEvent, function(e) {
			var tapend = document.createEvent('CustomEvent');
			tapend.initCustomEvent('tapend', true, true, null);
			node.dispatchEvent(tapend);
		});
	}
이 두 단계를 거쳐 기본적으로 요구사항이 완료됩니다.
전체 코드는 다음과 같습니다. tap.html:
addTapListener(node, function(e){
		e.preventDefault();
		e.target.className = 'active button';
		togglePicture();
});
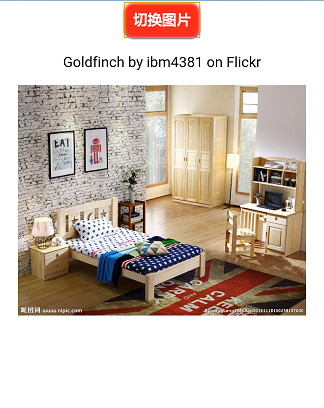
렌더링은 다음과 같습니다.


두 번째 방법을 볼 수 있습니다. 맞춤 이벤트는 첫 번째 방법보다 코드가 적지는 않지만 무슨 일이 일어나고 있는지 더 명확하게 소개합니다. 중요 수정 없이 데스크톱 컴퓨터에서 사용할 수 있습니다.
위 내용은 H5 12__ Touch and Click: Basic Event Handling 관련 내용을 참고하시기 바랍니다. (www.php.cn)!

