Home >Software Tutorial >Computer Software >Share a simple tutorial on displaying line width in AutoCAD2016
Share a simple tutorial on displaying line width in AutoCAD2016
- WBOYWBOYWBOYWBOYWBOYWBOYWBOYWBOYWBOYWBOYWBOYWBOYWBforward
- 2024-05-08 09:52:21865browse
AutoCAD2016 display line width is a problem encountered by many designers, which directly affects the accuracy and expression of engineering drawings. PHP editor Zimo brings you a detailed tutorial to explain in simple terms how to display line width in AutoCAD 2016 to solve this problem. The following will introduce the specific steps in detail to help you easily master the line width display skills and improve design efficiency.
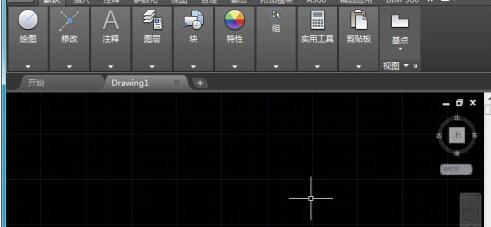
1. Open AutoCAD2016 and enter the operation interface:
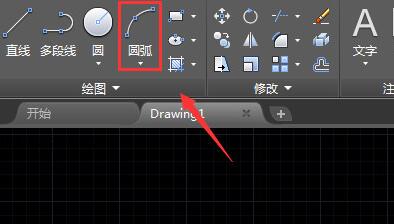
2. Find the arc command in the interface and draw an arc in the drawing area.
3. Select the drawn arc and find the line width option in the menu area.
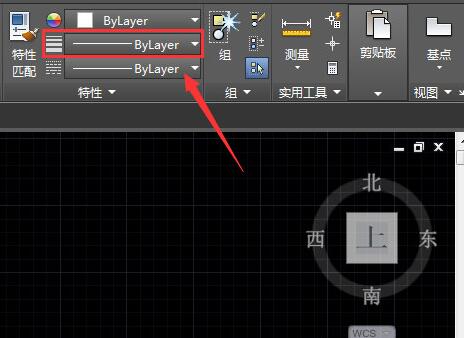
4. Click the line width option and select a line width in the drop-down list.

5. After selecting the set line width, you can see that the arc has not changed.

6. Find the custom option below, click the custom option, find the line width option in its sub-menu, and check this option.
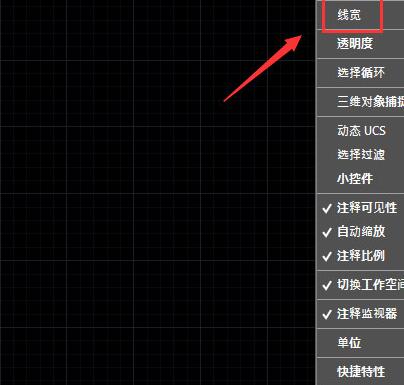
7. After checking the line width, you can find the line width display option in the following options.
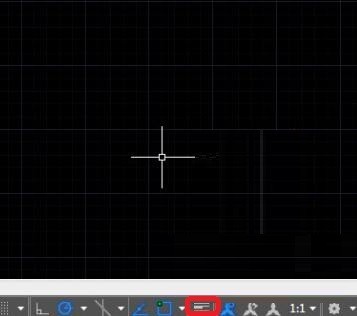
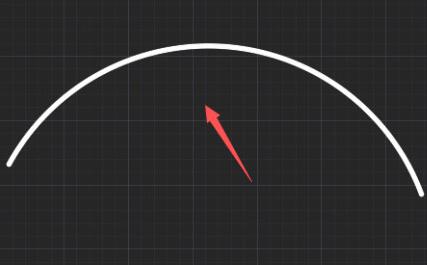
8. Click the line width display option and you can see that the current arc has become wider.
The above is the detailed content of Share a simple tutorial on displaying line width in AutoCAD2016. For more information, please follow other related articles on the PHP Chinese website!
Related articles
See more- How to change the material of bedding in Kujiale_How to change the material of bedding in Kujiale
- How to use modified line in sai_Using the modified line method in sai
- Graphic and text method for creating mask animation in Flash
- A simple way to enter fractions in Geometry Sketchpad
- How to deal with the thickening of the cursor in the MathType input box

