Home >Software Tutorial >Office Software >How to delete page breaks in word 2016
How to delete page breaks in word 2016
- 王林forward
- 2024-04-25 11:40:22986browse
When using Microsoft Word 2016, it is sometimes necessary to remove page breaks to adjust the layout of the document. Page breaks create a new page in the document, sometimes causing unnecessary page breaks. PHP editor Strawberry will introduce a simple method to guide you to easily delete page breaks in Word 2016. With the following detailed introduction, you can quickly solve the page break problem and get the document format you want.
There is a blank page in the document and it cannot be deleted by pressing the delete key. This is because a page break is inserted in the document and we need to delete the page break.
To delete page breaks, you first need to set the display page breaks. There are two methods here. The first one is simpler and faster, that is, click the [Start] option, shown as number ① in the picture, and then click the icon shown as number ③ to display all page breaks. That is, click the [Start] option icon, and then click the icon shown in serial number ③ to display all page breaks. Then click the icon shown in serial number ④ to display all page breaks. The page breaks can then be removed. You can use the mouse to click on the page break you want to delete to display all page breaks.

After completing the operation, the page break will be displayed in the document. When deleting the page break, move the cursor before the page break and press the Delete key to delete the page break. A blank page will suffice. Removed. Note: Not the Backspace key.
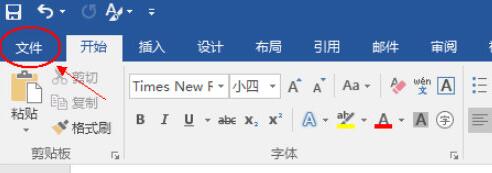
The second method is more cumbersome, that is, click the [File] option in the upper left corner of the Word 2016 page.

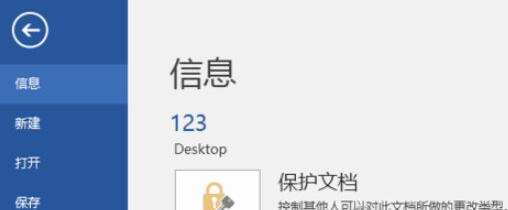
After entering the [File] option, the following menu will appear, and then select the last item [Option].

Enter the [Options] menu, first click the [Show] menu, then click the small square in front of the [Show all formatting marks (A)] option, select and confirm Show all page breaks.
The above is the detailed content of How to delete page breaks in word 2016. For more information, please follow other related articles on the PHP Chinese website!

