Home >Software Tutorial >Computer Software >How to set up tape collection in edius
How to set up tape collection in edius
- 王林forward
- 2024-04-17 13:16:091173browse
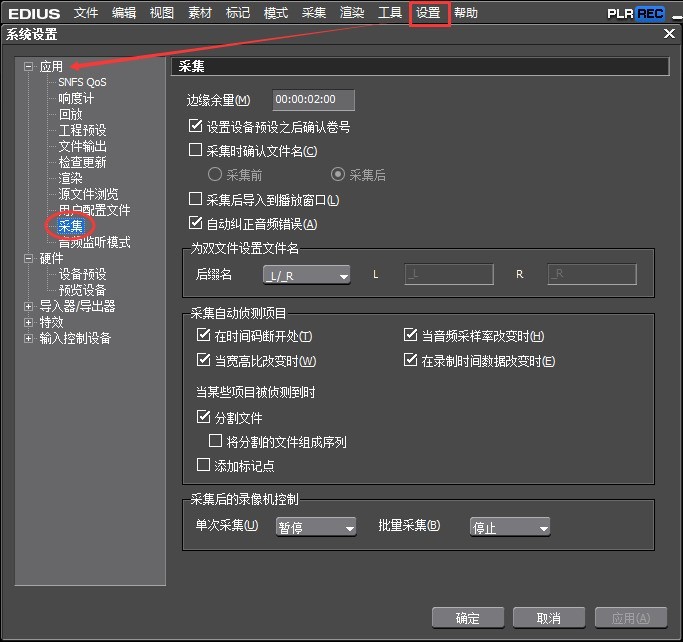
Click [Settings] on the menu bar, and in the opened system settings window, click [Application>Collect] to make basic settings before collection. (Select [Confirm the file name and volume number before collecting], and the options under [Collect automatic detection items] will be selected only when necessary.)
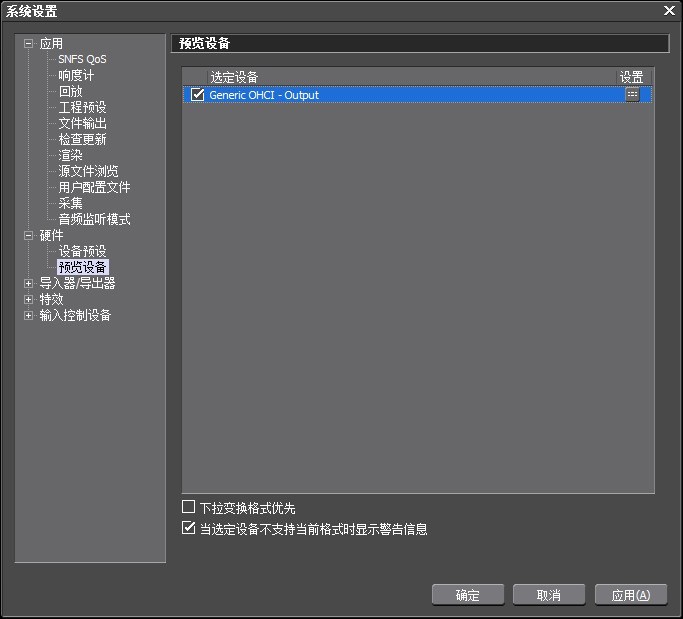
Click [Hardware> Preview Device], you can see that your video recorder for tape playback appears in the window, which means that the external link is in place and you can start collecting after setting it up.
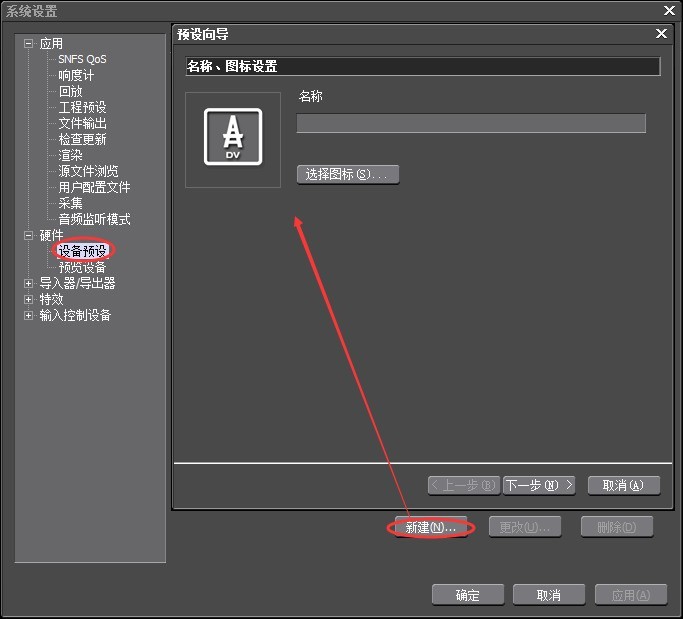
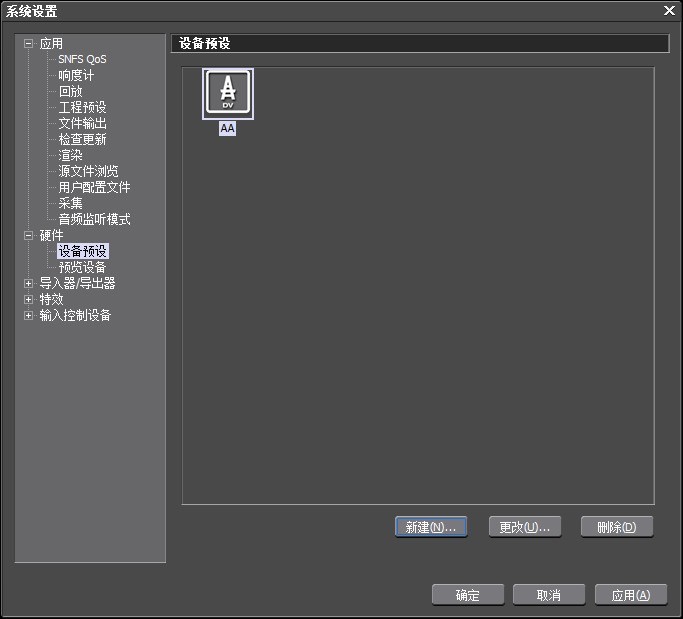
Click [Hardware>Device Preset], click [New] below, in the pop-up [Device Wizard] dialog box, name [Device Preset], and click step.
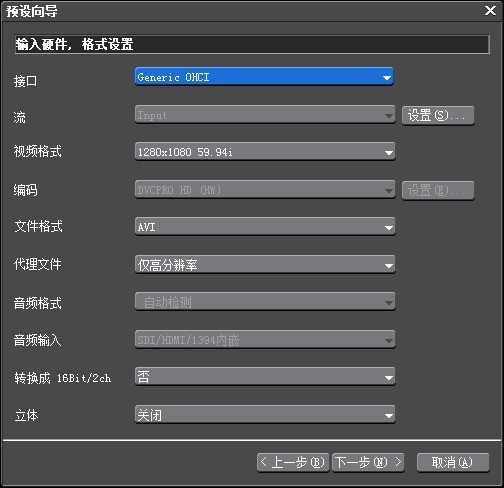
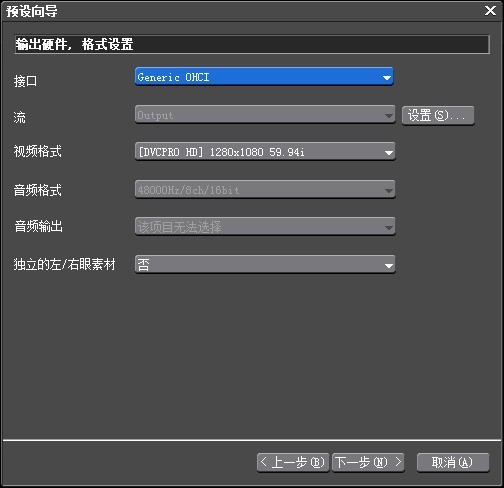
Set the output hardware and format: Generally, you can set the interface, video format and file format. In the interface options, the OCHI option is the high-definition interface and HDV is the standard-definition interface; the video format option sets the size of the captured video; the file format option sets the format of the captured video, such as AVI, click Next.
Output hardware and format settings: It is also the interface and video format settings. They must be consistent with the input hardware and format settings. Click Next.
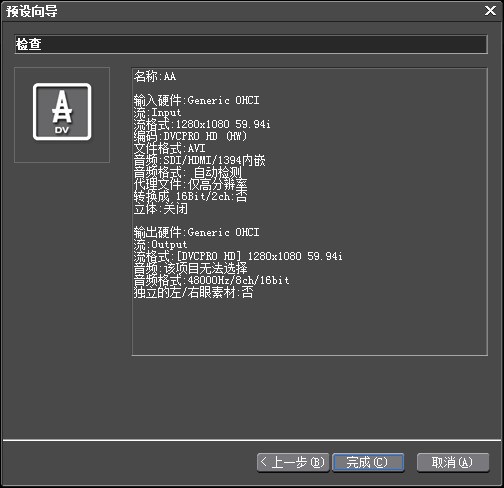
The [Device Preset] information you set will be displayed. Check whether it is correct, and then click Finish.
Finally click [OK] to complete the tape collection settings and return to the EDIUS work interface to start collection.
The above is the detailed content of How to set up tape collection in edius. For more information, please follow other related articles on the PHP Chinese website!
Related articles
See more- How to change the material of bedding in Kujiale_How to change the material of bedding in Kujiale
- How to use modified line in sai_Using the modified line method in sai
- Graphic and text method for creating mask animation in Flash
- A simple way to enter fractions in Geometry Sketchpad
- How to deal with the thickening of the cursor in the MathType input box

