
Home >Software Tutorial >Computer Software >Detailed steps for attaching multiple objects in 3Ds MAX
Detailed steps for attaching multiple objects in 3Ds MAX

- 王林forward
- 2024-04-08 14:43:14967browse
php editor Youzi brings you an article on "Detailed steps for attaching multiple objects in 3Ds MAX". In the 3D modeling software 3Ds MAX, attaching multiple objects is a common operation, which can effectively improve modeling efficiency. This article will introduce in detail how to use the additional functions in 3Ds MAX and provide step-by-step instructions to help you master this skill easily. Whether you are a beginner or an experienced modeler, you can learn practical tips from this article to make your modeling process more efficient and convenient. Let’s take a look!
1. Open 3Ds MAX, draw several objects, and right-click one of the objects to convert it to an editable polygon.
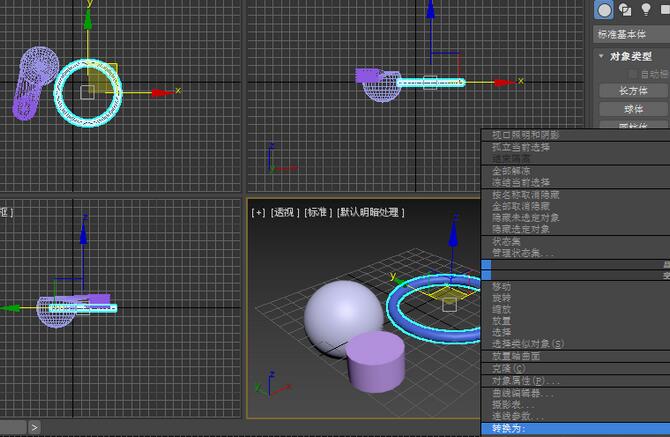
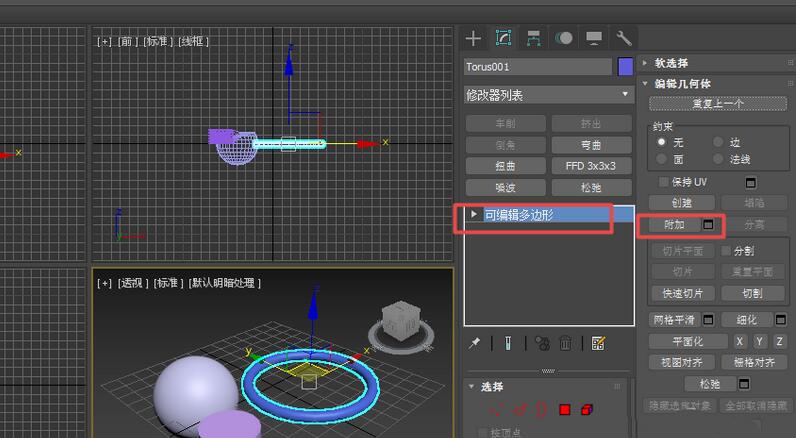
2. At the editable polygon level, find the Attach command and click Attach.
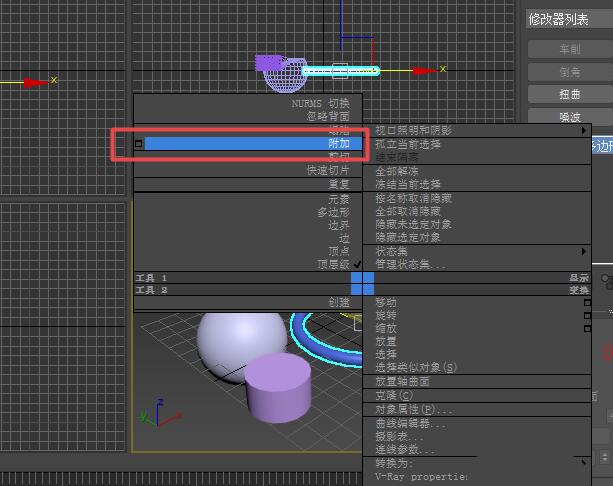
3. Or click the editable polygon object, then right-click and click [Append].
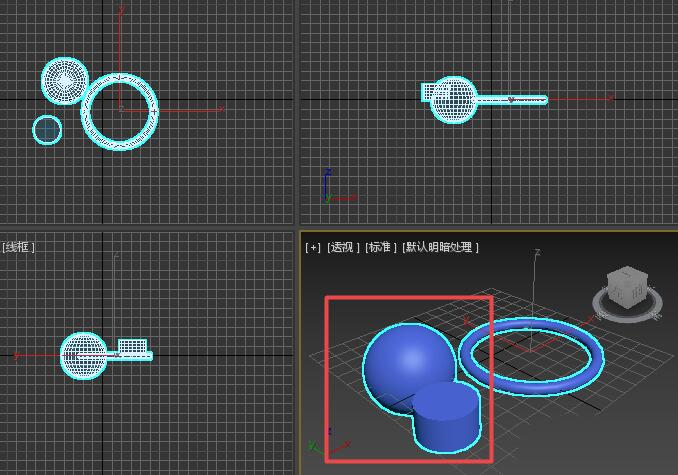
4. Pick up two other objects, so that the colors of these three objects become one color.
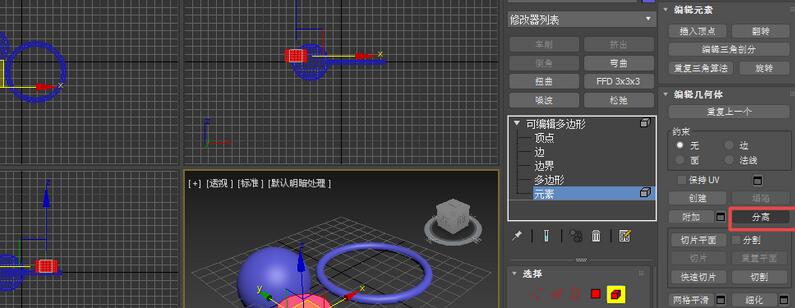
5. If you want to separate an object, you can edit the element level under the polygon, select one of them, and then click the separate button next to it.
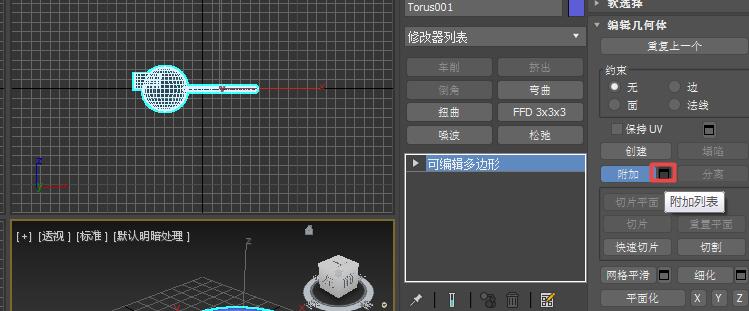
6. If there are a large number of files, we can click the file symbol next to the append, which is the append list.
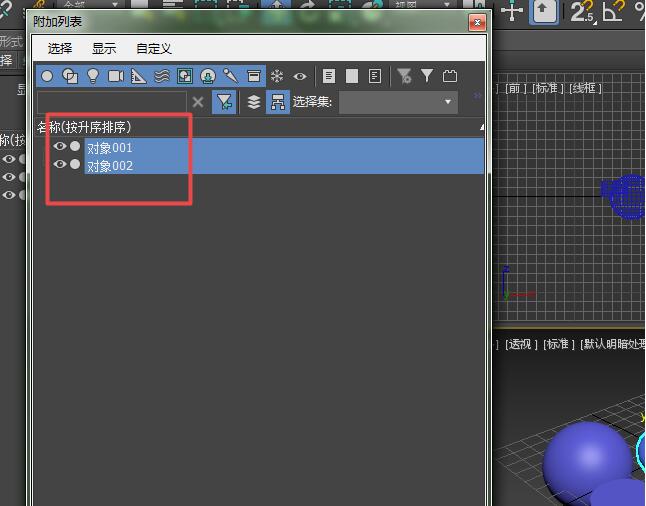
7. Select the object to be attached in the pop-up attachment list dialog box and click Attach.
The above is the detailed content of Detailed steps for attaching multiple objects in 3Ds MAX. For more information, please follow other related articles on the PHP Chinese website!