Home >System Tutorial >Windows Series >Learn how to enable face unlock on your Asus computer under Windows 10
Learn how to enable face unlock on your Asus computer under Windows 10
- WBOYWBOYWBOYWBOYWBOYWBOYWBOYWBOYWBOYWBOYWBOYWBOYWBforward
- 2023-12-21 14:39:421070browse
Some users of ASUS computers using Win10 system want to set up facial recognition, but don’t know how to do it. This article is a tutorial for setting up facial recognition on ASUS computers under Win10 system.

Set up facial recognition
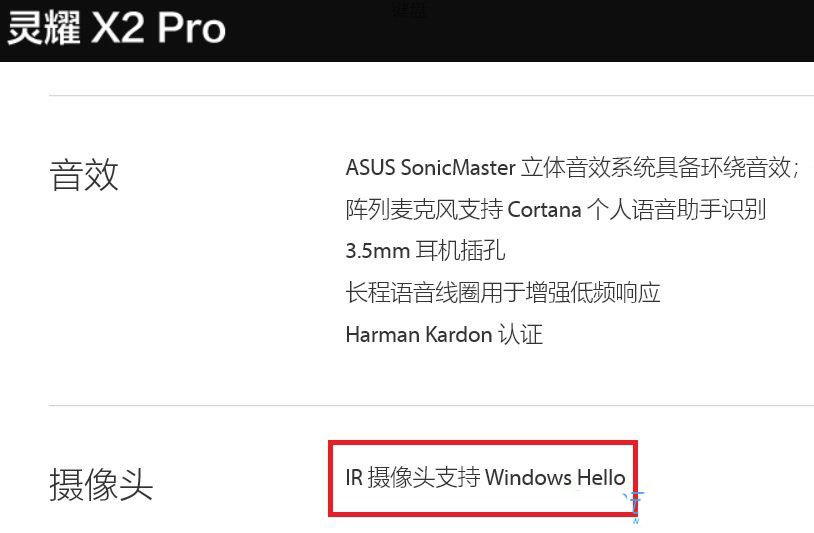
This feature only works on computers with an infrared (IR) webcam, if you don’t see faces in Windows Hello If the login option or it says that this option is not available, it means that your computer does not have an infrared web camera.
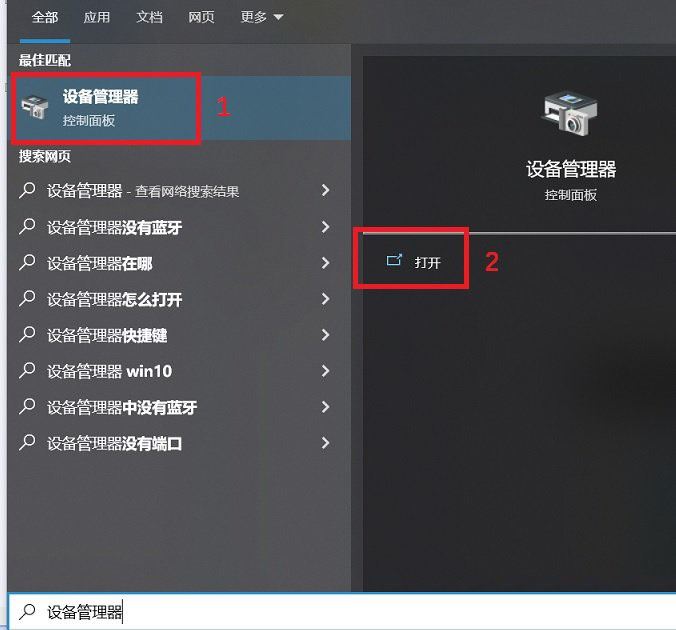
#You can also check whether you have an infrared (IR) webcam through the device manager. Enter [Device Manager] in the Win10 search box, and then click [Open].
In the Device Manager window, click the arrow next to the [Camera] device type to see if there is an infrared (IR) network camera.

Start setting up facial recognition
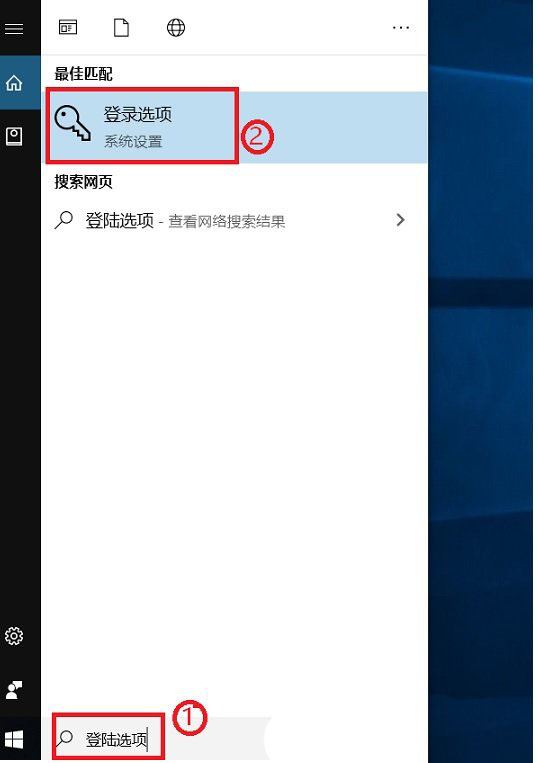
1. Enter [Login Options] in the Windows search box, and then click on the best matching [Login Options] given by the system ( System Settings)];
2. Select [Login Options] on the left, click [Windows Hello Face] on the right, and then click [Settings];

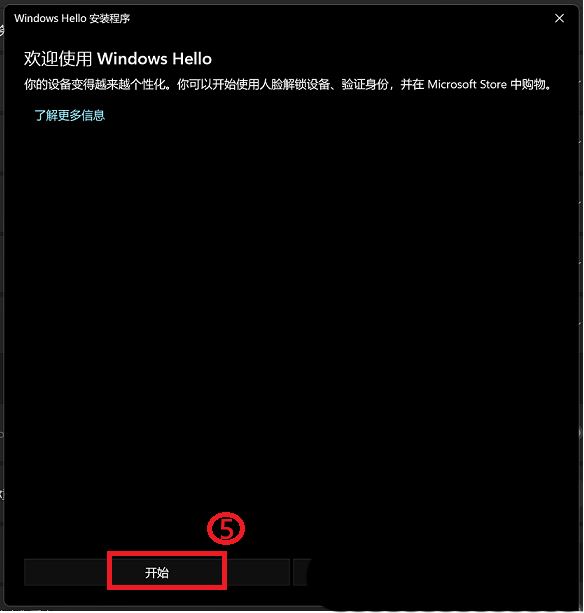
3. In the Windows Hello installer window, click [Start];
4. Please point your face towards the camera , make sure your face is in the center of the frame and keep looking, then the camera will capture your facial features;

5. Facial recognition setting is completed, please click [Set PIN ] to create a PIN that can be used to log in when facial recognition cannot be used;

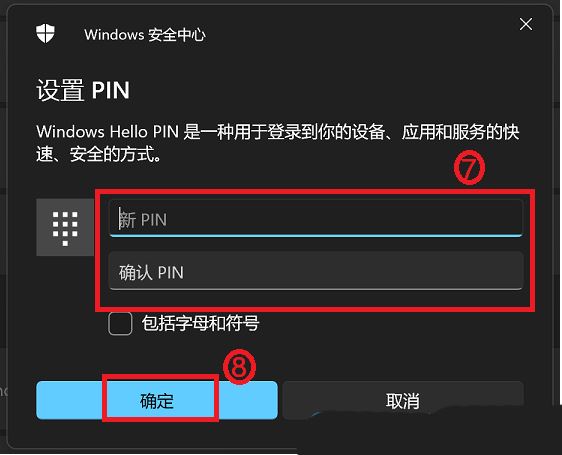
6. In the Windows Security Center window, enter the PIN you want to create, and then click [OK] 】;
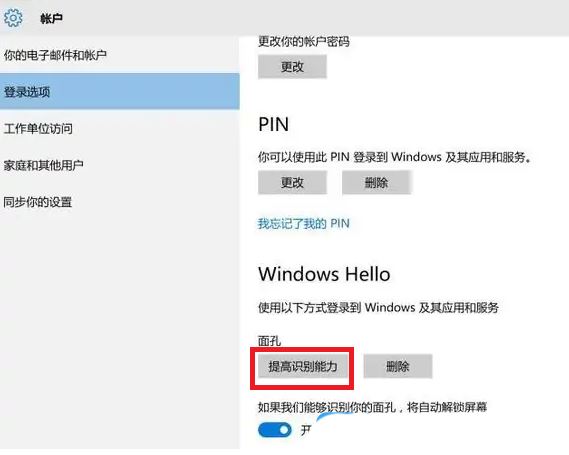
Face recognition setting is completed. There is another option here [Improve recognition ability], which allows you to record with and without glasses. If you are wearing glasses when setting up Windows Hello facial recognition, you can click this option and then set it up again without glasses. This helps identify you whether or not you wear glasses.
The above is the detailed content of Learn how to enable face unlock on your Asus computer under Windows 10. For more information, please follow other related articles on the PHP Chinese website!

