Home >Common Problem >Step-by-step tutorial on how to install win7 to win10
Step-by-step tutorial on how to install win7 to win10
- 王林forward
- 2023-07-16 18:13:443187browse
Now the win10 system is gradually becoming more and more popular, and more and more computers are equipped with the latest win10 system. Even some loyal users of the win7 system are eager to install the win10 system. So how to install win10 on win7 system? The editor below will tell you the step-by-step tutorial on how to install Win7 to Win10.
1. Download the Kaka installation software and insert the USB disk into the computer. Select "U disk mode" to enter.

#2. In this way, the Kaka installer will detect the U disk we just created, click "Start Production" to next step.

#3. Select the system that needs to be installed and click "Start Production".

#4. After waiting for the software to prompt "The boot USB disk was created successfully", we restart the computer.

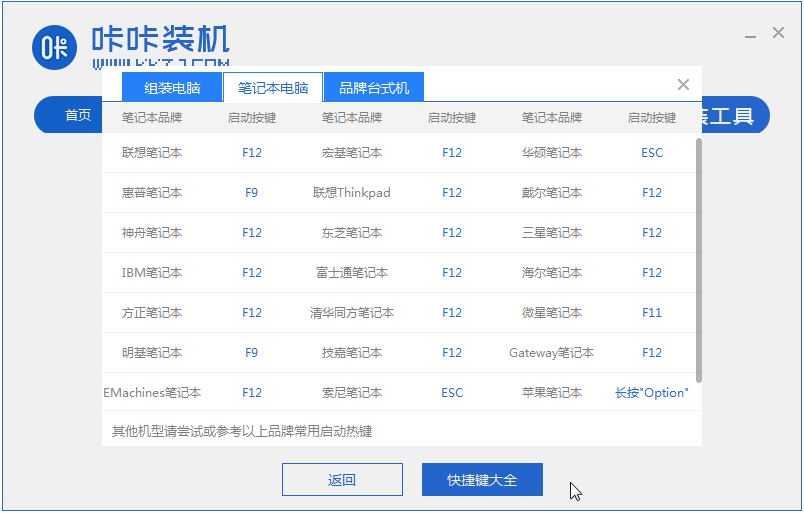
#5. After confirming the startup shortcut key of the computer, directly pull out the USB disk and insert it into the computer to be upgraded to win10.
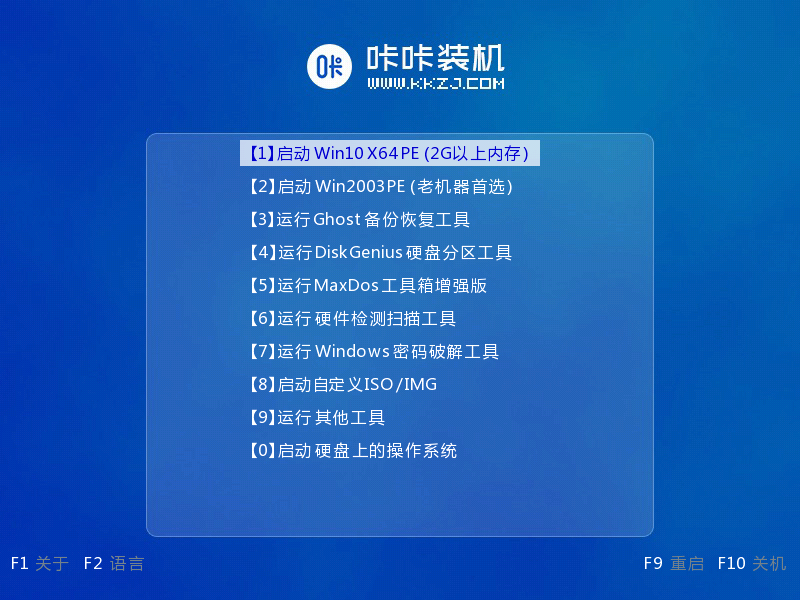
#6. Use the up and down keys on the keyboard to select and then press the Enter key to enter the pe system to continue the installation.
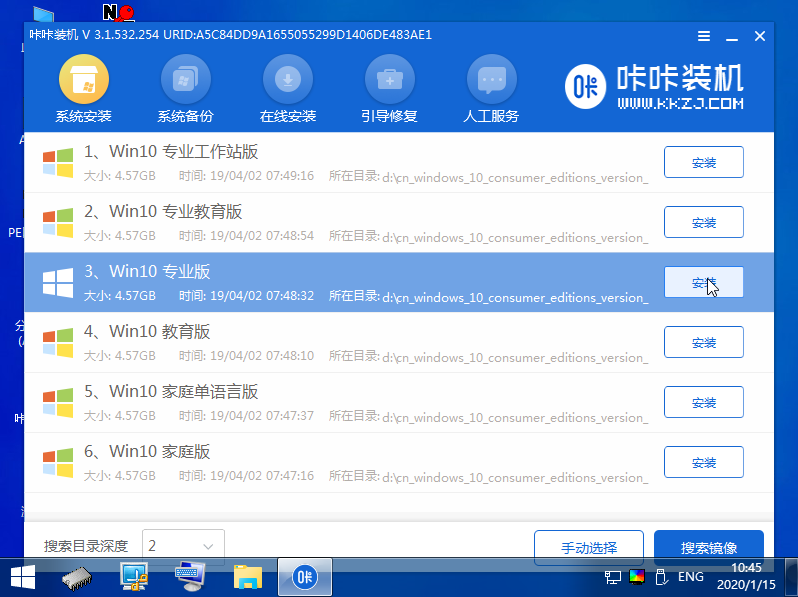
#7. Click win10 system to install.
#8. Change the target partition to "Disk C" and click "Start Installation".
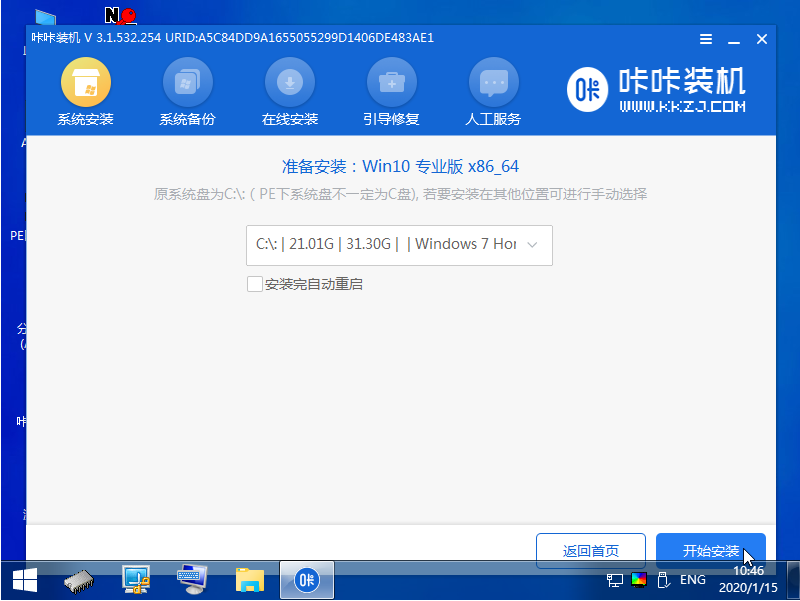
#9. After installation and restart, it will be our new system.
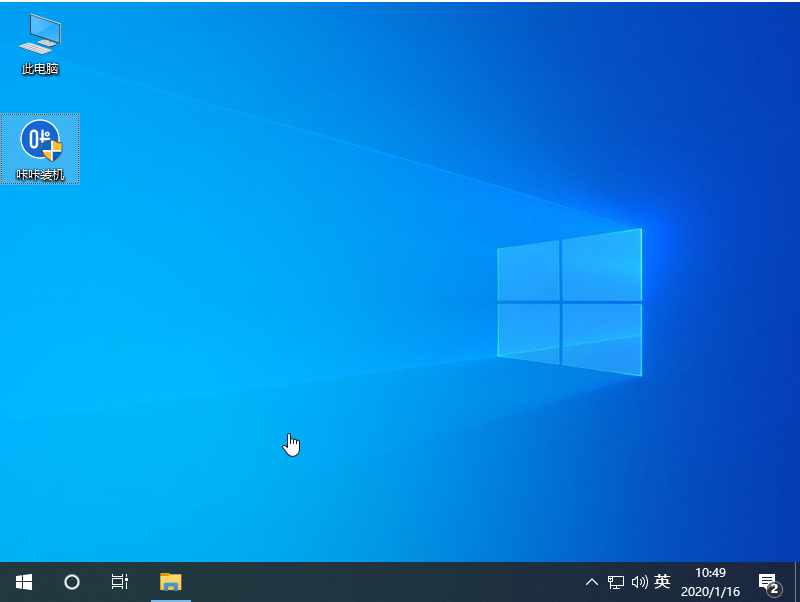
The above is the step-by-step tutorial on how to install win7 to win10. I hope it can help everyone.
The above is the detailed content of Step-by-step tutorial on how to install win7 to win10. For more information, please follow other related articles on the PHP Chinese website!

