Home >Software Tutorial >Computer Software >How to install sql server sql server installation tutorial
How to install sql server sql server installation tutorial
- WBOYWBOYWBOYWBOYWBOYWBOYWBOYWBOYWBOYWBOYWBOYWBOYWBOriginal
- 2024-08-15 11:18:10642browse
How to Install SQL Server For newbies who are not familiar with SQL Server software, installing it can be confusing. In order to solve this problem, PHP editor Youzi will provide a detailed installation tutorial to guide users step by step through the entire installation process. This guide will cover every step from downloading the installer to configuring the database and configuring the server to ensure a smooth installation and configuration of SQL Server.
How to install sql server? sql server installation tutorial
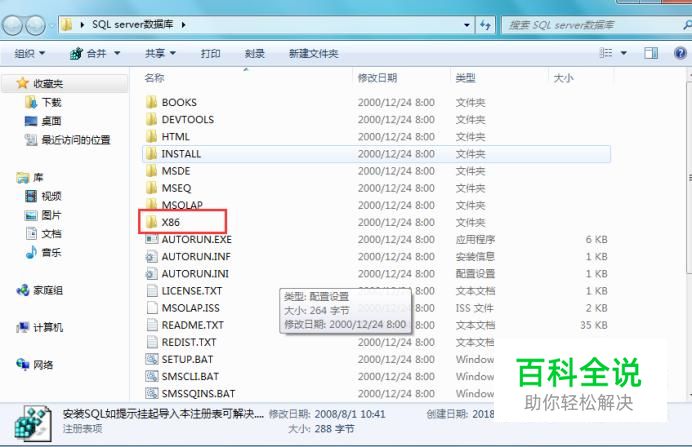
Open the SQL server database installation package, as shown below.
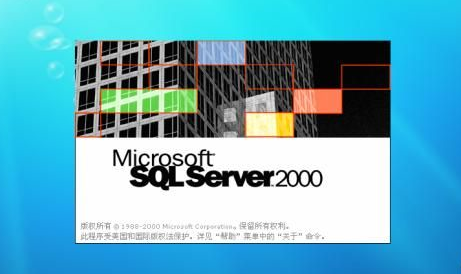
Click to start the installation------run the program, as shown below.

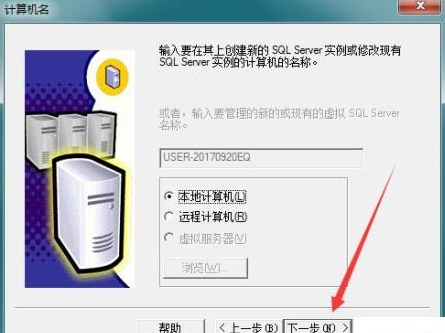
After starting the installation, choose to install to your local computer and click Next.
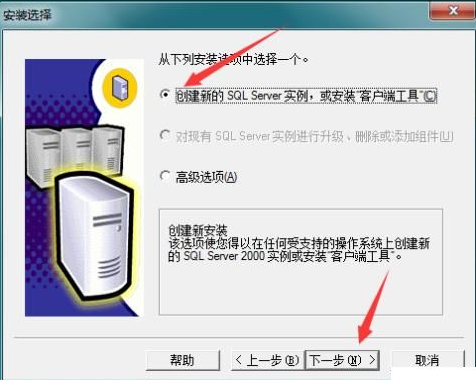
Choose to create a new SQL server instance, as shown in the figure below.
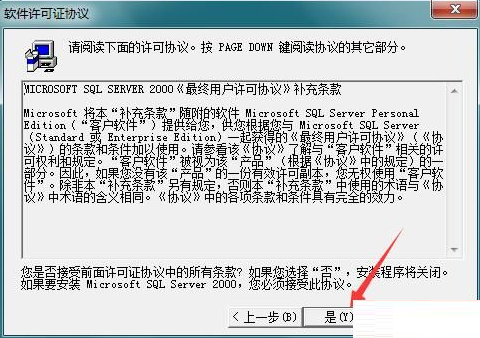
Click to accept the agreement, then click Next.
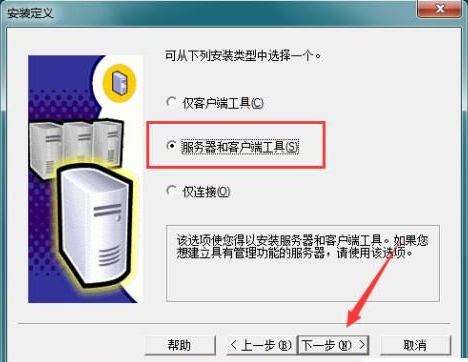
Click to install the server and client tools and click Next.
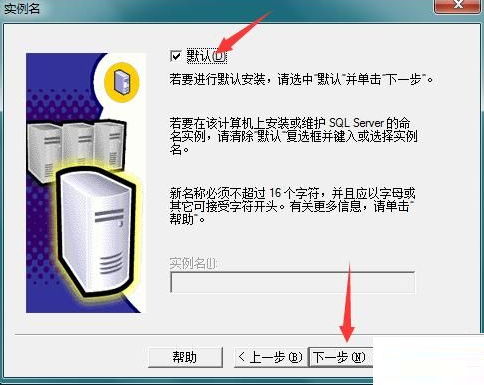
Select the default instance name and click Next.
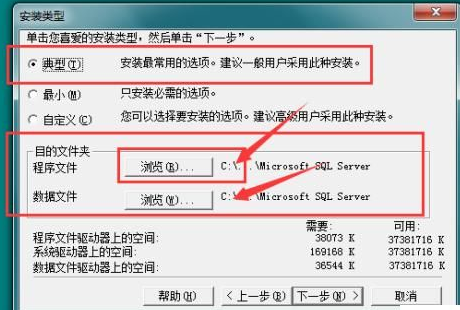
This step is very important, we need to install the database to the D drive of the computer. Therefore, click Browse to select the installation location of the program files and data files to the D drive, as shown below. After selecting, click Next.
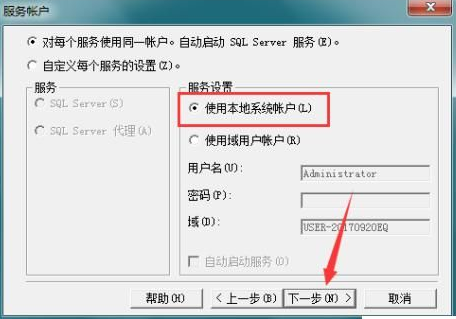
Select the local system account and click Next.
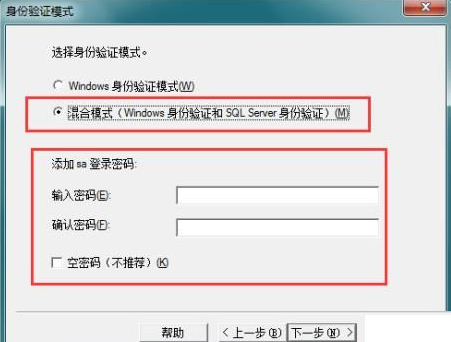
Set the identity authentication mode. It is recommended to choose the mixed authentication mode. You can add an SA login password, or you can check the empty password in the lower left corner and click Next.
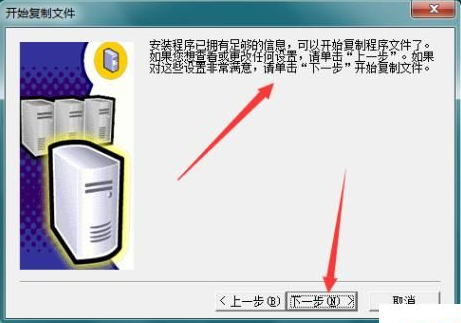
The installation settings have been set, click Next to start the installation (copy the files), as shown in the picture below.
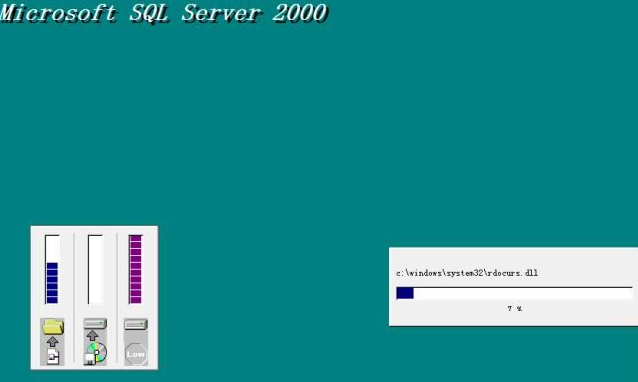
This is the installation interface, we wait patiently for the installation to be completed, usually it can be completed within 5 minutes!
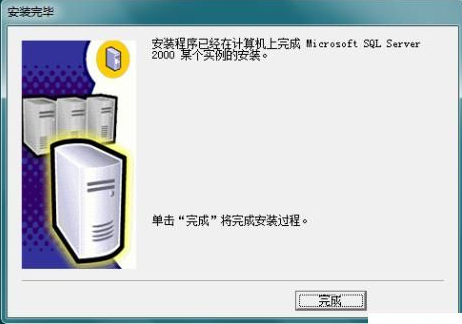
There will be a prompt when the installation is complete, just click Finish!
The above is the detailed content of How to install sql server sql server installation tutorial. For more information, please follow other related articles on the PHP Chinese website!
Related articles
See more- How to change the material of bedding in Kujiale_How to change the material of bedding in Kujiale
- How to use modified line in sai_Using the modified line method in sai
- Graphic and text method for creating mask animation in Flash
- A simple way to enter fractions in Geometry Sketchpad
- How to deal with the thickening of the cursor in the MathType input box

