Axios的安装和引入
- 使用npm安装:
$npm install axios -S
- 在vue项目公共文件(我这里是main.js文件)中引入:
import axios from "axios";
- axios跟很多第三方模块不同的一点是它不能直接使用use方法,而是用下面这种方法:
Vue.prototype.$axios = axios;
- 这样呢在methods里用到的时候直接用this.$axios来调用它:
this.$axios.get(接口地址).then(function(respon){}).catch(function(error){})
axios.get
通过params选项来传递参数的格式是 axios.get(‘url’,{params:{key:value}}).then() ;
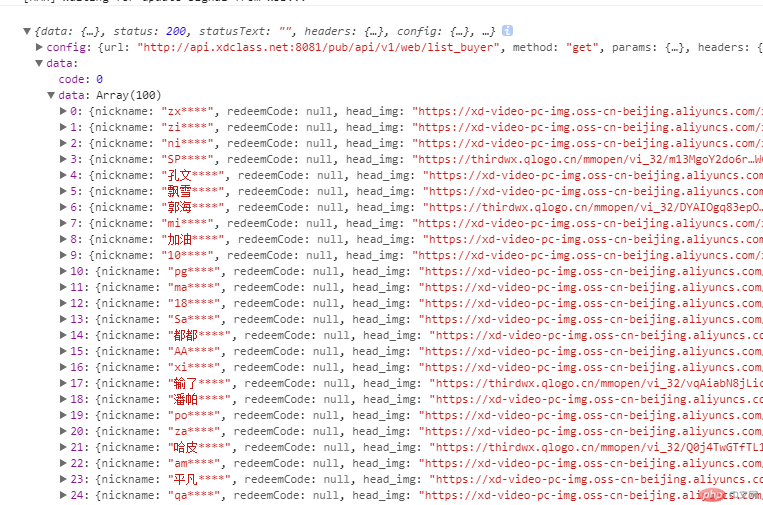
this.$axios.get("http://api.xdclass.net:8081/pub/api/v1/web/list_buyer",{params:{video_id:4}}).then(res=>{console.log(res);}).catch(function(error){})

axios.post
通过params选项来传递参数的格式是 axios.get(‘url’,{params:{key:value}}).then() ;
this.$axios.post("https://nmapi.rdxsaj.com/v1/Indexc",{params:{token:'050e26b301245052c8ef807677025bb2',com_id:19792}}).then(res=>{console.log(res);}).catch(function(error){})
会出现跨域问题,因为axios本身并不支持发送跨域的请求

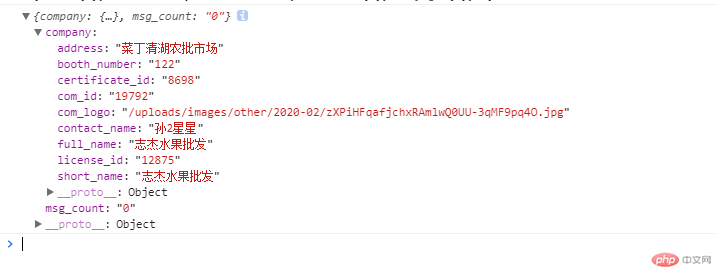
解决方案:通过字符串的方式发送数据this.$axios.post("https://nmapi.rdxsaj.com/v1/Indexc",'token=050e26b301245052c8ef807677025bb2&com_id=19792').then(res=>{console.log(res.data.data);}).catch(function(error){})

用qs来解决post跨域问题
- 安装qs:
npm install --save axios vue-axios qsimport qs from 'qs' qs 用来解决vue中post请求以 a=a&b=b 的格式
- main.js 内容:
import axios from "axios"import qs from "qs"Vue.prototype.$axios = axiosVue.prototype.$qs = qs
需要的页面请求接口时 get 和post 两种方法:
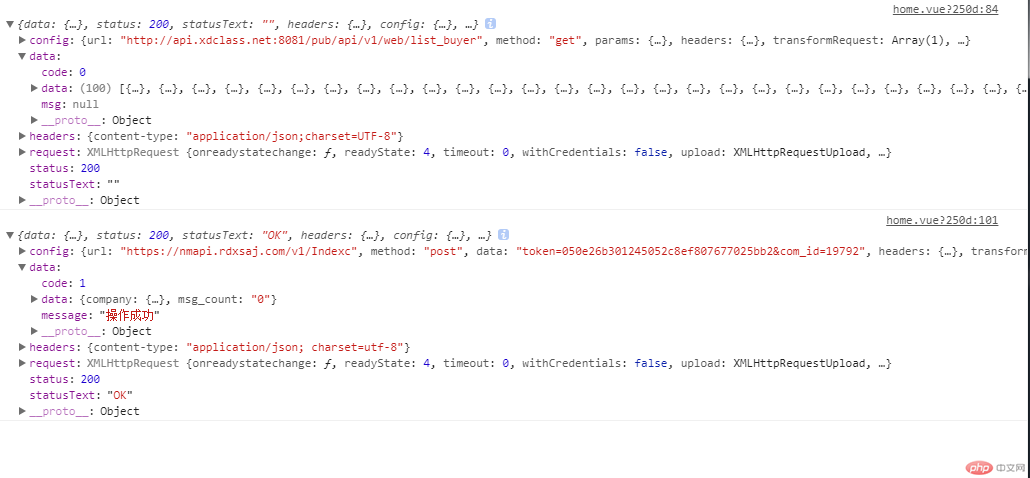
getbuyer:function(){this.$axios.get("http://api.xdclass.net:8081/pub/api/v1/web/list_buyer",{params:{video_id:4}}).then(res=>{console.log(res);}).catch(function(error){})},getData:function(){this.$axios.post("https://nmapi.rdxsaj.com/v1/Indexc",this.$qs.stringify({token:'050e26b301245052c8ef807677025bb2',com_id:19792})).then(res=>{console.log(res);}).catch(function(error){})}
请求成功


