一、弹性容器:任何一个元素,只要设置了“display: flex”属性, 就可以将它声明为一个Flex容器,分为块级容器“display: flex”和行内容器“display:inline-flex”。
display:flex。container没有设置宽度,默认为100%;
display:inline-flex,container也没有设置宽度,但父元素会根据子元素的宽高去适应。
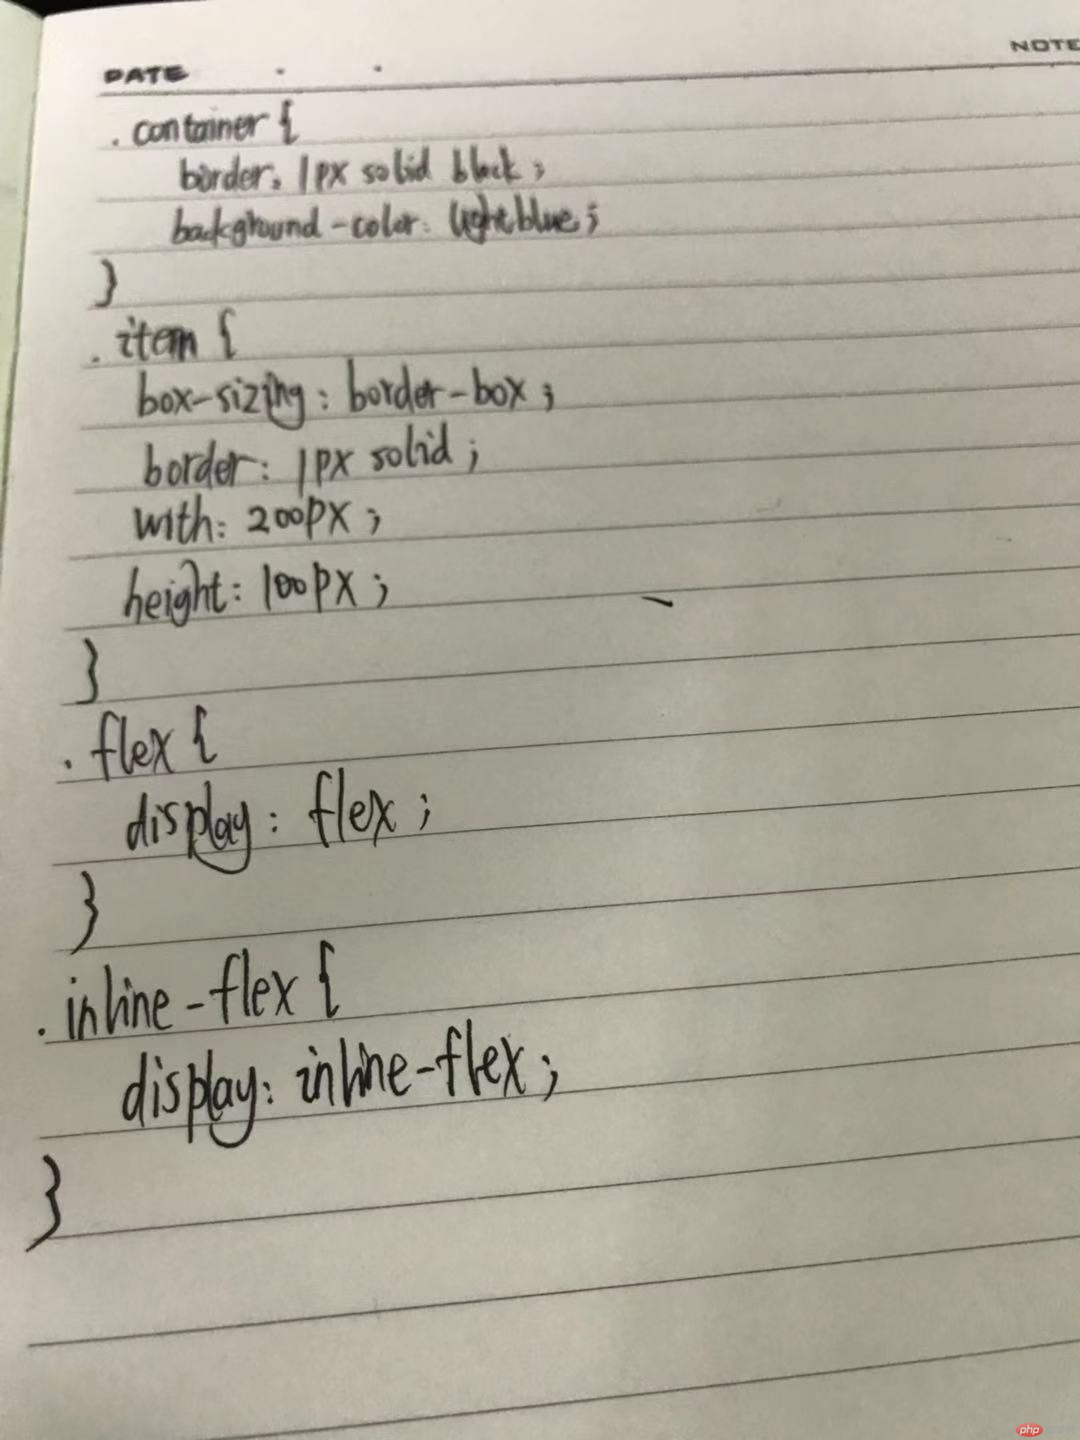
.container {  border: 1px solid red;  background-color: lightgreen;}
.item {  box-sizing: border-box;  border: 1px solid;  width: 100px; height: 100px;}
.flex {  display: flex;}
.inline-flex {  display: inline-flex;}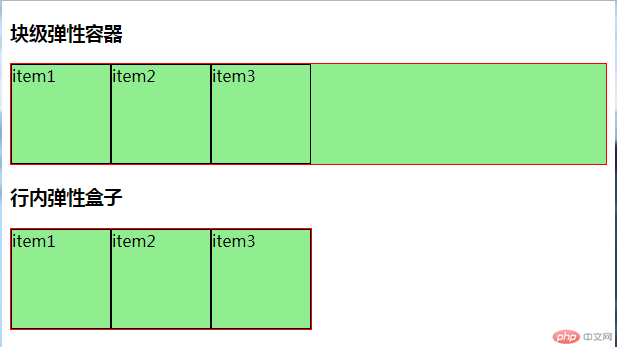
二、使用弹性容器做一个简单的导航栏
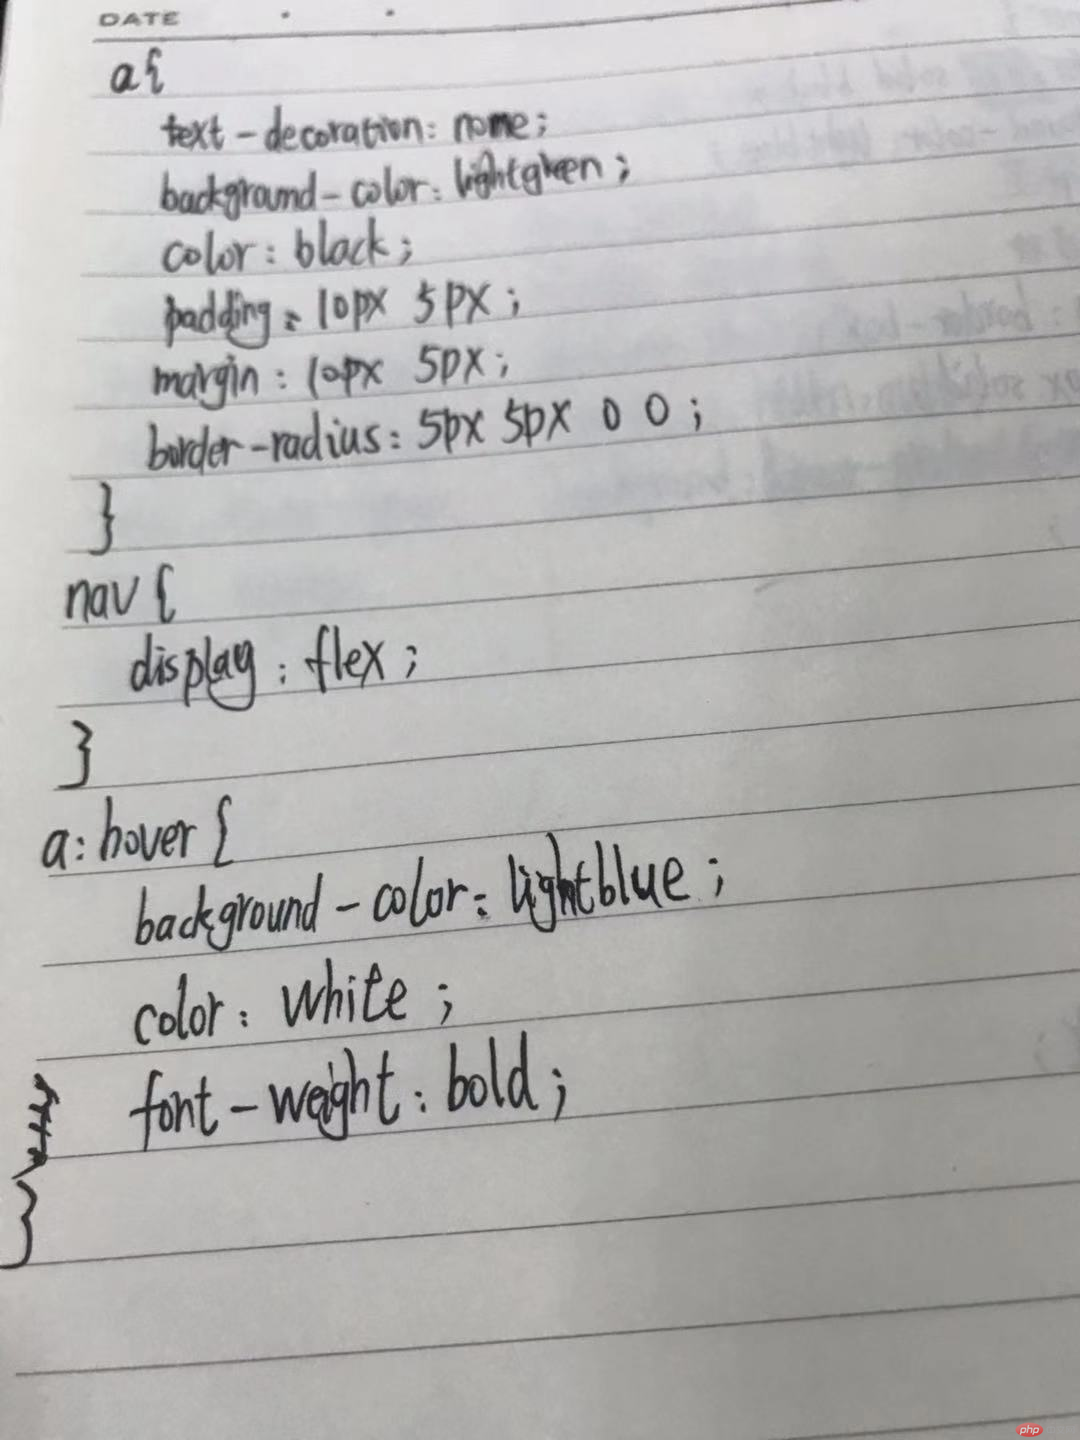
使用<a>标签做导航栏,首先要先把a标签的默认格式清除,再加上想要的样式,使用display:flex,把导航栏做成弹性容器。
a {  text-decoration: none;  background-color: lightgreen;  color: black;  padding: 10px 5px;  margin: 10px 5px;  border-radius: 5px 5px 0 0;}
nav {  display: flex;  border-bottom: 1px solid black;}
a:hover {  background-color: lightblue;  color: white;  font-weight: bold;}
三、弹性元素排列方向,flex-direction属性
①、row:默认从左到右排列
②、row-reverse:默认从右到左排列
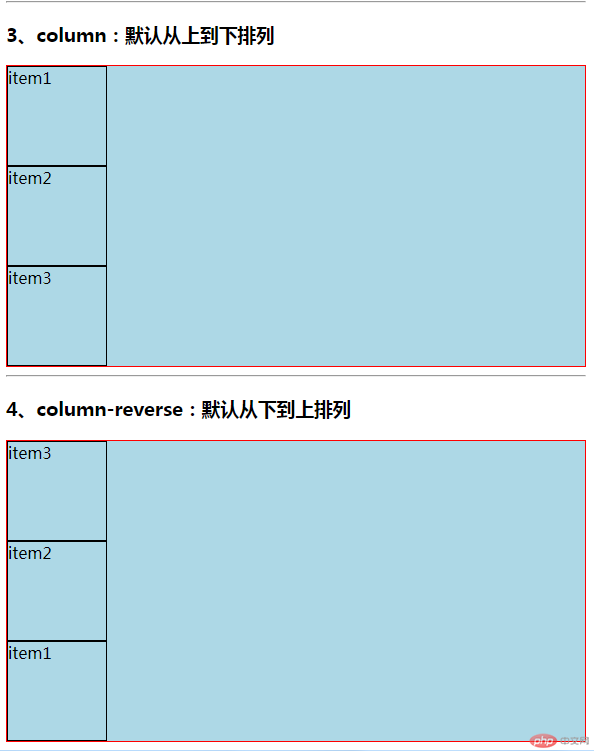
③、column:默认从上到下排列
④、column-reverse:默认从下到上排列
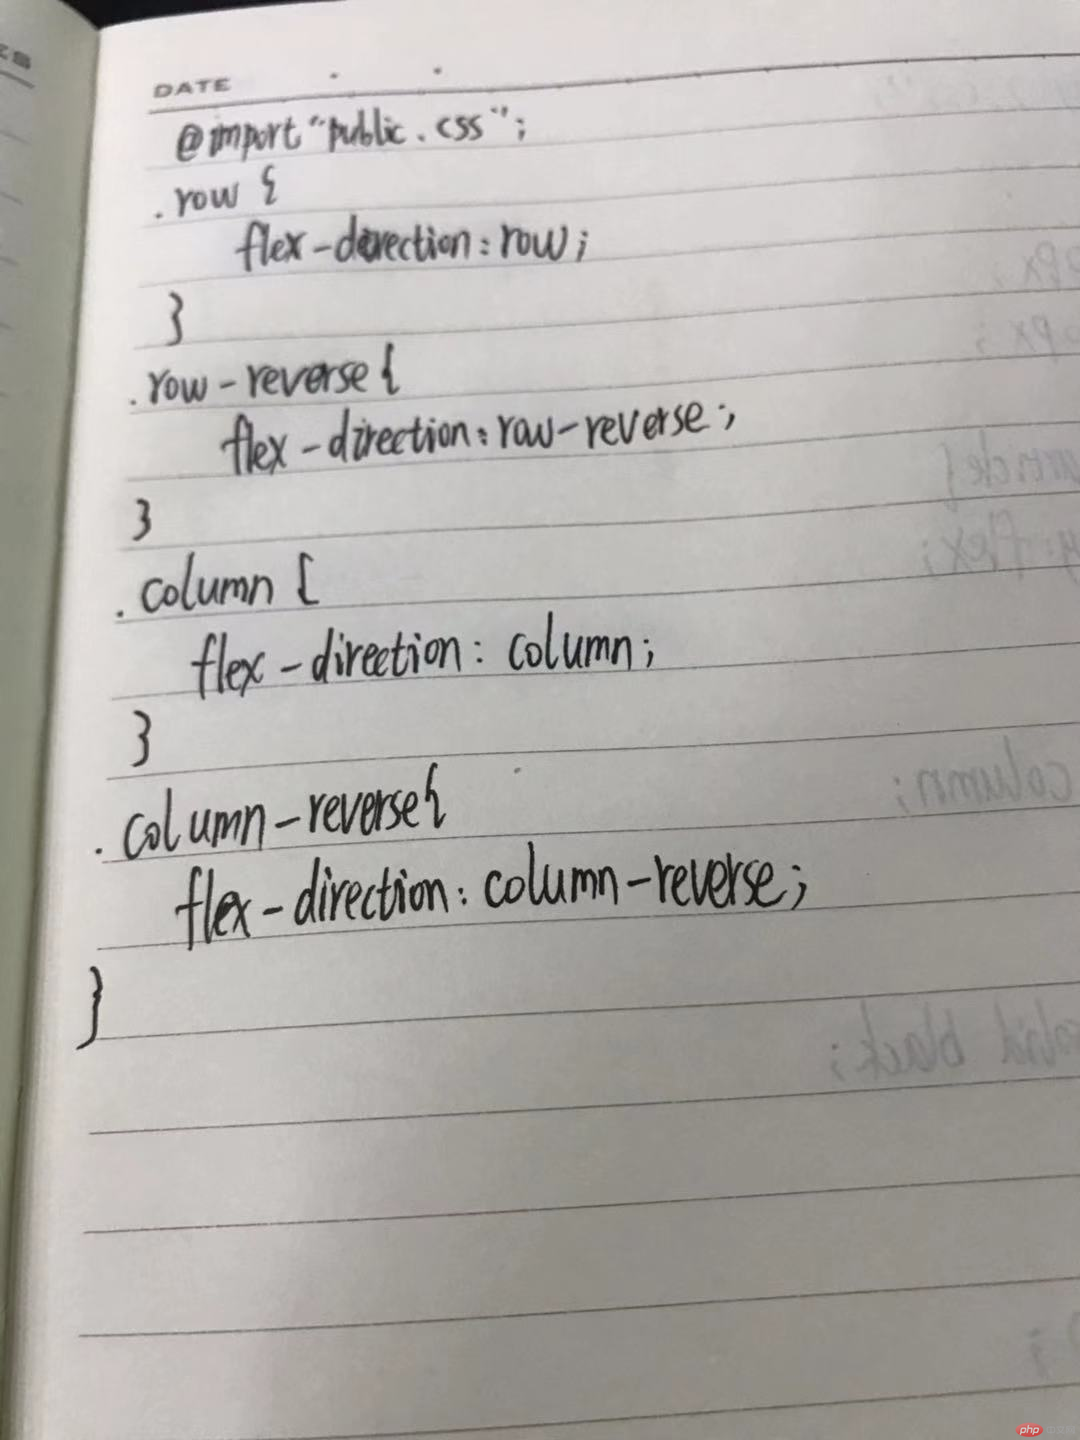
@import "public.css";
.row {  flex-direction: row;}
.row-reverse {  flex-direction: row-reverse;}
.column {  flex-direction: column;}
.column-reverse {  flex-direction: column-reverse;}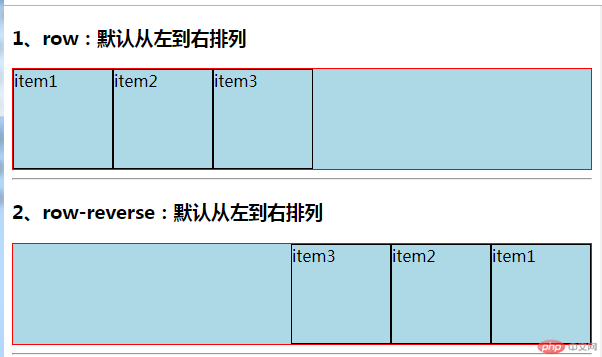
四、在第二点的基础上完善网站首页
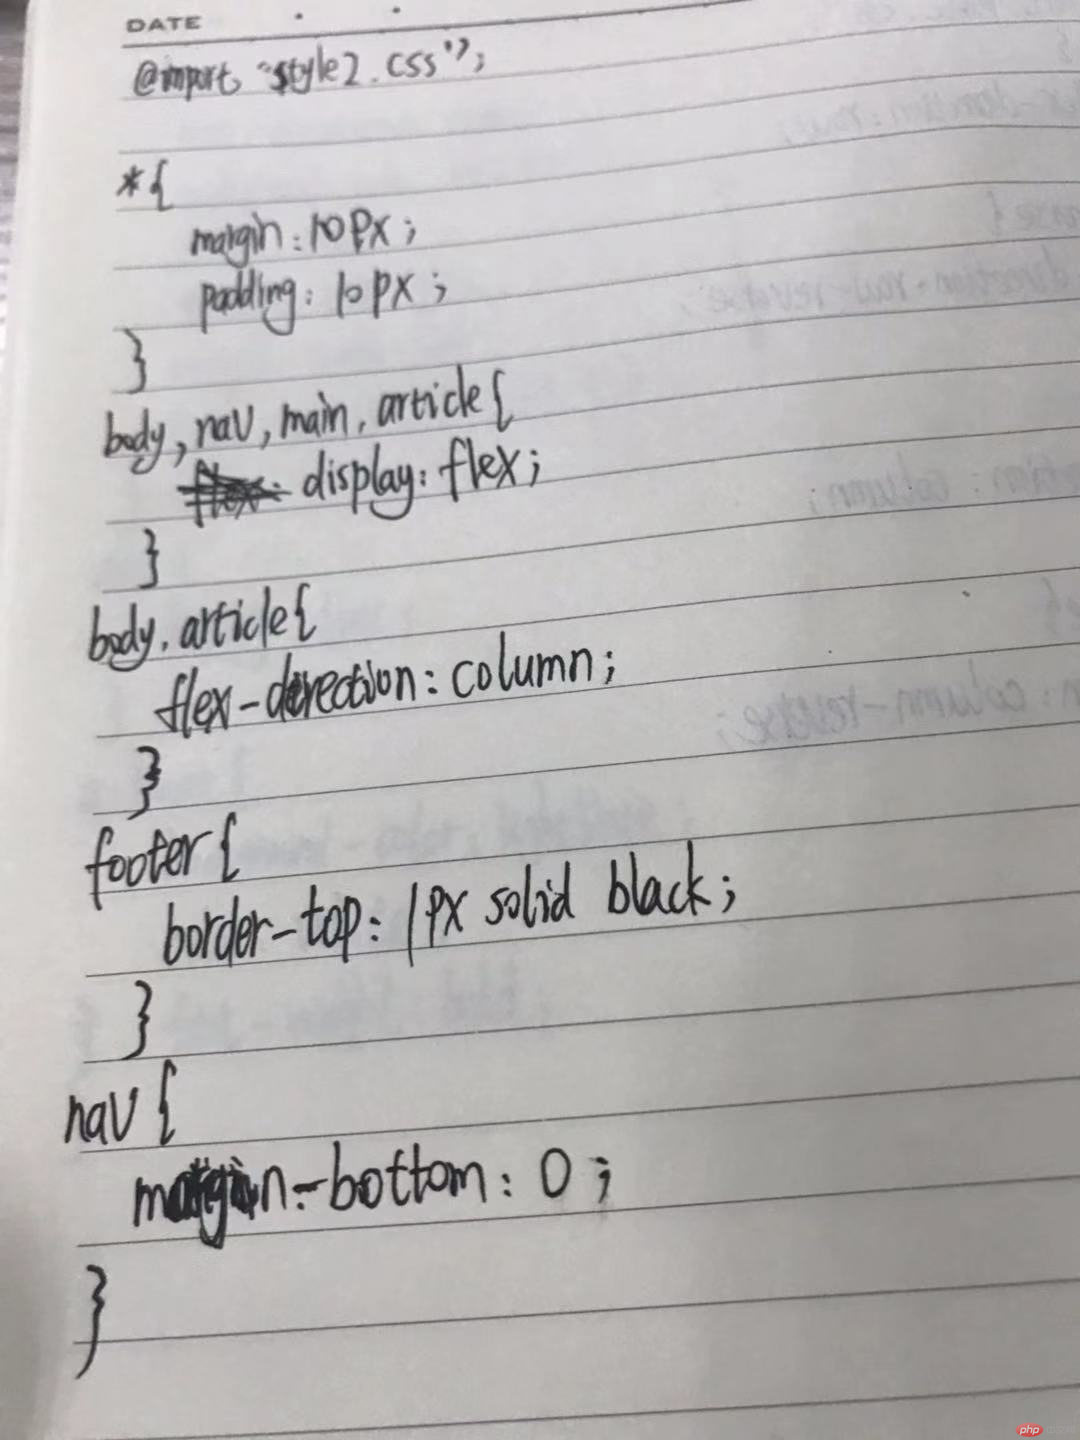
@import "style2.css";
* {  margin: 10px;  padding: 10px;}
body,nav,main,article {  display: flex;}
body,article {  flex-direction: column;}
footer {  border-top: 1px solid black;}
nav {  padding-bottom: 0;}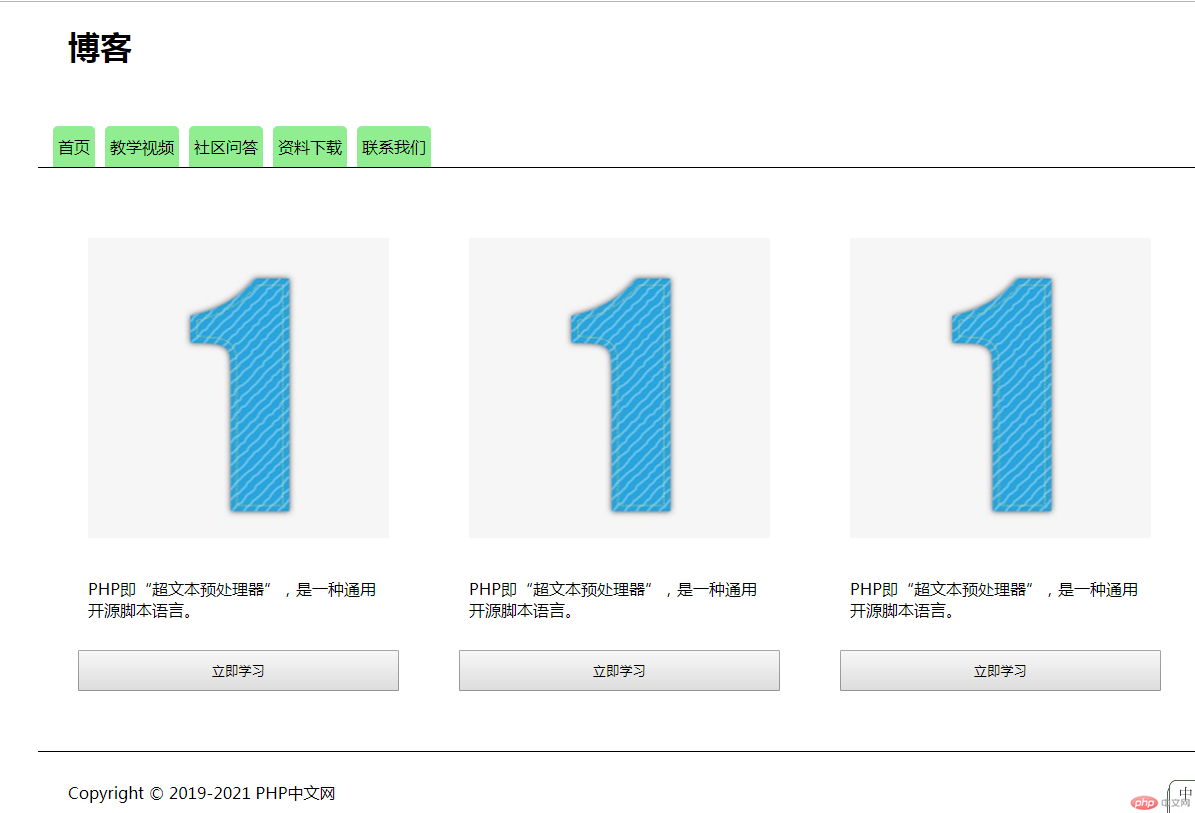
五、弹性元素在容器内换行
flex-wrap: nowrap | wrap | wrap-reverse;
①、nowrap:(默认)不换行,元素自动缩小填充容器
②、wrap:换行,第一行在上方
③、wrap-reverse:反转换行,第一行在下方
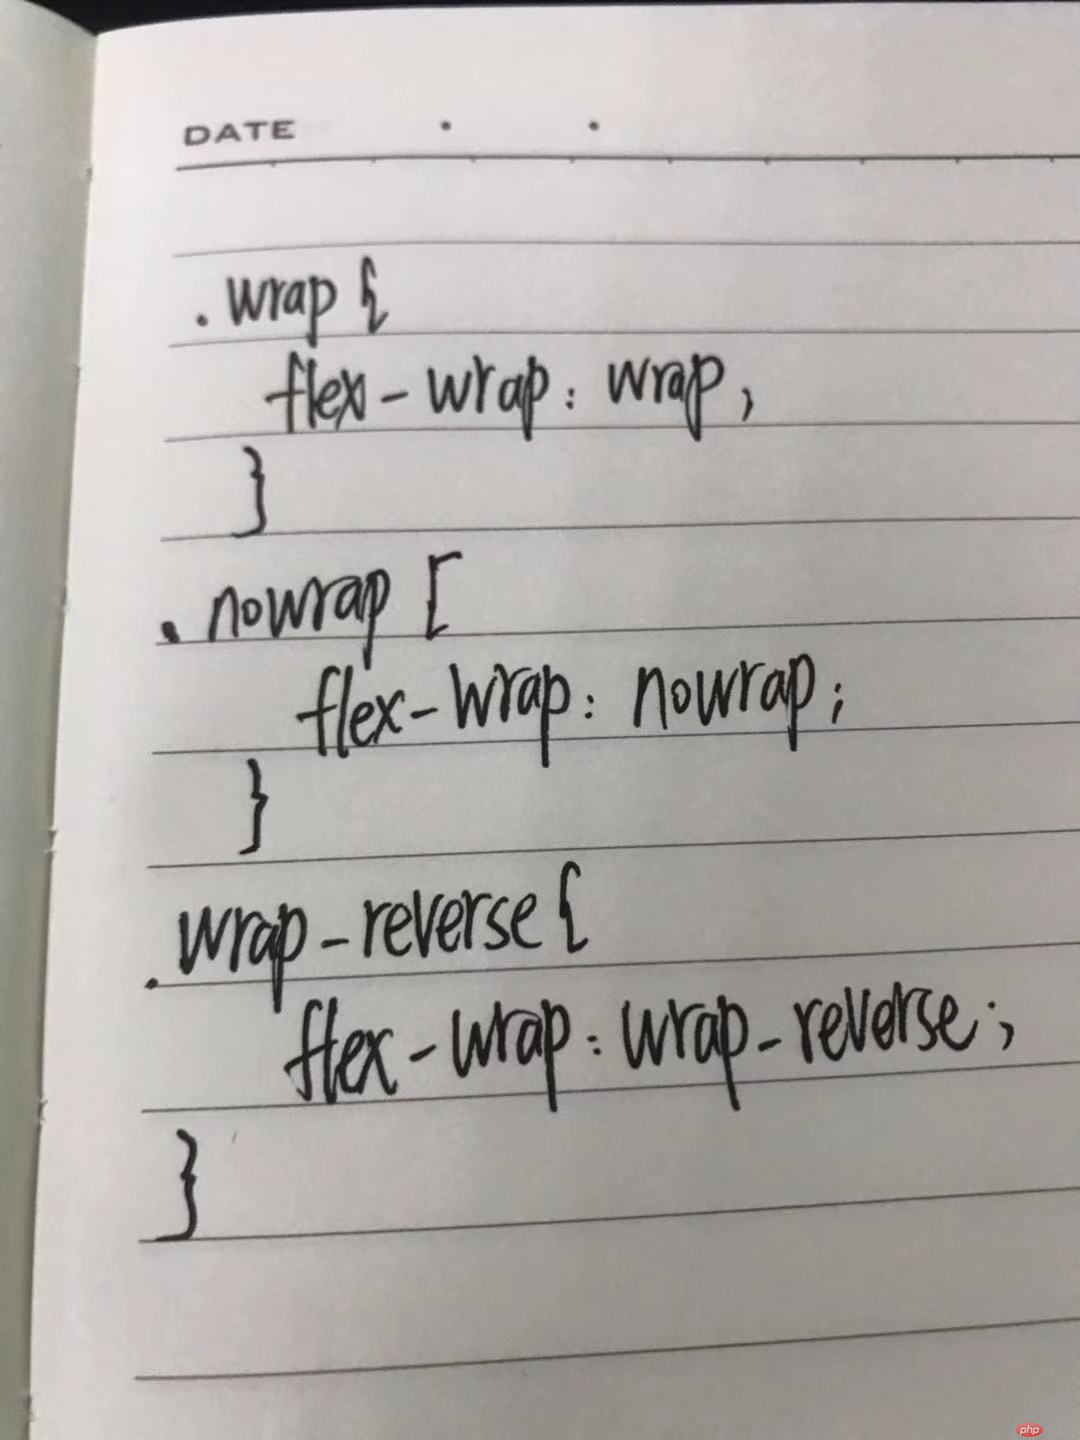
.nowrap {  flex-wrap: nowrap;}
.wrap {  flex-wrap: wrap;}
.wrap-reverse {  flex-wrap: wrap-reverse;}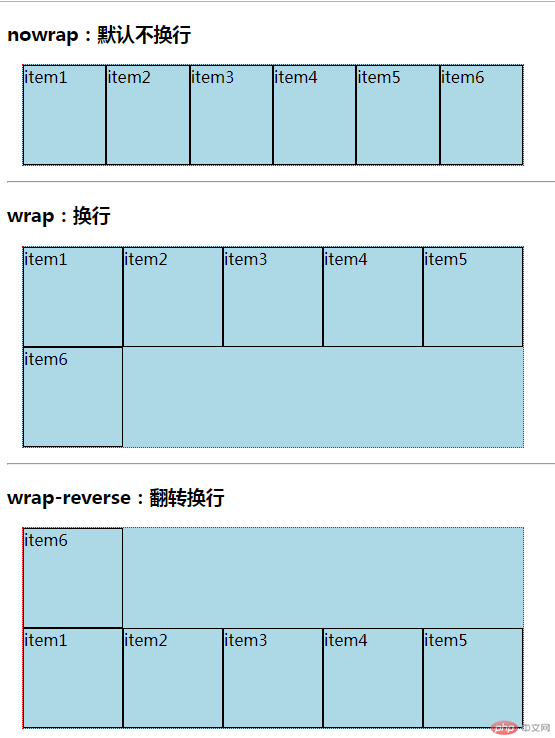
六、flex-flow属性是flex-direction属性和flex-wrap属性的简写形式
flex-flow: <flex-direction> <flex-wrap>;
.wrap { flex-flow: row wrap;}七、弹性元素在主轴上如何分布
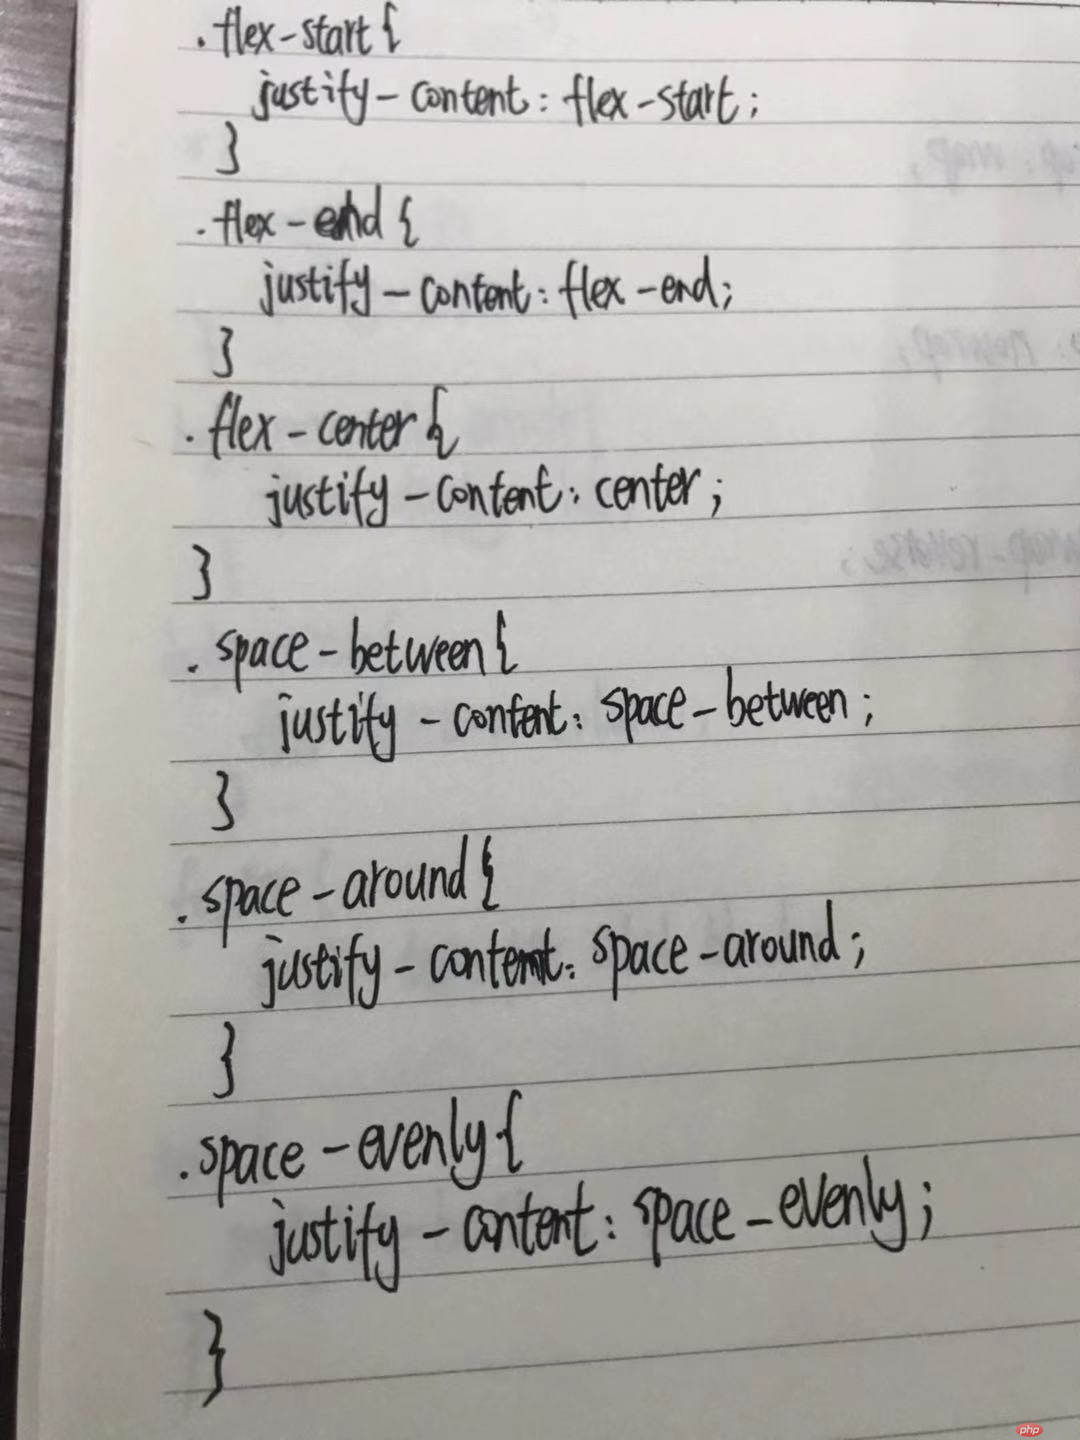
justify-content属性定义了项目在主轴上的对齐方式
justify-content: flex-start | flex-end | center | space-between | space-around;
①、flex-start(默认值):左对齐
②、flex-end:右对齐
③、center: 居中
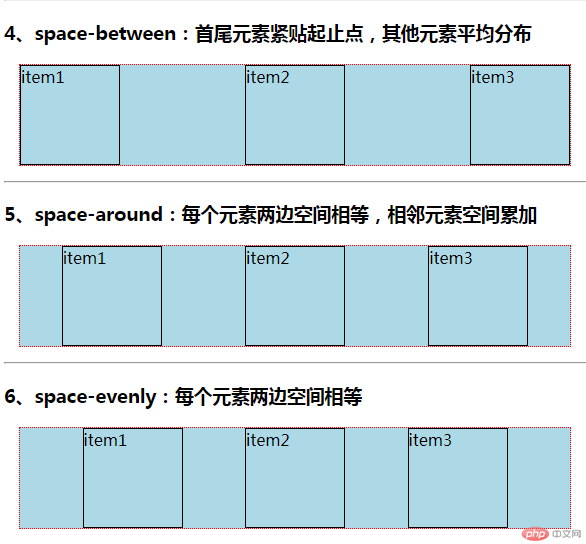
④、space-between:首尾元素紧贴起止点,其他元素平均分布
⑤、space-around:每个元素两边空间相等,相邻元素空间累加
⑥、space-evenly:每个元素两边空间相等
.flex-start {  justify-content: flex-start;}
.flex-end {  justify-content: flex-end;}
.flex-center {  justify-content: center;}
/* 剩余空间分布 */
.space-between {  justify-content: space-between;}
.space-around {  justify-content: space-around;}
.space-evenly {  justify-content: space-evenly;}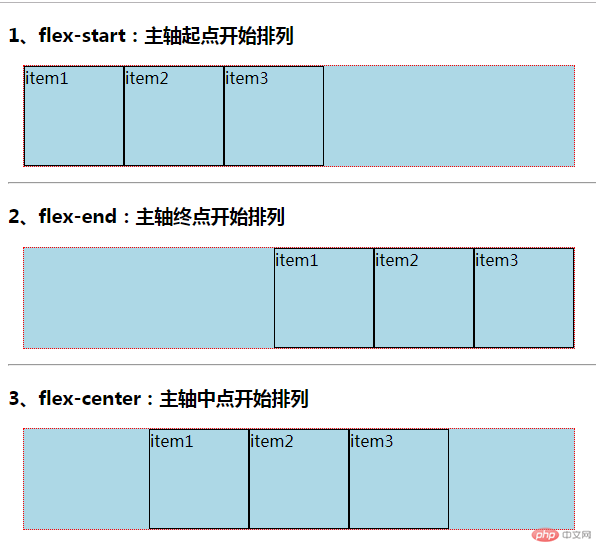
八、弹性元素主轴对齐来改写导航
nav {  justify-content: flex-start;}
nav {  justify-content: flex-end;}
nav {  justify-content: center;}
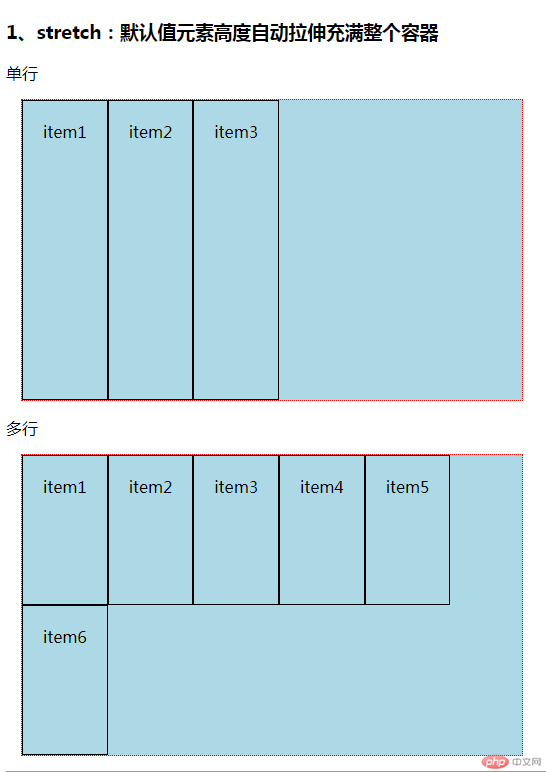
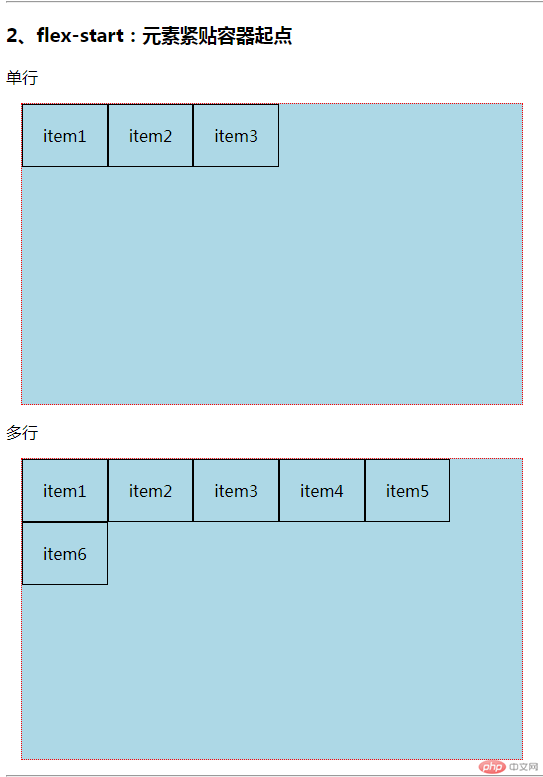
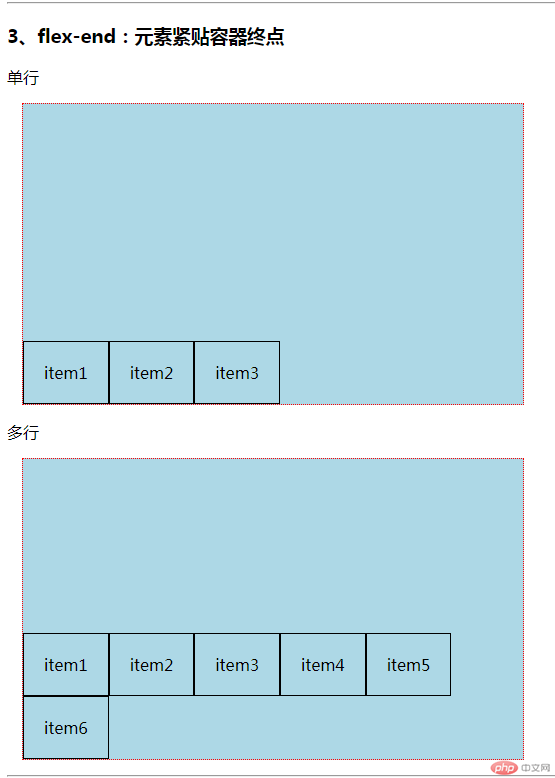
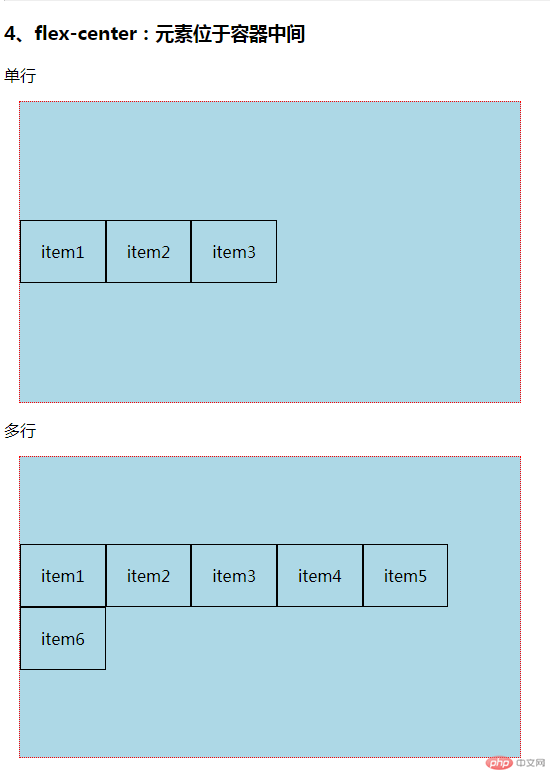
九、弹性元素在垂直方向上的对齐方法
单行:align-items: flex-start | flex-end | center | stretch;
①、flex-start:交叉轴的起点对齐。
②、flex-end:交叉轴的终点对齐。
③、center:交叉轴的中点对齐。
④、stretch(默认值):如果项目未设置高度或设为auto,将占满整个容器的高度
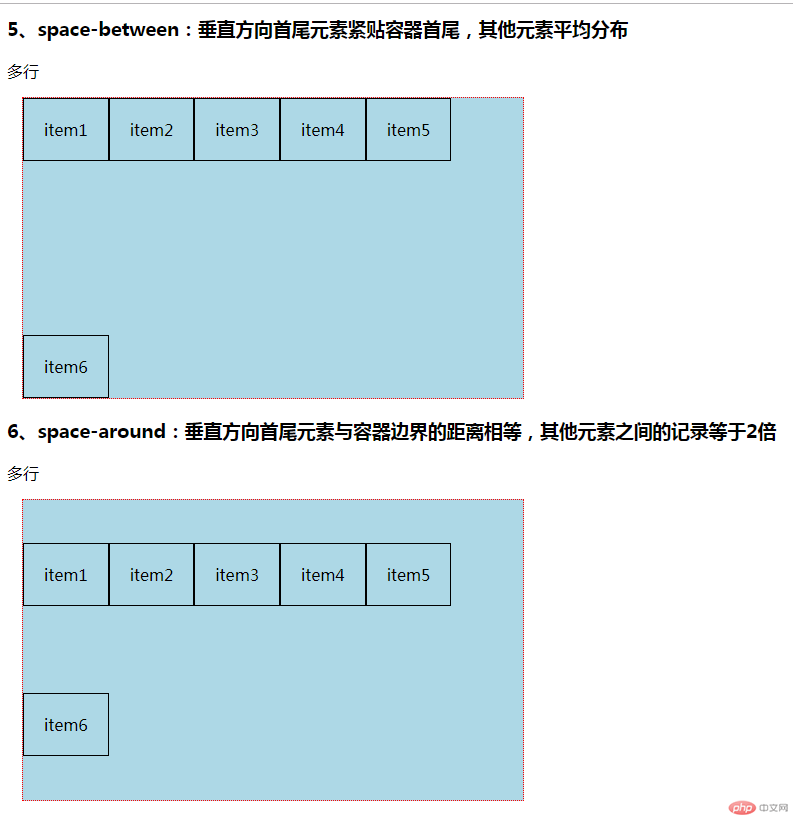
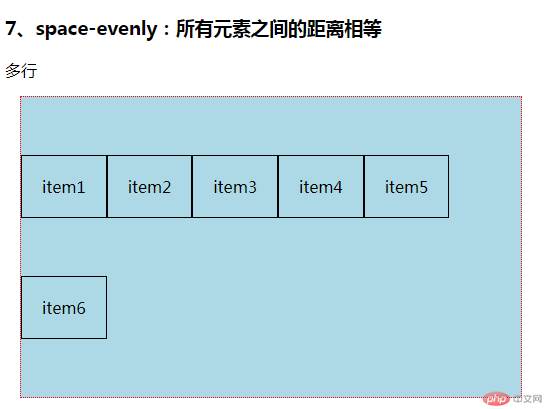
多行:align-content: flex-start | flex-end | center | space-between | space-around | stretch | space-evenly;
①、flex-start:与交叉轴的起点对齐。
②、flex-end:与交叉轴的终点对齐。
③、center:与交叉轴的中点对齐。
④、space-between:与交叉轴两端对齐,轴线之间的间隔平均分布。
⑤、space-around:每根轴线两侧的间隔都相等。所以,轴线之间的间隔比轴线与边框的间隔大一倍。
⑥、stretch(默认值):轴线占满整个交叉轴。
⑦、space-evenly:全部轴线之间的距离相等。
.container {  width: 500px;  height: 300px;}
.wrap {  flex-wrap: wrap;}
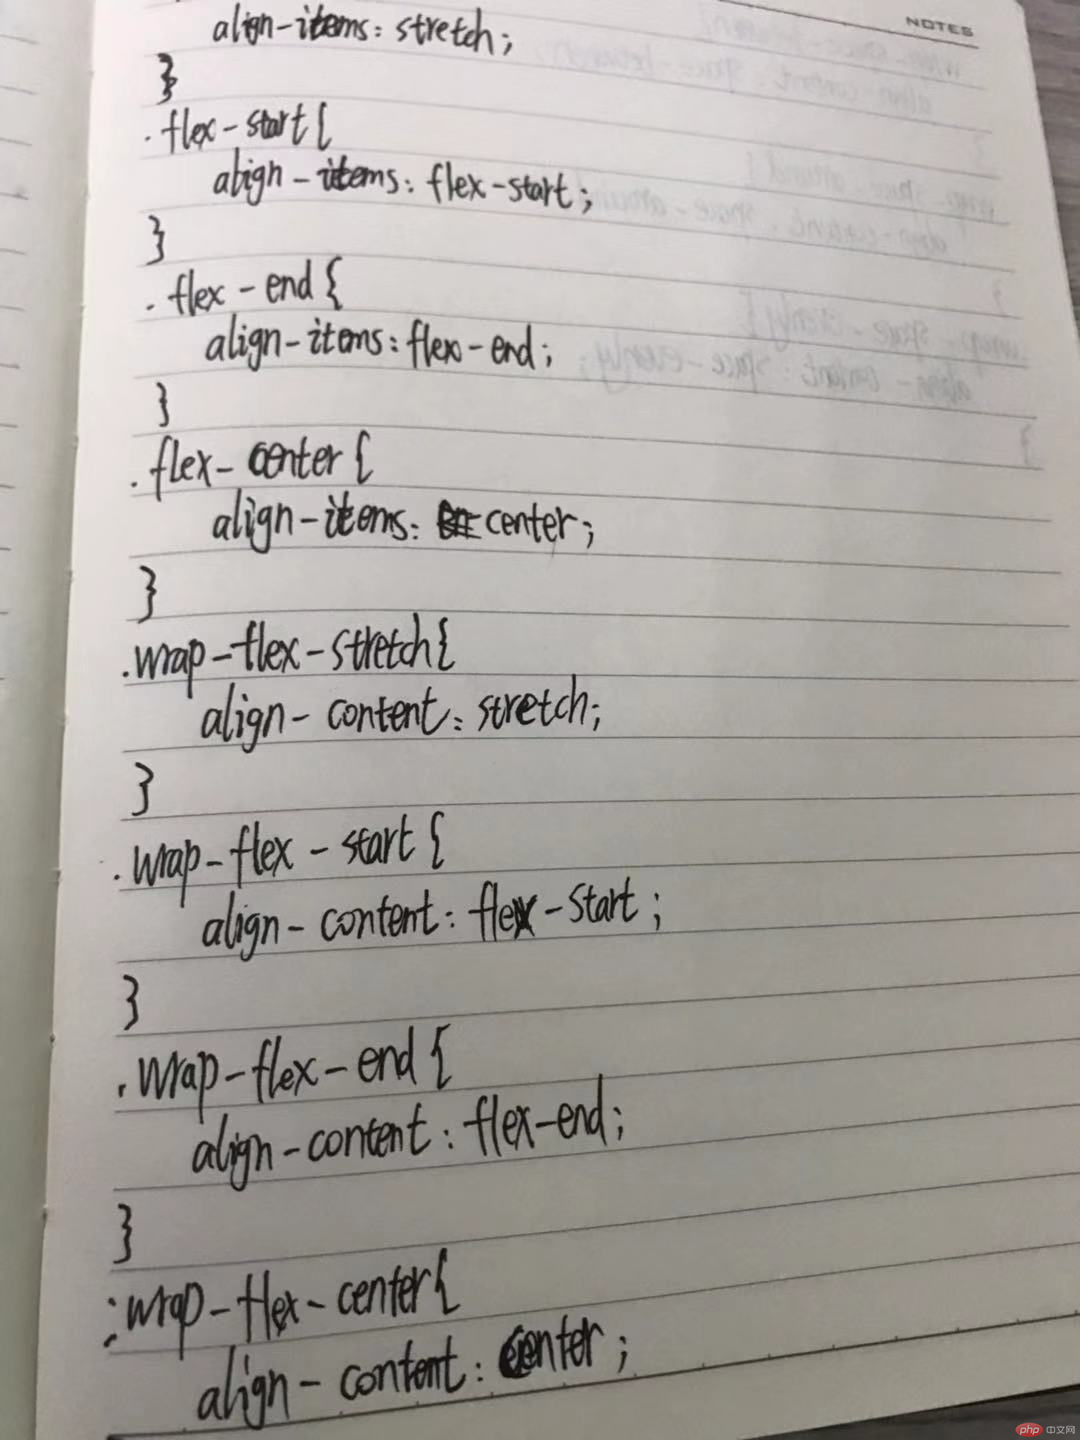
.stretch {  align-items: stretch;}
.flex-start {  align-items: flex-start;}
.flex-end {  align-items: flex-end;}
.flex-center {  align-items: center;}
.wrap-stretch {  align-content: stretch;}
.wrap-flex-start {  align-content: flex-start;}
.wrap-flex-end {  align-content: flex-end;}
.wrap-flex-center {  align-content: center;}
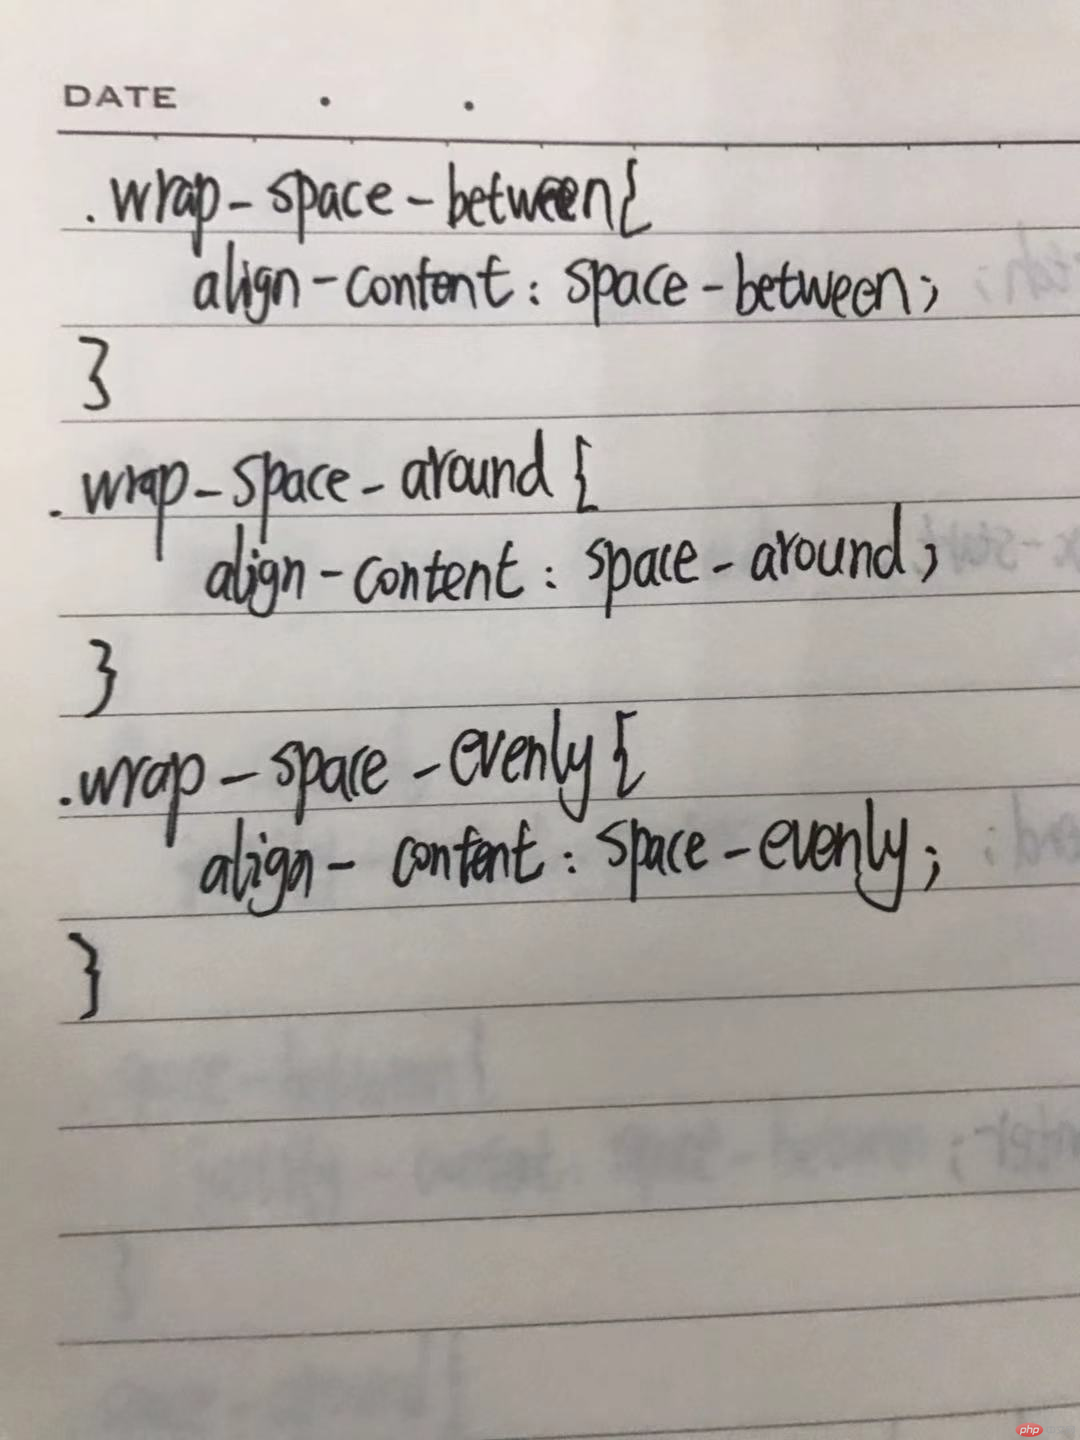
.wrap-space-between {  align-content: space-between;}
.wrap-space-around {  align-content: space-around;}
.wrap-space-evenly {  align-content: space-evenly;}