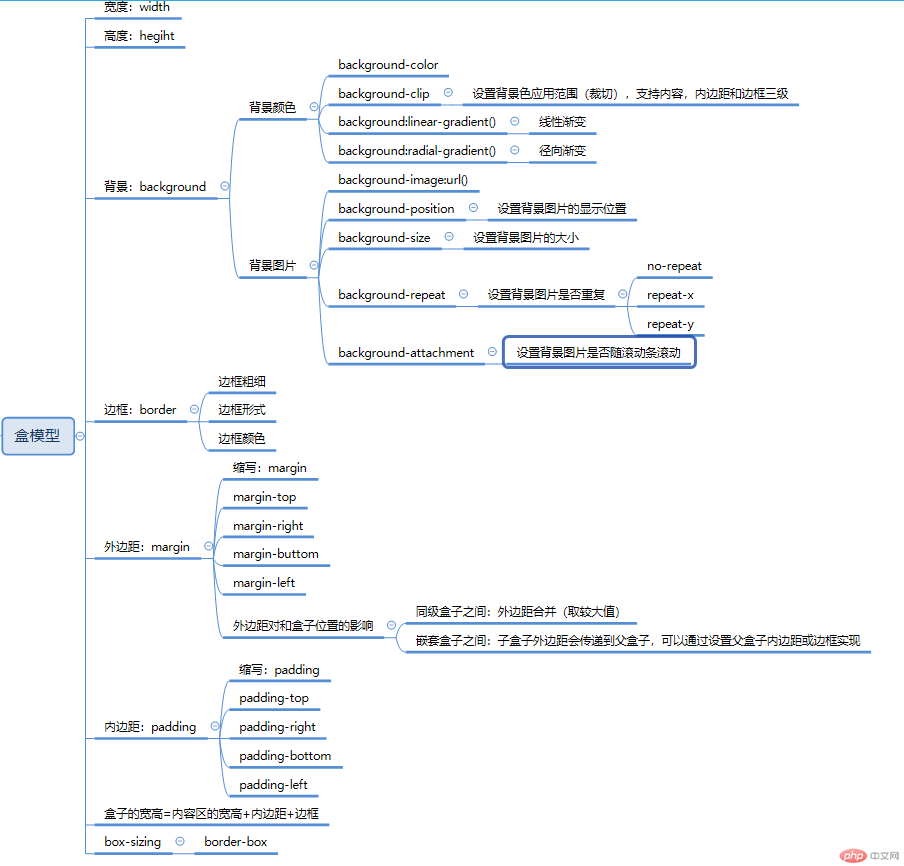
一、默写盒模型的全部属性,并准确说出他们的应用场景
盒子模型的属性:
宽:width
高:height
背景:背景颜色(background-color)、背景图片(background-image)
边框:border
内边距:padding(padding-top,padding-right,padding-bottom,padding-left)
外边距:margin(margin-top,padding-right,margin-bottom,margin-left)
二、box-sizing: 解决了什么问题, 不用它应该如何处理
1.box-sizing:设置盒子宽高定位到边框级别,可以清除内边距(padding)和 边框(border)对盒子大小的影响
2.如果不适用box-sizing,设置 盒子的宽高 = 原盒子宽高 - padding宽高 - border宽高,来保持盒子宽高和原来一样大小。
三、盒子外边距的合并是怎么回事,并实例演示
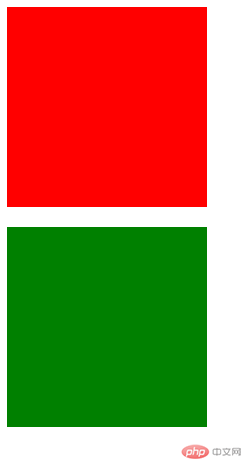
盒子的外边距的合并是在两个盒子之间,如果两个盒子都设置了外边距,会在两个盒子之间的外边距取较大值来设置。
实例演示:
实例
<!DOCTYPE html>
<html lang="en">
<head>
    <meta charset="UTF-8">
    <meta name="viewport" content="width=device-width, initial-scale=1.0">
    <meta http-equiv="X-UA-Compatible" content="ie=edge">
    <title>盒模型和内边距</title>
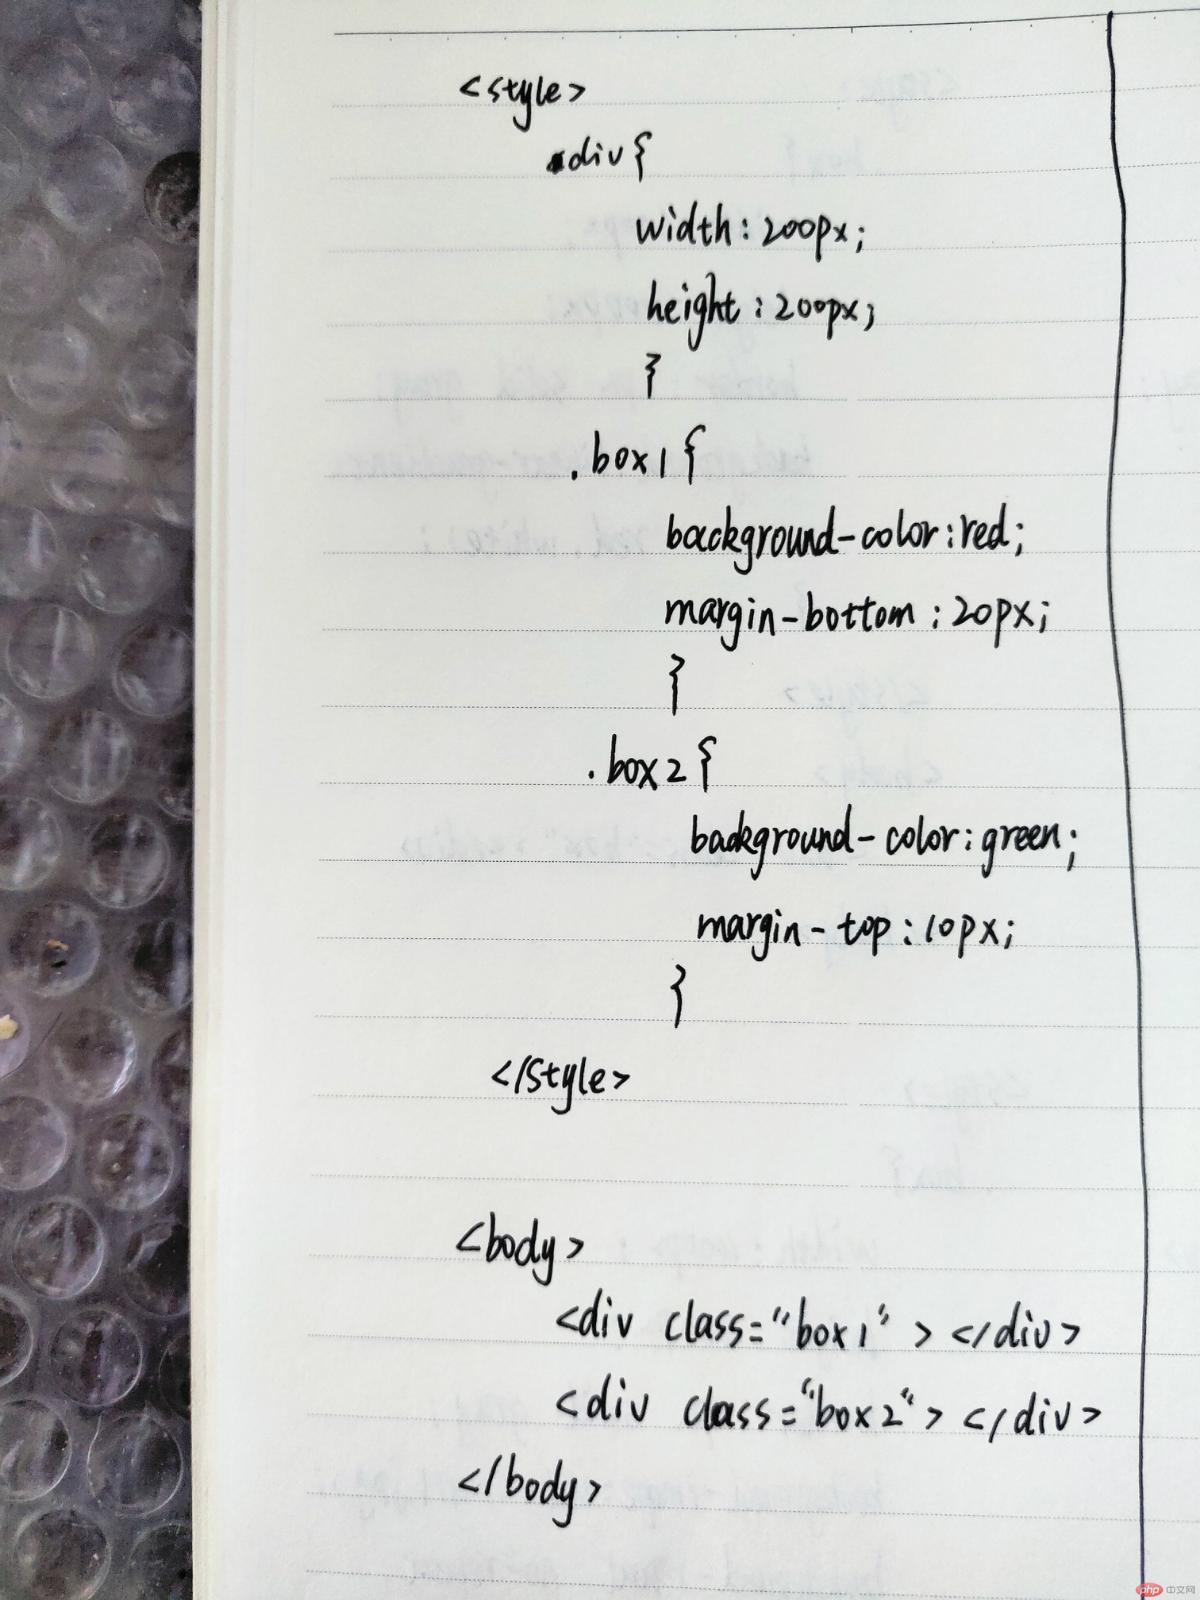
    <style>
        div{
            width: 200px;
            height: 200px;
        }
        .box1{
            background-color: red;
            margin-bottom: 20px;
        }
        .box2{
            background-color: green;
            margin-top: 10px;
        }
    </style>
</head>
<body>
    <div class="box1"></div>
    <div class="box2"></div>
</body>
</html>
运行实例 »
点击 "运行实例" 按钮查看在线实例
演示效果:
四、嵌套盒子之间内边距与外边距的表现有何不同, 如何处理
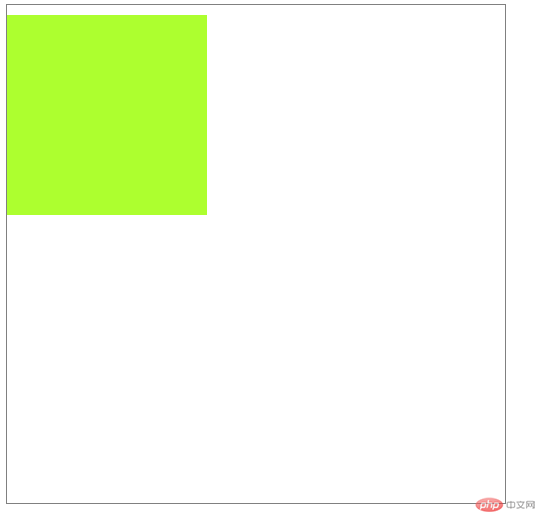
1.子盒子外边距会传递到父盒子,通过给父盒子添加内边距或者边框来实现
实例
<!DOCTYPE html>
<html lang="en">
<head>
    <meta charset="UTF-8">
    <meta name="viewport" content="width=device-width, initial-scale=1.0">
    <meta http-equiv="X-UA-Compatible" content="ie=edge">
    <title>嵌套盒子的外边距</title>
    <style>
        div{
            box-sizing: border-box;
        }
        .box1{
            border: 1px solid gray;
            width: 500px;
            height: 500px;
            padding-top: 10px;
        }
        .box2{
            width: 200px;
            height: 200px;
            background-color: greenyellow;
        }
    </style>
</head>
<body>
    <div class="box1">
        <div class="box2"></div>
    </div>
</body>
</html>
运行实例 »
点击 "运行实例" 按钮查看在线实例
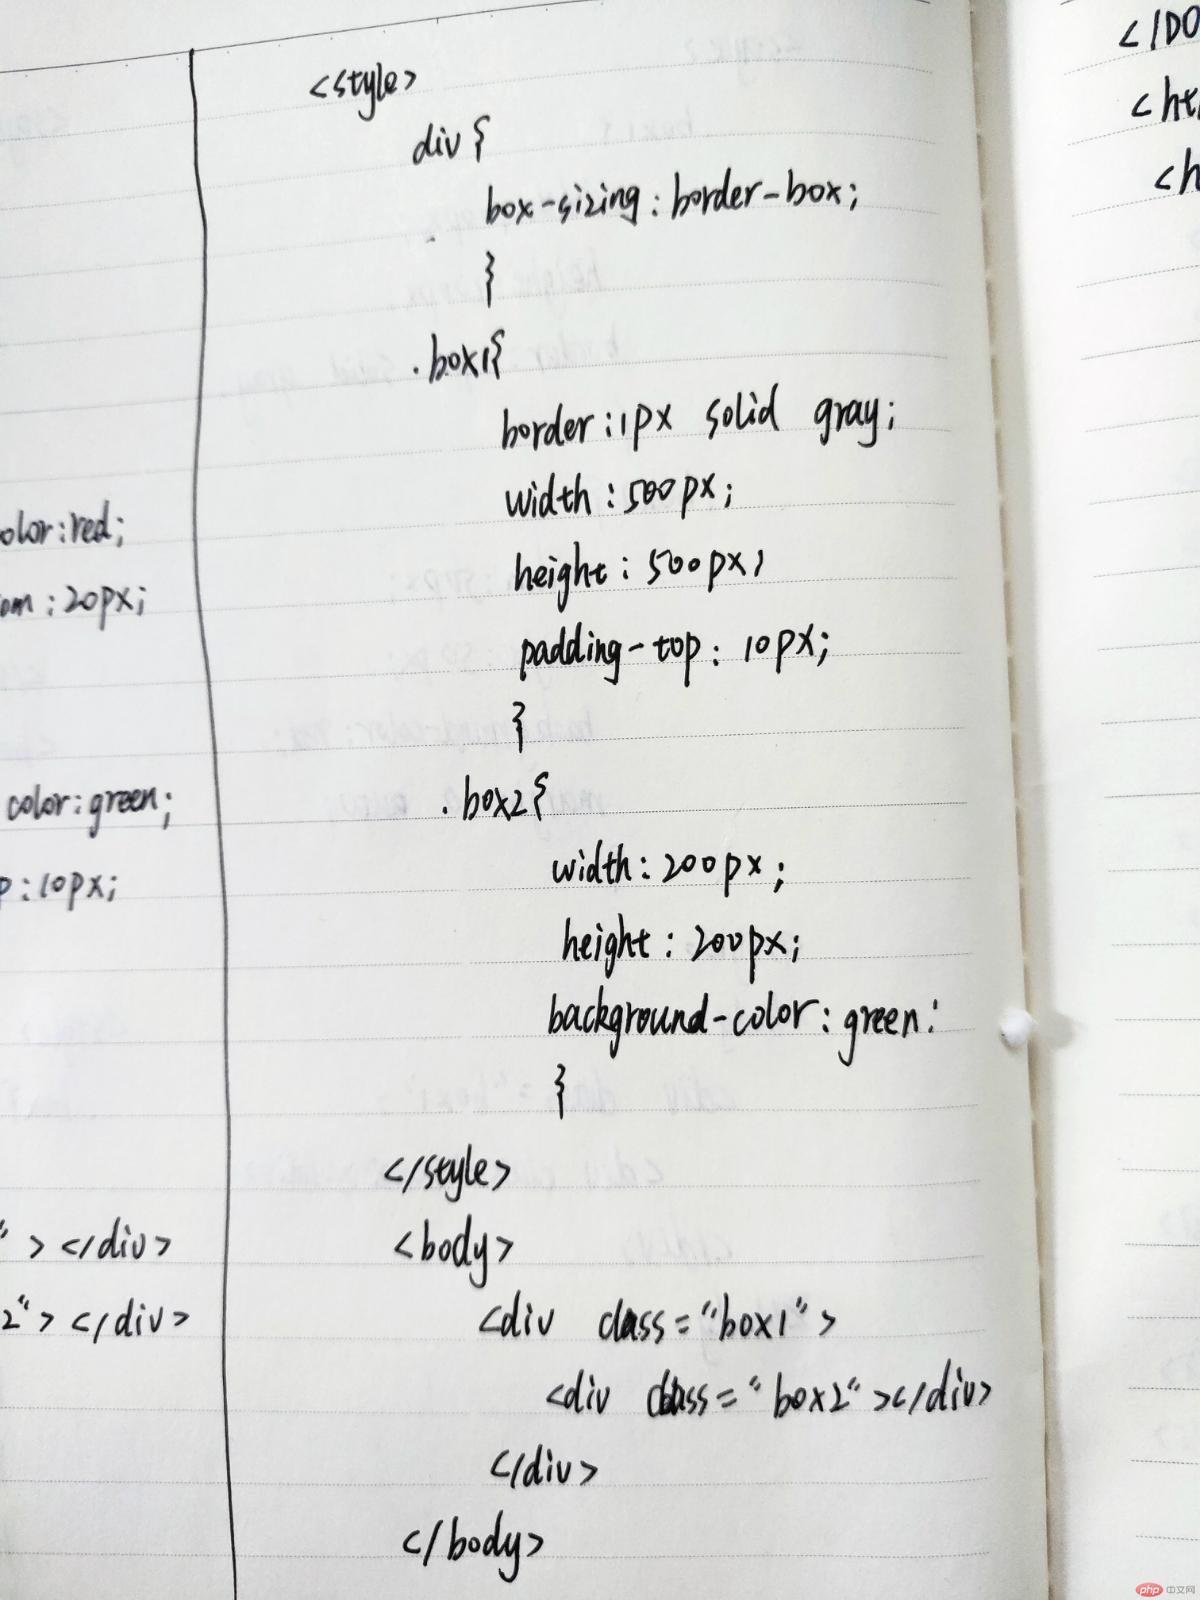
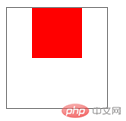
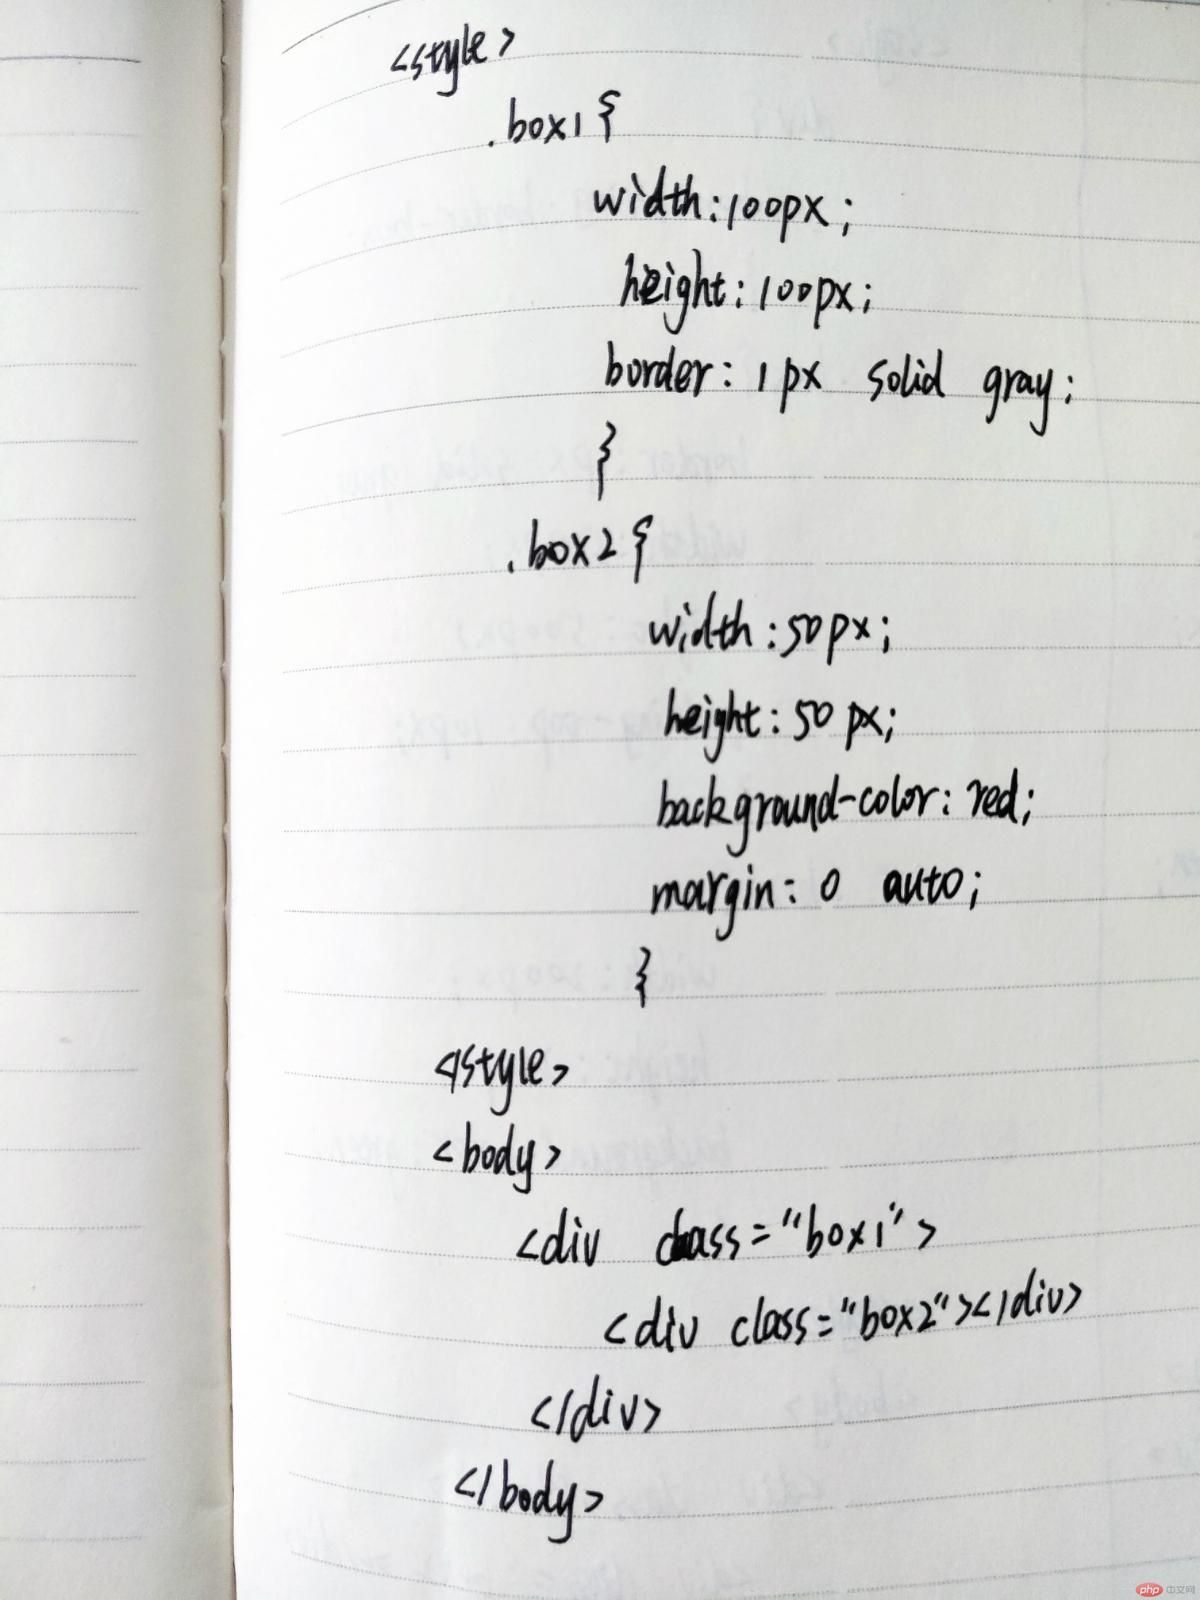
2.子盒子水平外边距当在取值“auto”时,可以实现子盒子的水平居中显示效果
实例
<!DOCTYPE html>
<html lang="en">
<head>
    <meta charset="UTF-8">
    <meta name="viewport" content="width=device-width, initial-scale=1.0">
    <meta http-equiv="X-UA-Compatible" content="ie=edge">
    <title>Document</title>
    <style>
        .box1{
            width: 100px;
            height: 100px;
            border: 1px solid gray;
        }
        .box2{
            width: 50px;
            height: 50px;
            background-color: red;
            margin: 0 auto;
        }
    </style>
</head>
<body>
    <div class="box1">
        <div class="box2"></div>
    </div>
</body>
</html>
运行实例 »
点击 "运行实例" 按钮查看在线实例
演示效果:
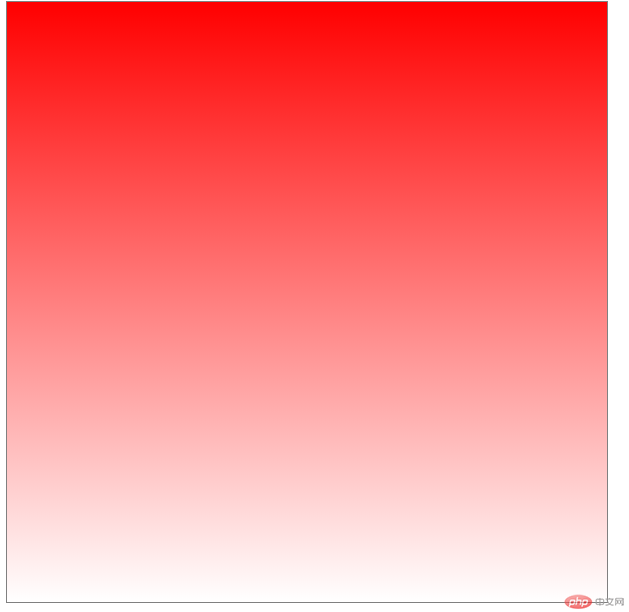
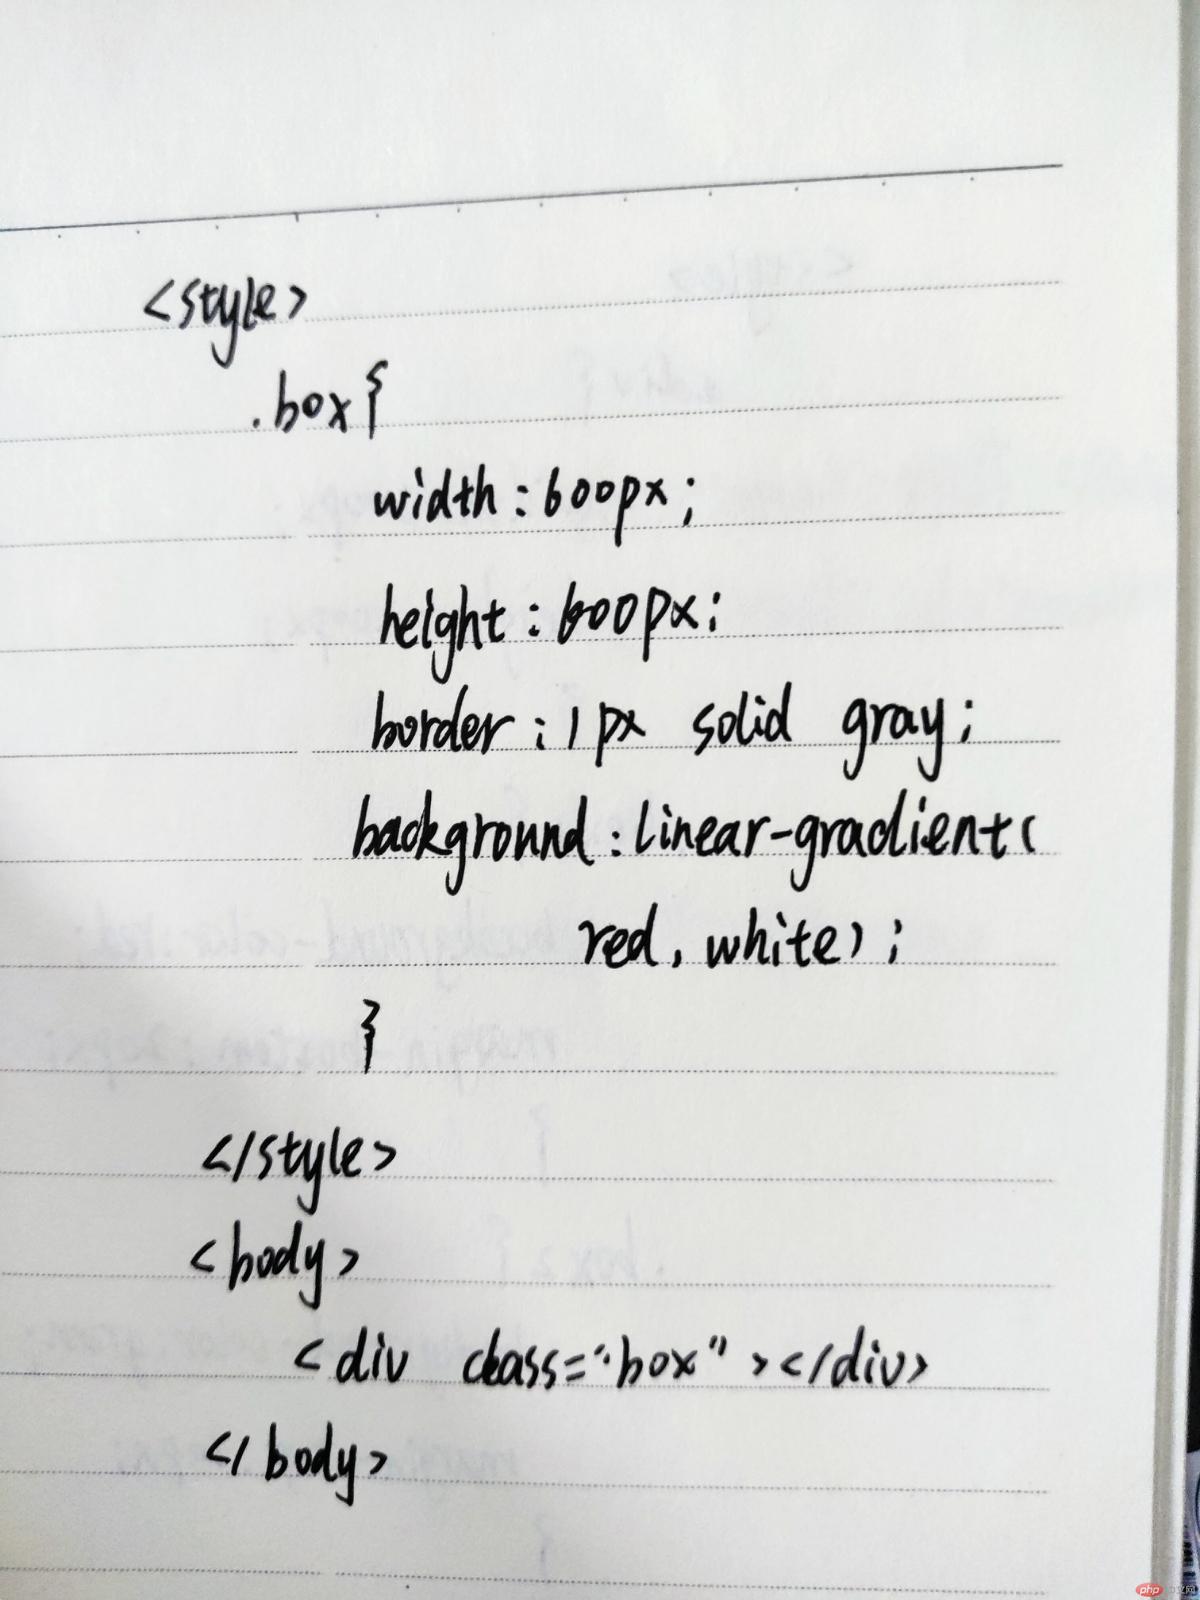
五、实例演示: 背景颜色的线性渐变的
实例
<!DOCTYPE html>
<html lang="en">
<head>
    <meta charset="UTF-8">
    <meta name="viewport" content="width=device-width, initial-scale=1.0">
    <meta http-equiv="X-UA-Compatible" content="ie=edge">
    <title>背景色</title>
    <style>
        .box{
            width: 600px;
            height: 600px;
            border: 1px solid gray;
            background: linear-gradient(red,white);
        }
    </style>
</head>
<body>
    <div class="box"></div>
</body>
</html>
运行实例 »
点击 "运行实例" 按钮查看在线实例
演示效果:
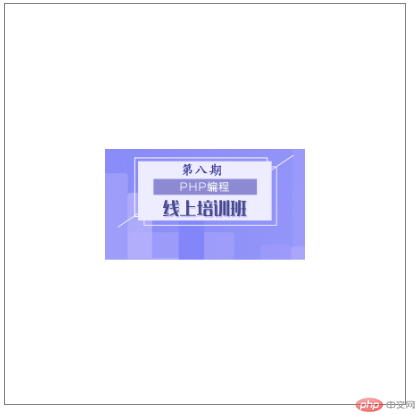
六、实例演示: 背景图片的大小与位置的设定
实例
<!DOCTYPE html>
<html lang="en">
<head>
    <meta charset="UTF-8">
    <meta name="viewport" content="width=device-width, initial-scale=1.0">
    <meta http-equiv="X-UA-Compatible" content="ie=edge">
    <title>Document</title>
    <style>
        .box{
            width: 400px;
            height: 400px;
            border: 1px solid gray;
            background-image: url(../1029/img/1.png);
            background-repeat: no-repeat;
            background-position: center center;
            background-size: 50%;
        }
    </style>
</head>
<body>
    <div class="box"></div>
</body>
</html>
运行实例 »
点击 "运行实例" 按钮查看在线实例
效果演示:
七、总结
