css中的知识点也是比较多的,今天我们学习的有css3中常用的背景控制、边框效果、表格与列表、表单元素等,我们要掌握并能运用到实践中去,就要多加练习,在练习的过程中,可以对学习的知识有了更多的了解,也能查找出自己存在的问题!
实例
<!DOCTYPE html>
<html lang="en">
<head>
	<meta charset="UTF-8">
	<title>背景</title>
	<style type="text/css">
        body{
        	/*background:red;
        	background:#c97474;
        	background:rgb(129,44,44);*/
        	background:rgba(129,44,44,0.2);/*背景色透明度*/
        }
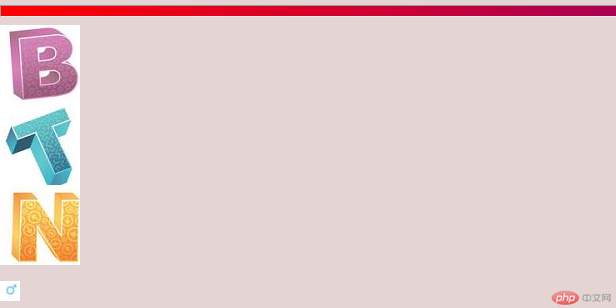
        /*背景色的线性渐变:
        background:linear-gradient(方向,起始颜色,终止颜色)*/
        hr{
        	height:10px;
        	background:linear-gradient(to right,red,blue);
        }
        /*精灵图:
        background-position:背景图片定位 x y坐标*/
        div{
        	height:80px;
        	width:80px;
        }
        .pic1{
        	background:url(static/images/p2.jpg) -100px 0;
        }
        .pic2{
        	background:url(static/images/p2.jpg) -310px -360px;
        }
        .pic3{
        	background:url(static/images/p2.jpg) -210px -240px;
        }
        p{
        	width:20px;
        	height:20px;
        	background:url(static/images/p1.jpg) -10px -30px;
        }

	</style>
</head>
<body>
	<hr>
	<div class="pic1"></div>
	<div class="pic2"></div>
	<div class="pic3"></div>
	<p></p>
</body>
</html>
运行实例 »
点击 "运行实例" 按钮查看在线实例

实例
<!DOCTYPE html>
<html lang="en">
<head>
	<meta charset="UTF-8">
	<title>边框</title>
	<style>
        *{
        	margin:0;
        	padding:0;
        }
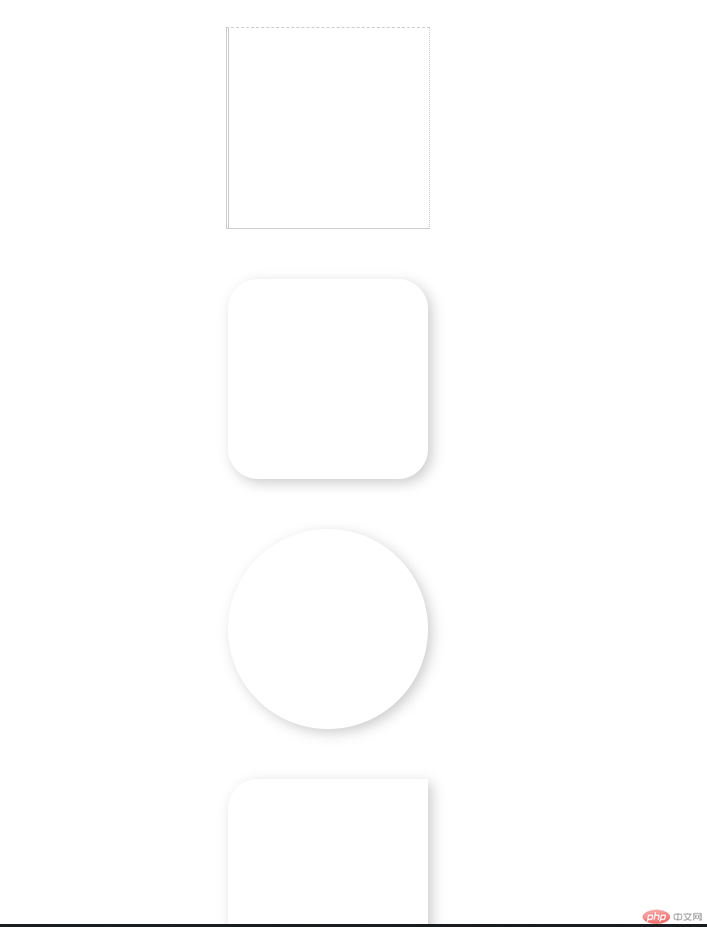
        div{
        	width:200px;
        	height:200px;
        	margin:50px auto;
        	/*border:1px solid #ccc;*/
        	/*设置单边框*/
        	border-top:1px dashed #ccc;
        	border-right:1px dotted #ccc;
        	border-bottom:1px solid #ccc;
        	border-left:3px double #ccc;
        }
        /*边框阴影:box-shadow:x y 阴影宽度 阴影颜色;*/
        p{
        	width:200px;
        	height:200px;
        	margin:50px auto;
        	box-shadow:4px 4px 20px #ccc;
        }
        .box{
        	/*边框圆角:border-radius;*/
        	border-radius:30px;
        }
        .box2{
        	border-radius:50%;
        }
        .box3{
        	border-top-left-radius:30px;
        	/*border-top-right-radius: 20px;
			border-bottom-right-radius: 20px;
			border-bottom-left-radius: 20px;*/
        }
	</style>
</head>
<body>
	<div></div>
	<p class="box"></p>
	<p class="box2"></p>
	<p class="box3"></p>
</body>
</html>
运行实例 »
点击 "运行实例" 按钮查看在线实例

实例
<!DOCTYPE html>
<html lang="en">
<head>
	<meta charset="UTF-8">
	<title>表格与列表</title>
	<style>
        table{
        	width:500px;
            margin:30px auto;
            border:1px solid #ccc;
            border-collapse:collapse;
        }
        td{
        	border:1px solid #ccc;
        	text-align:center;
        }
        li{
        	list-style:none;
        }
	</style>
</head>
<body>
	<table>
       <tr>
       	<td>这是一个一行一列的表格</td>
       </tr>
	</table>
    <table>
    	<tr>
            <td rowspan="4">水果</td>
    	</tr>
    	<tr>
    	    <td colspan="4">水果</td>
    	</tr>
    	<tr>
            <td>苹果</td>
            <td>香蕉</td>
            <td>草莓</td>
            <td>葡萄</td>
    	</tr>
    	<tr>
            <td>橘子</td>
            <td>西红柿</td>
            <td>核桃</td>
            <td>辣椒</td>
    	</tr>
    </table>
    <ul>
    	<li>苹果</li>
    	<li>香蕉</li>
    	<li>草莓</li>
    	<li>葡萄</li>
    </ul>
</body>
</html>
运行实例 »
点击 "运行实例" 按钮查看在线实例

实例
<!DOCTYPE html>
<html lang="en">
<head>
	<meta charset="UTF-8">
	<title>表单元素</title>
</head>
<body>
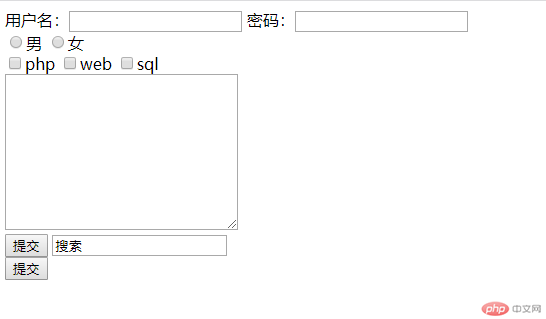
	<form action="url" method="get/post">
        用户名:<input type="text">
        密码:<input type="password" name="">
        <br>
        <input type="radio" name="sex" value="">男
        <input type="radio" name="sex" value="">女
        <br>
        <input type="checkbox" name="">php
        <input type="checkbox" name="">web
        <input type="checkbox" name="">sql
        <br>
        <textarea name="" id="" cols="30" rows="10"></textarea>
        <br>
        <input type="submit" name="" value="提交">
        <input type="buttom" name="" value="搜索">
        <br>
        <button>提交</button>
	</form>
</body>
</html>
运行实例 »
点击 "运行实例" 按钮查看在线实例

实例
<!DOCTYPE html>
<html lang="en">
<head>
	<meta charset="UTF-8">
	<title>登录页面</title>
	<style>
        *{
        	margin:0;
        	padding:0;
        }
        body{
        	background: #151517;
        }
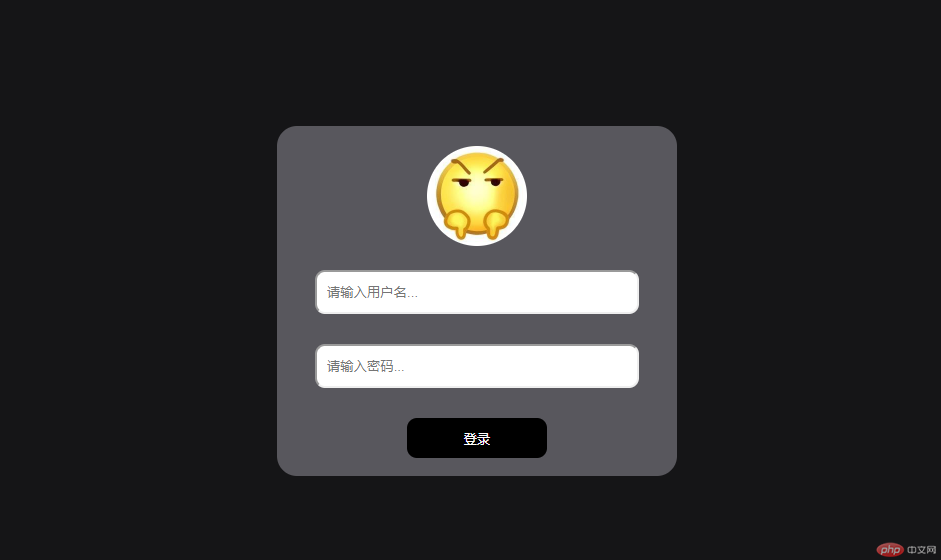
        div{
        	width:400px;
        	height:350px;
        	margin:200px auto;
        	background:rgba(188,185,198,0.4);
        	border-radius:20px;
        	text-align:center;
        }
        img{
        	width:100px;
        	border-radius:50%;
        	margin-top:20px;
        	margin-bottom:-10px;
        }
        input{
        	width:300px;
        	height:40px;
        	border-radius:10px;
        	margin-top:30px;
        	padding:0px 10px;
        }
        button{
        	width:140px;
        	height:40px;
        	margin-top:30px;
        	border:none;
        	border-radius:10px;
        	background:black;
        	color:#fff;
        }
	</style>
</head>
<body>
	<div>
        <img src="static/images/tou.jpg" alt="">
        <form action="" method="">
            <input type="text" name="" placeholder="请输入用户名..."><br>
            <input type="password" name="" placeholder="请输入密码..."><br>
            <button>登录</button>
        </form>
	</div>
</body>
</html>
运行实例 »
点击 "运行实例" 按钮查看在线实例

总结:在本节课的学习中,我们主要对css有了一定的了解。
1、在 添加背景图时,有时图片不够大,会平铺,显得不***,我们可以选择不平铺(no-repeat);
2、在写入边框时,有时需要,可以为它加入阴影(边框阴影:box-shadow:x y 阴影宽度 阴影颜色);也可以加边框圆角( 边框圆角: border-radius);
3、在添加表格时,无论是只有一行一列,还是多行多列,都要写完整;
4、表单用于收集不同类型的用户输入;
5、在实际操作的登录页面中,将所学的知识都很好的运用到了,在运用的过程中,我们要认真仔细地布局好页面,对所学的知识有更好地掌握。

