crystal clear button
All resources on this site are contributed by netizens or reprinted by major download sites. Please check the integrity of the software yourself! All resources on this site are for learning reference only. Please do not use them for commercial purposes. Otherwise, you will be responsible for all consequences! If there is any infringement, please contact us to delete it. Contact information: admin@php.cn
Related Article
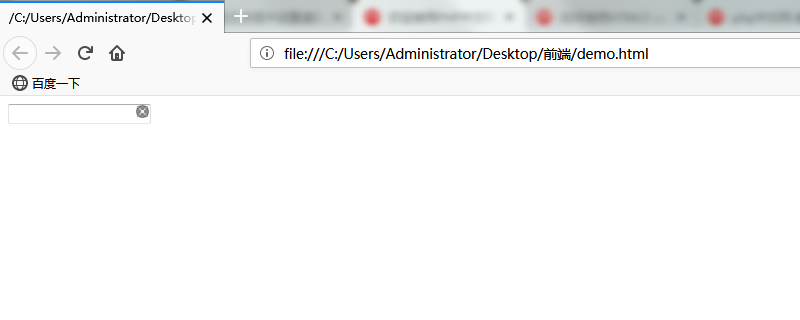 How to set clear button in textbox
04Dec2018
Sometimes we will see that there is an × in a circle on the right side of the text box. This is actually the clear button. So how to implement this clear button in the text box? The following article will introduce to you how to set a clear button in a text box.
 How to clear back button using JavaScript
25Apr2023
Clearing the back button in JavaScript Website visit history is a very useful feature that can help us better understand user behavior and website usage. To achieve this function, most people will choose to use the browser's back button. However, the back button can be problematic in certain situations and needs to be cleared using JavaScript. In this article we will introduce how to use JavaScript
 How Can I Remove the IE10 Input Field Clear Button Using CSS?
24Dec2024
Removing the IE10 "Clear Field" X Button for Specific InputsIn IE10, a small X button appears beside certain input fields to clear their content....
 How Can I Disable the Clear Field X Button in Internet Explorer 10 Input Fields?
13Dec2024
Disable Clear Field X Button in Input FieldsInternet Explorer 10 introduces a "clear field" X button in certain input fields. While useful, this...
16May2016
The browser's back button allows us to easily return to previously visited pages, which is undoubtedly very useful. But sometimes we have to turn off this feature to Prevent users from disrupting the scheduled page access sequence.
 How Can I Clear a Div\'s Content with JavaScript on Button Click?
27Nov2024
Clearing Div Content with JavaScriptTo remove the content from a div when a user clicks a button, follow these steps:Creating the Clear...
 How to make a crystal texture button in PS_Tutorial on making a crystal texture button in PS
08Jun2024
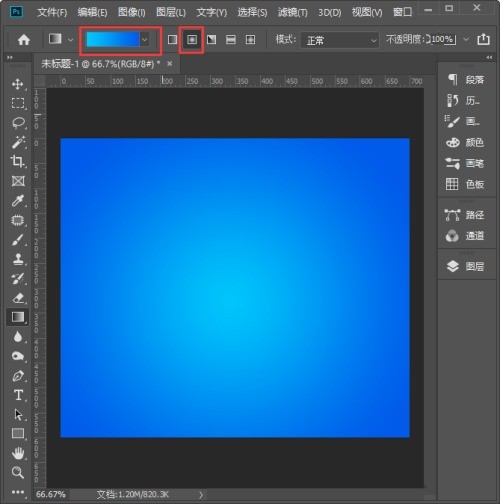
1. First, we click [Gradient Tool], set the color to blue gradient [#00c6fb] → [#005bea], and fill the canvas with the [radial] gradient background. 2. After filling the background with the gradient color, we use the [Ellipse Tool] to draw a circle in the middle of the canvas. 3. Then we select the layer of Ellipse 1, click [FX] and select [Gradient Overlay]. 4. We set the gradient color to the same color as the background, and select [Radial] for the style. 5. Next, we add [Projection], set the projection color to dark blue, then adjust the parameters according to your needs, and click [OK]. 6. Next, we use the [Ellipse Tool] to draw a white oval shape. 7. We stack the white ellipse on top of the circle, and then put
 How to make the special effects of the cut-out universe_Tutorial on making the special effects of the cut-out universe
15Apr2024
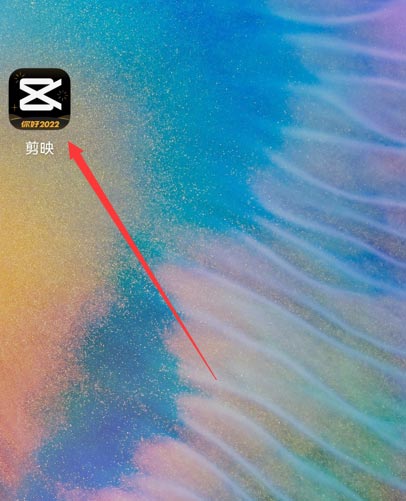
1. First open the clipping APP, as shown in the picture below. 2. Click the Start Creating button, as shown below. 3. Then click the material library button, select the festive atmosphere, then select a video material with a black background and particle animation, and finally click the add button at the bottom, as shown in the picture below. 4. Click the Picture-in-Picture button at the bottom, and then click the New Picture-in-Picture button, as shown in the picture below. 5. Then click the material library button, select the green screen material, then select a meteorite video material, and click the add button at the bottom, as shown in the picture below. 6. Select the green screen material you just added and click the smart keying button at the bottom, as shown in the picture below. 7. Finally, adjust the duration of the two video materials to be the same. Click the play button to see the effect, as shown in the picture below.


