Angular 상위 구성 요소와 하위 구성 요소 간에 값을 전송하는 방법에 대한 자세한 설명은 무엇입니까?
- 青灯夜游앞으로
- 2021-03-22 10:19:092513검색
이 글에서는 Angular에서 부모 컴포넌트와 자식 컴포넌트 사이에 값을 전달하는 방법을 소개합니다. 도움이 필요한 친구들이 모두 참고할 수 있기를 바랍니다.

관련 추천: "angular Tutorial"
<span style="font-size: 20px;">Angular</span>상위 구성 요소와 하위 구성 요소 간 값 전달<span style="font-size: 20px;">Angular</span>中父子组件传值
官方地址:https://angular.cn/guide/component-interaction#component-interaction
1. 父组件给子组件传值
- 说明: 父组件给子组件传值的时候,父组件中在子组件的选择器上绑定数据即可
<app-hero-child></app-hero-child> - 子组件接收的时候需要引入
input模块import { Component, OnInit, Input} from '@angular/core' - 子组件还需要使用语法糖的形式接收父组件传递的参数
@input() transData
1.1 父组件hero-parent
1、hero-parent.component.html
<p>这是父组件</p>
<app-hero-child></app-hero-child>
2、hero-parent.component.ts
import { Component, OnInit } from '@angular/core'

@Component({
    selector: 'app-hero-parent',
    templateUrl: './app-hero-parent.component.html',
    styleUrls: ['./app-hero-parent.component.scss']
})
export class HeroesComponent implements OnInit {
    tran_childData:string = '这是父组件传递给子组件的数据'
    constructor() {}
    ngOnInit(): void {}
}
1.2 子组件hero-child
1、hero-child.component.html
<p>{{transData}}</p>
2、hero-child.component.ts
import { Component, OnInit, Input} from '@angular/core'

@Component({
    selector: 'app-hero-child',
    templateUrl: './app-hero-child.component.html',
    styleUrls: ['./app-hero-child.component.scss']
})
export class DetailComponent implements OnInit {
    @Input() transData: string
    constructor() {}
    ngOnInit(): void {
        console.log(this.transData)
    }
}
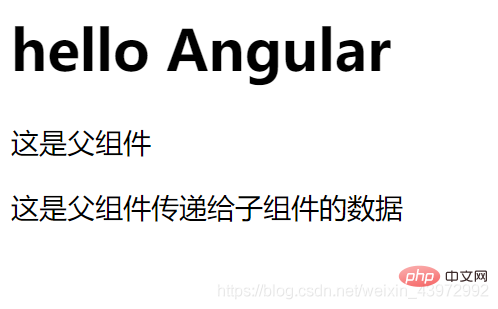
1.3 效果图

2. 子组件给父组件传递参数
- 说明:子组件给父组件传递参数的时候需要导入
Output和EventEmitter,引入模块import { Component, OnInit, Output, EventEmitter} from '@angular/core' - 使用的时候需要先暴露一个方法
@Output() childEvent = new EventEmitter()用来使用emit传递数据 - 具体使用
this.childEvent.emit('我是子组件传递的数据')
2.1 子组件hero-child
-
hero-child.component.html<button>我是子组件,给父组件传递参数</button>
-
hero-child.component.tsimport { Component, OnInit, Output, EventEmitter} from '@angular/core' @Component({ selector: 'app-hero-child', templateUrl: './app-hero-child.component.html', styleUrls: ['./app-hero-child.component.scss'] }) export class DetailComponent implements OnInit { @Output() childEvent = new EventEmitter() constructor() {} ngOnInit(): void {}, // 给父组件传递参数 transData_to_parent() { this.childEvent.emit('我是子组件传递的数据') } }
2.2 父组件hero-parent
1. 상위 구성 요소가 하위 구성 요소에 값을 전달합니다
- 설명: 상위 구성 요소가 하위 구성 요소에 값을 전달하면 상위 구성 요소가 데이터를 하위 구성 요소의 선택기에 바인딩합니다.
<app-hero-child></app-hero-child> - 다음 경우에
를 도입해야 합니다. 입력모듈import { Component, OnInit, Input} from '@angular/core' - 하위 구성 요소도 구문 설탕을 사용하여 수신해야 합니다. 상위 구성 요소
@input() transData
hero-parent 1, Hero-parent에 의해 전달된 매개 변수. component.html
<p>这是父组件</p>
<p>{{receiceData}}</p>
<app-hero-child></app-hero-child>
2. Hero-parent.comComponent.tsimport { Component, OnInit } from '@angular/core'
@Component({
selector: 'app-hero-parent',
templateUrl: './app-hero-parent.component.html',
styleUrls: ['./app-hero-parent.component.scss']
})
export class HeroesComponent implements OnInit {
constructor() {}
ngOnInit(): void {}
receiceData:string
// 接收子组件传递的数据
receive_child_data(data) {
this.receiceData = data
}
}
1.2 하위 구성 요소
1.hero-child.comComponent.htmlhero-child
1.3 렌더링
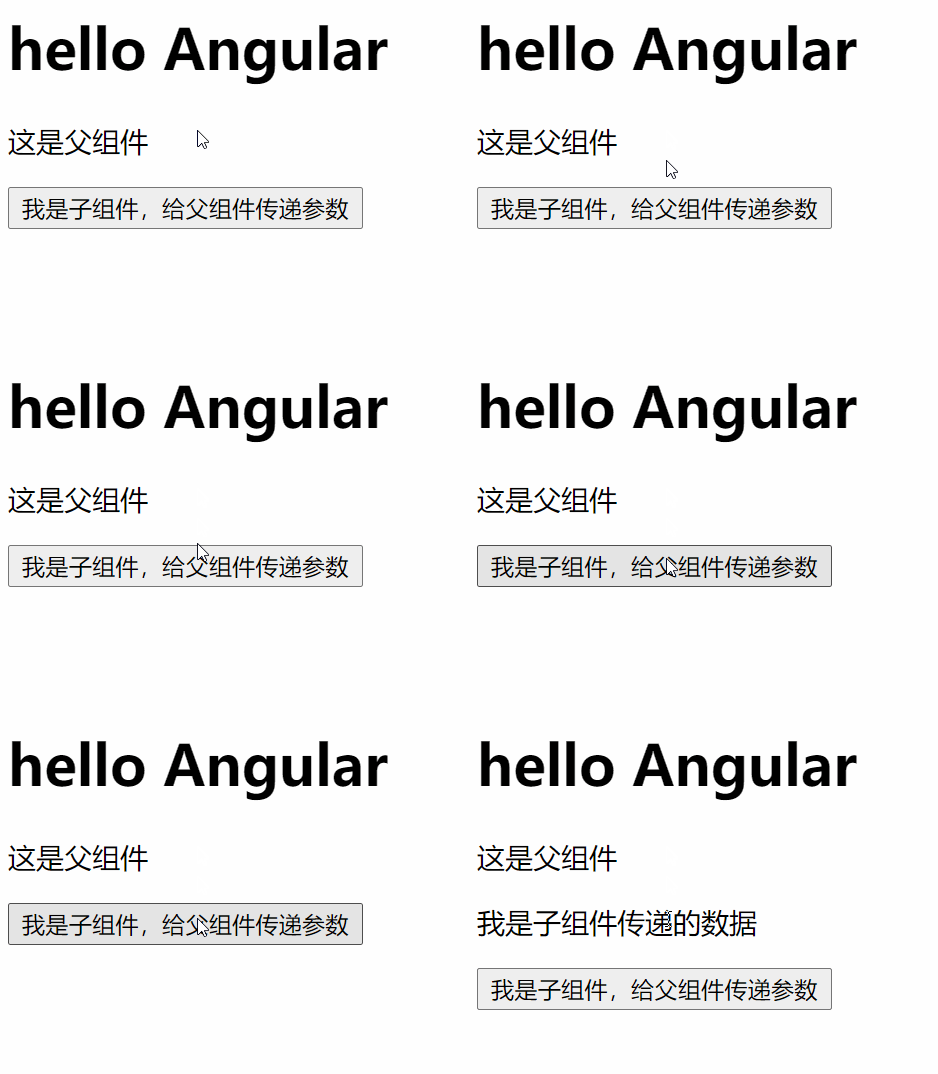
🎜 🎜🎜🎜2. 하위 구성요소는 매개변수를 상위 구성요소에 전달합니다🎜🎜
- 설명: 하위 구성 요소 상위 구성 요소가 매개 변수를 전달할 때
Output및EventEmitter를 가져와야 하며import { Component, OnInit, Output, EventEmitter 모듈을 도입해야 합니다. } from '@angular/core' code> - 사용 시
@Output() childEvent = new EventEmitter()메서드를 노출하여emit데이터 전달 - 특정 사용
this.childEvent.emit('나는 하위 구성 요소에 의해 전달된 데이터입니다')
hero-child code>🎜🎜<ol>
<li>
<code>hero-child.comComponent.html
rrreee
hero -child.comComponent.tsrrreeehero-parent🎜🎜🎜1, Hero-parent.comComponent.html🎜rrreee🎜2 , Hero-parent.comComponent.ts🎜rrreee🎜🎜2.3 효과 그림 🎜🎜🎜🎜🎜🎜더 많은 프로그래밍 관련 지식을 보려면 🎜프로그래밍 비디오🎜를 방문하세요! ! 🎜위 내용은 Angular 상위 구성 요소와 하위 구성 요소 간에 값을 전송하는 방법에 대한 자세한 설명은 무엇입니까?의 상세 내용입니다. 자세한 내용은 PHP 중국어 웹사이트의 기타 관련 기사를 참조하세요!

