ホームページ >ウェブフロントエンド >CSSチュートリアル >CSSを使ったボタンの作り方
CSSを使ったボタンの作り方
- 不言オリジナル
- 2018-12-06 14:12:104908ブラウズ
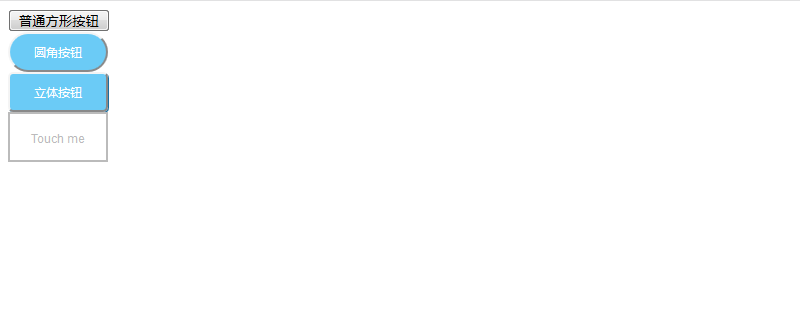
今日の記事では、通常の四角いボタン、丸いボタン、立体的なボタン、簡単なアニメーション付きのボタンの4つのボタン実装方法を紹介します。具体的な内容を見ていきましょう。

#普通の四角ボタンの実装方法を見てみましょう
<!DOCTYPE html>
<html>
<head>
  <meta charset="utf-8">
  <title></title>
</head>
<body>
<button>普通方形CSSを使ったボタンの作り方</button>
</body>
</html>
丸ボタンの実装方法
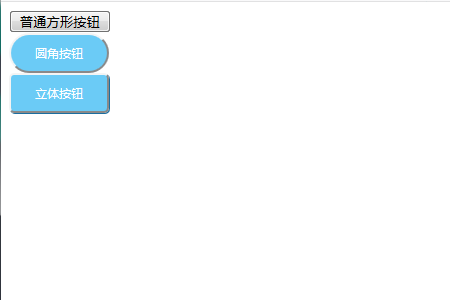
<button class="kadomaru">圆角CSSを使ったボタンの作り方</button>CSSコード
.kadomaru {
  width:100px;
  font-size:12px;
  color:#FFFFFF;
  text-align:center;
  display:block;
  padding:10px 0 10px;
  background:#6BCBF6;
  border-radius: 20px;
}#立体ボタンの実装方法##コードは以下の通り
<button class="shadow">立体CSSを使ったボタンの作り方</button>CSS コード
.shadow {
  width:100px;
  font-size:12px;
  color:#FFFFFF;
  text-align:center;
  display:block;
  padding:10px 0 10px;
  background:#6BCBF6;
  border-radius:5px;
  box-shadow:1px 1px #1A6EA0;
}
box-shadow を使用して影のサイズと影の色を指定し、立体感を出します。
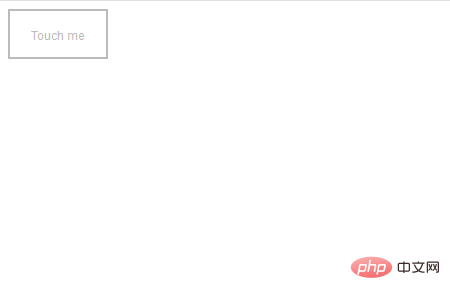
最後の方法は、簡単なアニメーションを備えたボタンの実装です。具体的な例 
<div class="animation">
  <div class="effect"></div>
  <a href="#"> Touch me </a>
CSS コード
.animation {
  width:100px;
  height:50px;
  text-align:center;
  border:2px solid #BBBBBB;
  float:left;
  cursor:pointer;
  position:relative;
  box-sizing:border-box;
  overflow:hidden;
  margin:0 0 40px 0;
}
.animation a {
  font-family:arial;
  font-size:12px;
  color:#BBBBBB;
  text-decoration:none;
  line-height:50px;
  transition:all .10s ease;
  z-index:2;
  position:relative;
}
.effect {
  width:140px;
  height:50px;
  top:-2px;
  left:-140px;
  background:#BBBBBB;
  position:absolute;
  transition:all .5s ease;
  z-index:1;
}
.animation:hover .effect {
  left:0;
}
.animation:hover a {
  color:#FFFFFF;
}
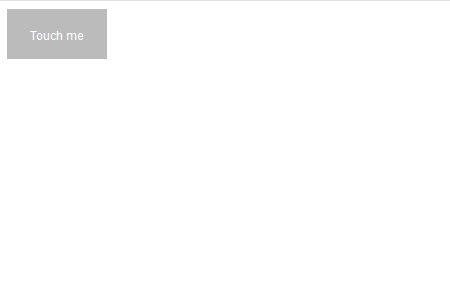
カスタマイズの例を紹介します。 .effectのleft属性をright属性に、.animation:hover.effectのleft属性をright属性に変更すると右向きのアニメーションになります。 上記のコードを実行すると、次のような効果がブラウザに表示されます。
ボタンの上にマウスを置くと、右方向のボタンが表示されます。以下のようなアニメーションです。
CSS でボタンを作成する方法については、 CSS ビデオ チュートリアル#を参照してください。 ## または
以上がCSSを使ったボタンの作り方の詳細内容です。詳細については、PHP 中国語 Web サイトの他の関連記事を参照してください。
声明:
この記事の内容はネチズンが自主的に寄稿したものであり、著作権は原著者に帰属します。このサイトは、それに相当する法的責任を負いません。盗作または侵害の疑いのあるコンテンツを見つけた場合は、admin@php.cn までご連絡ください。
前の記事:CSSフレックスボックスの使い方次の記事:CSSフレックスボックスの使い方

