Home >Computer Tutorials >Browser >How to update all extensions in Google Chrome
How to update all extensions in Google Chrome
- WBOYWBOYWBOYWBOYWBOYWBOYWBOYWBOYWBOYWBOYWBOYWBOYWBforward
- 2024-04-26 16:43:09625browse
How to update all extensions in Google Chrome with one click? Question: How to update multiple Google Chrome extensions easily? Simple explanation: PHP editor Apple provides a step-by-step guide to help you easily set up one-click update of all extensions, saving time and effort. Read on for detailed steps below to learn how to fix this issue quickly.
Google Chrome settings one-click update of all extensions Specific methods
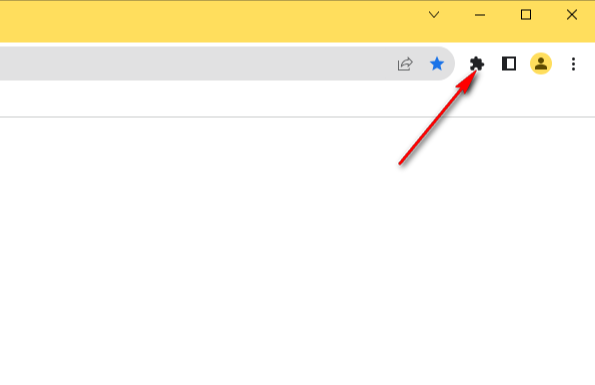
1. First, we need to click to open Google Chrome, and then click on the toolbar in the upper right corner [Extension] icon in (as shown in the figure).
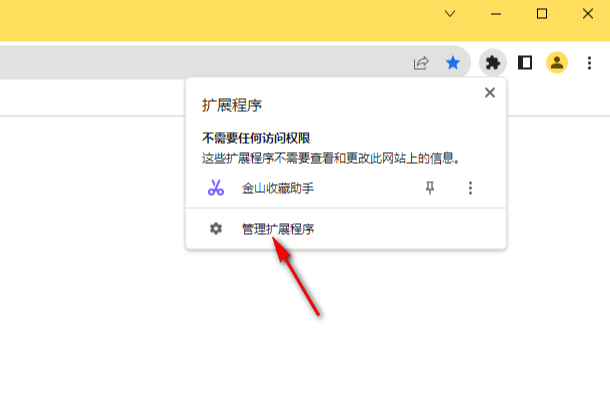
#2. In the small window that opens, click the [Manage Extensions] option to enter (as shown in the picture).
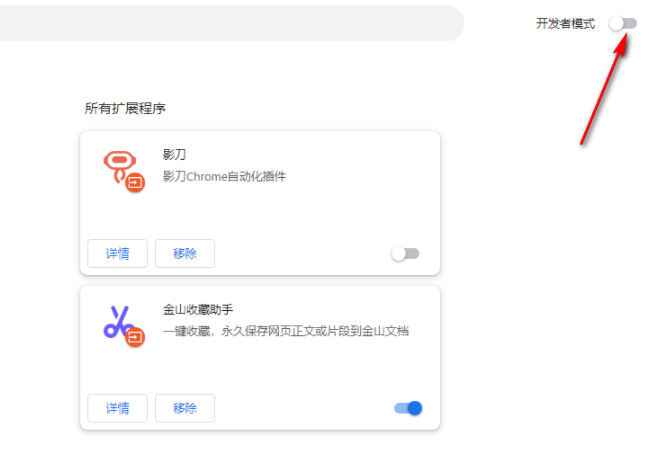
3. When we enter the page, you can view some of the extensions you usually install on the page, and then we need to change the [Developer Mode] in the upper right corner 】 option to click to enable (as shown in the figure).
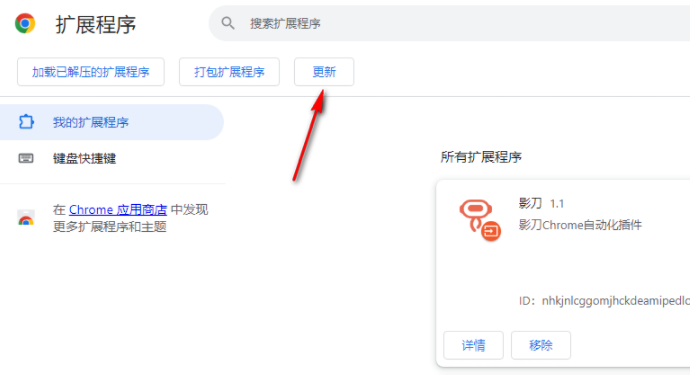
#4. After enabling the developer mode, several options will pop up, including the [Update] option. We need to click the [Update] button. Make updates to our extension (as shown).
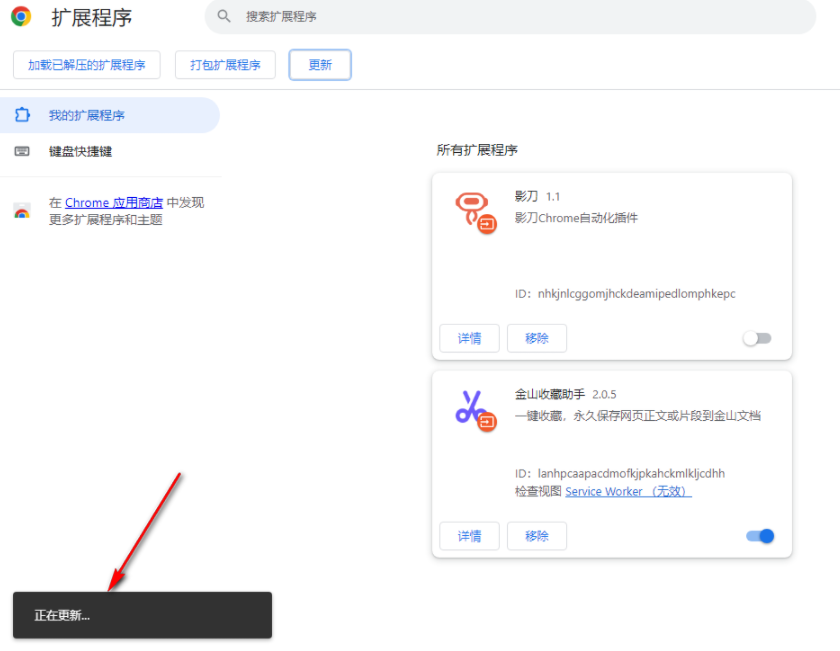
5. During the update, the [Updating] prompt will be displayed in the lower left corner, indicating that the page is updating our extension (as shown in the figure) shown).
The above is the detailed content of How to update all extensions in Google Chrome. For more information, please follow other related articles on the PHP Chinese website!

