


How to move screenshots on Windows 11: Press "PrtScn" to take a screenshot, paste and drag it in the file explorer; use the "Snip & Sketch" tool to take a screenshot, and then drag it to the specified location; use Paint , image editing software or third-party application mobile screenshot.

How to screenshot and move on Windows 11
Quick screenshot
- Press the "Print Screen" (PrtScn) key on the keyboard.
- The screenshot will be automatically saved to the clipboard.
Mobile Screenshot
- Open File Explorer or other application that supports file drag and drop.
- Press "Ctrl V" to paste the screenshot.
- Hover your mouse over the screenshot and left-click, then drag it to the desired location.
Snip & Move with Snip & Sketch Tools
Snip & Sketch Tools provide more advanced screenshot options, including moving.
- Press the "Windows key Shift S" on your keyboard.
- Select the screenshot mode: rectangular, free shape or full screen.
- After taking the screenshot, the Snip & Sketch tool will automatically open.
- Click on the screenshot and drag it to the desired location on your desktop.
Other ways to move screenshots
There are also other ways to move screenshots:
- Use Paint: Paste the screenshot into Paint and drag it to the desktop.
- Use image editing software: Open the screenshot using image editing software such as Photoshop or GIMP, and then save it to your desktop.
- Use a third-party application: Install an application specifically designed for screenshot mobile, such as ShareX or Lightscreen.
The above is the detailed content of How to take a screenshot in win11 and move it on the desktop. For more information, please follow other related articles on the PHP Chinese website!

 Microsoft Is Fixing a Weird Bug in OutlookApr 26, 2025 pm 09:03 PM
High CPU usage in Outlook? Microsoft's got a fix coming. Many Outlook users on Windows have reported a frustrating issue: their CPUs are spiking to 30-50% while simply composing emails. This impacts performance, battery life (especially on laptops),
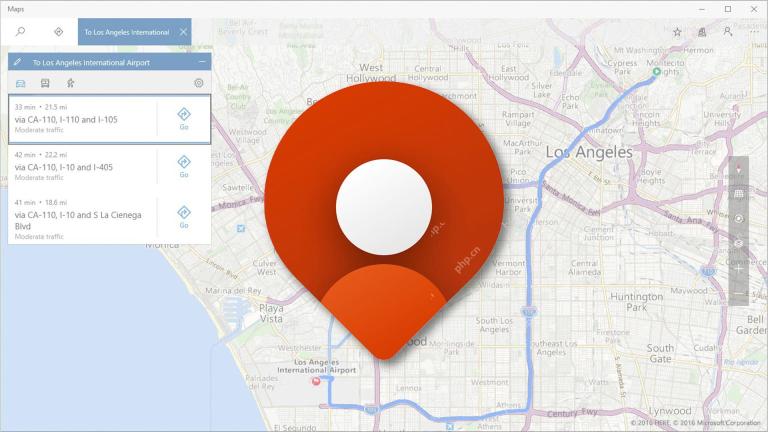 Windows Maps Will Become 'Nonfunctional' This JulyApr 26, 2025 am 09:01 AM
Related ##### Before Dropbox and OneDrive, We Had Windows Briefcase Windows Briefcase: A Pioneer in File Synchronization. Posts 1 Choosing a navigation app? Bing Maps offers the closest experience to the discontinued Windows Maps. Google Maps and
 Before Dropbox and OneDrive, We Had Windows BriefcaseApr 26, 2025 am 06:11 AM
The "breviation package" feature introduced by Windows 95 makes file synchronization possible. At that time, this function was unique in the field of file synchronization. However, with the rise of cloud services such as OneDrive, Microsoft has gradually phased out the "branded briefcase" feature since Windows 8. You might be surprised that file synchronization is not a new technology, in fact, Microsoft has provided this feature with a virtual folder called "Briefcase" as early as Windows 95. A brief history of Windows "Briefcase" As the name suggests, the "brookie" feature was released with Windows 95 released in 1995, which is still considered by many to be one of the best operating systems. It has user friends
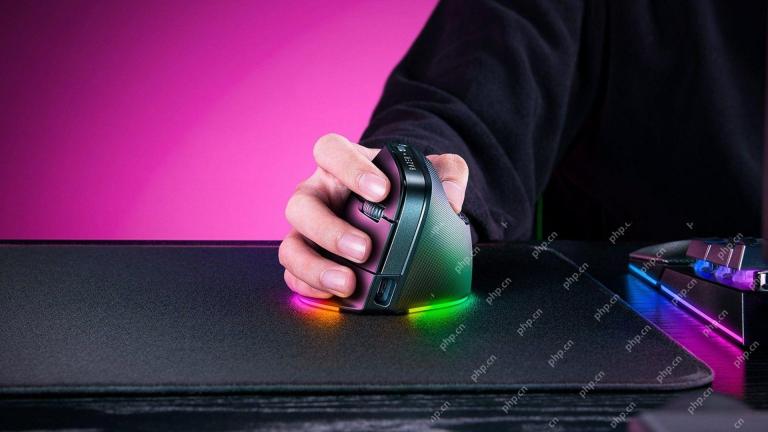 Razer Joins the Vertical Mouse Party With New Pro Click V2Apr 26, 2025 am 03:05 AM
Razer Pro Click V2 Vertical Edition Review: Comfort and Performance Razer's first vertical mouse, the Pro Click V2 vertical version, is known for its ergonomic design. The tilt angle of 71.7 degrees, like a handshake, effectively reduces wrist pressure. In terms of technical specifications, the vertical version and the standard version of Pro Click V2 have many similarities. Both are equipped with Razer's advanced Focus Pro optical sensor, with a maximum sensitivity of 30,000 DPI, a maximum speed of 550 inches per second and a maximum acceleration of 40G. All mechanical buttons can withstand 60 million clicks, ensuring durability. In terms of battery life, the vertical version is up to 6 months
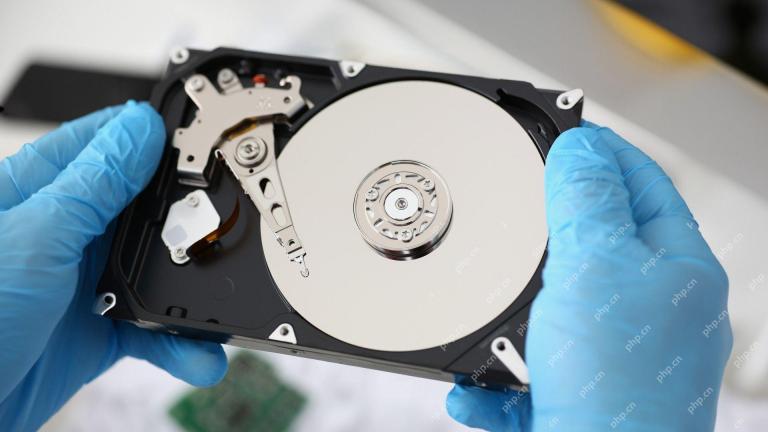 Western Digital Is Preparing 40TB HDDs, but It's Not Stopping ThereApr 25, 2025 am 09:01 AM
Western Digital's 40TB HDDs: A Stepping Stone to 100TB Western Digital (WD) is gearing up to launch 40TB hard disk drives (HDDs), but their ambitions extend far beyond that. This move is a crucial step in WD's roadmap to achieve its ambitious goal:
 6 Reasons to Try Windows Subsystem for Linux (WSL)Apr 25, 2025 am 06:09 AM
Windows Subsystem for Linux (WSL): Your Gateway to the Linux World While Windows enjoys widespread consumer popularity for its user-friendliness, Linux dominates the professional sphere. Whether you're a curious beginner or seeking seamless Windows-
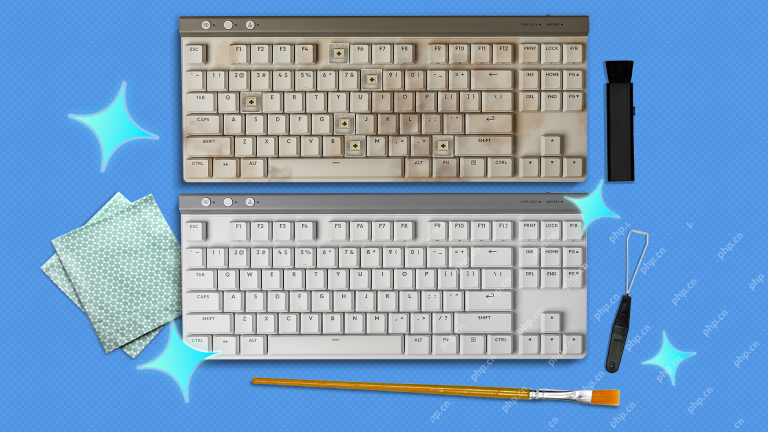 Don't Throw Out That Old Keyboard, Fix Up It Up InsteadApr 25, 2025 am 06:01 AM
How to Clean and Repair a Broken Keyboard I always have some tools ready before starting to repair any computer parts: Precision screwdriver set Cotton swab Isopropanol Magnetic bowl In addition, you need gentle dishwashing liquid, toothpicks, compressed air and keycap puller. Easy to pull out the key caps. After preparing the materials, you must first determine the degree of damage to the keyboard. Be sure to check for damage to the cable first. Just stained with soda and dust? Or are mechanical parts damaged? Or is there a circuit problem? The easiest first step to diagnose a problem is to open Notepad (or other plain text editor) and press each key on the keyboard to make sure they all appear correctly in Notepad. Note any keys that don't work, are difficult to press, or are stuck. Be sure to check all Cs on your keyboard
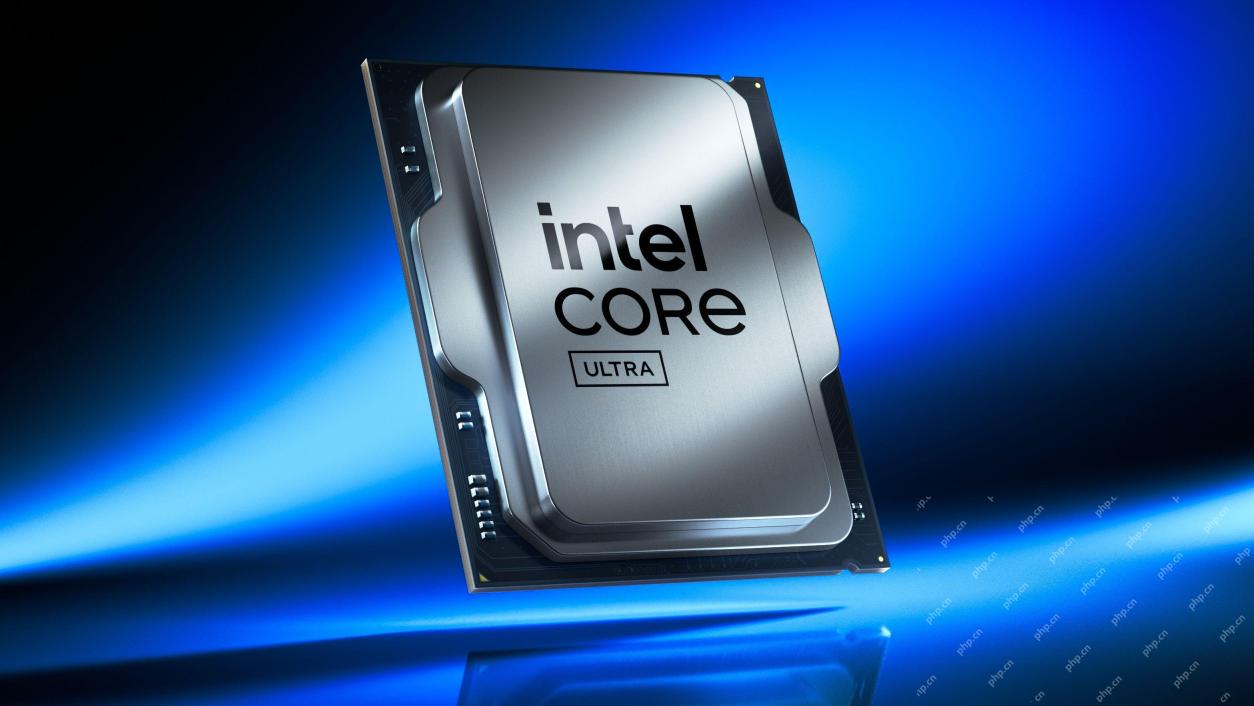 Intel Arrow Lake CPUs Are Getting a Speed Boost, but You Need an UpdateApr 25, 2025 am 03:01 AM
Intel's Free Arrow Lake Overclocking Boost: Faster Gaming for Core Ultra CPUs Your Intel Core Ultra 200-series processor might already be a powerhouse, but Intel's latest free update delivers a significant performance boost for gamers. The "Int


Hot AI Tools

Undresser.AI Undress
AI-powered app for creating realistic nude photos

AI Clothes Remover
Online AI tool for removing clothes from photos.

Undress AI Tool
Undress images for free

Clothoff.io
AI clothes remover

Video Face Swap
Swap faces in any video effortlessly with our completely free AI face swap tool!

Hot Article
Hot Tools

mPDF
mPDF is a PHP library that can generate PDF files from UTF-8 encoded HTML. The original author, Ian Back, wrote mPDF to output PDF files "on the fly" from his website and handle different languages. It is slower than original scripts like HTML2FPDF and produces larger files when using Unicode fonts, but supports CSS styles etc. and has a lot of enhancements. Supports almost all languages, including RTL (Arabic and Hebrew) and CJK (Chinese, Japanese and Korean). Supports nested block-level elements (such as P, DIV),

SublimeText3 Chinese version
Chinese version, very easy to use

Notepad++7.3.1
Easy-to-use and free code editor

VSCode Windows 64-bit Download
A free and powerful IDE editor launched by Microsoft

SAP NetWeaver Server Adapter for Eclipse
Integrate Eclipse with SAP NetWeaver application server.

