

Simple operation process of setting screen saver in WIN10

php Xiaobian Youzi will take you to explore the simple operation process of setting up a screen saver in WIN10. In the WIN10 system, setting a screen saver can effectively protect the display and extend its service life. Through simple operations, you can choose different screen saver styles, set startup delays, etc., to customize personalized screen saver effects. Next, let us learn how to easily set up a screen saver in WIN10 system to give your computer a brand new look!
1. In the lower left corner of the computer, find the system start desktop menu, and then click with the left mouse button.
2. Click on the pop-up options, find the setting option, and then click with the left mouse button.

3. In the new settings dialog box, find the personalization options, where you can set the background, lock screen, and various system colors.

4. Find the lock screen interface and click it. The right pane will automatically switch to the lock screen interface.

5. In the system lock screen settings interface, we scroll to the bottom, find the screen saver settings, and click on it. After clicking, a new screen saver settings dialog box pops up.

#6. In the new screen saver settings dialog box, click the drop-down arrow, select a screen saver style, and then set the screen saver time below. Here is the system when there is no Time to enter screen saver in case of use.

The above is the detailed content of Simple operation process of setting screen saver in WIN10. For more information, please follow other related articles on the PHP Chinese website!

 Logitech Is Quietly Increasing Its PricesApr 23, 2025 am 03:02 AM
Logitech quietly raises prices on many products, citing no specific reason. Observers note price increases of up to 25% on various items, strongly suggesting the impact of ongoing US tariffs on goods imported from China, where Logitech's main manufa
 How to Stop Windows 11 From Auto-Installing Device DriversApr 23, 2025 am 01:02 AM
The only way to safely update Windows hardware drivers Want to update your computer's hardware driver? Please get driver updates from Windows Update or the device manufacturer's website. Before making the following changes, be sure to create a system restore point. If something goes wrong, it will be easier to undo the changes. Use Settings to turn off automatic device driver installation One way to prevent Windows 11 from automatically installing device drivers is to switch an option in Settings. To do this, press Windows i to start "Settings". In the left sidebar, select System. At the bottom of the right pane, select About. Select Device Specifications. In the expanded section, select Advanced System Settings. exist
 8 Ways to Clear the Clipboard on Windows 11Apr 21, 2025 pm 12:13 PM
This guide provides multiple ways to clear your Windows 11 clipboard, ensuring your copied data remains private. Your clipboard stores various items, including text, images, and videos. Let's explore several methods to erase its contents. Method 1:
 Logitech's G515 Lightspeed keyboard is 25% offApr 21, 2025 pm 12:06 PM
Logitech G515 Lightspeed TKL Mechanical Gaming Keyboard Review The Logitech G515 Lightspeed TKL uses low profile keys and feels very similar to the Apple Magic Keyboard, but has an additional mechanical switch, which is slim overall and has a rechargeable battery. Amazon Link This keyboard is perfect for users who both work and games. Amazon currently sells for $119.99, down from its original price of $159.99, only once before it reached this price. G515 Lightspeed TKL is slim in size, 14.49 inches long and 5.91 inches wide,
 How to Enable TPM 2.0 to Get Windows 11Apr 21, 2025 am 11:17 AM
Many users with powerful desktops were initially blocked from upgrading to Windows 11 due to a simple BIOS setting being disabled by default: TPM 2.0. This guide explains how to enable it. Checking for TPM Compatibility Windows has a built-in tool t
 How to Download a Website as an App on the DesktopApr 21, 2025 am 10:37 AM
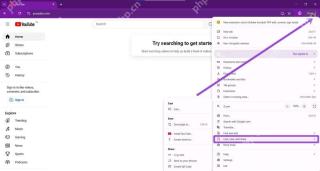
Quickly Access Your Favorite Websites: Two Methods for Adding Websites to Your Desktop Tired of hunting through bookmarks? Windows offers easy ways to add frequently visited websites directly to your desktop for instant access. This guide details tw
 8 Ways to Open the Run Dialog Box on Windows 11Apr 20, 2025 am 06:01 AM
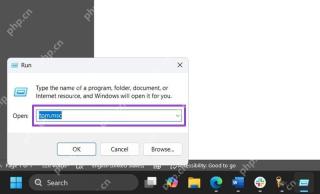
Windows 11's Run dialog box (Run) provides a convenient way to quickly access various system features and installed applications. The way to start this dialog is simple, just use keyboard shortcuts or select menu items. This article will describe several ways to start this utility. Use keyboard shortcuts to open the run dialog The quickest way to start a Run dialog on Windows 11 is to use keyboard shortcuts. This method opens the dialog box instantly. To do this, press the Windows R key on the keyboard. No matter where you are currently on your computer, Windows 11 will immediately open the Run dialog box. You can then enter the name of the utility you want to start.
 Samsung's 32-inch Odyssey G7 IPS Gaming Monitor Is $270 Off TodayApr 20, 2025 am 03:01 AM
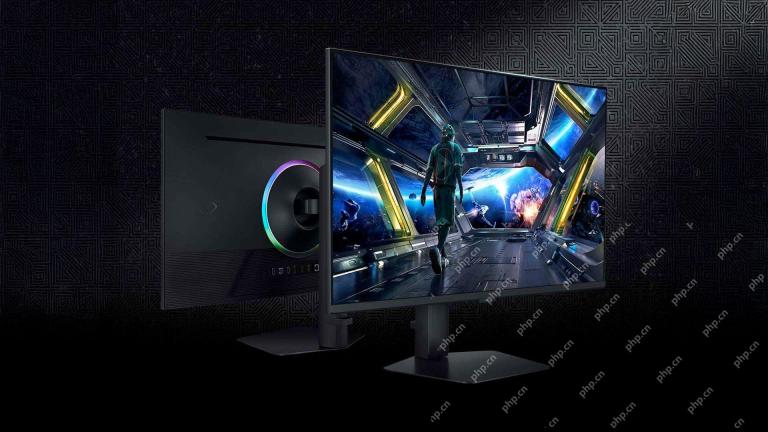
Samsung Odyssey G7 (G70D) 32-inch Esports Monitor Special Offer! Original price is $800, current price is only $530, saving $270! This Odyssey G7 sports monitor has 4K resolution, IPS panel, 144Hz refresh rate, AMD FreeSync Premium support, and smart Tizen capabilities. Samsung's official website priced at $530 If you need a monitor that supports high refresh rate gaming, this Samsung 32-inch Odyssey G7 monitor is ideal for you. Currently on sale, priced at $530, $270 less than the original price, and comes with 4K resolution, IPS panel and smart software capabilities. 32-inch Odyss


Hot AI Tools

Undresser.AI Undress
AI-powered app for creating realistic nude photos

AI Clothes Remover
Online AI tool for removing clothes from photos.

Undress AI Tool
Undress images for free

Clothoff.io
AI clothes remover

Video Face Swap
Swap faces in any video effortlessly with our completely free AI face swap tool!

Hot Article
Hot Tools

mPDF
mPDF is a PHP library that can generate PDF files from UTF-8 encoded HTML. The original author, Ian Back, wrote mPDF to output PDF files "on the fly" from his website and handle different languages. It is slower than original scripts like HTML2FPDF and produces larger files when using Unicode fonts, but supports CSS styles etc. and has a lot of enhancements. Supports almost all languages, including RTL (Arabic and Hebrew) and CJK (Chinese, Japanese and Korean). Supports nested block-level elements (such as P, DIV),

SublimeText3 English version
Recommended: Win version, supports code prompts!

WebStorm Mac version
Useful JavaScript development tools

SublimeText3 Mac version
God-level code editing software (SublimeText3)

SublimeText3 Linux new version
SublimeText3 Linux latest version

