
Home >Software Tutorial >Office Software >Operation process for creating graphic silhouettes in PPT
Operation process for creating graphic silhouettes in PPT

- 王林forward
- 2024-03-26 17:01:11599browse
php editor Zimo will share with you the operation process of creating graphic silhouettes in PPT. Through graphic silhouettes, you can make PPT more interesting and vivid, attracting the audience's attention. To create graphic silhouettes in PPT, you need to master some skills and methods to make the graphics clearer and more beautiful. Next, we will introduce in detail how to create graphic silhouettes in PPT to make your presentation more attractive!
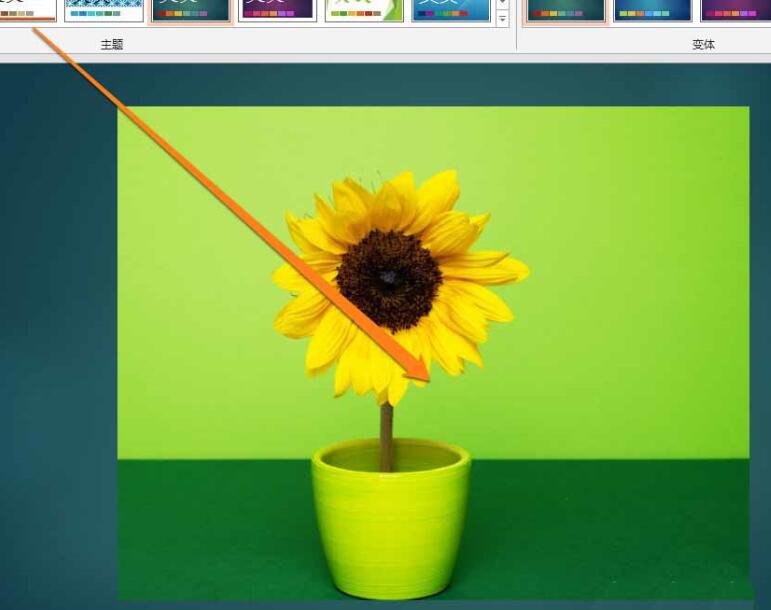
1. Insert a selected picture into the PPT page.
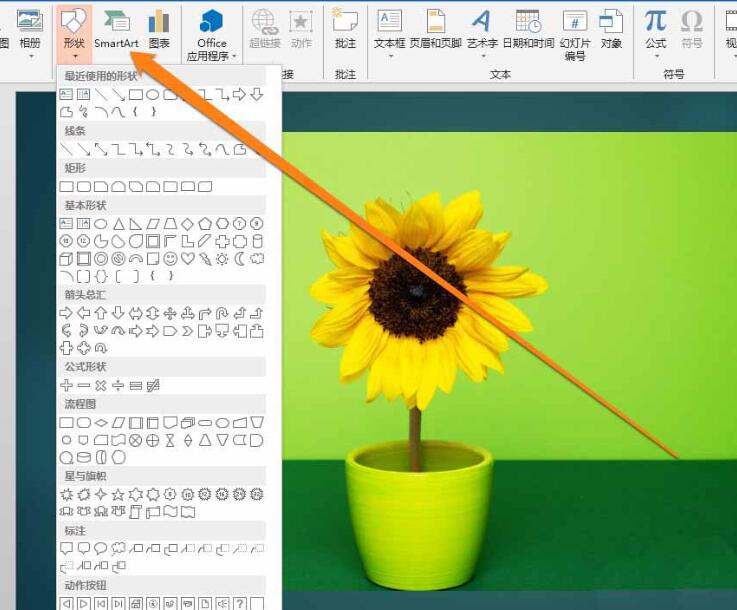
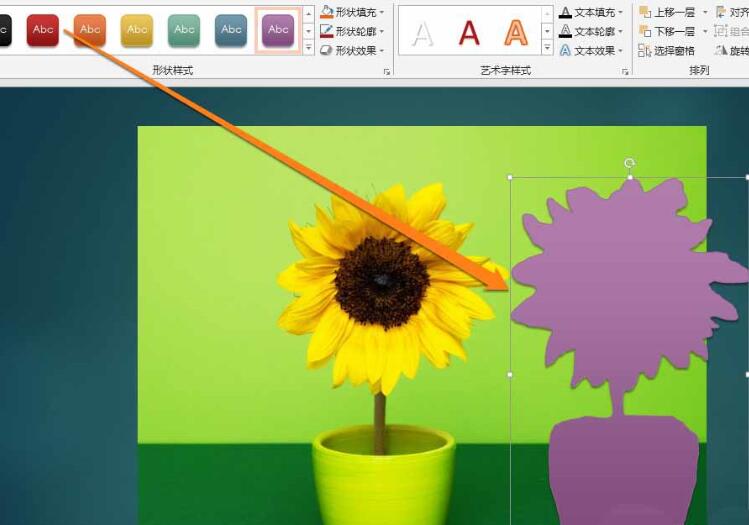
2. After inserting the picture, click the Insert button in the tool.

3. After clicking the Insert button in the tool, find the inserted shape button.
4. In the shape tool of the inserted button, find the free curve icon.
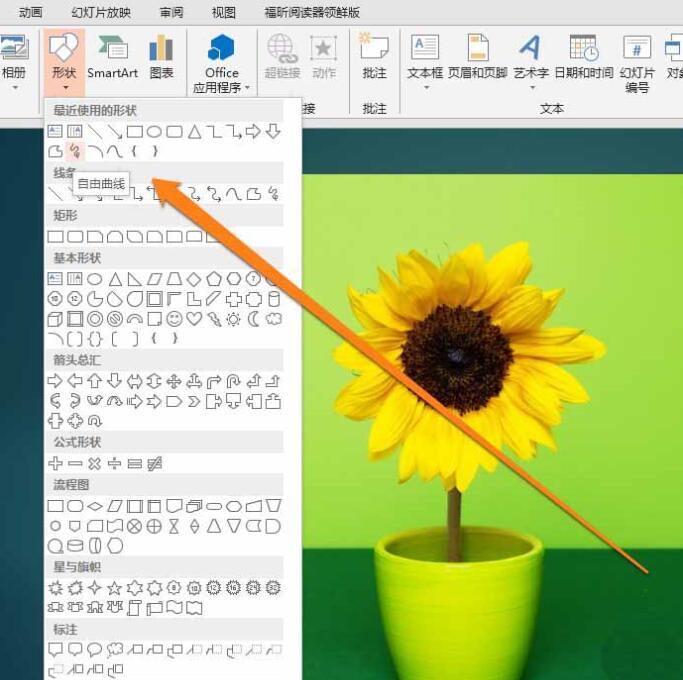
5. Click the free curve icon, and the mouse will turn into a pencil to draw on the picture.
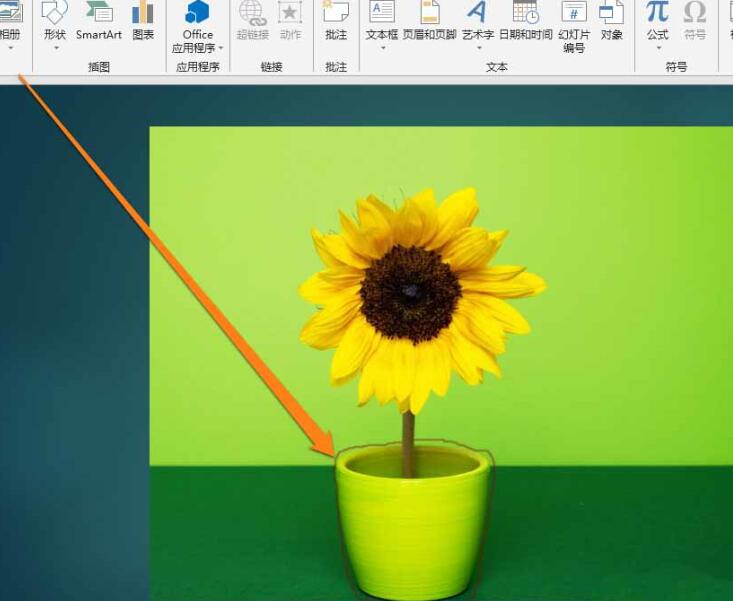
6. When the outline is completed, the stroke pattern needs to be closed from the beginning to the end.
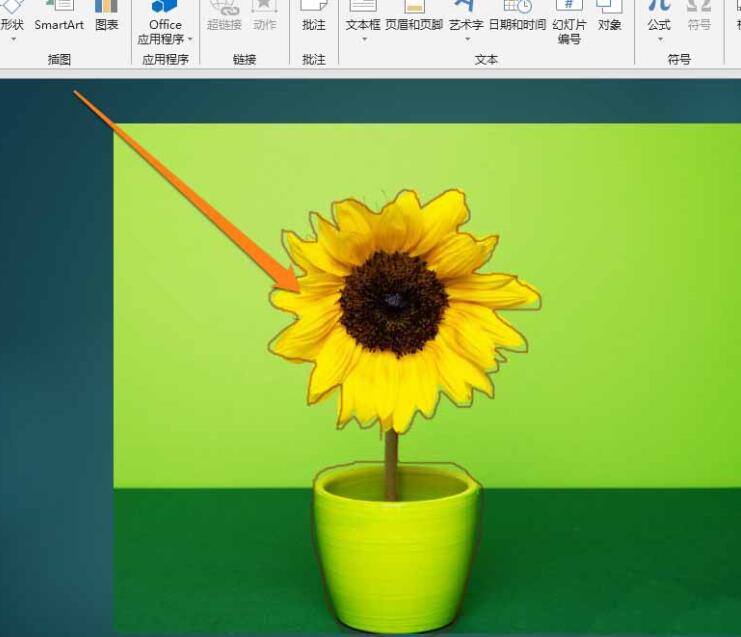
7. At this time, the outline of the figure in the picture is obtained.
The above is the detailed content of Operation process for creating graphic silhouettes in PPT. For more information, please follow other related articles on the PHP Chinese website!