
Home >Software Tutorial >Office Software >Graphics and music ppt interactive design
Graphics and music ppt interactive design

- WBOYWBOYWBOYWBOYWBOYWBOYWBOYWBOYWBOYWBOYWBOYWBOYWBforward
- 2024-03-19 22:00:201282browse
php editor Yuzai highly recommends the "Graphics and Music ppt Interactive Design" course, which combines graphic design and music elements to create a creative and interesting slideshow presentation. This design can not only attract the audience's attention, but also enhance the expressiveness and attractiveness of the displayed content. In this course, you will learn how to use graphics and music elements to design impressive interactive ppts to make your presentations more dynamic and appealing.
1. This class focuses on the interactive design of music and graphics
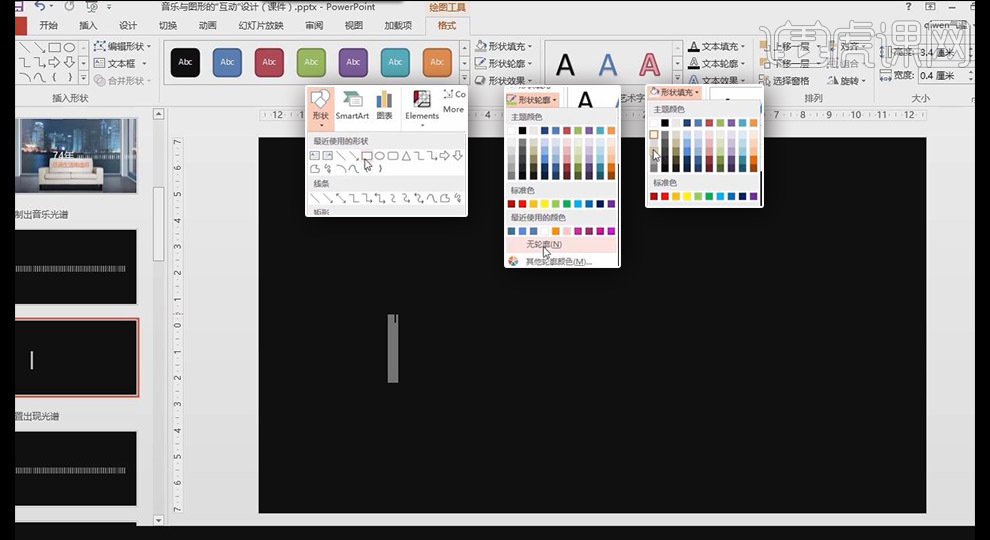
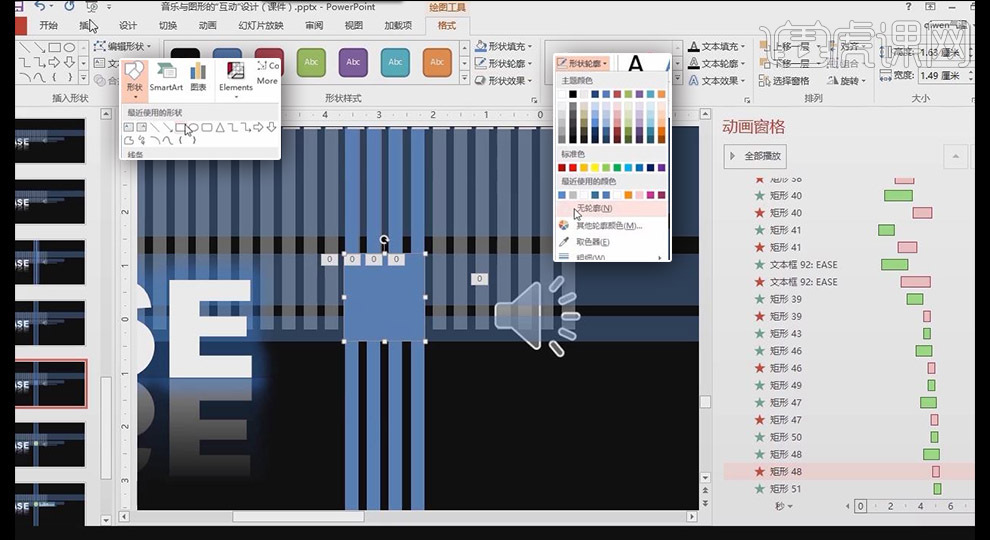
2. Copy the slide to delete unnecessary information; use [Insert]'s [Shape] draws a rectangle, [Color Fill] gray, [Shape Outline] no outline
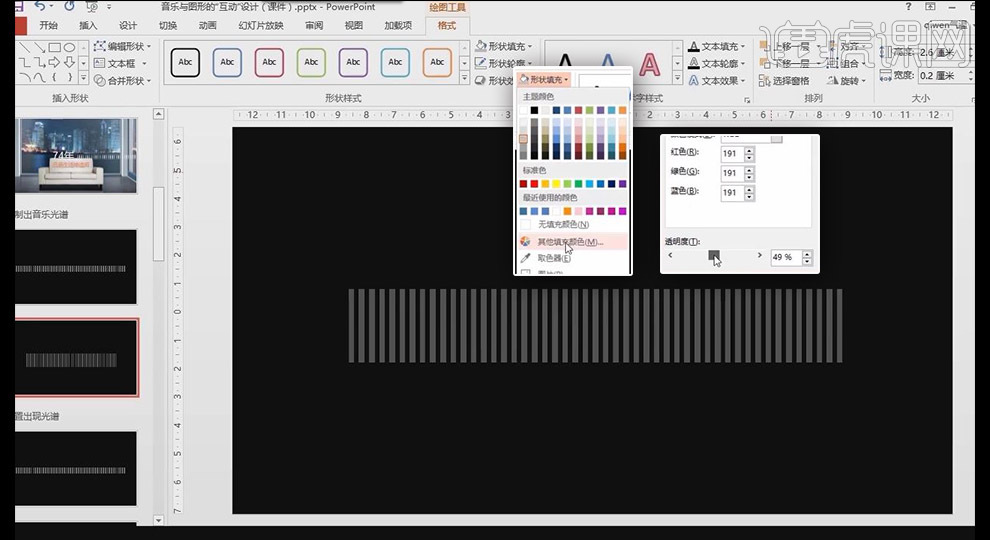
3. CTRL D to copy the rectangle, Hold down CTRL to finely adjust the position, then press CTRL D to copy multiple times, select all rectangles, click [Other Fill Color] in [Shape Fill], and adjust [Transparency] to about 60%
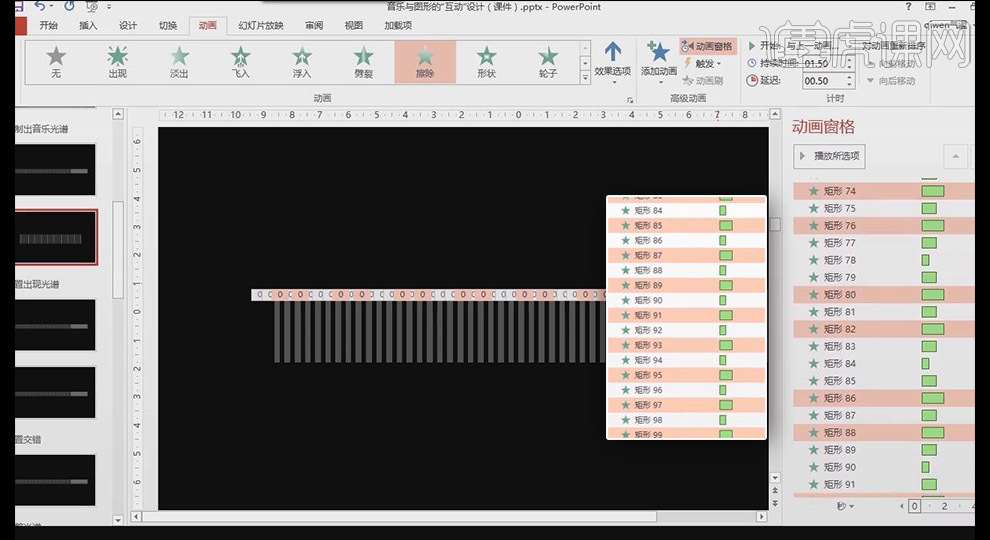
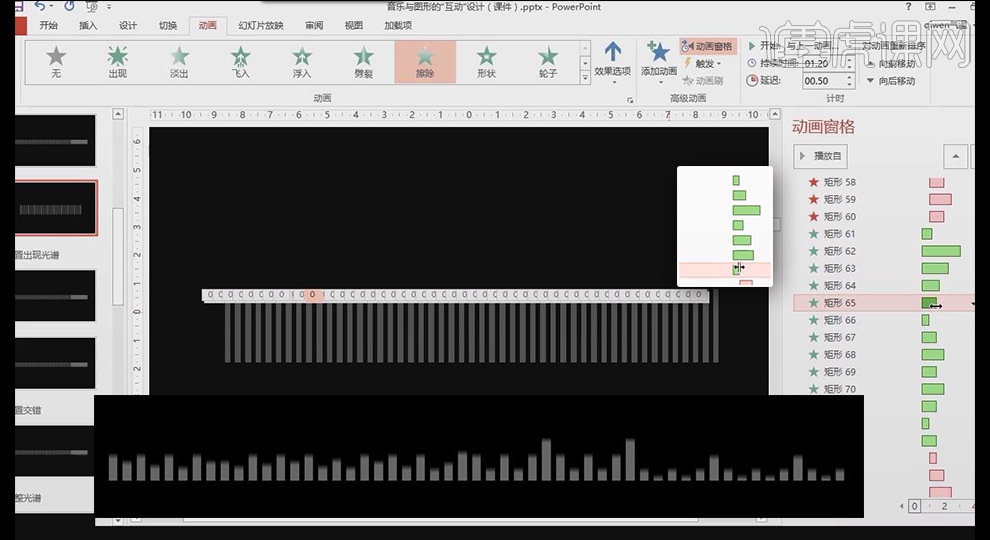
4. Select all rectangles, add [Erase] animation, [Start] is [At the same time as the previous animation], [Delay] is 0.5 seconds
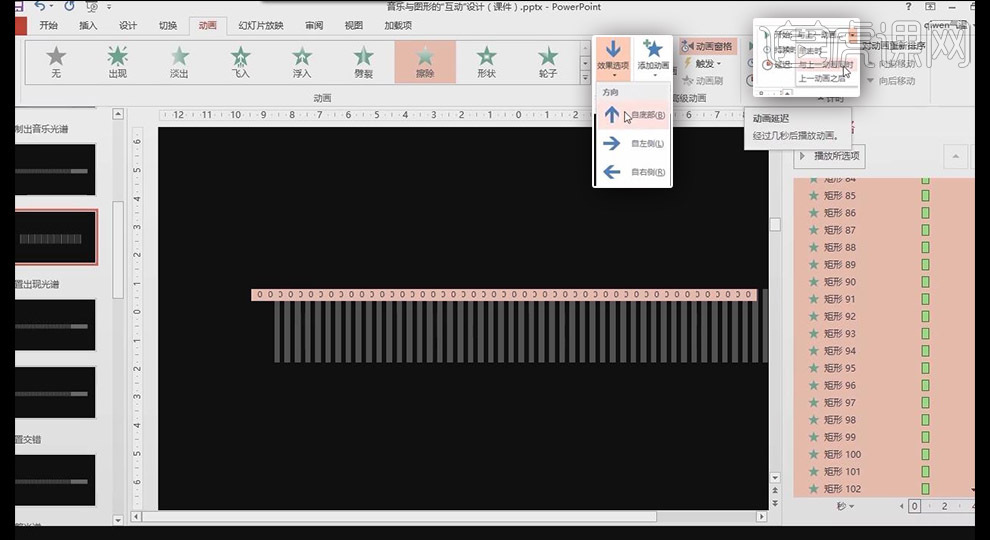
5. Hold down CTRL and select every other rectangle [Animation], [Duration] 1 second; similarly, hold down CTRL to select several more rectangles, [Duration] 1.5 Seconds
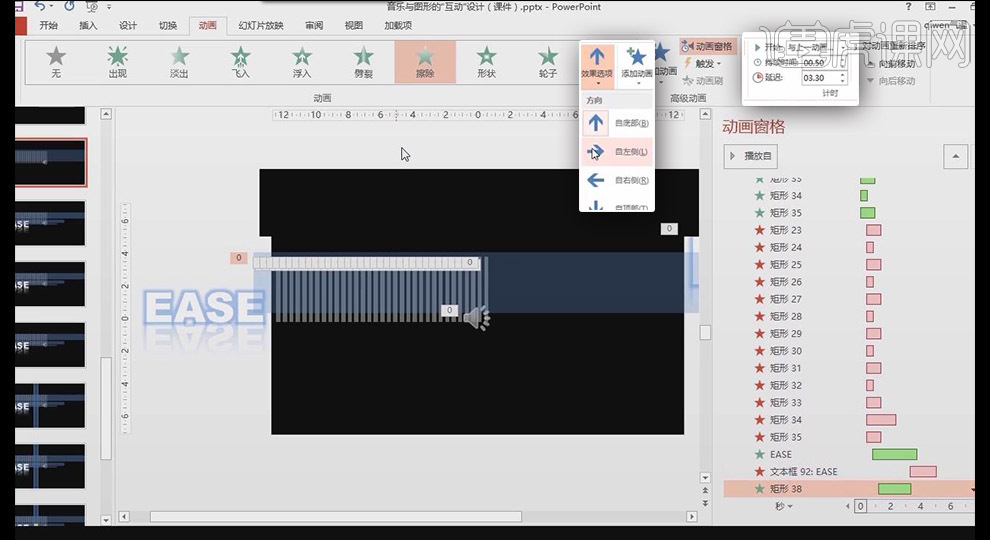
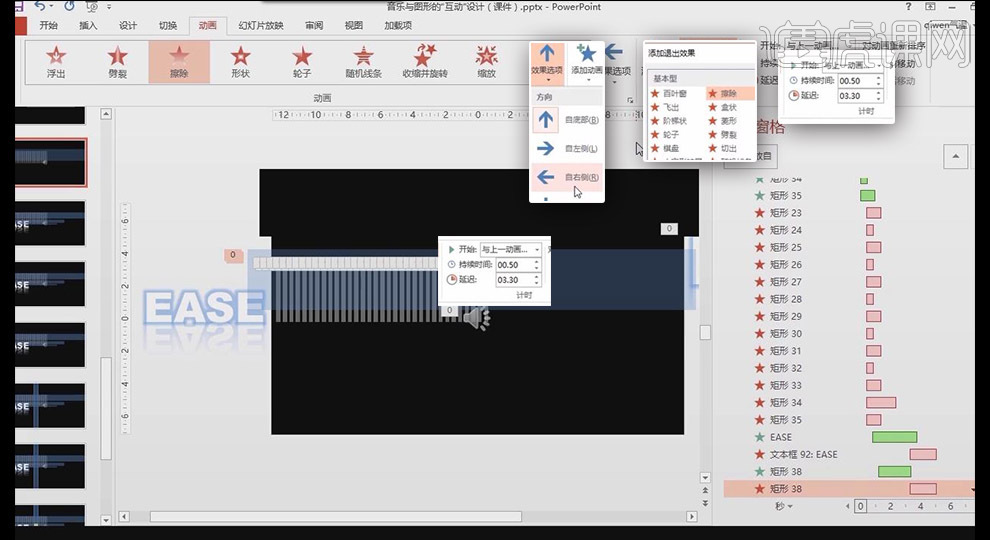
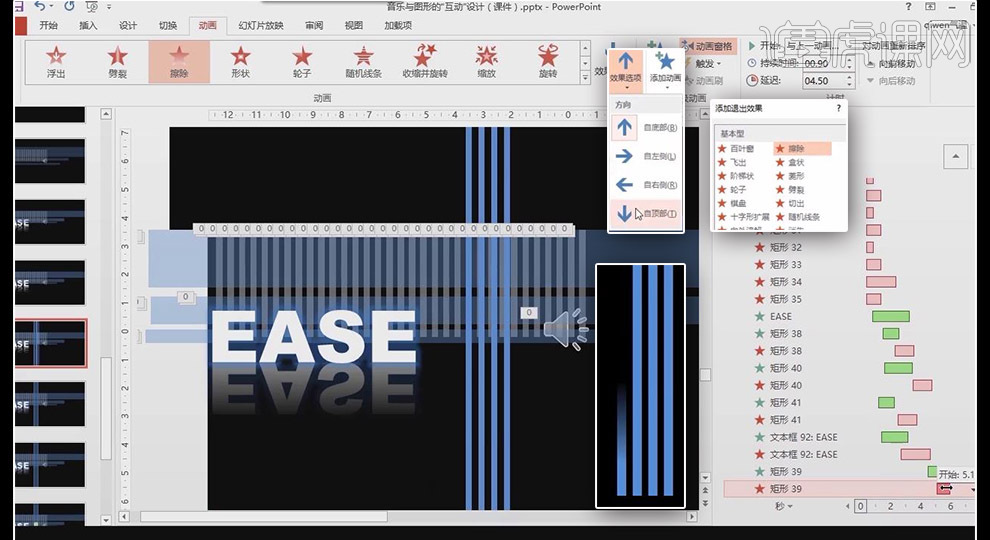
6. Select all rectangles and add [Erase] to exit the animation, [Effect Options] [From Top], [Start] [With Above] Animation at the same time], [Delay] 1 second
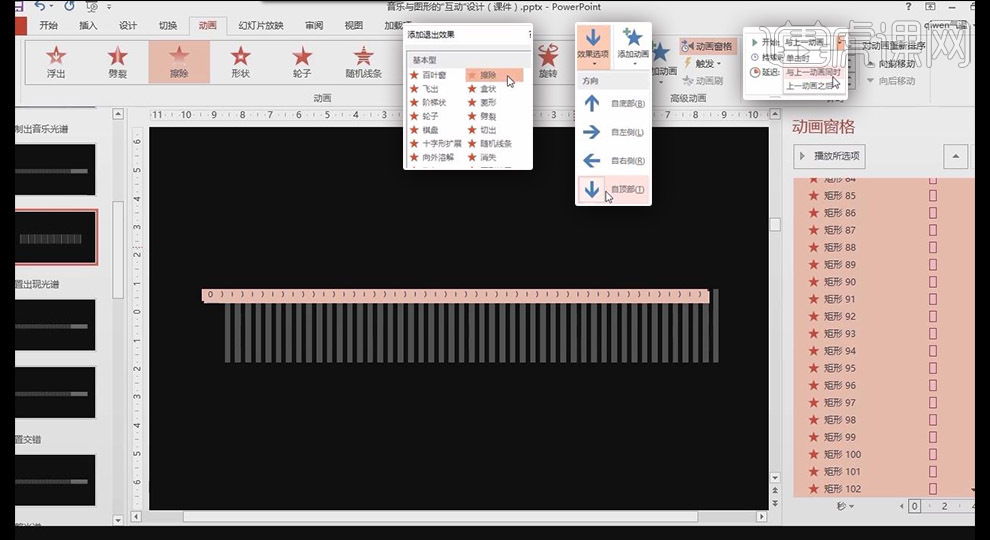
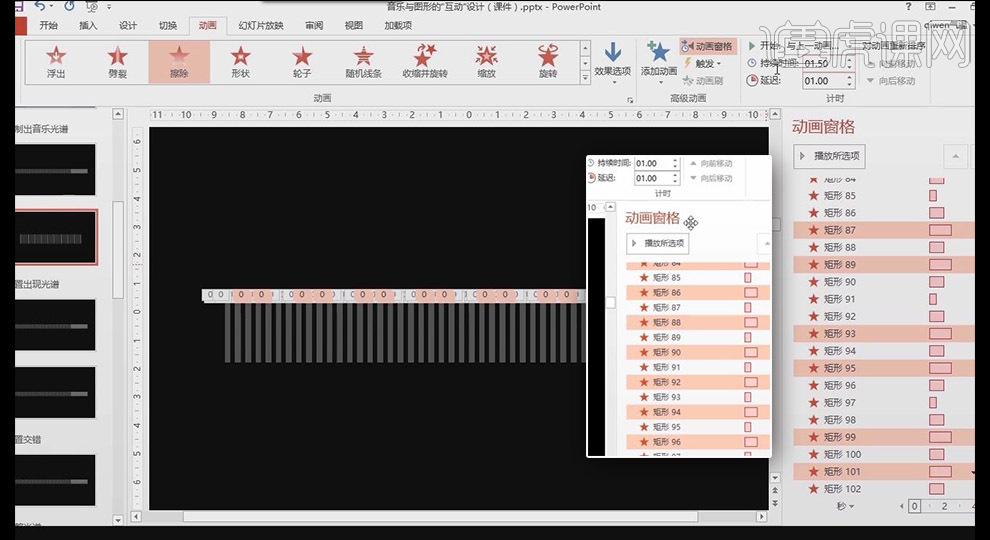
7. Hold down CTRL and select a rectangle every other [Animation], [Duration] 1 seconds; in the same way, hold down CTrl to select several more intervals, [Duration] 1.5 seconds
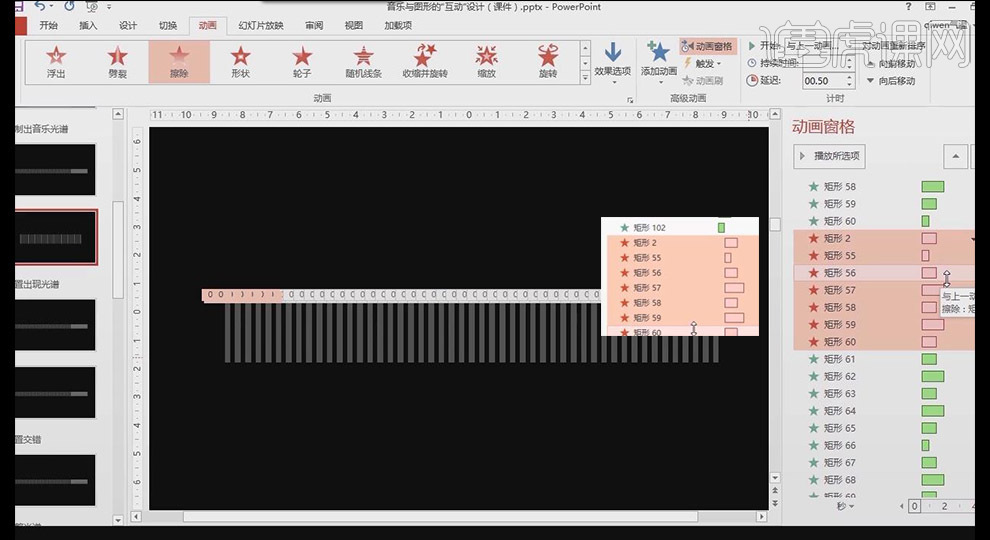
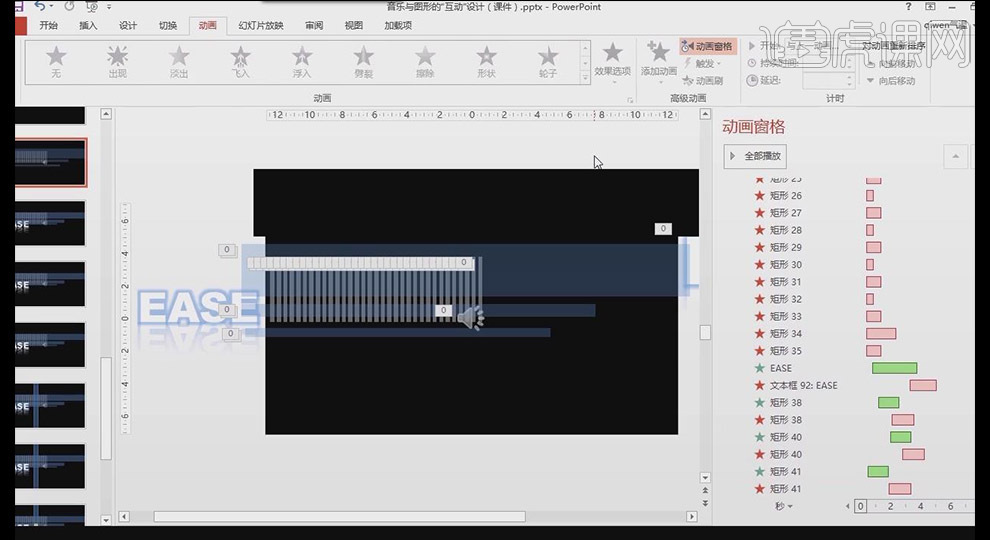
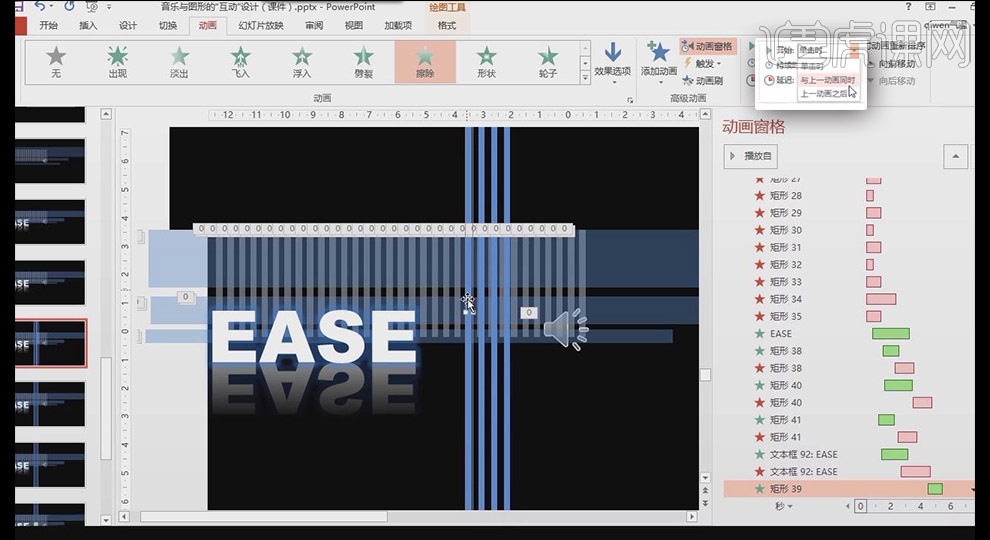
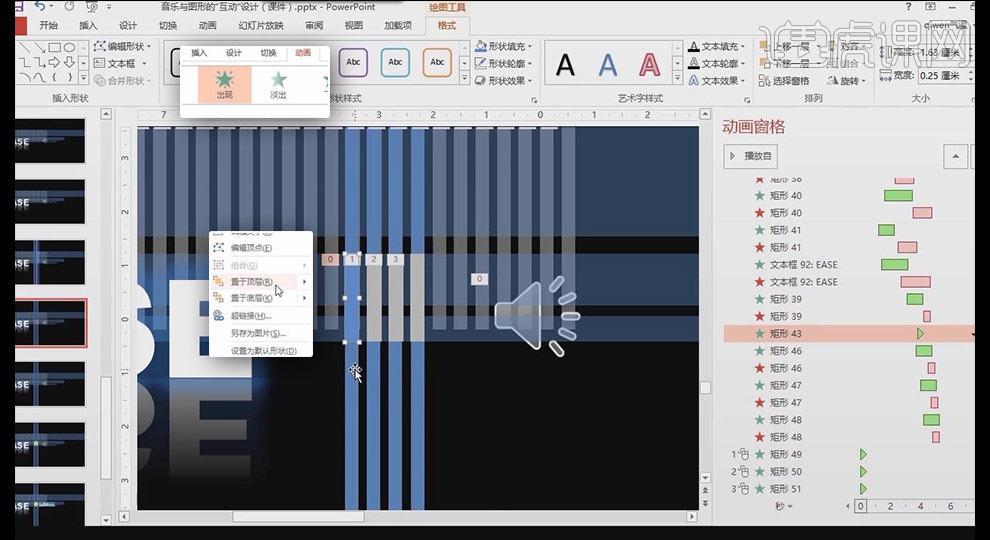
8, select the exit animation from 2 to 60 , move up to the back of the animation 60, [Delay] 1 second, set it several times in the same way, it is recommended to rename it for easy adjustment
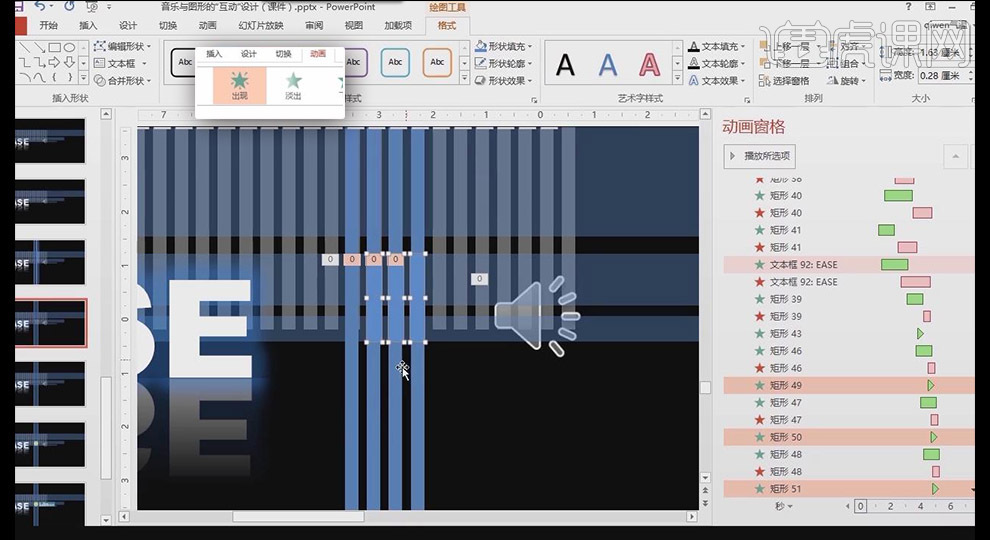
 ##9 . Make detailed settings for the time bar to achieve personalized effects. When placing the time bar, adjust the time when it turns into a double arrow. Pay attention to the details. The time bar can be adjusted according to the music tone
 10. Copy the slide, delete unnecessary information, and leave only the background; [Insert] [Text box] Enter the text content, the font is Arial Black, the color is white, and the font size is about 110
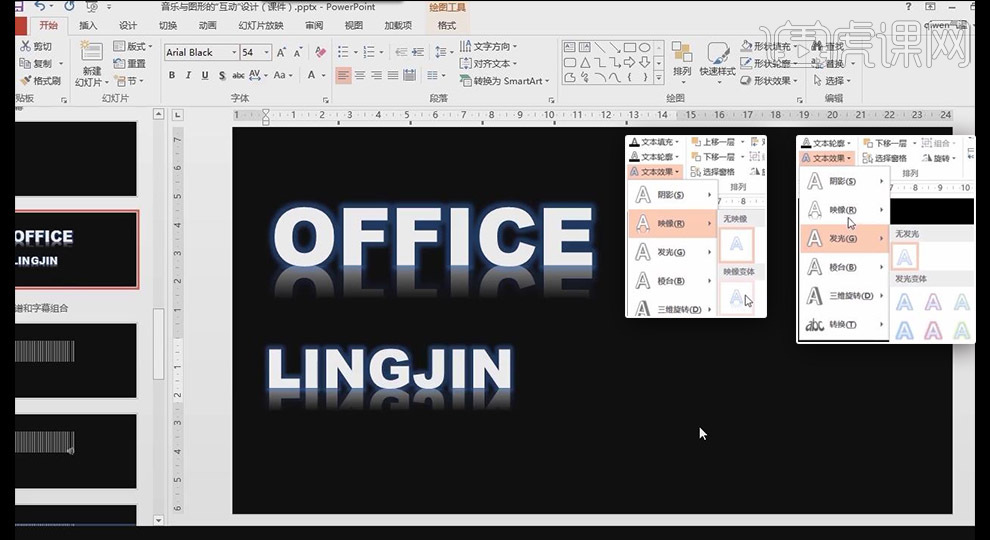
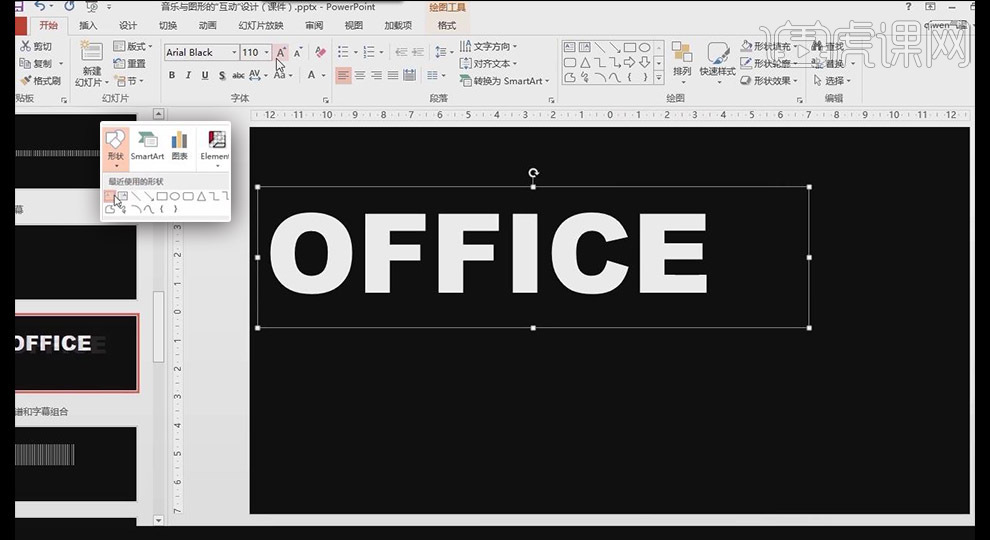 11. Add [Text Effect] to the text content, select [Image] [Close Image Contact], and add [Glow]; copy the text box to modify the content, Reduce font size
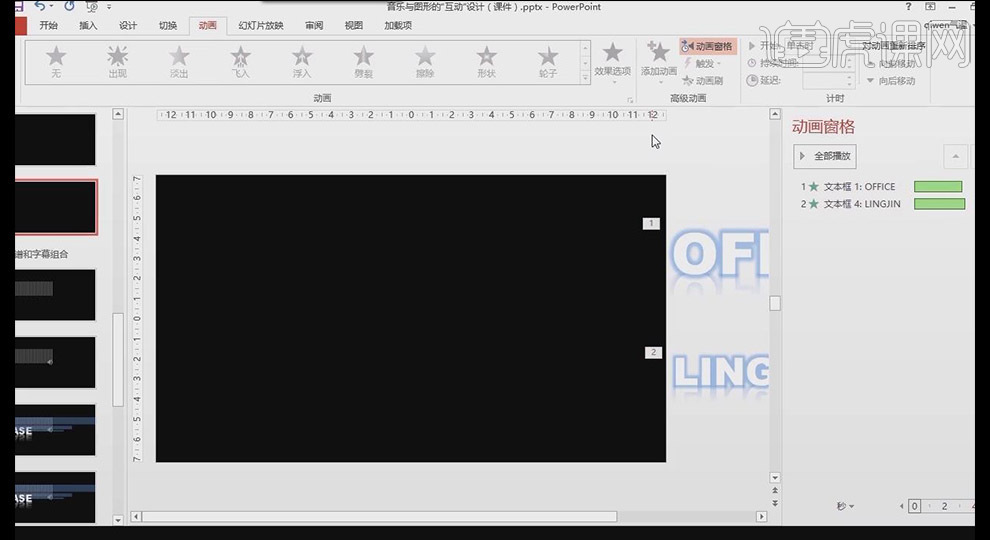
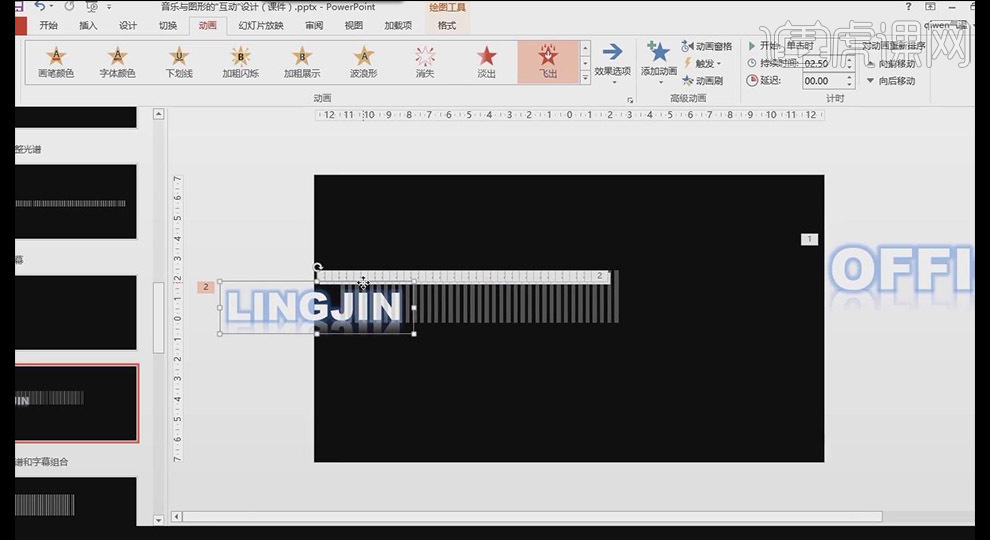
12. Add a fly-in [animation] for the [Text Box], [from the left], and then drag the [Text Box] to the outside of the slide
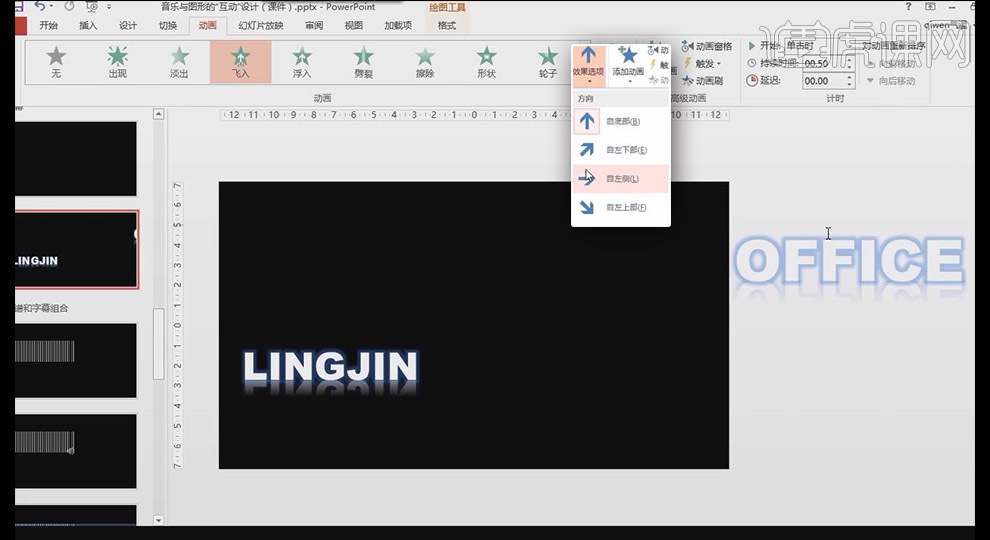
#13. Set up another text box in the same way, add a fly-in [animation] to the [text box], [from the left], and then drag the [text box] to Outside the slide, lengthen the two animation time bars and preview the animation
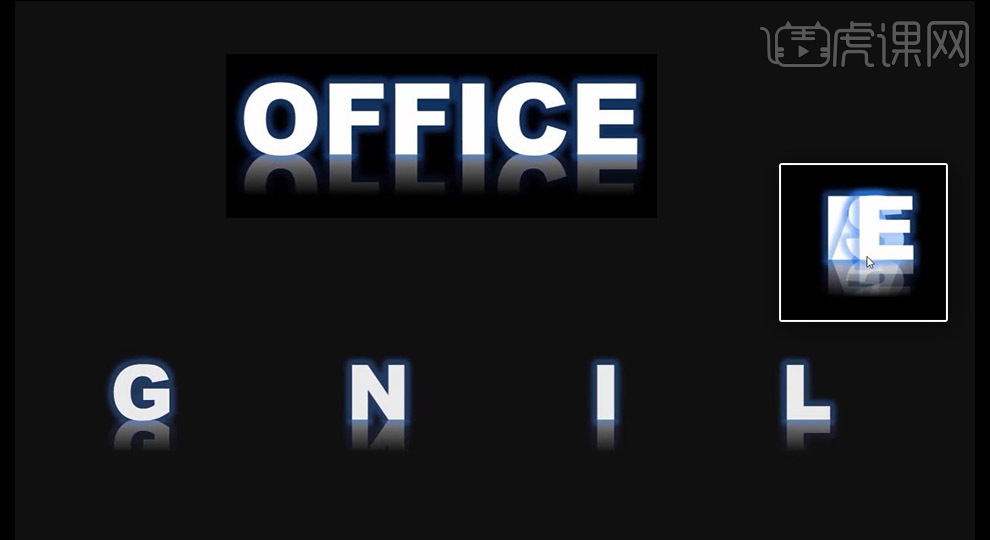
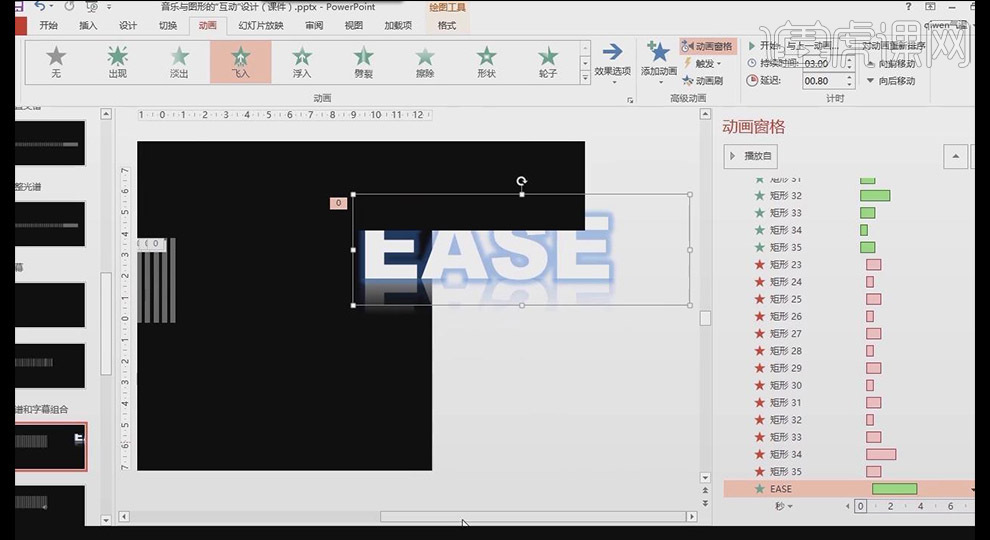
14. In the settings of the [Fly In] animation, [Enhance][ Animated Text] If modified to [By Letter], the effect of moving individual letters separately will appear
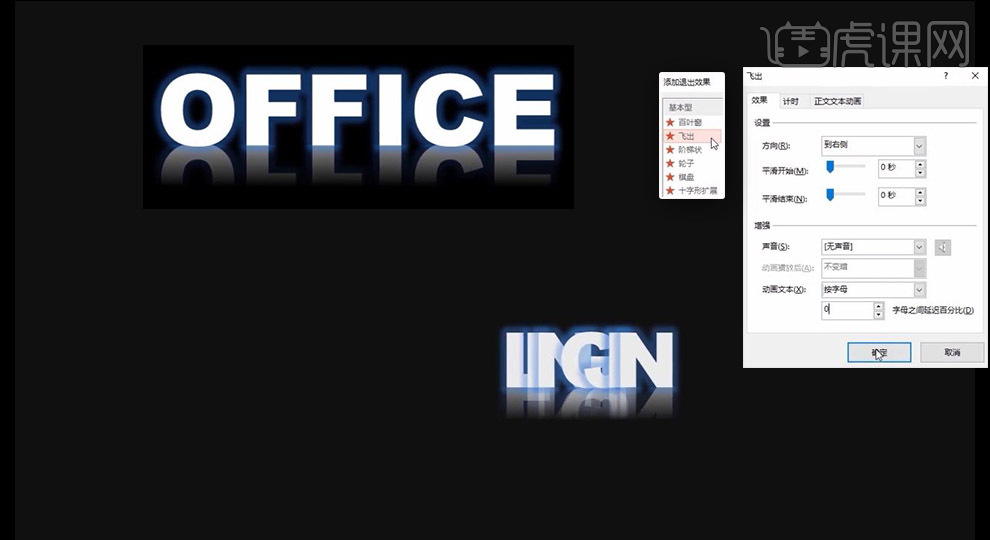
15. Modify the second [Text Box] [Animation] is [Fly Out] for exit. In [Enhancement] [Animation Text], change it to [Press Letter]. Enter 0, and the letters will appear crowded together.
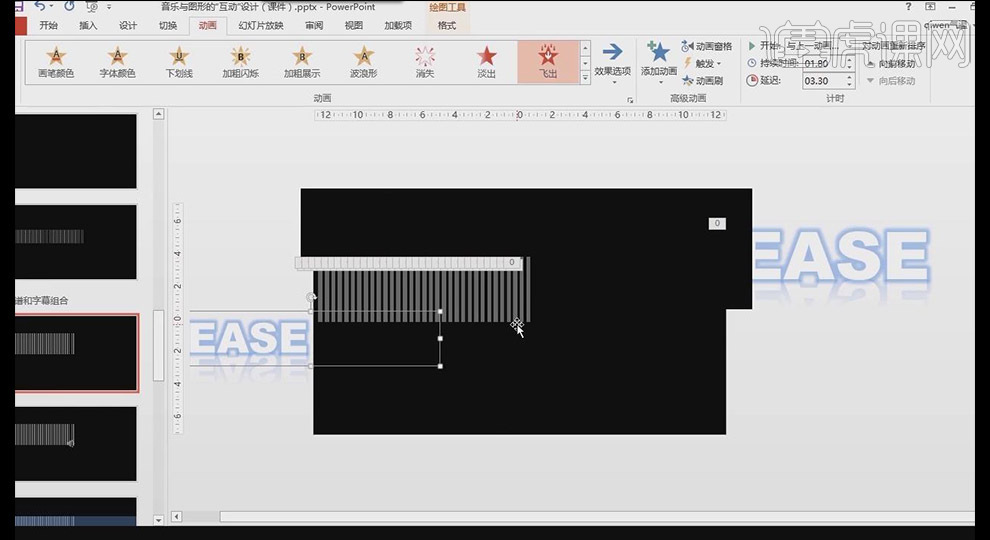
16. Select the spectrum, copy it to the text content slide, and place it in the appropriate position; adjust the position of the two [text boxes], and use the CTRL arrow keys to fine-tune the position
17. Select the two [Text Box] animations and drag them to the lower part of the spectrum animation, and set the details of the staggered relationship between the two [Text Box] time bars
18. Create a new rectangular frame, [color fill] black, [shape outline] no outline; place the upper part of the spectrum to block [text box], make a copy and place the right part of the spectrum to block [text box]
19. Adjust the relationship between the two [text boxes] and the two black rectangles in detail to achieve the best effect on the picture; cover the upper [text box] Do not block the lower part of [Text Box]
20. [Insert] [Shape] Draw a rectangle, [Color Fill] blue, [Shape Outline] No outline, change [Transparency] to about 70% in [Other Fill Color]
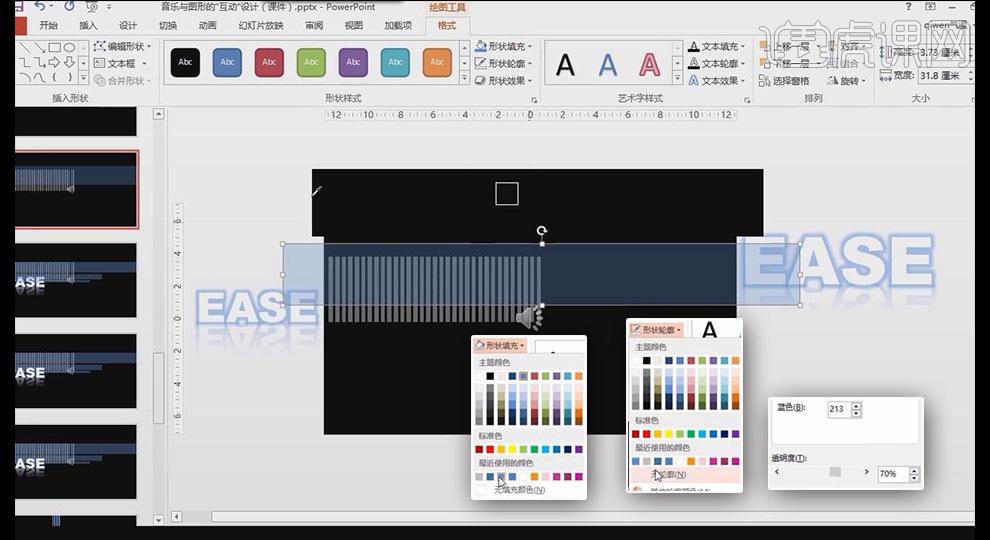
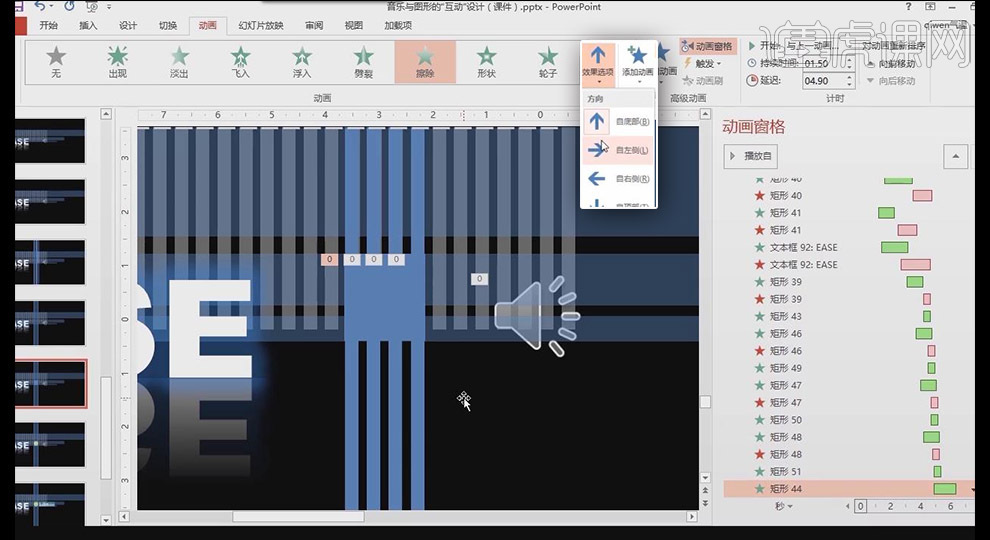
21. Add [Erase] animation to the transparent rectangle, [Effect Options] is [From the left], [Start] is [At the same time as the previous animation], and the time bar is appropriately lengthened
22 , then add [Erase] to exit the animation, [Effect Options] is [From the right], [Start] is [At the same time as the previous animation], and adjust the staggered relationship between the two [animations]
23. Copy the transparent rectangle, modify the shape position, and adjust the overall relationship of the screen
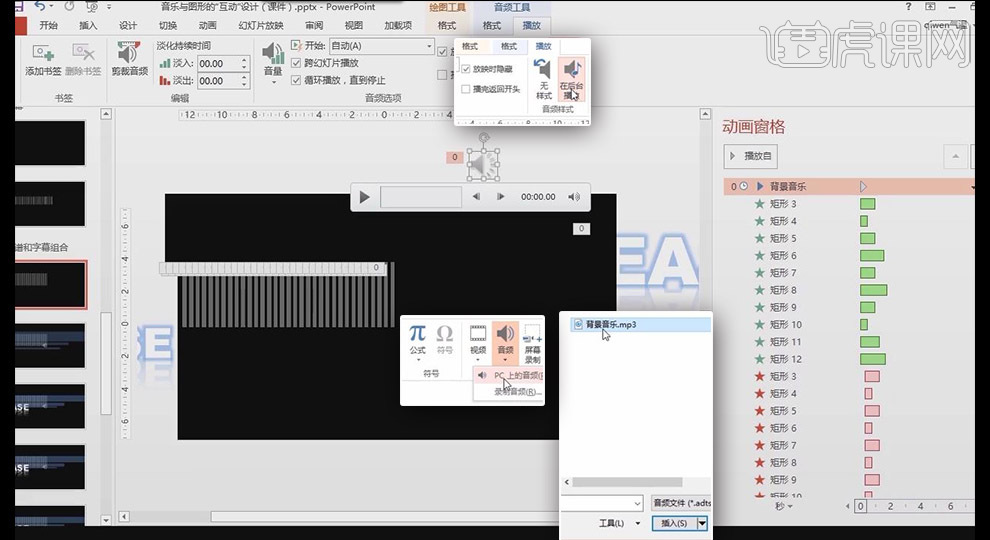
24. In [Insert] [Media], click [Audio] [Audio on PC] and select the appropriate audio; place the music speaker outside the slide and check [In the background] Play】
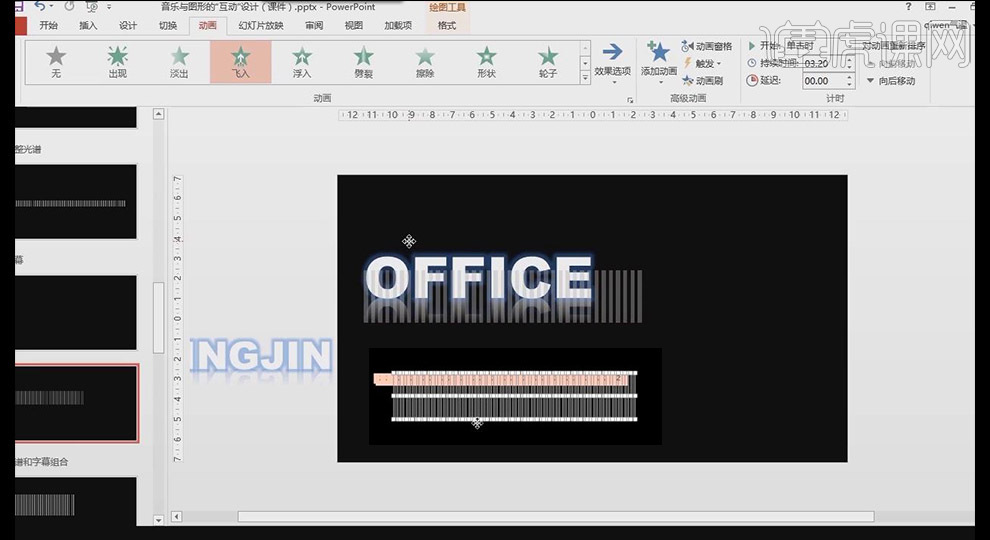
25. [Insert] [Shape] draw a rectangle, [Color fill] blue, [Shape outline] no outline, copy more , select all [Horizontal Distribution] that click [Align]

26. Add [Erase] animation to the rectangle, [Effect Options] is [From the top], [Start] is [At the same time as the previous animation]
27. Then add [Erase] to exit the animation, [ Effect Options] is [From Top], [Start] is [At the same time as the previous animation], adjust the staggered relationship between the two [animations]
 ##28 , Use the [Animation Brush] of [Advanced Animation] to set other rectangular [Animations]; set the scattered relationship between the four [Animations] in detail
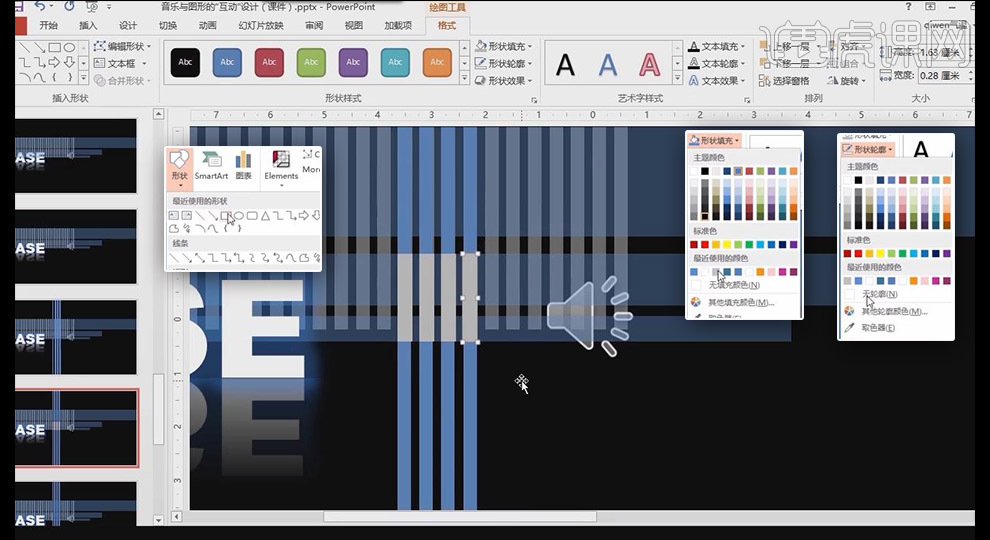
##29, In the spectrum, [Insert] [Shape] draws a rectangle, [Color fill] gray, [Shape outline] no outline, copy multiple, make sure the alignment is correct
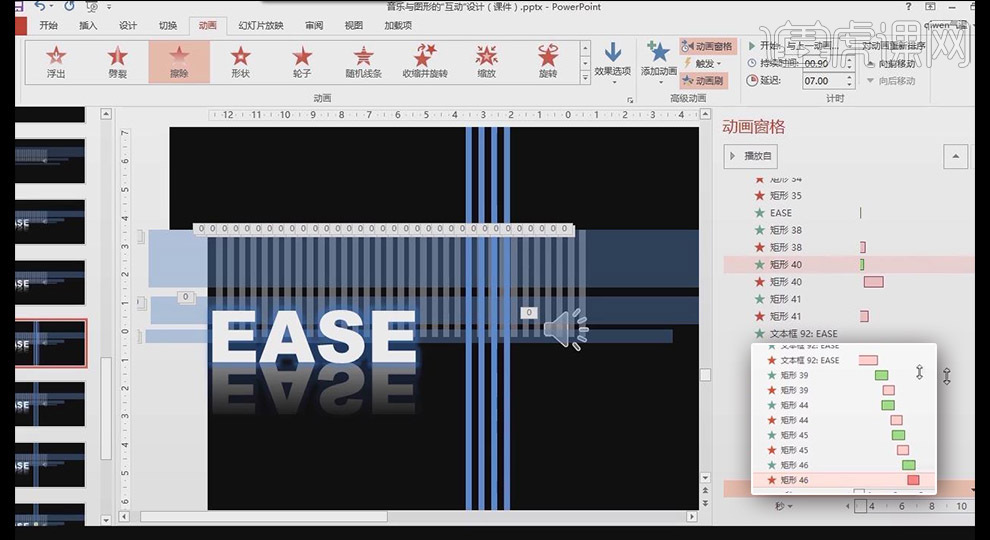
30. Add [Appear] [Animation], [Start] [At the same time as the previous animation] for the four rectangles, change the color of the rectangle to blue; and right-click the long rectangle [Send to Top]
31. Place each small rectangle animation under each big superstar animation and adjust the position
32. Above the small rectangle, [Insert] [Shape] draws a rectangle, [Color Fill] blue, [Shape Outline] no outline
33. Add [Erase] animation to the square rectangle, [From the left], [Start] [At the same time as the previous animation], adjust the time bar position
The graphic and music ppt interactive design is shared here. The steps are a bit complicated, and you still need to be patient to learn. After learning, you will gain a lot!
The above is the detailed content of Graphics and music ppt interactive design. For more information, please follow other related articles on the PHP Chinese website!
Related articles
See more- HTML5 method to use buttons to control background music switch
- How to play background music throughout ppt?
- Is the interface between the operating system and the user necessarily a graphical interface?
- How to start and switch the graphical interface in centos7
- Can I use the sync button on the oscilloscope to stabilize the Lissajous figure?