
Home >System Tutorial >Windows Series >Detailed steps to enable synchronization settings in Windows 10 system
Detailed steps to enable synchronization settings in Windows 10 system

- PHPzforward
- 2024-03-04 19:40:37706browse
php editor Banana brings you detailed step-by-step instructions on how to enable synchronization settings in Windows 10 system. The synchronization setting function allows you to maintain consistent personalized settings on different devices and improve work efficiency. With simple operations, you can easily turn on the synchronization settings function on your Windows 10 system, making your work and life more convenient. Next, let’s learn how to set it up! First, open the Settings app.
How to open it
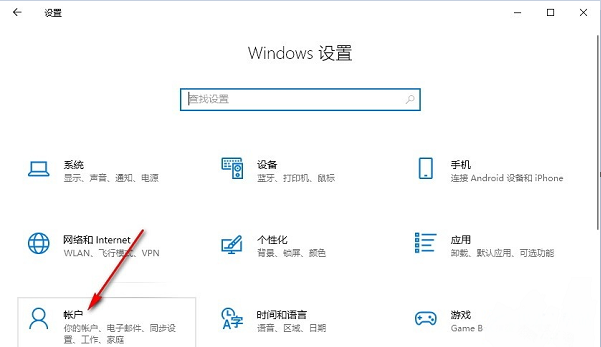
1. Use the "win i" shortcut key to quickly enter the "Settings" interface and click the "Account" option.
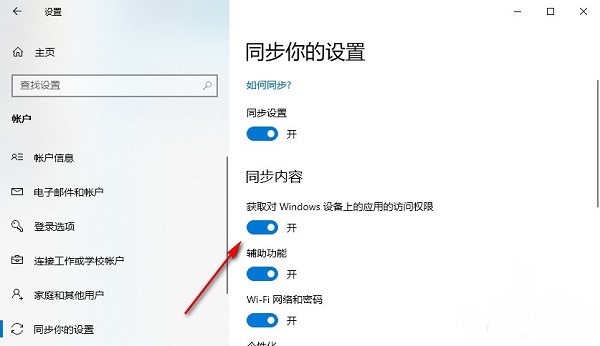
#2. After entering the new interface, click the "Sync your settings" option in the left column.

#3. Then find "Sync Settings" on the right, and finally turn on the switch button below it.
##Extended reading
| System settings | |||
| Clear document open history when exiting | Desktop window manager permanently closed | Sound visual notification | Sound output device |
| Automatically clear document history | Manage right-click menu function | Font smoothing off | The cursor jumps abnormally when typing |
| Set not to standby | Turn off the system prompt sound | Win10 is very slow to refresh the desktop | Win10 interface is not fully displayed |
| Dual system deletion | eng input method deleted | Fonts cannot be imported | Adjust application sounds individually |
The above is the detailed content of Detailed steps to enable synchronization settings in Windows 10 system. For more information, please follow other related articles on the PHP Chinese website!