Home >System Tutorial >Windows Series >How to delete shared password in win10? How to cancel shared password in win10
How to delete shared password in win10? How to cancel shared password in win10
- 王林forward
- 2024-02-14 13:50:071475browse
php editor Xinyi introduces how to delete and cancel Win10 shared passwords. Win10’s sharing feature makes it easy to share files and folders with other devices, but sometimes we may need to delete or cancel the sharing password. Deleting the shared password can improve system security, and canceling the shared password can make it easier for other devices to access shared files. Below, we will introduce in detail how to delete and cancel Win10 shared passwords so that you can easily operate them.
How to cancel win10 shared password
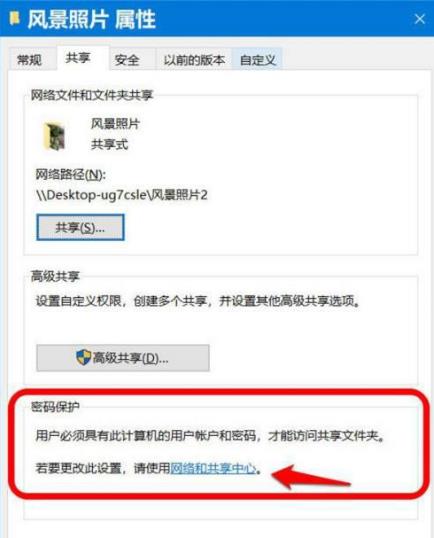
1. Right-click to open the file properties. In the properties window, we click the Network and Sharing Center in the [Password Protection] item.

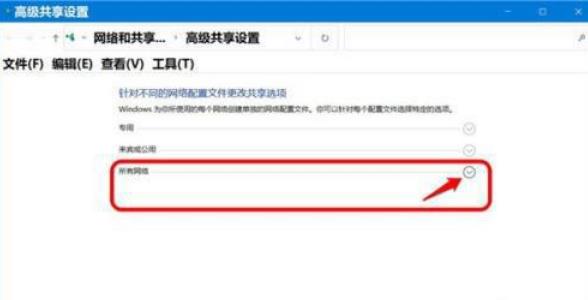
#2. In the Advanced Sharing Settings window, click the expansion symbol for all network items.

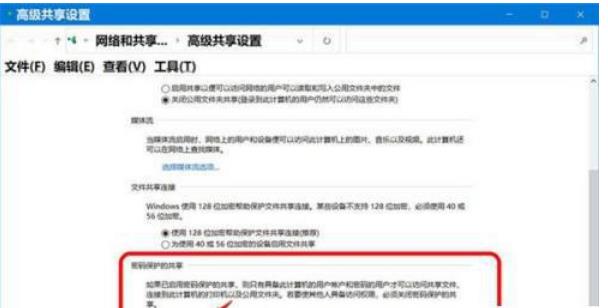
3. Among all network expansion items, we slide down to password-protected sharing. If we need to cancel the password protection of shared files, select: non-password-protected sharing. Click again: Save changes.

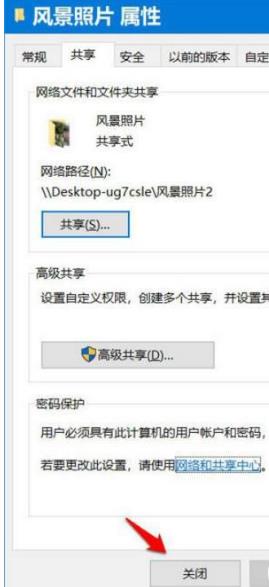
4. Return to the landscape photo properties window and click [Close] to exit the settings.

5. In all network expansion items, scroll down to find the password-protected share. If you need to enable password protection for shared files, select: Password-protected share, and then Click: Save changes.
6. Return to the Landscape Photo Properties window and click [Close] to exit the settings.
The above is the detailed content of How to delete shared password in win10? How to cancel shared password in win10. For more information, please follow other related articles on the PHP Chinese website!
Related articles
See more- What should I do if Win10 cannot connect to the Internet normally?
- What should I do if Win10 keeps getting stuck in automatic repair?
- win10 cannot boot, prompting that your computer cannot be started normally
- How to connect to a shared printer in win10
- How to upgrade win10 home version to professional version

