
Home >System Tutorial >Windows Series >How to set Flash to always be allowed in Windows 10 Home Edition?
How to set Flash to always be allowed in Windows 10 Home Edition?

- PHPzforward
- 2024-01-16 15:45:051413browse
Many friends here discovered after installing Win10 that the Flash component has been deleted. When trying to view certain web pages, the page fails to load. Although I tried to add the Flash plug-in but failed to solve the problem, the solution is actually very simple.
How to always allow flash settings in win10 home version
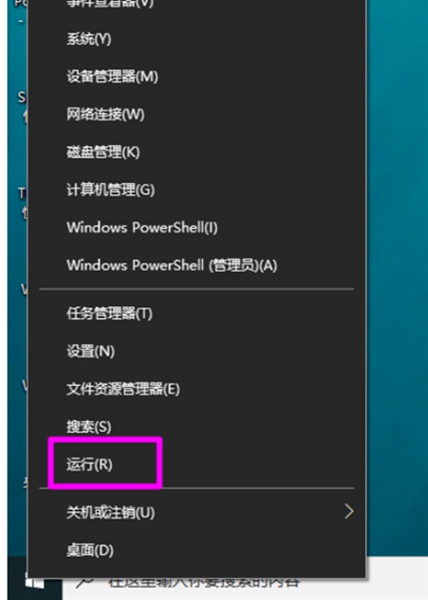
1. First we need to enter the win10 system, right-click the start button, and then select run from the pop-up option.
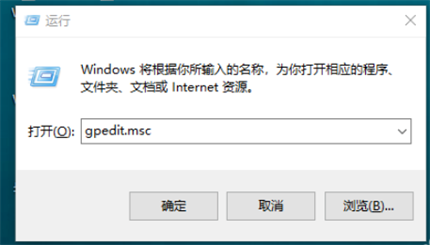
2. We directly enter gpedit.msc in the run window and press the Enter key.
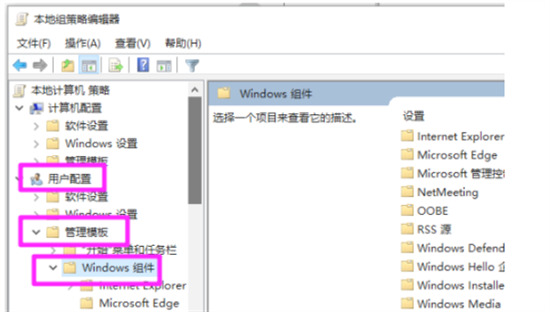
3. Then we open the local policy group, then open the user configuration on the left, and select the windows component in the administrative template.
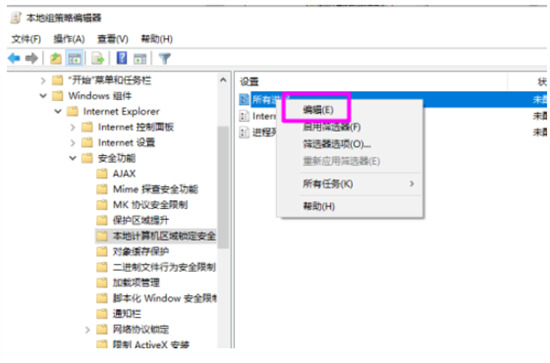
4. After opening them all, click Internet Explorer and select the local computer area lock security in the security function.
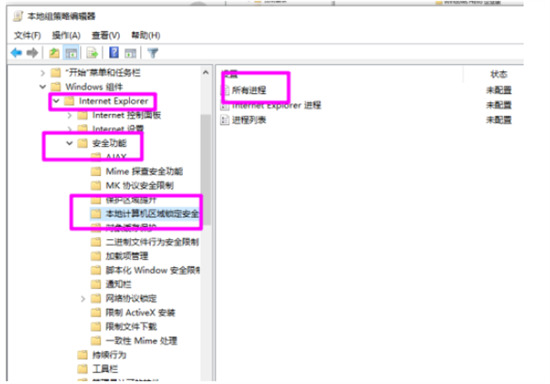
5. Then we right-click all the processes on the right side and select Edit.
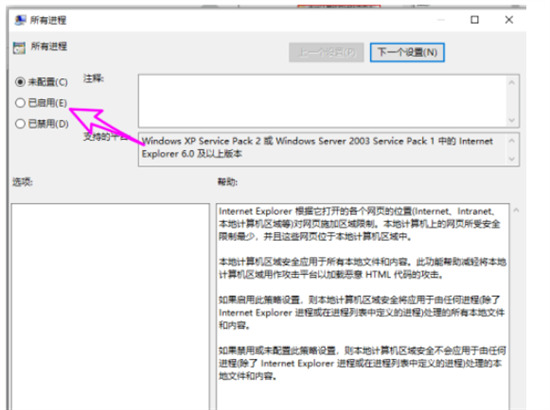
6. Then a window pops up, where we select enabled and click Apply.
The above is the detailed content of How to set Flash to always be allowed in Windows 10 Home Edition?. For more information, please follow other related articles on the PHP Chinese website!