


How to convert PowerPoint text to SmartArt graphics
SmartArt graphics are visual representations of information and ideas. SmartArt graphics can be created by choosing from a number of different layouts to convey your message quickly, easily, and effectively. When you create a SmartArt graphic, you are prompted to select a SmartArt graphic type, such as Process, Hierarchy, Loop, or Relationship. Types are similar to SmartArt graphics categories, and each type contains several different layouts.
SmartArt graphics are a very beautiful element that are widely used in slide design. We can convert existing text into SmartArt graphics to add color to your slides and enhance the user experience. The following are the specific conversion steps for your reference: 1. Open the PowerPoint software and open the slide you want to convert. 2. In the text box that needs to be converted, select all the text content. 3. Under the Home tab in the top menu bar, find the Insert group. 4. Click the "SmartArt" button and a dialog box will pop up. 5. In the dialog box, select the type of SmartArt graphic you prefer. You can click the category option on the left,
First, open PowerPoint2010 and edit the required text. Then, select the text box and click the "Convert to SmartArt Graphic" button in the start menu.

②If there is no suitable graphic, we choose other graphics.

③Select the separation ray diagram type in the relationship.

④After confirmation, generate the preliminary appearance.

⑤This obviously looks unsightly. We can change the color in the design tag.

⑥The final effect is as follows:

How to change the picture of ppt template
1.PPT2003 instructions: After opening the template, enter "Master" under the "View" menu, and then enter the next level "Slide Master". Click to modify the master of the template. For example, the company's logo can be selected and then deleted.
2.A. Using background transformation
First use "Paint" in Windows or other graphics editing software to save the required template as a graphics file.
Then enter PowerPoint, select "Background" in "Format" on the toolbar, use "Fill Effect" to select the corresponding graphic file in "Picture", return to "Background", select "Ignore the background graphics of the master board" ”
Finally press "Apply". So we've changed the template for the current slide. Repeat the above steps to change different templates for the desired slides.
B. Import new template
If you are importing a prepared template, first save the prepared PPT on the desktop (for example, the file name is TT): click Format - click Slide Design - click "Browse" at the bottom - Find the TT file you saved on the desktop in the path - click "Apply" - done.
C. Use "hyperlink"
We will put the entire set of slides in play order and save the slides using the same template as a set of files. Each file can have only one slide or multiple slides, but the same file The slides in have the same template, and the slides in adjacent files have different templates.
Then use the "Hyperlink" in "Insert" on the PowerPoint toolbar to link the files one by one. The specific method is:
1. Select the first file during screening;
2. Find the last slide in this file, draw a rectangle on this slide that is slightly larger than the slide, select this rectangle as "No fill color", and place it on the slide Bottom layer;
3. Select this rectangle, then select "Hyperlink" in "Insert", type the next file name in the empty column under "Link to file or URL", or use "Browse" to select the next file name ,Final confirmation";
4. Select the next file and repeat steps 2 and 3 until the last file. The last file does not need to be linked.
How to change the background image of a PPT made on a computer
Method 1: The picture directly fills the background, which is suitable for pictures with simple content and a lot of white space.
1
First, open the "Design - Set Background Format" of PPT (this article uses PPT2013 version as an example).

2
In the "Format Background" tab, select the "Picture or Texture Fill" option and click "File".


3
Find the background image you need to replace through the path, click "Insert" to confirm, as shown in the figure below, complete.


END
Method 2: Use transparency or mask, which is suitable for theme pictures with large content and complexity.
It is often necessary to use team photos or photos of a building that match the theme of the report. The photos are not left blank, and the recognition is not high enough when placed together with the PPT text content, making it difficult to read. As shown in the figure below, the photos and the text are mixed. There are two ways to solve this problem:

1. Adjust transparency. In the "Format Background" tab, adjust the transparency of the image until it suits you.
This is the simplest method, which is generally sufficient for use. If you think gray transparency is not good-looking and want to change to a warm or other-colored background, continue reading.

2. Insert mask. The so-called mask can be understood as covering it with a piece of cloth. Specifically, "Insert - Shape", select the rectangle, draw a rectangle to cover the slide, adjust the transparency, set the color, and select the tone effect you want.
There is a problem at this time: our mask also covers the text content! Just select the rectangle, right-click, and select "Send to Back - Move Down One Layer (or Send to Back, depending on convenience)". Just place the rectangular mask one layer above the background image to ensure that the text is not covered. .

It’s done, let me show you two examples, two different tones. Now that the method has been explained, you can choose different colors according to your own needs.

The above is the detailed content of How to Convert Text to SmartArt Graphics Using PowerPoint. For more information, please follow other related articles on the PHP Chinese website!

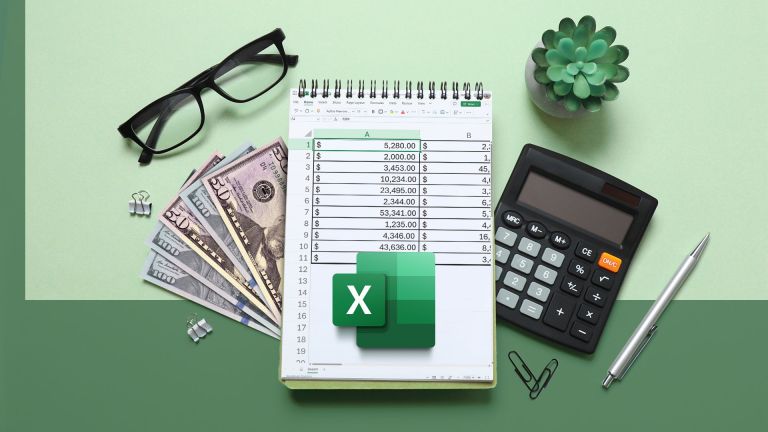 Your Calculator App Can Be Replaced By Microsoft ExcelMar 06, 2025 am 06:01 AM
Ditch the Calculator: Why and How to Use Excel for All Your Calculations I haven't touched a calculator in ages. Why? Because Microsoft Excel handles all my calculations with ease, and it can do the same for you. Why Excel Trumps a Calculator While
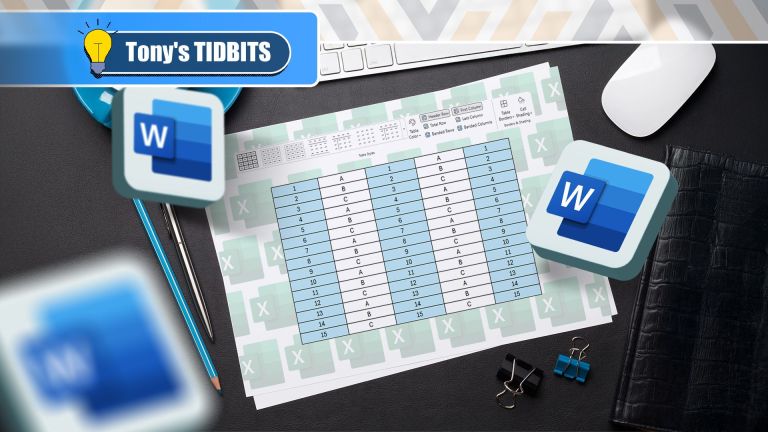 Don't Create Tables in Word: Use Excel InsteadMar 06, 2025 am 03:04 AM
Creating tables in Word, although improved, is still cumbersome and sometimes brings more problems. This is why you should always create tables in Microsoft Excel. Why is it better to create tables in Excel? In short, Word is a word processor, while Excel is a data processor. So Word is not built for the best table creation, but its similar product, Excel. Here are just some of the reasons why creating tables in Excel is better than using Microsoft Word: Although it is surprising that you can use many Excel-like features in Microsoft Word tables, in Excel you
 How to Reduce the Gaps Between Bars and Columns in Excel Charts (And Why You Should)Mar 08, 2025 am 03:01 AM
Enhance Your Excel Charts: Reducing Gaps Between Bars and Columns Presenting data visually in charts significantly improves spreadsheet readability. Excel excels at chart creation, but its extensive menus can obscure simple yet powerful features, suc
 How to Use the AVERAGEIF and AVERAGEIFS Functions in ExcelMar 07, 2025 am 06:03 AM
Quick View of AVERAGEIF and AVERAGEIFS Functions in Excel Excel's AVERAGEIF and AVERAGEIFS functions can be used to calculate the average value of a dataset. However, unlike simpler AVERAGE functions, they are able to include or exclude specific values in the calculation. How to use the AVERAGEIF function in Excel Excel's AVERAGEIF function allows you to calculate the average value of a filtered dataset based on a single condition set. AVERAGEIF function syntax The AVERAGEIF function contains three parameters: =AVERAGEIF(x,y,z)
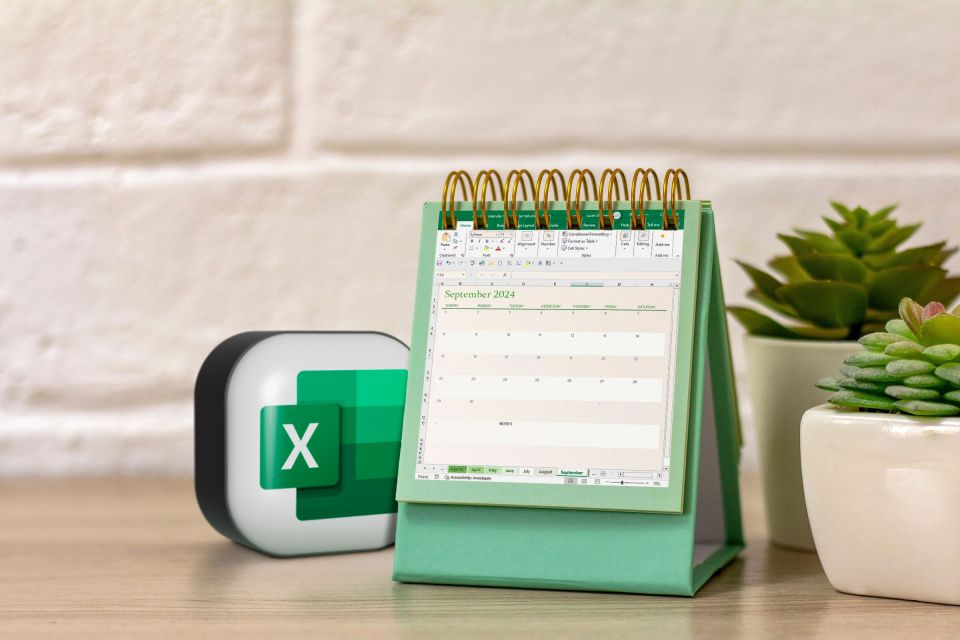 5 Things You Can Do in Excel for the Web Today That You Couldn't 12 Months AgoMar 22, 2025 am 03:03 AM
Excel web version features enhancements to improve efficiency! While Excel desktop version is more powerful, the web version has also been significantly improved over the past year. This article will focus on five key improvements: Easily insert rows and columns: In Excel web, just hover over the row or column header and click the " " sign that appears to insert a new row or column. There is no need to use the confusing right-click menu "insert" function anymore. This method is faster, and newly inserted rows or columns inherit the format of adjacent cells. Export as CSV files: Excel now supports exporting worksheets as CSV files for easy data transfer and compatibility with other software. Click "File" > "Export"
 Microsoft Excel Keyboard Shortcuts: Printable Cheat SheetMar 14, 2025 am 12:06 AM
Master Microsoft Excel with these essential keyboard shortcuts! This cheat sheet provides quick access to the most frequently used commands, saving you valuable time and effort. It covers essential key combinations, Paste Special functions, workboo
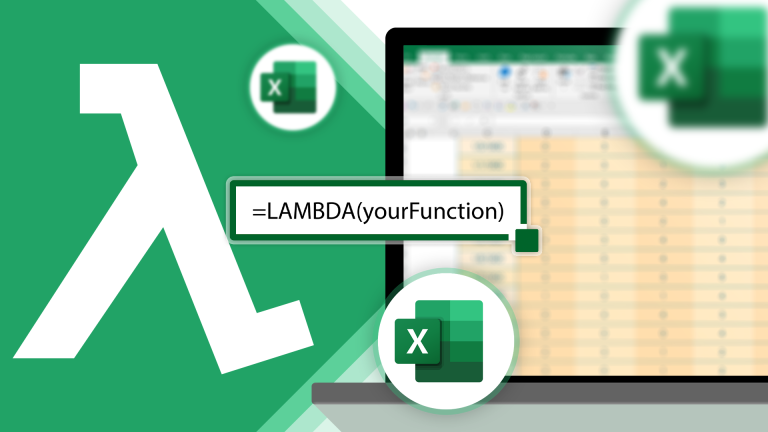 How to Use LAMBDA in Excel to Create Your Own FunctionsMar 21, 2025 am 03:08 AM
Excel's LAMBDA Functions: An easy guide to creating custom functions Before Excel introduced the LAMBDA function, creating a custom function requires VBA or macro. Now, with LAMBDA, you can easily implement it using the familiar Excel syntax. This guide will guide you step by step how to use the LAMBDA function. It is recommended that you read the parts of this guide in order, first understand the grammar and simple examples, and then learn practical applications. The LAMBDA function is available for Microsoft 365 (Windows and Mac), Excel 2024 (Windows and Mac), and Excel for the web. E
 If You Don't Use Excel's Hidden Camera Tool, You're Missing a TrickMar 25, 2025 am 02:48 AM
Quick Links Why Use the Camera Tool?


Hot AI Tools

Undresser.AI Undress
AI-powered app for creating realistic nude photos

AI Clothes Remover
Online AI tool for removing clothes from photos.

Undress AI Tool
Undress images for free

Clothoff.io
AI clothes remover

AI Hentai Generator
Generate AI Hentai for free.

Hot Article
Hot Tools

MinGW - Minimalist GNU for Windows
This project is in the process of being migrated to osdn.net/projects/mingw, you can continue to follow us there. MinGW: A native Windows port of the GNU Compiler Collection (GCC), freely distributable import libraries and header files for building native Windows applications; includes extensions to the MSVC runtime to support C99 functionality. All MinGW software can run on 64-bit Windows platforms.

SAP NetWeaver Server Adapter for Eclipse
Integrate Eclipse with SAP NetWeaver application server.

MantisBT
Mantis is an easy-to-deploy web-based defect tracking tool designed to aid in product defect tracking. It requires PHP, MySQL and a web server. Check out our demo and hosting services.

Dreamweaver CS6
Visual web development tools

SublimeText3 Mac version
God-level code editing software (SublimeText3)

