Home >Software Tutorial >Computer Software >Learn the shortcut keys for computer AI and understand how to use AI efficiently for copying, pasting and typesetting.
Learn the shortcut keys for computer AI and understand how to use AI efficiently for copying, pasting and typesetting.
- WBOYWBOYWBOYWBOYWBOYWBOYWBOYWBOYWBOYWBOYWBOYWBOYWBforward
- 2024-01-04 21:26:232070browse
Everyone will have various problems when using ai. Don't some friends come to this site to ask the editor, asking the editor what the computer ai copy shortcut key is. Don't worry, this site is omnipotent. The editor has prepared for you how to quickly copy and paste typesetting in AI. The details are in the article below. If you need it, you can come to this site to take a look.

What is the computer ai copy shortcut key?
The specific steps are as follows:
1. Draw any one on your newly created canvas Rectangular graphic;
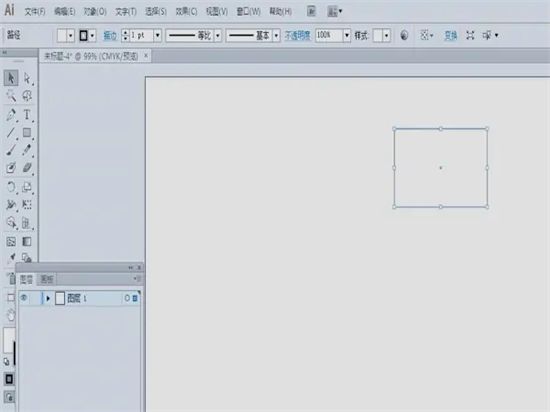
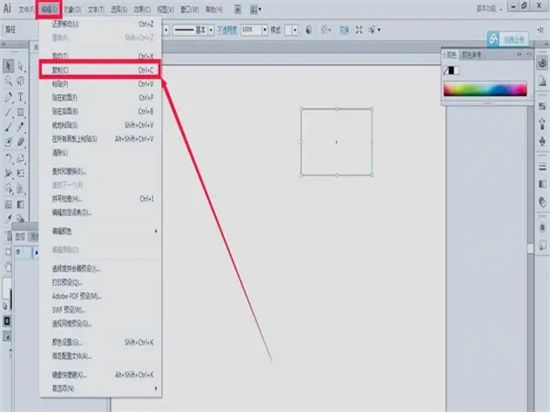
2. Then use the "Selection Tool", click the rectangle, select the graphic, click the "Edit" menu - "Copy" button, you can also Use its shortcut key "Ctrl C";
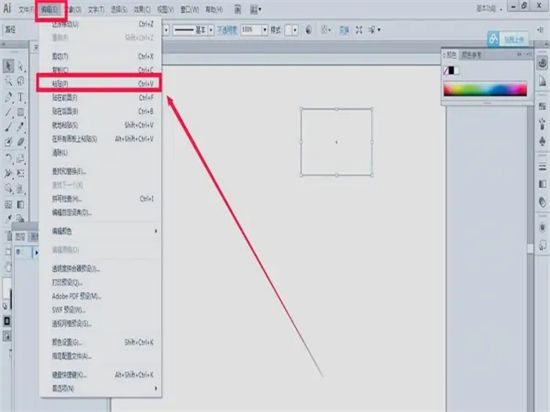
3. Click the "Edit" menu - "Paste" button. Remember its shortcut key "Ctrl V", which can save time when used in the future;
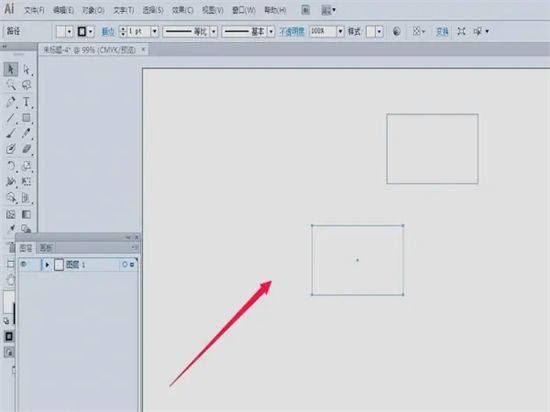
4. After we click the paste button, we will find that the copied The position of the graphic has changed a lot. It is in the center of the canvas, far away from our original graphic;
5. We select the graphic we just copied. , press the "delete" key on the keyboard to delete it first. Then select the original rectangle and click the "Edit" menu - "Copy" button;
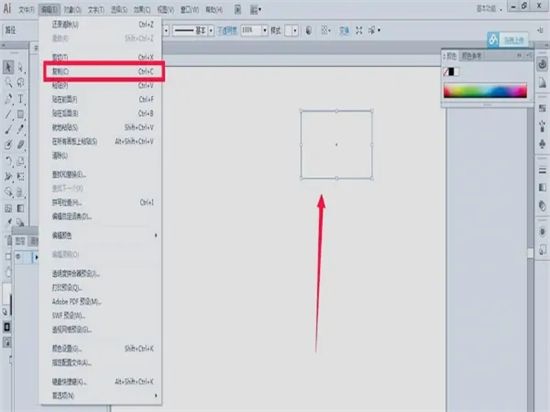
6. Then we click the "Edit" menu, from which we can see There are several options, "Paste in front", "Paste in back", and "Paste in place". No matter which of these three options, we can copy the graph. It’s just that the relationship between the upper and lower levels of the graphics is different;
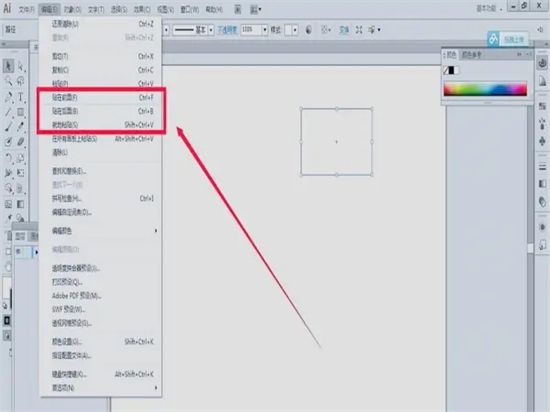
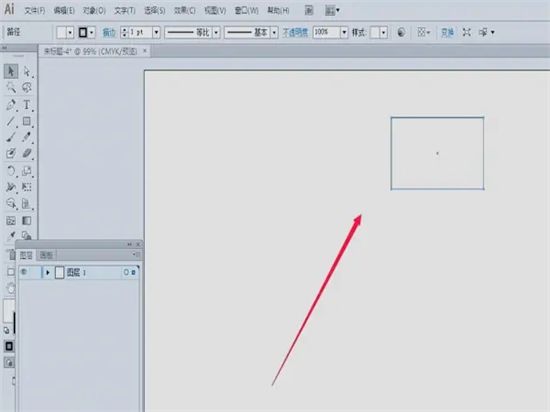
7. Select any one of the three options above, such as "Paste to front", click "Paste to After clicking "Front", the graphics obtained on the canvas are like this. The two graphics overlap and the positions are the same;
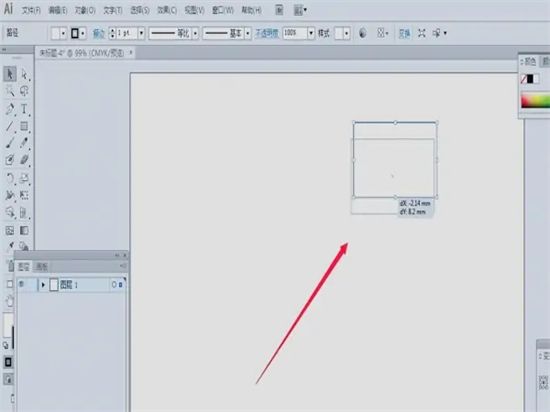
8. Use the selection tool to pull it out from the graphics One, it will be obvious.
The above is the detailed content of Learn the shortcut keys for computer AI and understand how to use AI efficiently for copying, pasting and typesetting.. For more information, please follow other related articles on the PHP Chinese website!

