Home >Operation and Maintenance >Nginx >This article teaches you how to compile and install Nginx on Debian (detailed steps)
This article teaches you how to compile and install Nginx on Debian (detailed steps)
- 青灯夜游forward
- 2022-02-17 11:14:429096browse
How to compile and install Nginx on Debian system? The following article will explain in detail how to compile and install Nginx on a Debian system. I hope it will be helpful to you!

Nginx
Nginx is a lightweight HTTP server, often used for server-side reverse proxy and load balancing .
Manually compiling and installing Nginx is more complicated, but it is generally used the most . Reason:
- Easy to manage The installation address of Nginx compiled and installed is controllable. If you need to uninstall it, just perform decompilation.
- Module controllable Nginx has its rich module library, such as: ngx-fancyindex. When Nginx is installed using Docker or a software package manager, modules are sometimes inconvenient to load.
Next time I will share with you how to install the module~~~
Environment preparation
This time to install Nginx, it is distributed on Debian version of Linux, if it is a CentOS distribution version of Linux, please note:
- When compiling and installing, you need to install it yourself:
gcc,pcre,zlibandopenssl
In addition, if you feel that the installation method in this article is too technical. In fact, you can also try the one-click operation of the pagoda panel.
This tutorial uses a Debian10 x64 server:

Install the gcc compiler
First, we need to install the gcc compiler for make compilation. Debian can install the GCC compiler by installing build-essential:
apt install -y build-essential

Installing the regular library
The regular library is very important. We use Nginx to perform directory matching in the configuration file location , you need a regular library. To install the regular library in Debian, you can:
apt install -y libpcre3 libpcre3-dev

Install the zlib library
Of course, the Nginx compilation process and The Http corresponding process also requires compression in the gzip format, so we also need to install the zlib library to compress the contents of the HTTP package in the gzip format. You can install it like this:
apt install -y zlib1g-dev

Install the OpenSSL library
Finally, the SSL protocol is very important now, and mainstream browsers such as Chrome have started to use it by default Corresponds to HTTPS, so the OpenSSL compilation environment is also very important:
apt install -y openssl libssl-dev

After all the dependencies are installed, you can download the source code to compile.
Download Nginx source code
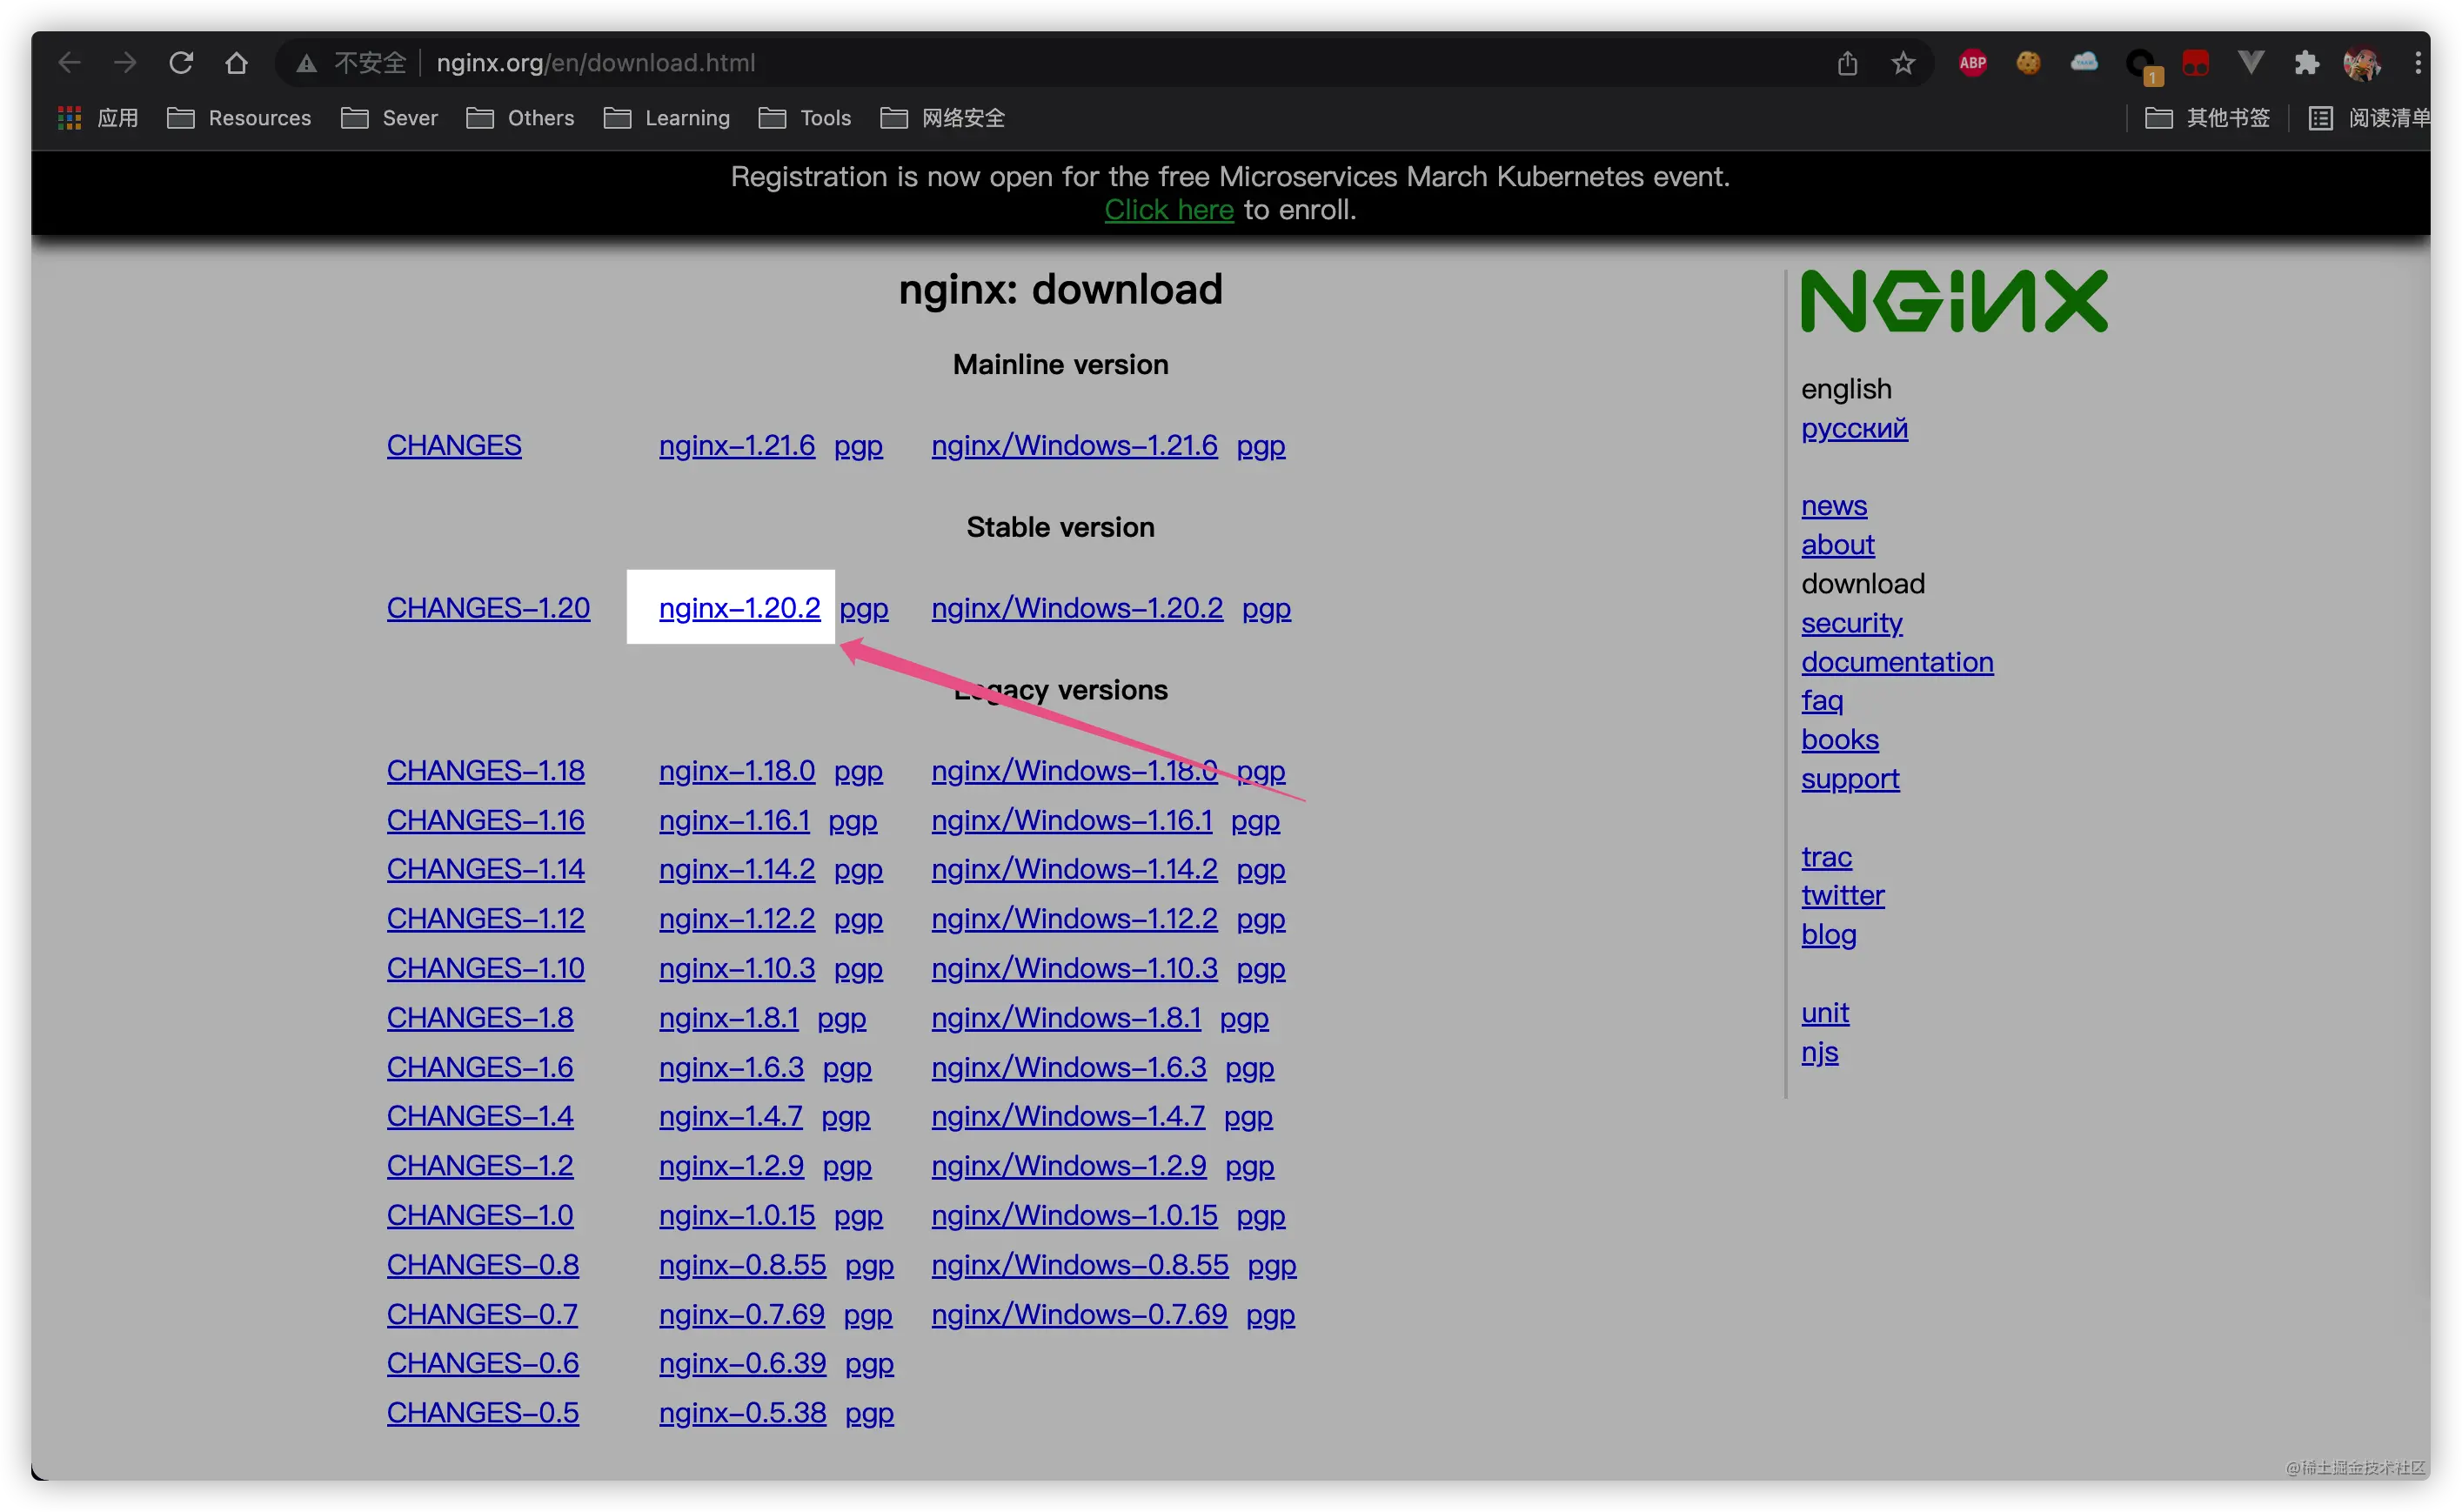
Next, we download the Nginx source code, we enter the Nginx official website: http://nginx.org/en/download.html
Download the latest stable stable version:

Download using wget on Debian:
# 下载源码
wget http://nginx.org/download/nginx-1.20.2.tar.gz
# 解压源码
tar -xf nginx-1.20.2.tar.gz
# 进入源代码内
cd cd nginx-1.20.2

Configure and compile
The next step is make. For parameters during compilation, please refer to the official Nginx documentation: http://nginx.org/en/docs/configure.html
When I compile Nginx myself , the selected parameters are generally:
./configure \
--prefix=/usr/local/nginx \
--user=www \
--group=www \
--sbin-path=/usr/local/nginx/sbin/nginx \
--conf-path=/usr/local/nginx/nginx.conf \
--error-log-path=/var/log/nginx/error.log \
--http-log-path=/var/log/nginx/access.log \
--pid-path=/var/run/nginx.pid \
--lock-path=/var/run/nginx.lock \
--http-client-body-temp-path=/var/cache/nginx/client_temp \
--http-proxy-temp-path=/var/cache/nginx/proxy_temp \
--http-fastcgi-temp-path=/var/cache/nginx/fastcgi_temp \
--http-uwsgi-temp-path=/var/cache/nginx/uwsgi_temp \
--http-scgi-temp-path=/var/cache/nginx/scgi_temp \
--with-file-aio \
--with-threads \
--with-http_addition_module \
--with-http_auth_request_module \
--with-http_dav_module \
--with-http_flv_module \
--with-http_gunzip_module \
--with-http_gzip_static_module \
--with-http_mp4_module \
--with-http_random_index_module \
--with-http_realip_module \
--with-http_secure_link_module \
--with-http_slice_module \
--with-http_ssl_module \
--with-http_stub_status_module \
--with-http_sub_module \
--with-http_v2_module \
--with-mail \
--with-mail_ssl_module \
--with-stream \
--with-stream_realip_module \
--with-stream_ssl_module \
--with-stream_ssl_preread_module
Among them:
- ##--prefix
: Nginx main installation path, subsequent Nginx subdirectories will be expanded according to this variable - --user
: Set the user to which the Nginx process belongs when it starts. - --group
: Set the user group to which the Nginx process belongs when it starts.

Configuration summary
  + using threads
  + using system PCRE library
  + using system OpenSSL library
  + using system zlib library

  nginx path prefix: "/usr/local/nginx"
  nginx binary file: "/usr/local/nginx/sbin/nginx"
  nginx modules path: "/usr/local/nginx/modules"
  nginx configuration prefix: "/usr/local/nginx"
  nginx configuration file: "/usr/local/nginx/nginx.conf"
  nginx pid file: "/var/run/nginx.pid"
  nginx error log file: "/var/log/nginx/error.log"
  nginx http access log file: "/var/log/nginx/access.log"
  nginx http client request body temporary files: "/var/cache/nginx/client_temp"
  nginx http proxy temporary files: "/var/cache/nginx/proxy_temp"
  nginx http fastcgi temporary files: "/var/cache/nginx/fastcgi_temp"
  nginx http uwsgi temporary files: "/var/cache/nginx/uwsgi_temp"
  nginx http scgi temporary files: "/var/cache/nginx/scgi_temp"
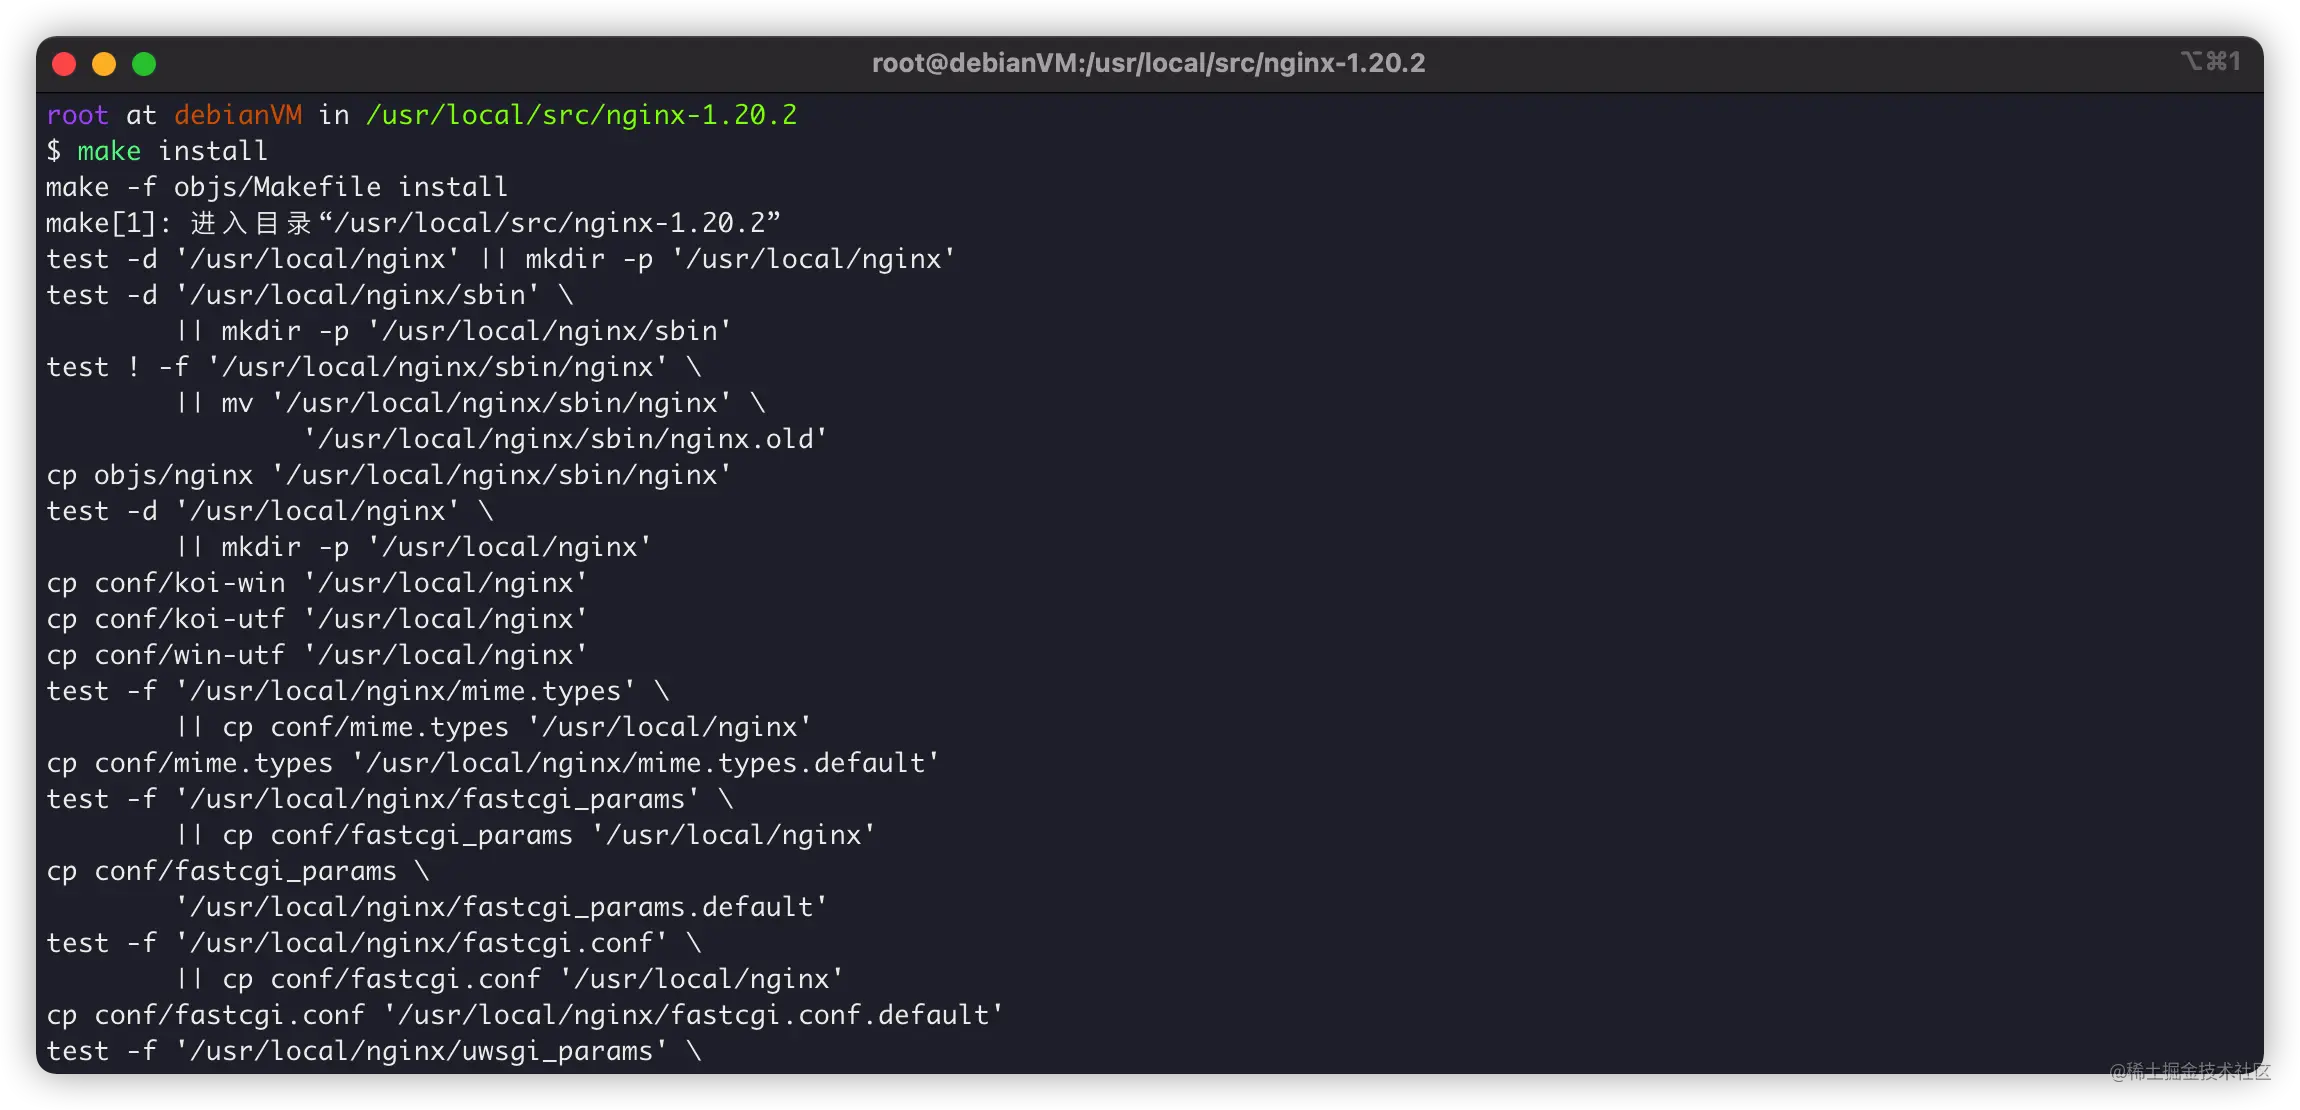
It can be compiled without error message:
make

make install


systemctlGuard and manage Nginx:
vim /usr/lib/systemd/system/nginx.service

[Unit]
Description=nginx
After=network.target

[Service]
Type=forking
ExecStart=/usr/local/nginx/sbin/nginx
ExecReload=/usr/local/nginx/sbin/nginx -s reload
ExecStop=/usr/local/nginx/sbin/nginx -s quit
PrivateTmp=true

[Install]
WantedBy=multi-user.target

具体使用
如果你是按我的方法编译,那么,需要注意。
-
/usr/local/nginx:为Nginx编译安装的地址。 -
/usr/local/nginx/nginx.conf:Nginx默认配置文件。
同时,我们使用systemctl对Nginx进行管理:
-
systemctl start nginx:启动Nginx服务。 -
systemctl reload nginx:Nginx配置重载。 -
systemctl stop nginx:停止Nginx服务。
更多systemctl操作,可以看这篇教程:《Linux系统服务神器:systemctl的配置与使用》
https://juejin.cn/post/7059029634922315812
最后,我们写个HelloWorld。
编辑配置文件:

指向目录/www:

cd /
mkdir /www
cd www
vim index.html

重载Nginx配置:
systemctl reload nginx
浏览器访问成功:

卸载
最后,如何卸载Nginx呢?其实更简单:
# 停止Nginx服务
systemctl stop nginx
# 删除Nginx服务
rm -rf /usr/lib/systemd/system/nginx.service
# 重载配置
systemctl daemon-reload
# 删除Nginx编译文件
rm -rf nginx
这样就卸载完成了。
END
其实呢?个人是喜欢编译安装Nginx。
Nginx确实是个Web服务器神器呢~~~
推荐教程:nginx教程
The above is the detailed content of This article teaches you how to compile and install Nginx on Debian (detailed steps). For more information, please follow other related articles on the PHP Chinese website!
Related articles
See more- Can laravel be configured to an existing site path in nginx?
- Graphical explanation of the configuration method of nginx+phpstorm+xdebug environment
- How to install the latest version of Nginx on CentOS8
- Record how Nginx configures TP5.1 and the problems encountered
- docker-composer quickly builds nginx+php environment
- Analyze how docker builds lnmp environment (php7.4 + nginx)
- Let you understand how to install Nginx and build a static server based on Docker

