Home >Web Front-end >JS Tutorial >Angular CLI generates route analysis instructions
Angular CLI generates route analysis instructions
- php中世界最好的语言Original
- 2018-05-08 18:02:421416browse
This time I will bring you Angular CLI generation routingAnalysis and explanation, what are the notes for Angular CLI generating routing, the following is a practical case, let's take a look.
Generate routes for the application.
Create a project first:
ng new my-routing --routing
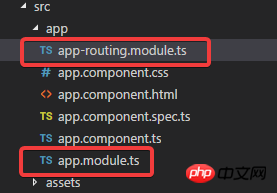
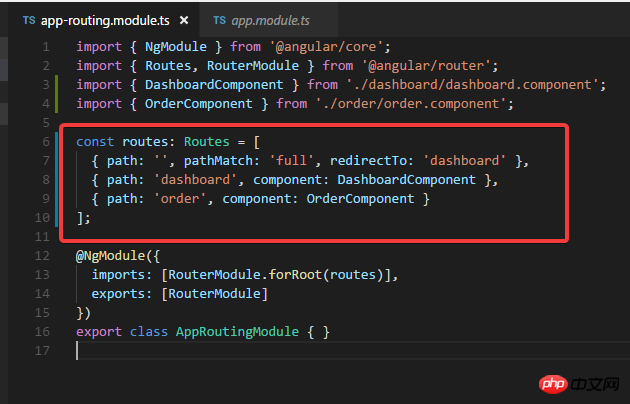
You can see that two module.
Look at the routing module:

Look at the app module:
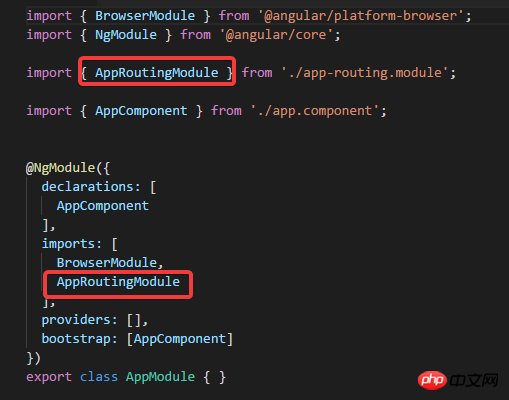
AppRoutingModule has been imported.
Look at app.component.html again:
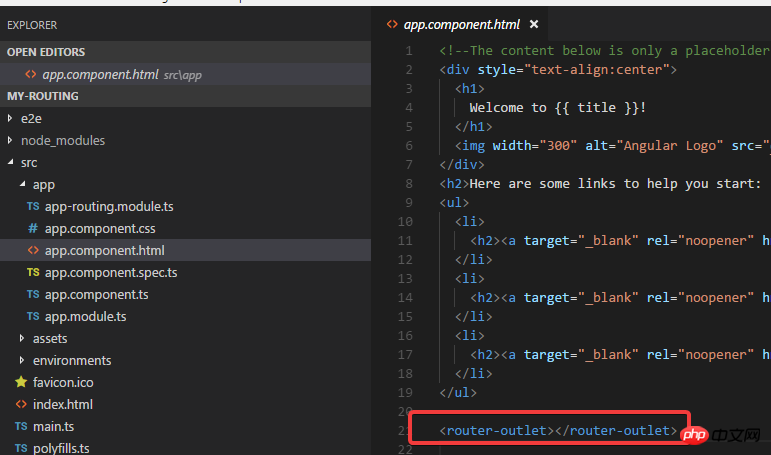
ng g c dashboard
ng g c order
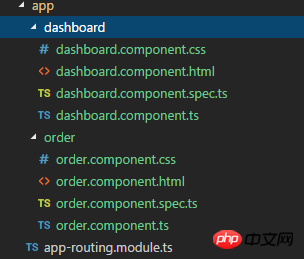
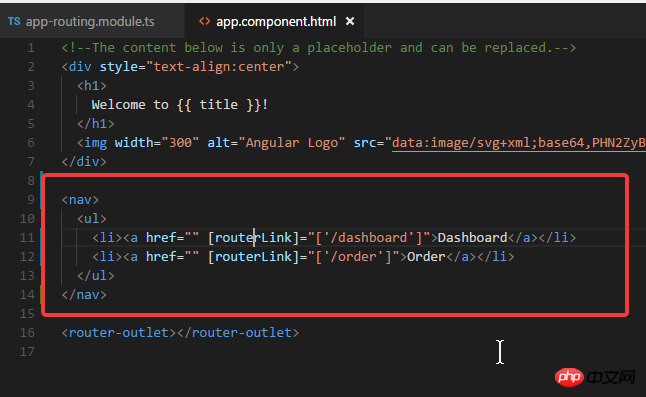


For the situation where there are multiple modules in an application.
Generate another module, And with routing module (you can use the -d parameter to view the file to be generated first):ng g m admin --routing

ng g c admin
ng g c admin/email -m admin
ng g c admin/user -m admin
In fact, the -m parameter of the last two commands can be removed, because the path admin/ has been specified, so by default it will be declared in the admin module instead of the app module.
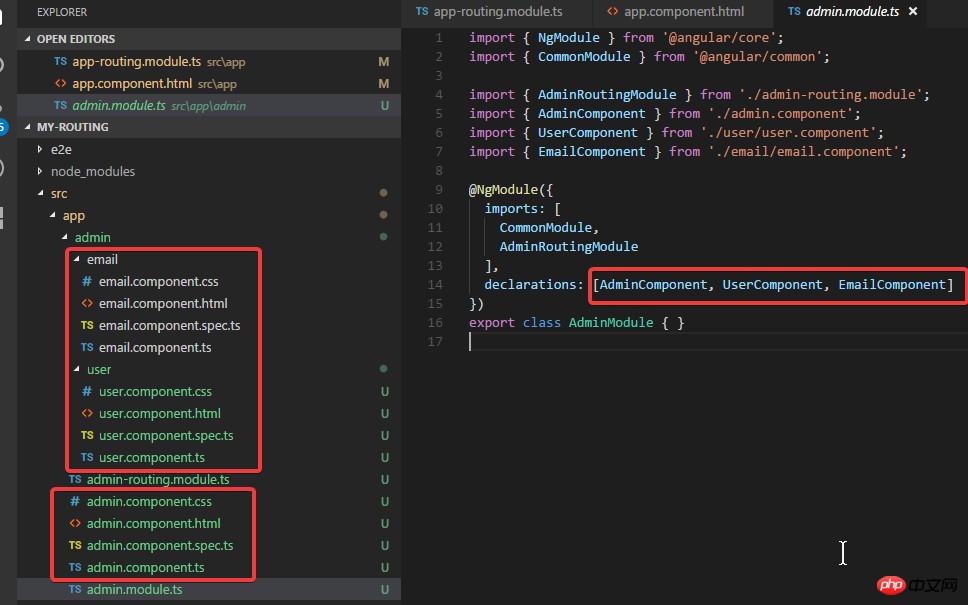


You will see:

Generate Gurad.
ng g guard xxxThis The command will generate xxx.guard.ts I believe you have mastered the method after reading the case in this article. For more exciting information, please pay attention to other related articles on the PHP Chinese website! Recommended reading:
Put the mouse over the text to pop up the floating layer
Detailed explanation of interactive use of Angular components
The above is the detailed content of Angular CLI generates route analysis instructions. For more information, please follow other related articles on the PHP Chinese website!
Related articles
See more- An in-depth analysis of the Bootstrap list group component
- Detailed explanation of JavaScript function currying
- Complete example of JS password generation and strength detection (with demo source code download)
- Angularjs integrates WeChat UI (weui)
- How to quickly switch between Traditional Chinese and Simplified Chinese with JavaScript and the trick for websites to support switching between Simplified and Traditional Chinese_javascript skills

