
Home >Database >Mysql Tutorial >Graphical tutorial on installing and downloading the MySQL decompression package
Graphical tutorial on installing and downloading the MySQL decompression package

- 黄舟Original
- 2017-08-20 15:36:091503browse
This article mainly introduces the basic tutorial for installing the mysql decompression package in detail. It has a certain reference value. Interested friends can refer to
Due to a new computer, the environment You have to go to the new computer to configure it. Suddenly I found that the configuration of mysql was forgotten, and then Baidu did it all over again.
Write an article to record it, so that it can be remembered for a long time.
1. Download the installation package
2. Configure the my.ini file
The configuration information is as follows:
[mysql]

# 设置mysql客户端默认字符集
default-character-set=utf8

[mysqld]
#设置3306端口
port = 3306
# 设置mysql的安装目录
basedir=F:\bianyi\mysql-5.6.24-win32
# 设置mysql数据库的数据的存放目录
datadir=F:\bianyi\mysql-5.6.24-win32\data
# 允许最大连接数
max_connections=200
# 服务端使用的字符集默认为8比特编码的latin1字符集
character-set-server=utf8
# 创建新表时将使用的默认存储引擎
default-storage-engine=INNODB

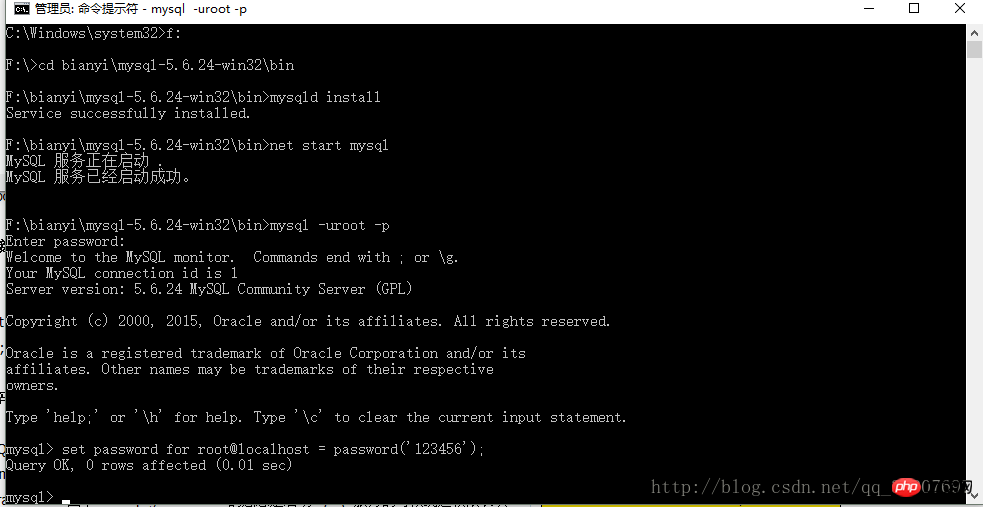
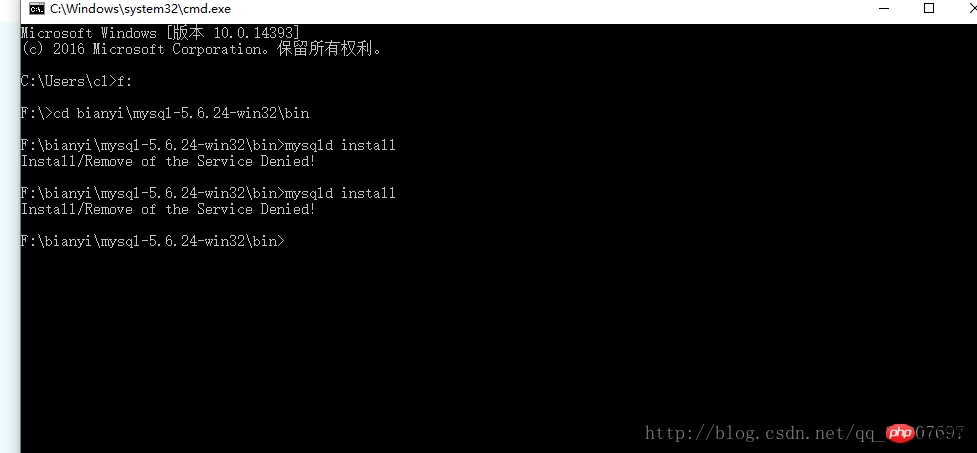
3. Install the service
After opening the cmd window as an administrator, switch the directory to the bin directory where you decompressed the file, and then enter vity/SouthEast)
4. Start service login verification
Continue to enter: net start mysql. After the service is started, enter: mysql -uroot -p
5. Change password
Continue to enter:
set password for root@localhost = password(‘12456');
The above is the detailed content of Graphical tutorial on installing and downloading the MySQL decompression package. For more information, please follow other related articles on the PHP Chinese website!