
Home >Java >javaTutorial >Spring boot knowledge point 1: Hello World
Spring boot knowledge point 1: Hello World
- 巴扎黑Original
- 2017-06-23 10:06:081735browse
Preface
As programmers, whether they are .net programmers or java programmers, they don’t really like various configuration files. I remember that when I first started learning java SSH, I always installed B. Look at how many configurations I have. Programmers who started writing Java from .net are even more confused when it comes to various spring configuration files. Then Spring Boot was born. Spring Boot was born only for the current popular microservice framework. It simplifies development, and there is no need to deal with various configuration files at the beginning.
It’s a cliché, let’s start with Hello World. This article builds a spring boot development environment based on idea and maven.
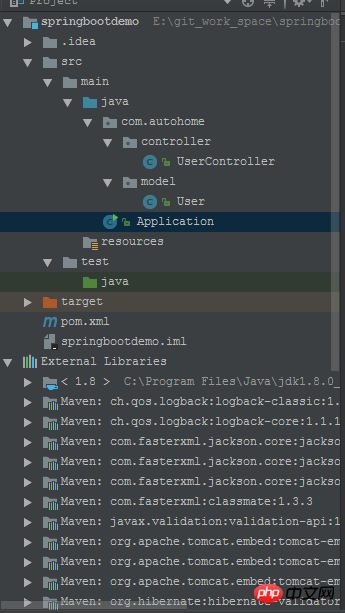
Project structure
Let’s take a look at the general structure of the project first. The basic skeleton and ssm project structure remain the same. The difference is that there is an additional Application.java class. It is recommended to put Under default package.
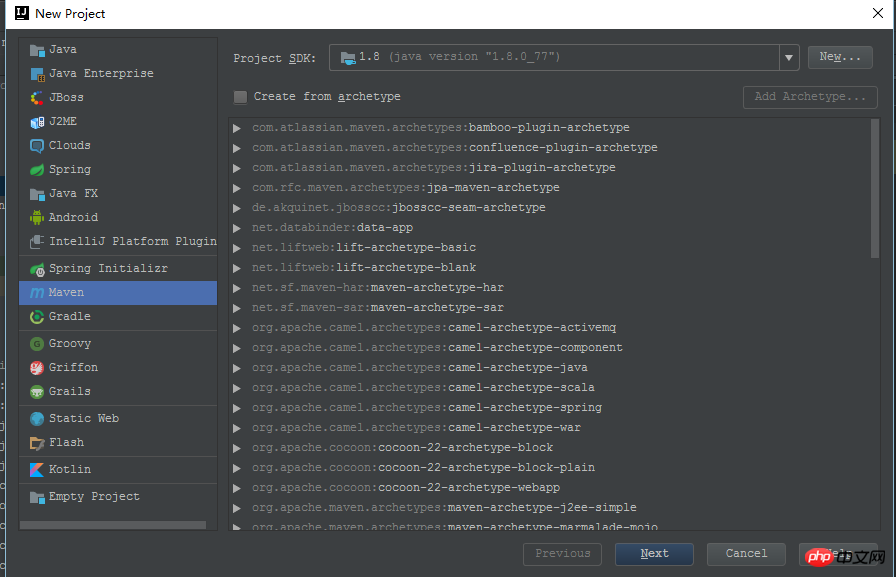
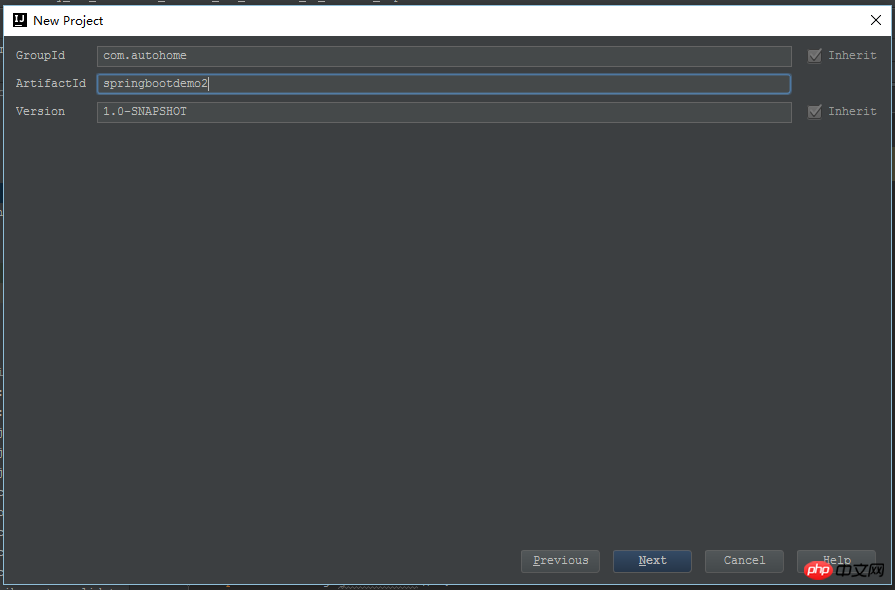
Creating a spring boot project based on idea+maven
1. When I created the project, the latest version of spring boot was 1.5. 4
2. Use the default maven project to create without checking any skeleton.

OK, such a default maven project is started. Of course, it is not yet available. Call a spring boot program, open pom.xml, and add the dependency packages required by spring boot. The most important ones are spring-boot-starter-parent and
spring-boot-start-web. You can create a spring mvc program with just two dependencies. Isn’t it very happy?
<?xml version="1.0" encoding="UTF-8"?>
<project xmlns="http://maven.apache.org/POM/4.0.0"
         xmlns:xsi="http://www.w3.org/2001/XMLSchema-instance"
         xsi:schemaLocation="http://maven.apache.org/POM/4.0.0 ">
    <modelVersion>4.0.0</modelVersion>

    <parent>
        <groupId>org.springframework.boot</groupId>
        <artifactId>spring-boot-starter-parent</artifactId>
        <version>1.5.4.RELEASE</version>
    </parent>

    <groupId>com.autohome</groupId>
    <artifactId>springbootdemo</artifactId>
    <version>1.0-SNAPSHOT</version>
    <packaging>war</packaging>
    <name>springbootdemo</name>

    <dependencies>
        <dependency>
            <groupId>org.springframework.boot</groupId>
            <artifactId>spring-boot-starter-web</artifactId>
        </dependency>
    </dependencies>


</project>
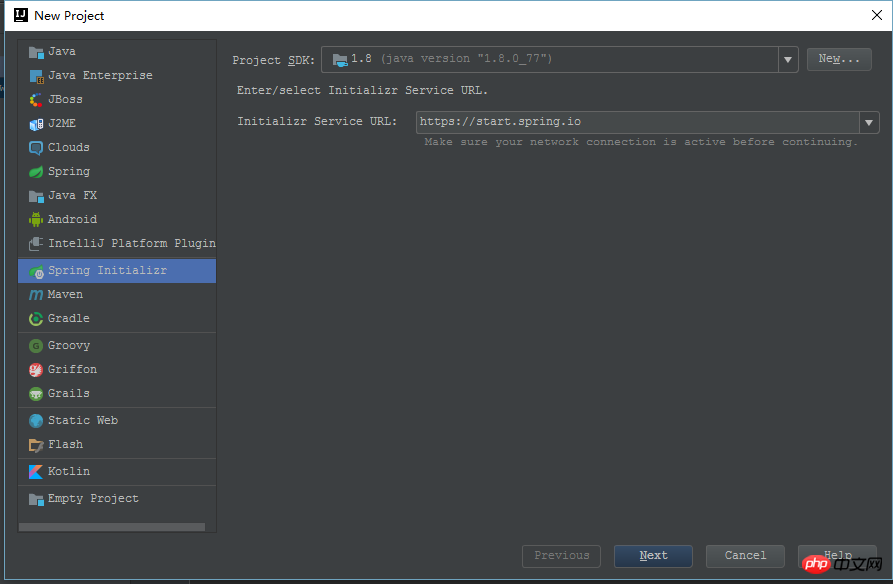
3. You can also use the Spring Initializer skeleton to create
It is more convenient to create a spring boot project based on Spring Initializer, and it will directly let you choose your Required modules, such as AOP, Web, JPA, etc. But I also saw that it relies on https://start.spring.io. When I created it, it prompted me that I couldn't connect to the server, and I couldn't see the next step of the interface, so sorry.
Spring Boot Hello World
User.java
public class User {

    private Integer id;
    private String name;
    private String address;

    public Integer getId() {
        return id;
    }

    public void setId(Integer id) {
        this.id = id;
    }

    public String getName() {
        return name;
    }

    public void setName(String name) {
        this.name = name;
    }

    public String getAddress() {
        return address;
    }

    public void setAddress(String address) {
        this.address = address;
    }
}
UserController.java
package com.autohome.controller;

import com.autohome.model.User;
import org.springframework.stereotype.Controller;
import org.springframework.web.bind.annotation.RequestMapping;
import org.springframework.web.bind.annotation.ResponseBody;


@Controller
@RequestMapping("/user")
public class UserController {


    @ResponseBody
    @RequestMapping("/detail")
    public  User detail(Integer id){
        User user=new User();
        user.setId(id);
        user.setName("zhangsan");
        user.setAddress("china");
        return user;
    }

}
## Application.java
Three annotation attributes are used here:
SpringBootApplication: It is a collection of three annotations: Configuration, ComponentScan, and EnableAutoConfiguration. In other words, using @SpringBootApplication(scanBasePackages = "com.autohome") can replace the previous three annotations, which is spring syntax sugar.
ComponentScan: Will automatically scan classes containing annotation attributes under the specified package, such as @Service, @Controller, @Repository.
EnableAutoConfiguration: Able to automatically configure the context, trying to guess and configure the classes you want.
import org.springframework.boot.SpringApplication;
import org.springframework.boot.autoconfigure.EnableAutoConfiguration;
import org.springframework.boot.autoconfigure.SpringBootApplication;
import org.springframework.context.annotation.ComponentScan;
/**
* Created by zhangfei on 2017/6/22.
*/
@SpringBootApplication
@ComponentScan("com.autohome")
@EnableAutoConfiguration
public class Application {
public static void main(String[] args){
System.out.println("server is running at 8080....");
SpringApplication.run(Application.class,args);
}
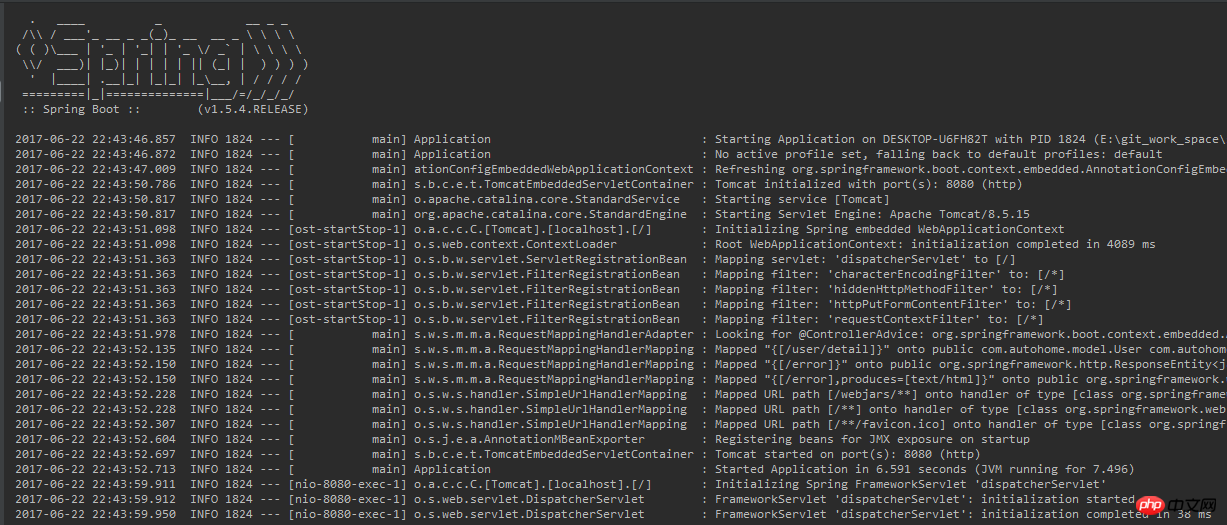
} After the above few lines of code, right-click to run Application.java and see the console prompts
The above is the detailed content of Spring boot knowledge point 1: Hello World. For more information, please follow other related articles on the PHP Chinese website!
Related articles
See more- Why and How Should You Synchronize on String Objects in Java?
- How to Continuously Update a JLabel Using Swing Timer and SwingWorker?
- How to Group Java 8 Nested Objects by Multiple Keys Using Collectors?
- Why Does Java\'s Modulus Operator Yield a Negative Result for Negative Numbers?
- Here are a few title options, maintaining the question format: * How to Seamlessly Integrate Java into Python: A Comprehensive Guide to Choosing the Right Approach * Python Calling Java: Which Metho