
Home >Operation and Maintenance >Windows Operation and Maintenance >Tutorial on the installation and configuration of IIS under Windows 7 (picture)
Tutorial on the installation and configuration of IIS under Windows 7 (picture)

- 黄舟Original
- 2017-06-18 13:56:091968browse
This article mainly introduces IIS in Windows 7 in detailInstallationConfiguration tutorial, which is common to win8 systems and has certain reference value. Interested friends can refer to it Next
1. Installation and configuration of IIS 7 under Windows 7
1. Enter the Control Panel--> Turn Windows functions on or off. Select as shown:
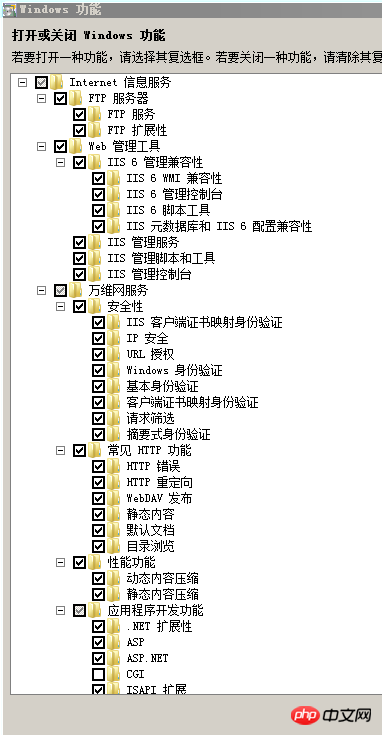
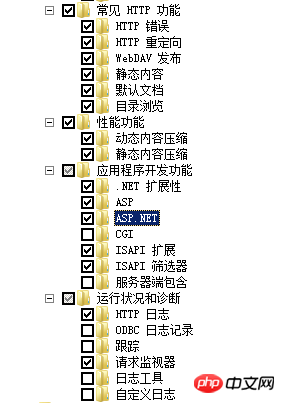
Press OK and IIS will be installed.
1. Configure IIS
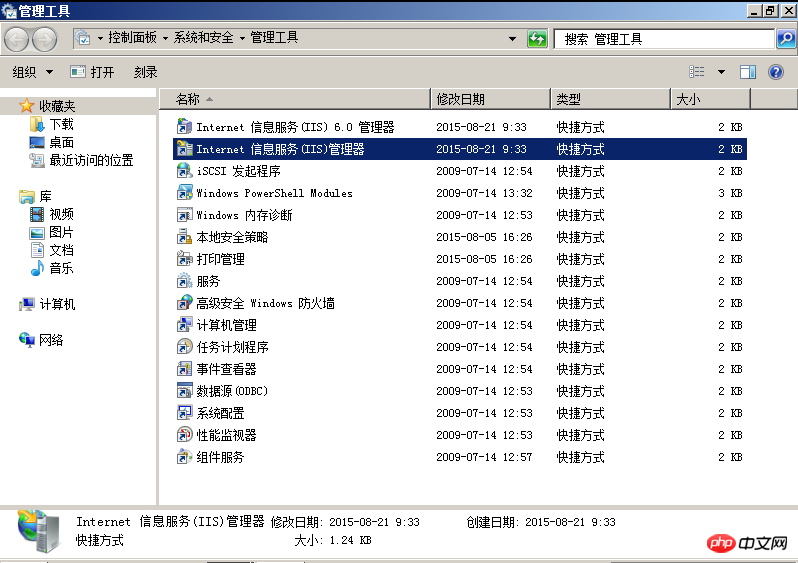
1. After installing IIS, enter the control panel again, select Management Tools, double-click the Internet (IIS) Manager option, and enter the IIS settings .
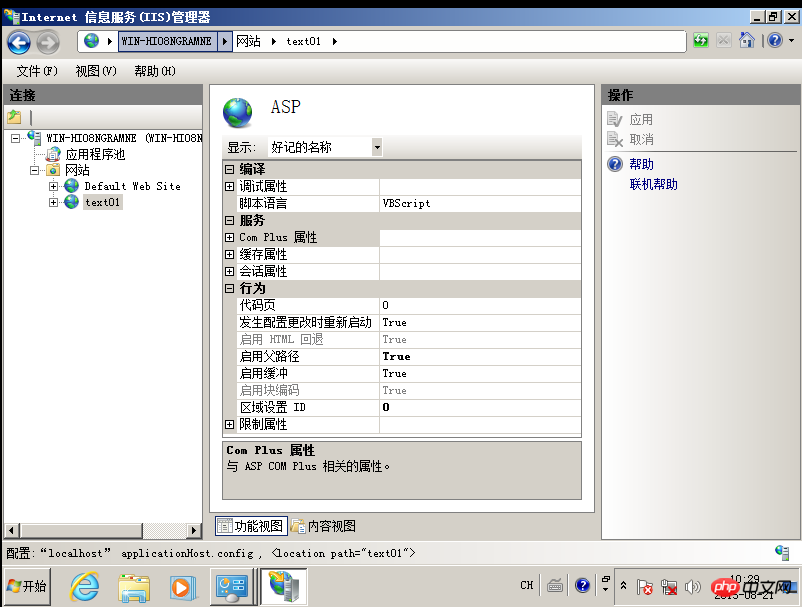
2. Select Default Web Site on the left side of the picture below, and double-click the ASP option on the right.
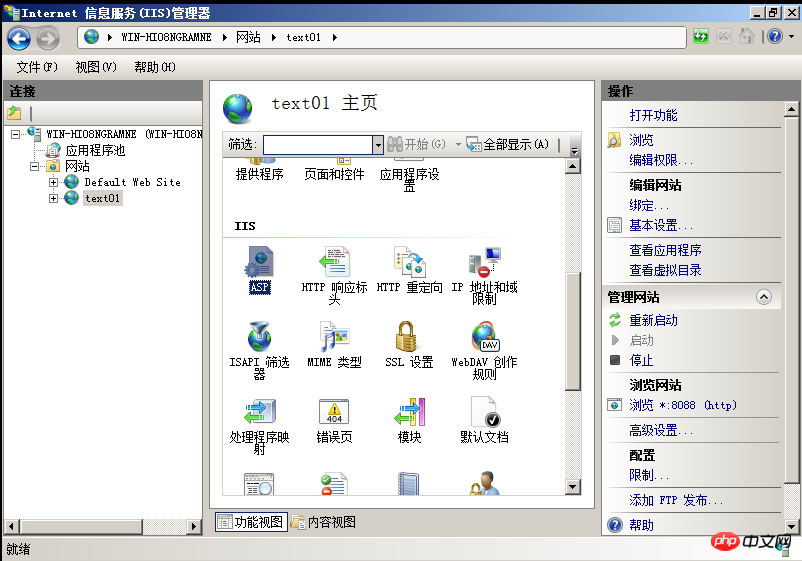
Enable the parent path and change the default False to True.
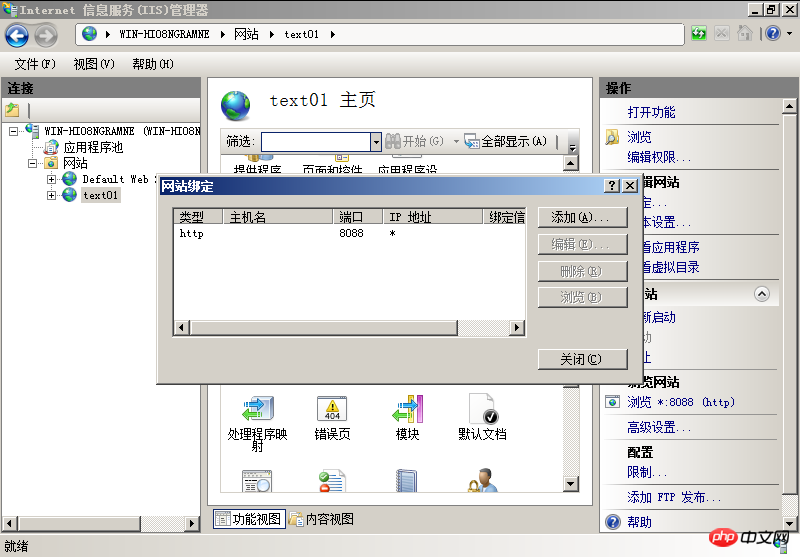
#3. After saving, return, select Binding on the right, and then select Edit to modify the website port to 80 (default) or other ports. It is recommended to use the default port 80. You can also set a default site IP address.
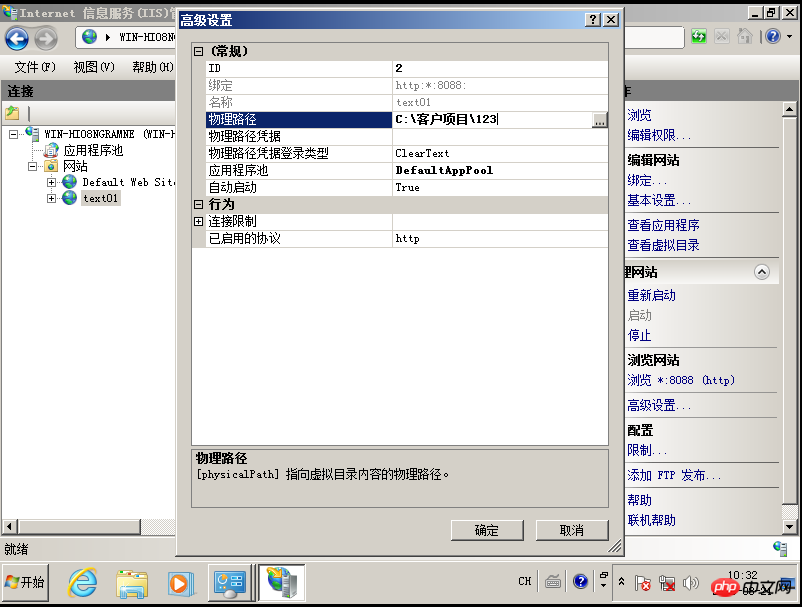
4. Select the advanced settings on the right side of the configuration site and select the site storage path
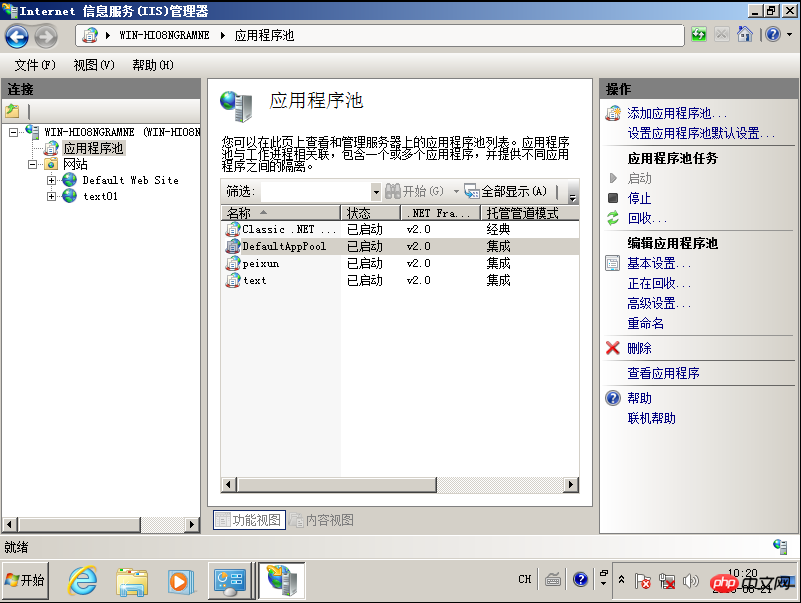
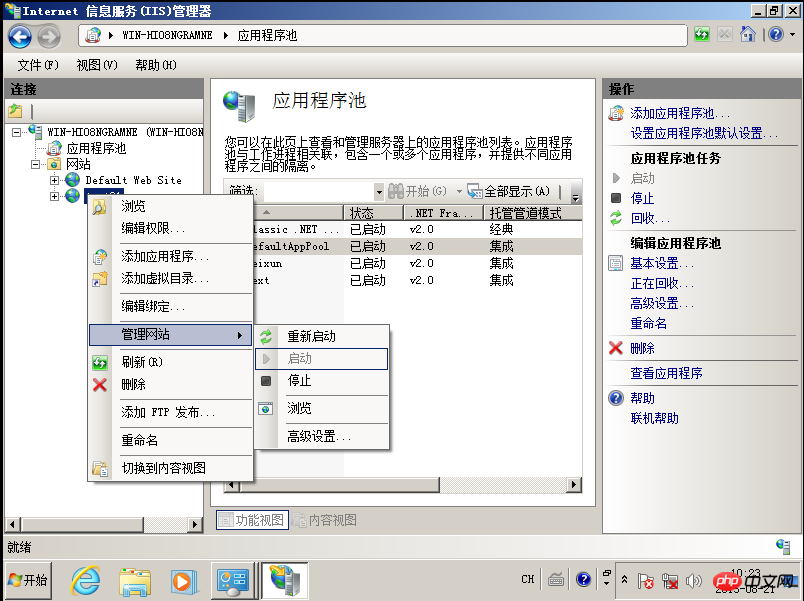
5. Return and click On the left application pool node, view the advanced properties of the application pool just used (here is DafaultAppPool).
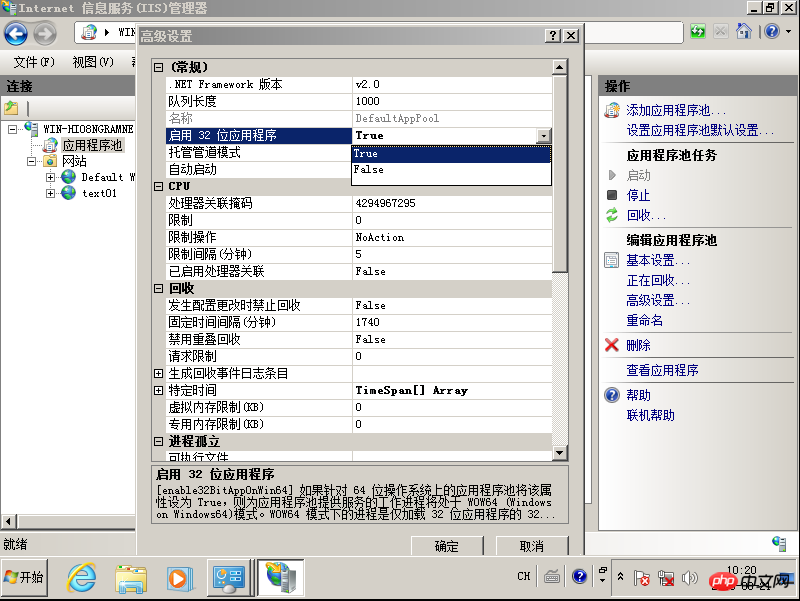
6. After configuration, you can browse the configured website
The above is the detailed content of Tutorial on the installation and configuration of IIS under Windows 7 (picture). For more information, please follow other related articles on the PHP Chinese website!
Related articles
See more- Tutorial on turning off the blurry frosted glass effect in Win10 NEON
- Share two solutions to the problem of computer crash when opening IE browser in windowsxp
- How to solve the problem that the value cannot be created in Win7 system when installing the software?
- Use bat batch file to operate windows example code
- Detailed tutorial on how to use test code for Windows 8 development